

Pure Acoustics DREAM Series, Dream77 F, Dream C, Dream S Owner's Manual
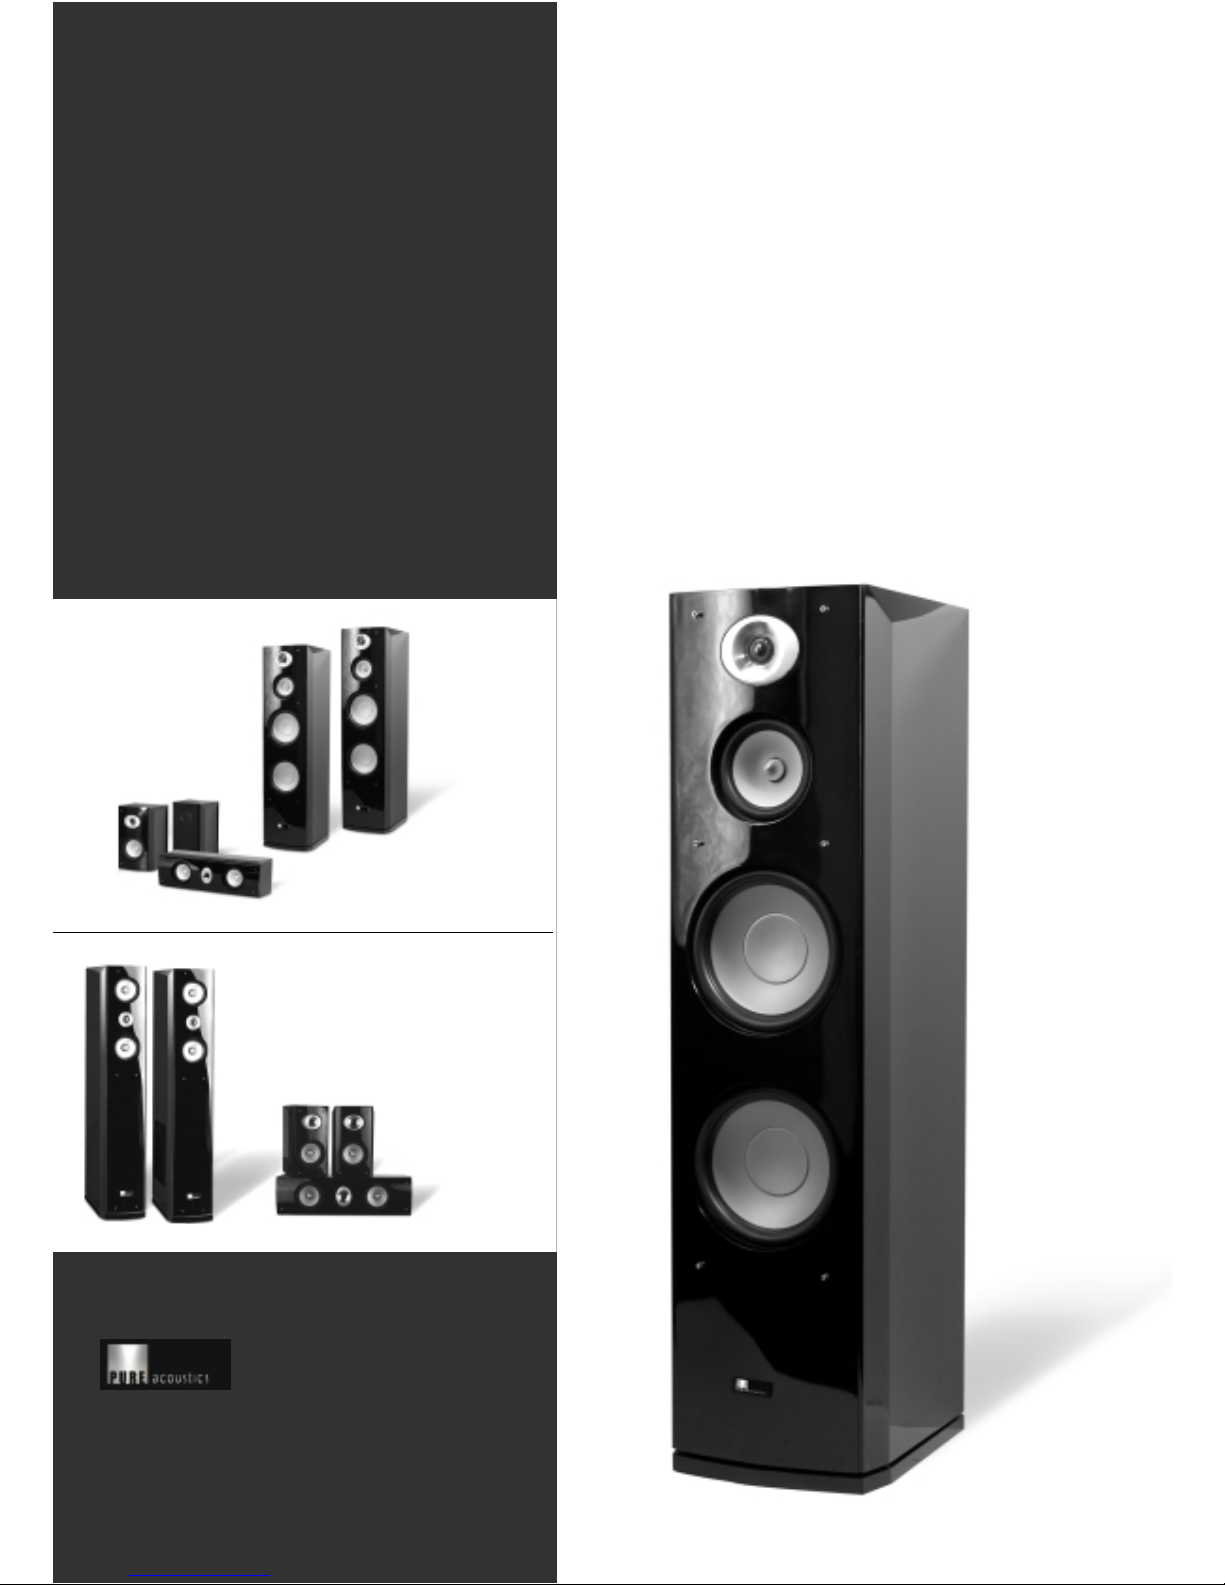
DREAM
SERIES
Owner’s Manual
www.pure-acoustics.com
Pure Acoustics, Inc. 18 Fuller Place, Brooklyn,
NY 11215, USA, Tel 718 788 4411
THE PURE SOUND OF LIFE
PURE ACOUSTICS
®
DREAM76
DREAM77

Introduction
Thank you for purchasing Pure Acoustics’ products, and welcome to the Pure Acoustics family of satisfied customers!
Pure Acoustics was established to fulfill the need for high quality speakers of exceptional design at an affordable price. After
years of research and development, and by manufacturing all part s ourselves -- from the voice-coil to the uniquely-designed
crossover -- Pure Acoustics is able to of fer you speakers of superior value.
Each speaker component has been designed and engineered with first-rate materials to produce exceptional sound. Our speakers
offer the best of it all – high-quality sound, hand-made solid construction, and a remarkably stylish appearance.
W e welcome you to witness the results. Our team’s dedication to quality, reliability and attractive design has created some of the
best-value speakers you can find today.
Reading the complete manual wi ll help you to set up your spea kers properly and reward you with a fine listening experienc e.
Pure Acoustics distribution centers in Europe, Asia, Australia and the Americas will be happy to assist you with any questions you
may have. Please look for the distributor nearest you on our web site, www.pure-acoustics.com.
Connections
Make sure all equipment is turned off. When connecting the speakers, be sure to retain the correct polarity. Most speaker
cables will have (+) red sign for positive and (-) black sign for negative.
Connect the speaker cable to the positive (+) front-left speaker terminal on the a mplifier and to the positive (+) termi nal on the
front-left speaker. Connect the speaker cable to the negative (-) front-left speaker terminal on the amplifier and to the negative (-)
terminal on the front left speaker. Repeat the same step for the right – side front speaker. In the case that your speakers have
two sets of terminals on the back, either set of input terminals can be used as long as the shorting straps are in place. If you want to
bi-wire your speakers and if your amplifier is equipped with bi-wire outp ut connection, remove the shorting straps and connect
each terminal to the associated terminal in your amplifier. The upper input terminals on the back of the speaker are connected to
the high frequencies and the lower input terminals are connected to the low freque ncies.
Connect the speaker cable to the positive (+) center speaker terminal on the amplifier and to the positive (+) term inal on th e center
speaker. Connect the speaker cable to the negative (-) center speaker terminal on the amp and to the negative (-) terminal on the
center speaker.
Connect the speaker cable to the positive (+) rear left speaker terminal on the amplifier and to the positive (+) terminal on the
rear-left speaker. Connect the speaker cable to the negative (-) rear-left speaker terminal on the amplifier and to the negative (-)
terminal on the rear-left speaker . Repeat the same step for the right-side rear speaker.
Position
THE FRONT SPEAKERS should be placed on each side of your TV or in front of your favorite listening position. As a general
guideline, the space from the speakers to the listening position should be 1.5 times the distance between the speaker s. For
example, if your listening position is 9ft (2.7m) away from the speakers, the distance between the speakers should be 6ft (1.8m)
THE CENTER CHANNEL SPEAKER should be on top of or just above your TV.
THE REAR (SURROUND) SPEAKERS should be positioned either t o the side of, or behind, your listening p osition. Typical
placement is on the side walls, slightly above ear level, about two-thirds of the way back from the front of the room. This allows
the surround speakers to aim directly at the listener , placing you in the middle of a five-speaker sound field.
 Loading...