

Page 1
XXXX
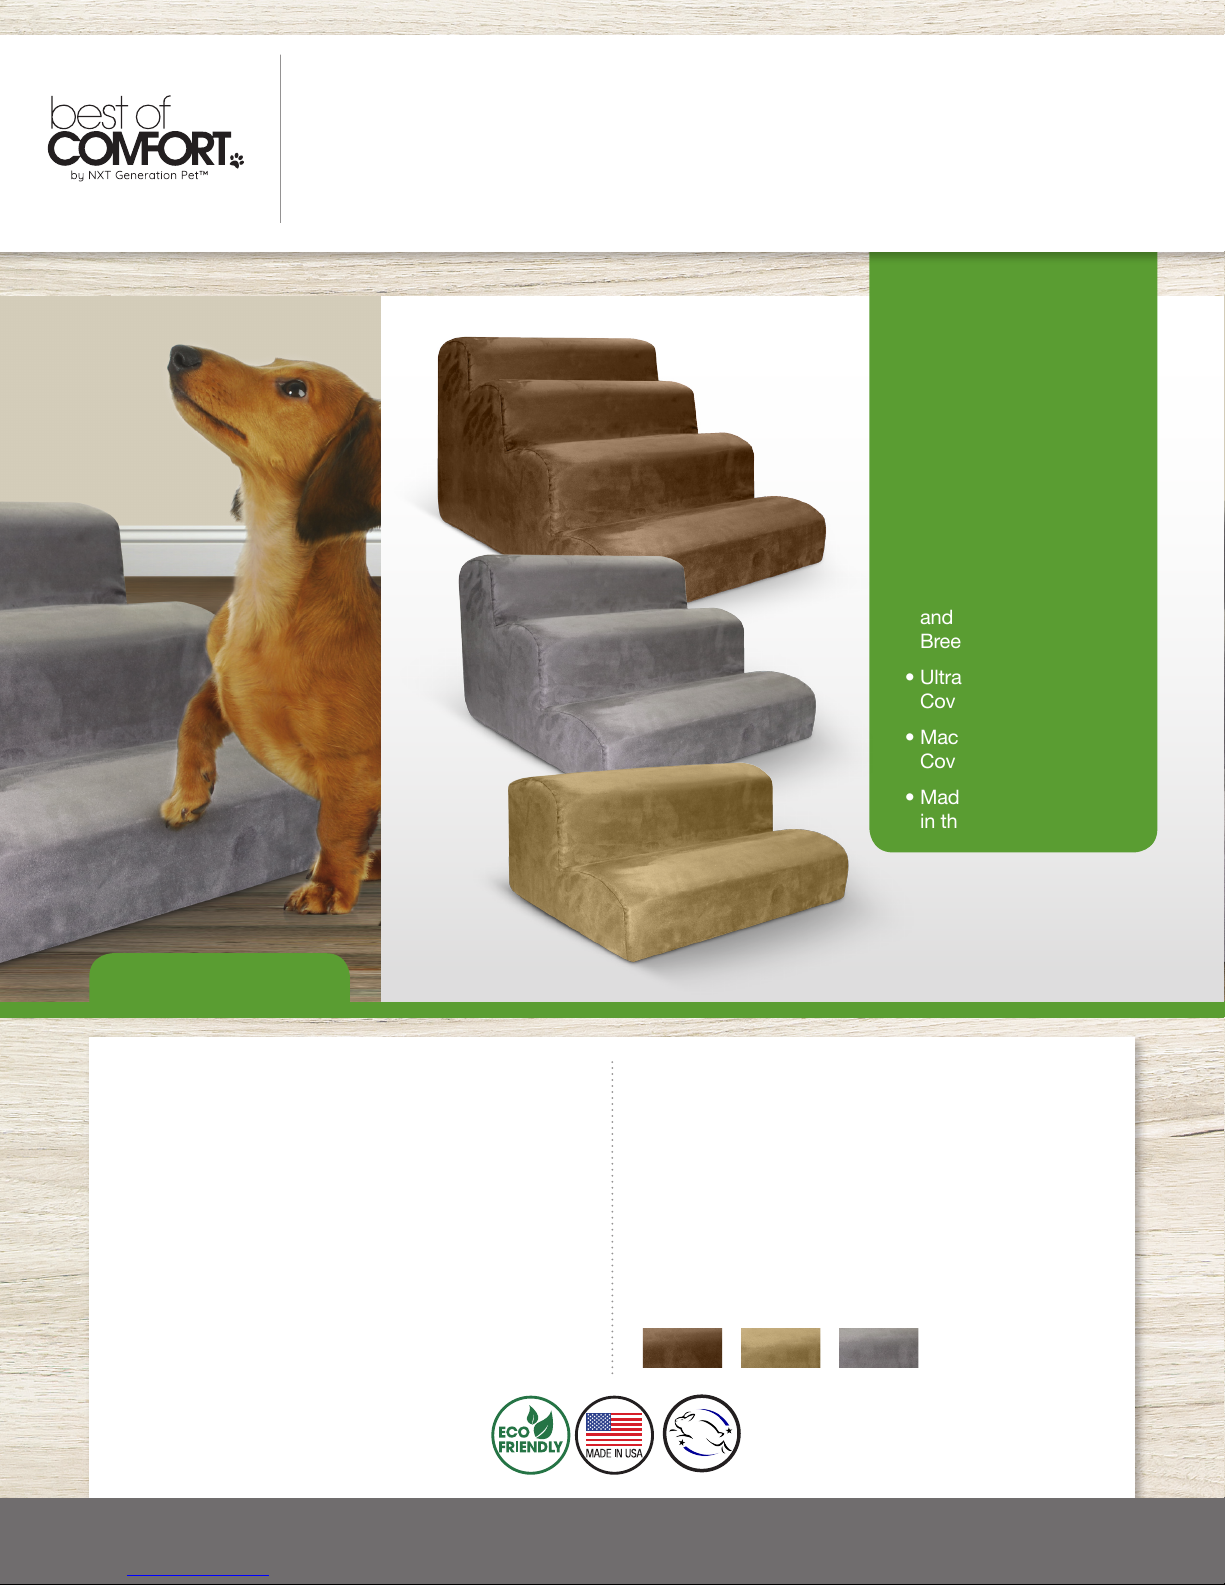
ERGO PET STAIRS
XXXXXXXXXXXX
Item # PN2XX
Why It’s better:
Why It’s Better:
• XXXXXXXXXX
• Lightweight and
Sturdy
• XXXXXXXXXX
• Crafted from
• XXXXXXXXXX
Eco Foam
• XXXXXXXXXX
• Gradually Angled Slope
• XXXXXXXXXX
• Rounded Edges
• Wider Landings
• Perfect for Older Dogs
and Shorter Legged
Breeds
• Ultra-soft, Microsuede
Cover
SPECIFICATIONS
SPECIFICATIONS
BENEFITS:
BENEFITS:
• XXXXXXXXXXXXXXXXXX
• Gradually angled stairs for better stability
• XXXXXXXXXXXXXXXXXX
• Slightly rounded edges with wider landings
• XXXXXXXXXXXXXXXXXX
• Lightweight
• Removable, ultra-soft, microsuede cover
that is machine washable and simple to
maintain.
AVAILABLE SIZES:
• 2 Step 12H X 17D X 21W
Max Weight 25lbs
• 3 Step 15H X 24D X 21W
Max Weight 55lbs
• 4 Step 20H X 32D X 21W
Max Weight 100lbs
• Machine Washable
Cover
• Made and Sourced
in the USA
Our manufacturing partner has been a member of the Sus-
• SIZE:
tainable Furnishing Council, a group of furniture manufac-
XXXXX
tures helping to make the industry more sustainable. One
of the dening qualities of our Ergo Pet Stairs is our ECOFOAM. We save ECOFOAM from becoming landll fodder.
• INGREDIENTS:
It starts as unused scraps from local furniture manufacturers
and we up-cycle it to turn it into stufng. Because we take
XXXXXXXXXXXXXXXXXX
it from other local companies we cut down on the amount
of fuel used to get the foam to us. Because it’s foam and
can spring back to life, we are able to vacuum pack all our
Ergo Pet Stairs for delivery which saves on shipping costs
for you and lowers our own carbon footprint.
FABRIC COLORS:
CharcoalTanDark Brown
844.698.4367
844.698.4367
puranaturalspet.com
puranaturalspet.com
Page 2
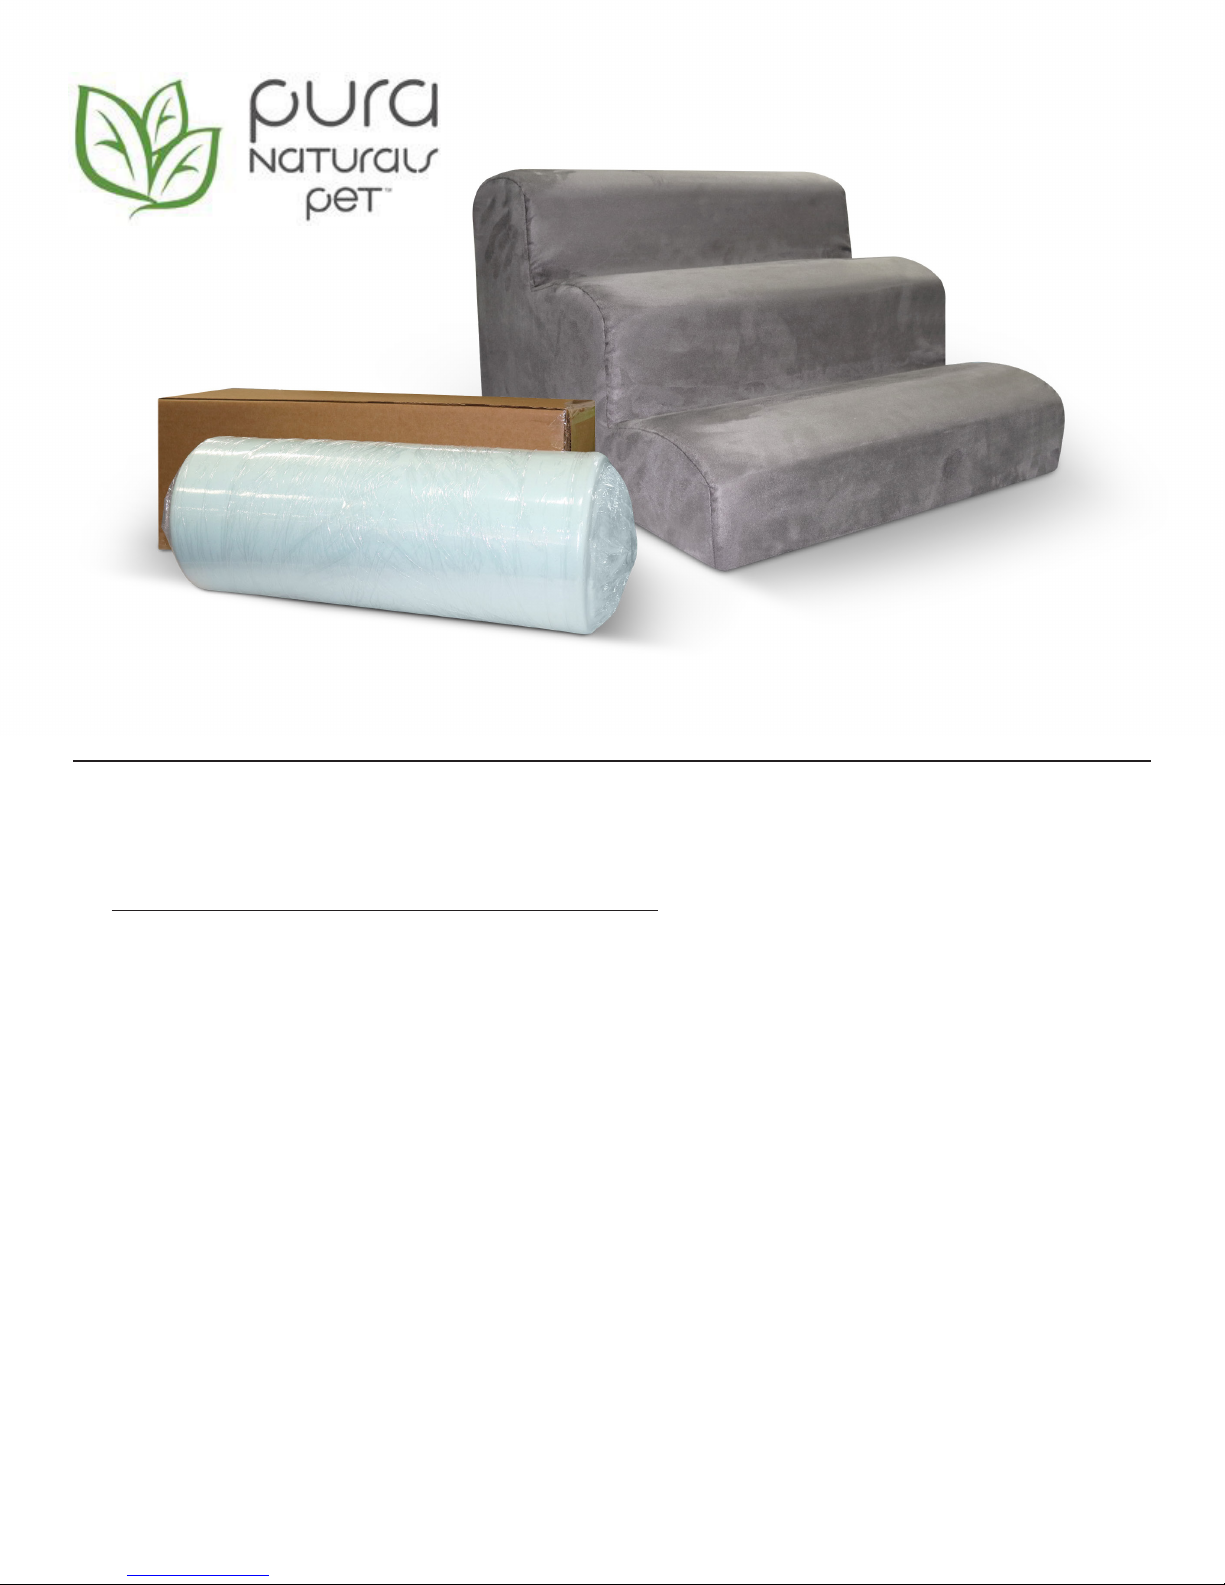
PET STAIRS SET-UP INSTRUCTIONS
Step 1: Unroll the plastic lm. Do not cut open.
IF YOUR COVER IS FOLDED SEPARATELY:
Step 2: Line up the seams on the cover with the largest step of the stairs and
pull the cover down until it is tight against the top step. You may need to reach
up into the cover with your hand to help pull the cover down. The cover should
be snug against the top step with no loose fabric or space in between the foam
and fabric.
Step 3: Repeat this with the second highest stair, and any subsequent stairs
making sure that the cover is pulled down all the way onto each step and that
the corners from the fabric cover are at against each corresponding foam step.
Step 4: After the cover is lined up with all the seams, and pulled tight on each
stair, the nal step is to zip up the cover. Pull the cover down all the way so that
the zipper is at the very bottom. You can push in some of the corners slightly to
get the zipper closed if needed. The zipper will go all the way around the very
bottom of the stairs so that it is underneath the product once assembled.
 Loading...