

Page 1
Mediaport Pro | Hradesinska 67 | 101 00 Praha 10 | Czech Republic | Tel. + 420 271 735 610
Fax. + 420 272 734 897 | [email protected] | www.punchlight.com
Version 2.x
Universal Studio Display
User Manual
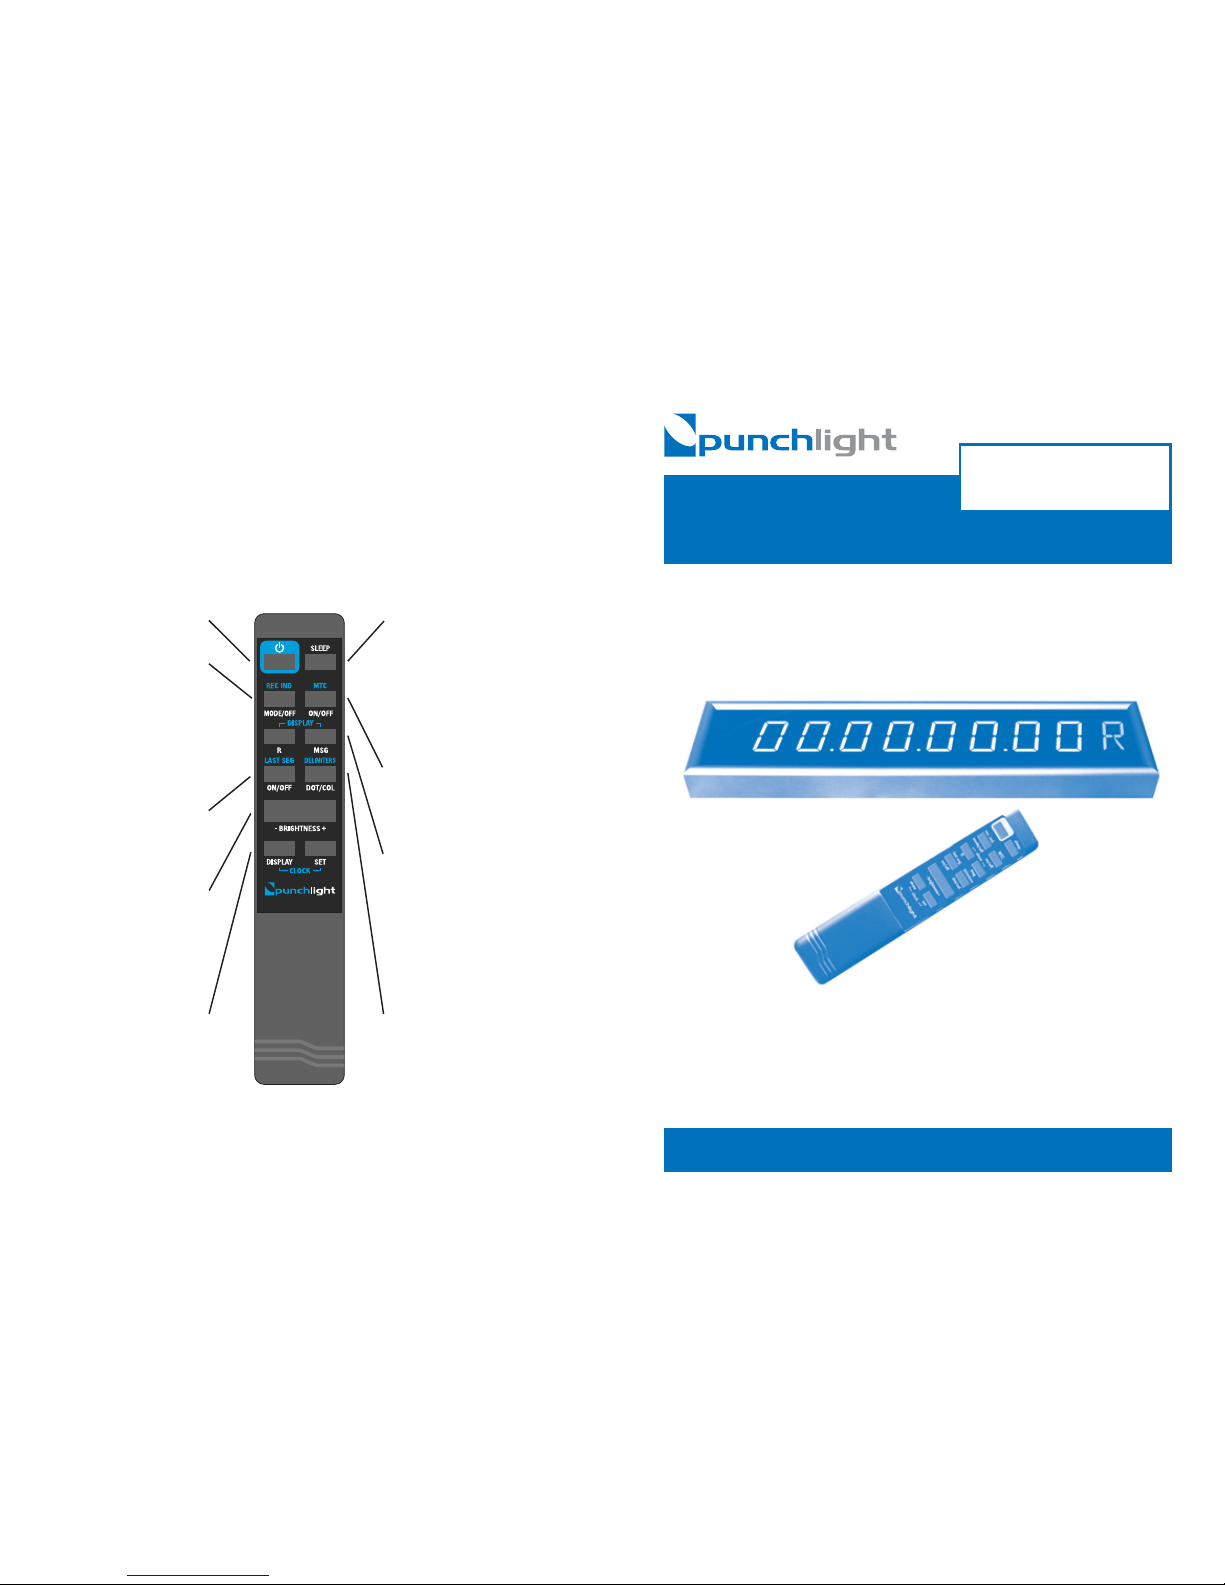
Power On/Off
PunchLight mode
Pro Tools/Generic/Off
Works only with HUI. If the PunchLight mode is on, the last segment
on the right hand side of the Display indicates record-ready/pre-roll
and record. 3 settings: „Pro Tools“,
„Generic“ (for other DAW applica-
tions) and „Off“ mode.
Last Segment Flicker on/off
This function allows you to turn off
the last two segments that can be
distracting during playback.
Brightness Up/Down
This function allows you to set the
brightness of LED segments in
fi ve steps. The brightness of clock
display in standby can be set independently from the main bright-
ness.
Clock
Press the Clock Display button to
show the clock. When the display
itself is on, the clock will appear for
about 2 secs. When in standby, it will
show continuously.
Sleep Mode On/Clock/Off
Sleep mode allows the Display to switch
off after 30 minutes of MIDI inactivity. The
power button or any incoming MIDI data
will wake it up. 1) On: the Display will go
into standby after 30 minutes. All segments will be off. 2) CLK: same as 1), but
the clock will be shown in standby automatically. 3) Off: Sleep mode is off.
MTC Reader On/Off
The Display will not display correctly if
HUI and MTC are present at the same
time. This button allows you to turn off
the MTC reader.
Display R and MSG
R - This button manually activates the
last “R“ red segment, independently of
any other functions. This can be used as
a manual cue indicator.
MSG - This button manually activates the
message function. In future it will be possible to put your own custom message.
See our website for an announcement.
At present it shows „--------“.
Delimiters Dots/Colons
You can choose the style of division
marks here, either a single dot “ . “ or
a colon “ : “.
5. Clock Settings (Clock Set button).
To set the clock time, use the remote control to power off the unit fi rst, then press the Clock Display
button to show the clock. Press the Clock Set button once to set hours (a small “-“ indicator appears
on the left), press again to set the minutes (now the “-“ appears on the right). Use the brightness buttons to change the time, forwards or backwards. Press Set to fi nish.
6. Remote Control buttons:
Page 2
Universal Studio Display
Thank you for purchasing the Universal Studio Display (“Display”).
Package Contents:
- 1 Universal Studio Display
- 1 PSU
- 1 Power Data Cable 10m (3 connectors: MIDI In, MIDI Out, and power)
- 1 Remote control
Technical Specifi cations:
Power Supply Voltage: . . . . . . DC 12V
Max. Current: . . . . . . . . . . . . . . . 900 mA
Weight: . . . . . . . . . . . . . . . . . . . . . 1,6 Kg
Dimensions . . . . . . . . . . . . . . . . . 620 x 120 x 38 mm - 24.4“ x 4.7“ x 1.5“
1. Hardware Installation.
The Display mounts on any wall via the included mounting brackets. The brackets slot into the Display anywhere along the length of the unit, so that there is some fl exibility in avoiding hidden cables
in the wall. Connect the supplied cable to the Display; the socket is on the back of the Display. This is
a combined power and MIDI cable. Then simply hang the Display on the brackets.
2.Software Installation.
There isn‘t any! But you will need to activate the HUI or MTC protocol in your host application (Pro
Tools, Logic Pro, Nuendo etc). Please refer to the host application‘s user manual.
3. Connection Confi gurations:
a) Using Pro Tools and the HUI protocol with a MIDI Interface:
Connect the Display ‘ s “To MIDI Out” cable to the “MIDI Out“ on your MIDI interface. Connect the Dis play’s “To MIDI In” cable to the “MIDI In“ on the interface. Finally connect the power supply.
Note:
Some midi software such as Cubase, Nuendo or Digital Performer etc. do not need to receive midi data from a device like the
Display. For example Pro Tools needs to know that the Display (or any other HUI device) is present. Therefore the Display sends
midi data from the MIDI output back to Pro Tools.
b) Using a MIDI Time Code source eg. SYNC I/O (recording indication is not available):
Connect the Display ‘s “To MIDI Out“ cable to the MTC Out on your Sync I/O or to “MIDI Out” on your
MIDI interface. Connect the power supply of the Display to the mains.
HUI / MTC Protocol
The Display works automatically with either HUI or MTC protocol - no manual switching over is necessary. The Display accepts any MTC source (from software or from external hardware such as SYNC
I/O), but not at the same time as HUI - in this case it is important to disable the decoding of MTC data.
You can turn off the MTC reader on the Display’s remote control. All the functions of the Display are
available under HUI protocol, but under MTC the following limitations apply: 1) PunchLight recording indication is not available; 2) Timec ode only (no switching to bar/beats etc); 3) With the playhead
stopped in Pro Tools or Logic, timecode will not update when clicking anywhere in the timeline - it
will only update when play is resumed.
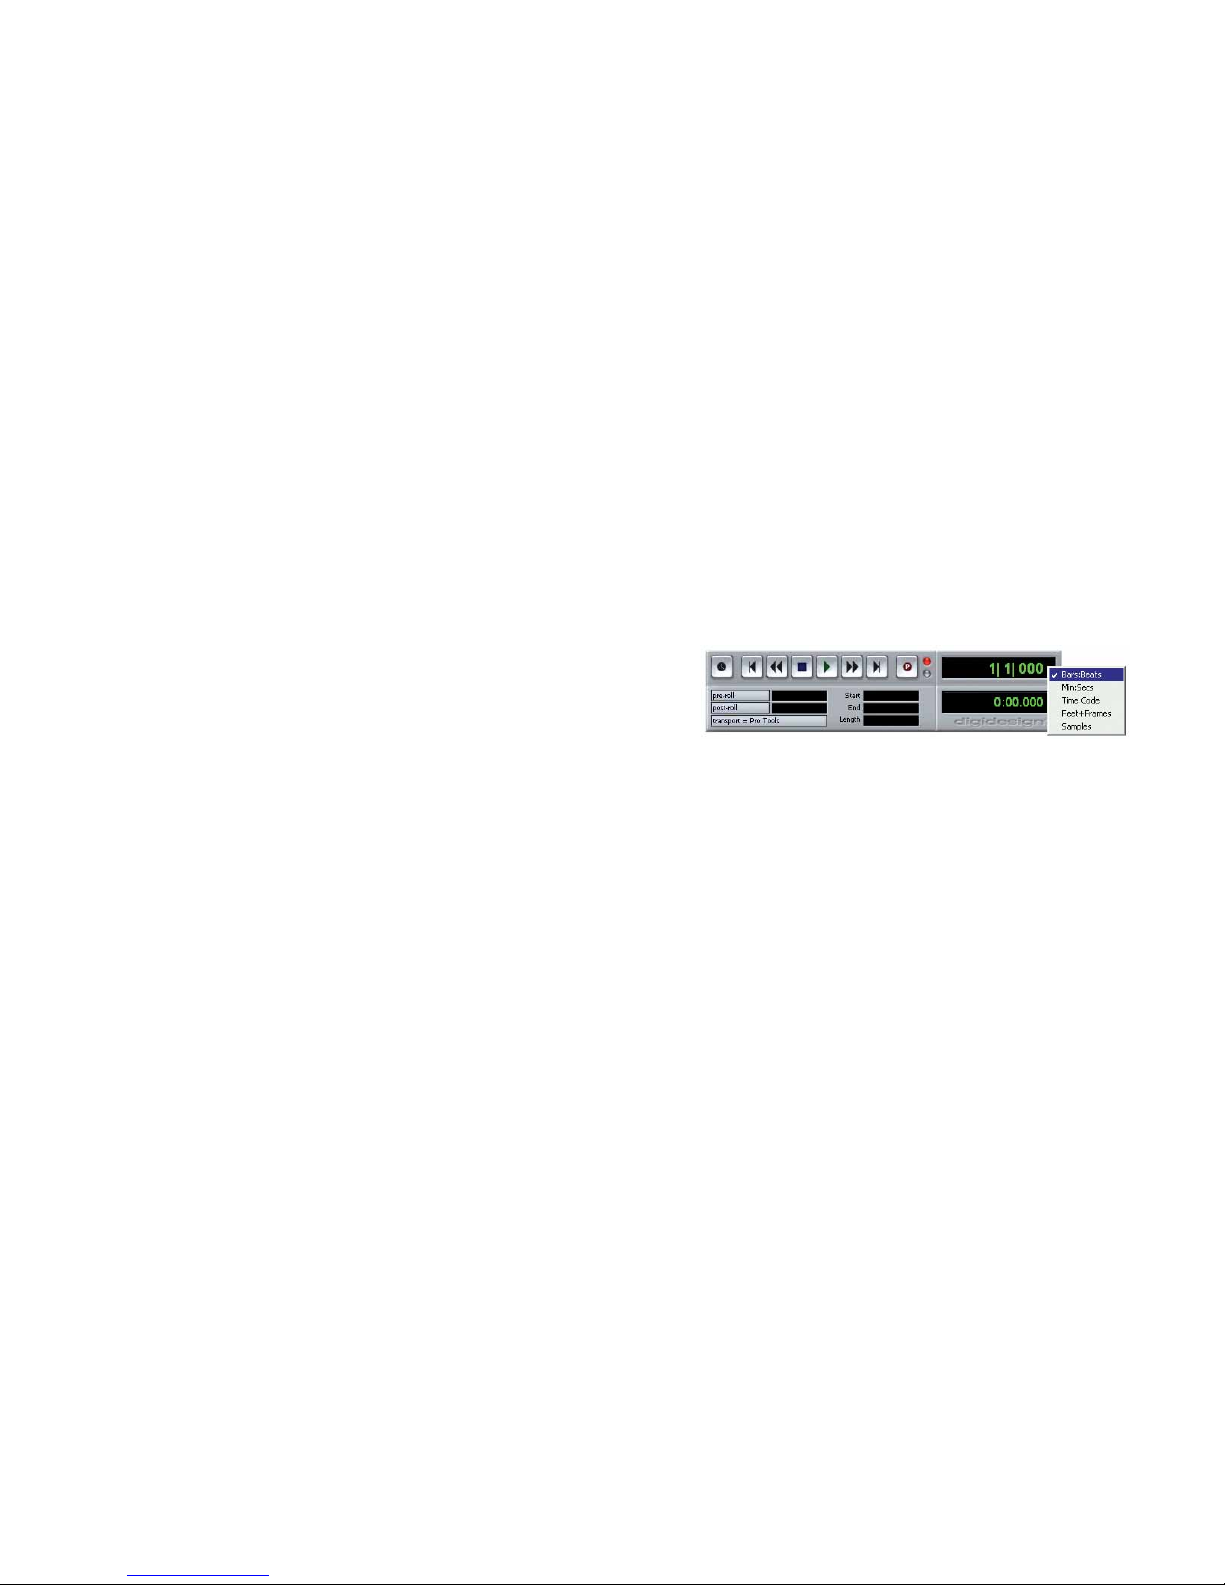
Changing between timecode and other formats (HUI only).
To change between Timecode, Bars/Beats, Feet+Frames, Samples and Min:Secs you simply change
the setting in your transport bar - eg. in Pro Tools there is a pop-up menu in the corner of the Transport Bar. The USD will automatically change to the selected format.
4. Universal Studio Display Setup.
There are no drivers or other software that need to be installed, the Display w orks out of the box with
Pro Tools or any MIDI Sequencer that suppor ts the HUI protocol. Please check the www.punchlight.
com website for the latest information about software versions and HUI compatibility. The Display
also works with any software/hardware combination which generates MIDI Time Code (MTC).
Whether you are using Pro Tools or other software with HUI or MTC, it`s neccesary to set it up.
a) Using the Display with Pro Tools (or other HUI software):
Select HUI in Pro Tools as the midi controller:
Go to the Pro Tools menu S etup > Peripherals > MIDI Controllers > HUI and set the MIDI ports
accord ing to connections made in step 3.
Refer to your sequencer manual to learn how to setup a HUI controller if your are not using Pro Tools.
b) Using the Display with MTC software/hardware (e.g. SYNC I/O):
Most sequencers can output MIDI Time Code (MT C). SYNC I/O generates MTC automatically. With
other hardware/software combinations, go to the preferences of your MIDI software and allow
MTC to be sent to the MIDI Out.
Pro Tools transport bar - changing between formats
 Loading...