

2 CHANNEL, CLASS D
AMPLIFIERS
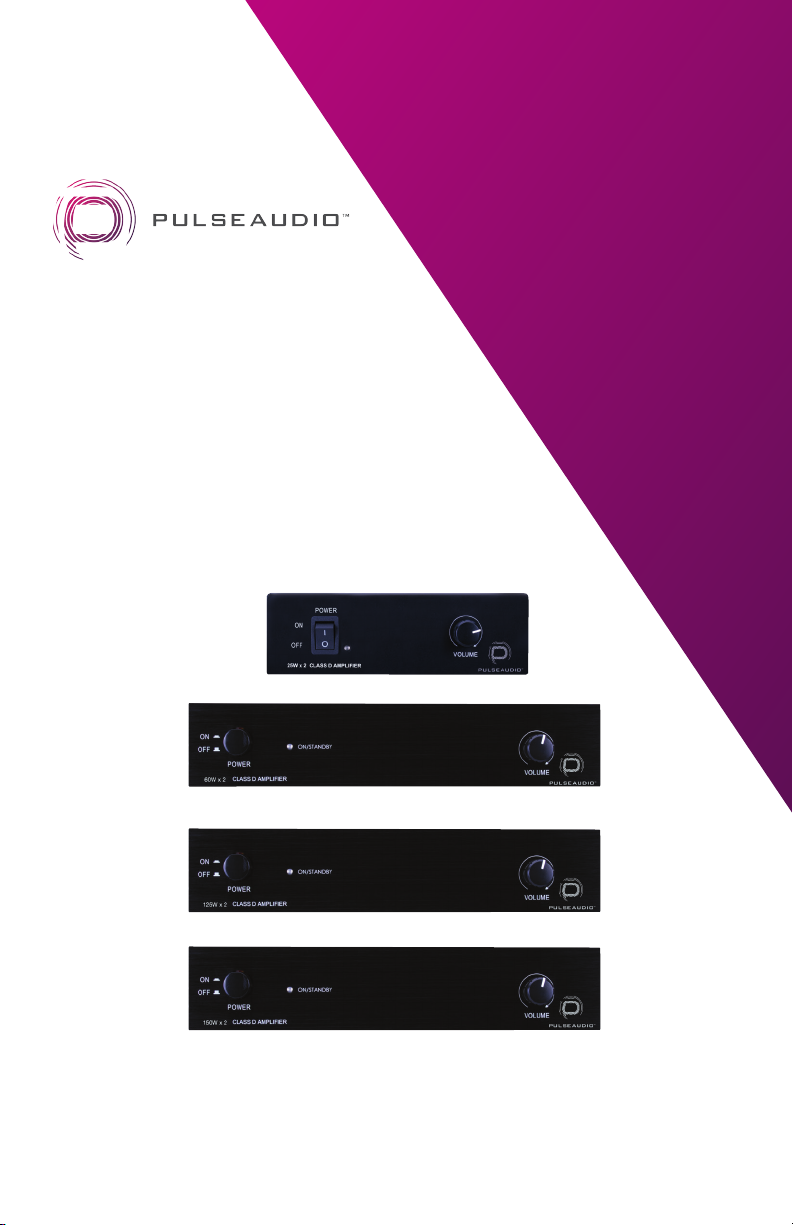
PA2X25
PA2X60
PA2X125
PA2X150
pulseaudio1.com | vanco1.com | 800.626.6445

DEAR CUSTOMER
Thank you for purchasing this product. For optimum
performance and safety, please read these instructions
carefully before connecting, operating or adjusting this
product. Please keep this manual for future reference.
THIS PRODUCT IS 100% INSPECTED AND TESTED IN THE
UNITED STATES TO VERIFY PERFORMANCE PARAMETERS.
WARNING
1. Do not install or place this unit
in a built-in cabinet, or other
confined space without adequate
ventilation.
2. To prevent risk of electrical shock
or fire hazard, due to overheating
do not obstruct unit’s ventilation
openings.
3. Do not install near any source of
heat, including other units that
may produce heat.
4. Do not place unit near flames.
5. Only clean unit with a dry cloth.
6. Unplug unit during lightning
storms or when not used for an
extended period of time.
7. Protect the power cord from being
walked on or pinched, particularly
at the plugs.
8. Use unit only with accessories
specified by the manufacturer.
9. Refer all servicing to qualified
personnel.
2

FEATURES
The PA2X amplifier series from PulseAudio are an ideal solution for residential
and commercial audio installations that require a simple setup and great
sound output. With a small footprint, but high output, these Class D amplifiers
can sit on a desktop, or can easily be mounted on a wall or within a rack using
the included mounting brackets. The amps can be used in a stereo system,
but can also be switched for use in bridged or mono applications. The inputs
consist of two stereo audio inputs, two RCA inputs, and a single 3.5mm input
for versatility. Also includes an auto-ON feature so the units do not need to
be powered manually, just hit play and the amps will power on automatically!
With a broad range of power output to pick from, the Pulse Audio PA2X
amplifier series are a great solution for any desired application.
2 CHANNEL, CLASS D AMPLIFIERS
Part # PA2X25, PA2X60, PA2X125, PA2X150
• Class D Digital Amplifier
• RCA and 1/8” Stereo Inputs
• Mixes audio when both inputs are connected and live
• Stereo and Mono/Bridge Modes
• Automatically goes into standby after 5 minutes of inactivity
• Source Sensing to come out of standby when a connected source begins to play
• AC 115/230V IN
PACKAGE CONTENTS
• Bridgeable Amplifier
• Power lead cable
• 1- 4 conductor Phoenix connector (screw down terminal)
• Mounting bracket and screws
• Product Manual
3

PANEL DESCRIPTIONS
3a
3b
2a
1
5
2
3
1. MODE selection between Stereo, Mono, or Bridge
2. Connection to speakers using the included phoenix connector
• For stereo operation, connect the Left and Right speaker wires to the
corresponding terminals
• For bridge-mono operation, connect the positive speaker wire to the L+
and the negative speaker wire to the R+ terminals
3. Connect a source device to the INPUT terminals - 3.5 or RCA*
• 3.5mm connection
• RCA connection
4. Connect the included power supply (115/230V input)
2b
4
*NOTE: When both source inputs are connected, the 3.5mm input and RCA
inputs mix
4

CONNECT AND OPERATE
1. Connect an audio source to either the 3.5mm or the dual-RCA inputs
2. Connect the speaker wires to the provided green phoenix connector, ensuring the
negative port on the amp is going to the negative terminal on the speaker(s), and the
positive port on the amp is going to the positive terminal on the speaker(s).
3. Use the MODE switch to select the correct configuration
a. For Stereo mode, all ports on the phoenix connector will be used
b. For Bridge/Mono modes, only the outside ports of the phoenix connect will be used
4. Ensure the voltage switch is setup correctly to be used with the electrical standards in
your region (set to 115v by default)
5. Connect the amp to an electrical outlet using the provided power lead
6. Press the POWER button to turn on the amplifier. A green LED will display indicating the
amplifier is ready to use, a red LED will display indicating the amplifier is in the “Auto-On”
state to conserve power
7. Turn on the source device and set the source output level.
8. Adjust the VOLUME using the rotary volume control; turning clock-wise will increase the
volume level
Please note that after 5 minutes of inactivity, the amp will go into the “Auto On” state
MOUNTING
The PulseAudio PA2X series amplifiers can be mounted to a desk, shelf or wall using the
provided brackets
• Use the 1/4” long machine screws to mount the brackets to the case
• Use the 9/16” long wood screws to attached the amplifier and brackets to a wood desk or
shelf
• If mounting to a desktop, first remove the feet from the bottom of the amplifier
5

SPECIFICATIONS
Model Number: PA2X25 PA2X60 PA2X125 PA2X150
Power Output
(RMS @ 8 Ω)
Power Output
(RMS @ 4 Ω)
Bridge Output
(RMS @ 8 Ω)
Total Harmonic
Distortion (THD):
Signal to Noise: >90 dB A WTD >90 dB A WTD >90 dB A WTD >90 dB A WTD
Frequency Response: 20Hz~20KHz +0/-
Line Level Input
Sensitivity:
Thermal Protection: Yes Yes Ye s Yes
Short Protection: Yes Ye s Yes Yes
Dimension: 143mm x 95mm x
Weight: 0.6kG 1.32kG 1.65kG 1.65kG
25Wx2 60Wx2 125Wx2 150Wx2
45Wx2 90Wx2 180Wx2 225Wx2
90W 180W 360W 450W
<1%(Rated power:
25W @ 8Ω)
2dB@ 8Ω
700mV 700mV 700mV 700mV
45mm (WxDxH)
<1%(Rated power:
60W @ 8Ω)
20Hz~20KHz +0/-
2dB@ 8Ω
214mm x 250mm x
44mm (WxDxH)
<1%(Rated power:
125W @ 8Ω)
20Hz~20KHz +0/-
2dB@ 8Ω
214mm x 250mm x
44mm (WxDxH)
<1%(Rated power:
150W @ 8Ω)
20Hz~20KHz +0/-
2dB@ 8Ω
214mm x 250mm x
44mm (WxDxH)
SAFETY AND NOTICE
The PA2X series amplifiers has been tested for conformance to safety
regulations and requirements, and has been certified for international use.
However, like all electronic equipment, the PA2X series amplifiers should
be used with care. Please read and follow the safety instructions to protect
yourself from possible injury and to minimize the risk of damage to the unit.
• Follow all instructions and warnings marked on this unit.
• Do not attempt to service this unit yourself, except where explained in this
manual.
• Provide proper ventilation and air circulation and do not use near water.
• Keep objects that might damage the device and assure that the placement of this
unit is on a stable surface.
• Use only the power adapter and power cords and connection cables designed for
this unit.
• Do not use liquid or aerosol cleaners to clean this unit.
• Always unplug the power to the device before cleaning
6

TECHNICAL SUPPORT
In case of problems, please contact Vanco Technical Support by dialing
1-800-626-6445. You can also email technical support issues to techsupport@
vanco1.com. When calling, please have the Model Number, Serial Number
(axed to the bottom of the unit) and Invoice available for reference during
the call. Please read this Instruction Manual prior to calling or installing this
unit, since it will familiarize you with the capabilities of this product and its
proper installation. All active electronic products are 100% inspected and
tested to insure highest product quality and trouble-free installation and
operation. The testing process utilizes the types of high-definition sources and
displays typically installed for entertainment and home theatre applications.
For additional information please visit www.vanco1.com.
LIABILITY STATEMENT
Every eort has been made to ensure that this product is free of defects. The
manufacturer of this product cannot be held liable for the use of this hardware
or any direct or indirect consequential damages arising from its use. It is
the responsibility of the user and installer of the hardware to check that it is
suitable for their requirements and that it is installed correctly. All rights are
reserved. No parts of this manual may be reproduced or transmitted by any
form or means electronic or mechanical, including photocopying, recording
or by any information storage or retrieval system without the written consent
of the publisher. Manufacturer reserves the right to revise any of its hardware
and software following its policy to modify and/or improve its products where
necessary or desirable. This statement does not aect the legal rights of the
user in any way.
LIMITED WARRANTY
With the exceptions noted in the next paragraph, Vanco warrants to the
original purchaser that the equipment it manufactures or sells will be free from
defects in materials and workmanship for a period of two years from the date
of purchase. Should this product, in Vanco’s opinion, prove defective within
this warranty period, Vanco, at its option, will repair or replace this product
without charge. Any defective parts replaced become the property of Vanco.
This warranty does not apply to those products which have been damaged
due to accident, unauthorized alterations, improper repair, modifications,
inadequate maintenance and care, or use in any manner for which the product
was not originally intended. Items integrated into Vanco products that are
made by other manufacturers, notably computer hard drives and liquid
crystal display panels, are limited to the term of the warranty oered by the
respective manufacturers. Such specific warranties are available upon request
to Vanco. A surge protector, power conditioner unit, or an uninterruptible
power supply must be installed in the electrical circuit to protect against
power surges. If repairs are needed during the warranty period the purchaser
will be required to provide a sales receipt/sales invoice or other acceptable
proof of purchase to the seller of this equipment. The seller will then contact
Vanco regarding warranty repair or replacement.
7

Vanco® International
506 Kingsland Drive Batavia, Illinois 60510
call: 800.626.6445 | fax: 630.879.9189
visit: www.vanco1.com
Introducing a new brand from Learn more at pulseaudio1.com
 Loading...