

Pulsar Accolade XQ38, Accolade XQ50, Accolade XP38, Accolade XP50 Instructions Manual
Accolade
Thermal
Imaging Binoculars
1
5
2
3
4
6
6
7
7
8
11
9
13
12
10
14
15
16
Pic. 1

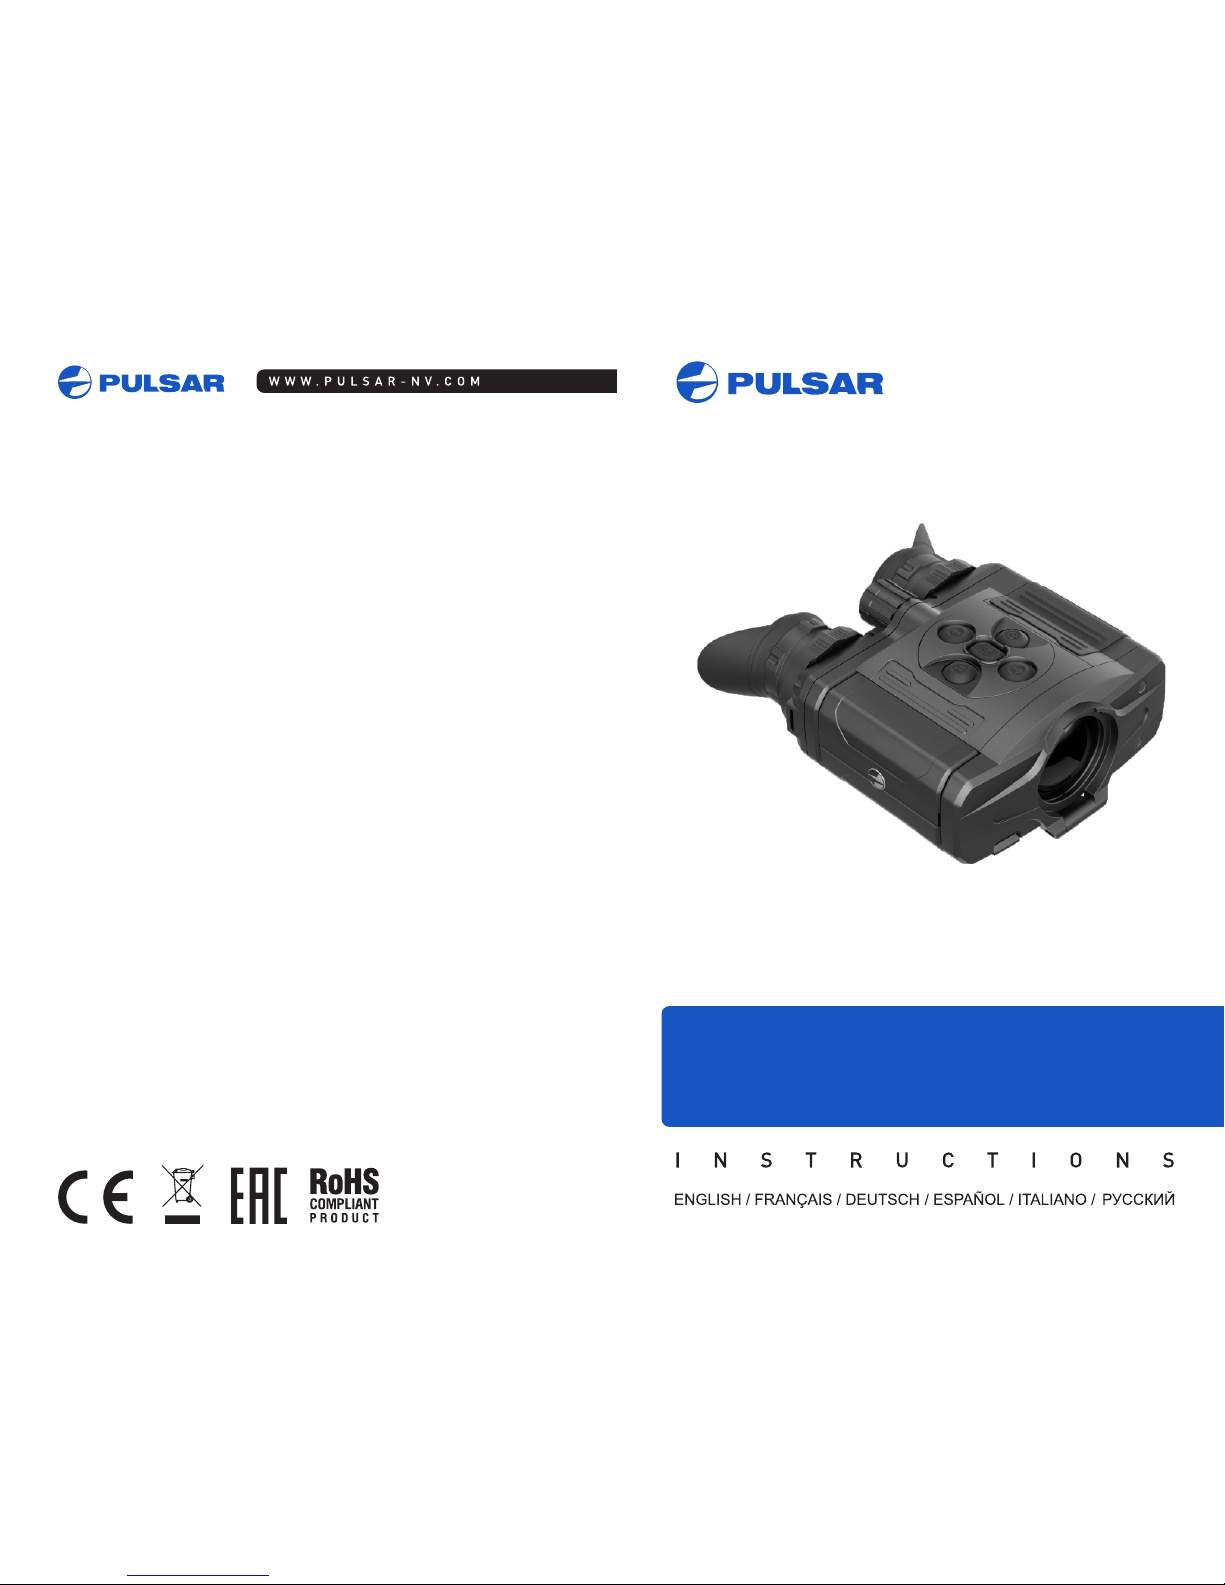
Thermal Imaging Binoculars ACCOLADE
1-24
25-48
49-74
75-100
101-126
Electromagnetic compliance
This product complies with EU Standard EN 55032:2015, Class A.
Warning! Operation of this equipment in a residential environment could
cause radio interference.
Attention!
Export of may ACCOLADE models (SKU#77411/77412/77413/77414)
have export limitations depending on the laws in your region.

Microbolometer:
128
MODEL ACCOLADE
XQ38
77411
127
SKU#
Optical characteristics:
Operational characteristics:
384x288
50
17
3.1 4.1
3.1-12.4 4.1-16.4
2x/4x
1:1.2 1:1.2
3 3
5
9.8x7.4 7.5x5.6
17.2x12.9 13x9.8
±5
1350 1800
AMOLED
640x480
3.7
5V
7
IPХ7
-25 °С ... +50 °С / -13 °F ... 122 °F
164x130x64 /
6.4x5.1x2.5
164x130x64 /
6.4x5.1x2.5
0.6 / 21.2
XQ50
77412
XP38
77413
XP50
77414
384x288
50
17
1.9 2.5
1.9-15.2 2.5-20
2x/4x/8x
3 3
5
16.3x12.3 12.4x9.3
28.6x21.5 21.8x16.3
±5
1350 1800
AMOLED
640x480
7
IPХ7
1:1.2 1:1.2
50
17
2x/4x
5
±5
7 7
50
17
2x/4x/8x
5
±5
56-71 56-71 56-71 56-71
3.7 3.7 3.7
5V 5V 5V
ACCOLADE thermal imaging binoculars are based on an IR sensor
(uncooled microbolometer) are represented by a number of models
featuring various magnification and lens diameter. The binoculars
feature comfortable observation with both eyes.
The binoculars are designed for the use both in the night-time and during
the day in adverse weather conditions (fog, smog, rain) to see through
obstacles hindering detection of targets (branches, tallgrass, thick
bushes etc.). The binoculars do not require an external source of light
and are not affected by bright light exposure.
ACCOLADE thermal imaging binoculars are designed for various areas
of application including night hunting, observation, trail orienteering,
rescue operations etc.
Comfortable for long observation
Variable interpupillary distance
High refresh rate 50 Hz
Built-in video recorder
Built-in Wi-Fi module
Wi-Fi video transmission
Live internet video sharing
Frost resistant AMOLED display
Stadiametric rangefinder
Quick-change long-life rechargeable battery packs
Fully waterproof IPX7
2
3
uncooled
Li-Ion Battery Pack IPS5 / 5000 mAh / DC 3.7V
640x480
. / avi .jpg
8 Gb
150 min video or ˃10 000 pictures
2 4. GHz
15
640x480
.avi / .jpg
8 Gb
2.4GHz
15
8 Gb
2.4GHz
15
8 Gb
2 4. GHz
15
Type
Resolution, pixels
Frame rate, Hz
Pixel size, µm
Magnification, x
Continuous digital zoom, x
Digital zoom
Objective lens
Close-up range, m
Exit pupil diameter, mm
Field of view (HxV), degrees
Field of view (HxV), m@100m
Dioptre adjustment, D
Max. observation range of
an animal, such as deer, m/y
Display:
Type
Resolution, pixels
Power supply
Battery type / Capacity /
Output voltage
External power supply
Operating time on
Battery Pack (at t=22°C), h
Degree of protection, IP code
(IEC60529)
Operating temperature range
Dimensions, mm / inch
Weight (without battery), kg / oz
Video recorder
Video / photo resolution, pixel
Video / photo format
Built-in memory
Built-in memory capacity
Wi-Fi channel
Frequency
Standard
Line-of-sight reception range, m
640x480
.avi / .jpg
8 Gb
15
2.4GHz
uncooled
640x480
.avi / .jpg
640x480
.avi / .jpg
802.11 b/g/n
Interpupillary distance adjustment, mm
PACKAGE CONTENTS
Accolade Thermal Imaging
Binoculars
Carrying case
IPS5 Battery Pack
Battery charger with mains
charger
Micro USB cable
Neck strap
User manual
Lens cloth
Warranty card
This product is subject to change in line with improvements to its design.
The latest edition of this user manual is available online at www.pulsar-nv.com
DESCRIPTION
FEATURES
Major features:
0.6 / 21.2
Long lasting battery life
“Picture-in-Picture” mode
Color palettes
Observation modes
Calibration modes (non-uniformity correction)
Manual contrast and brightness adjustment
5
6
7
8
9
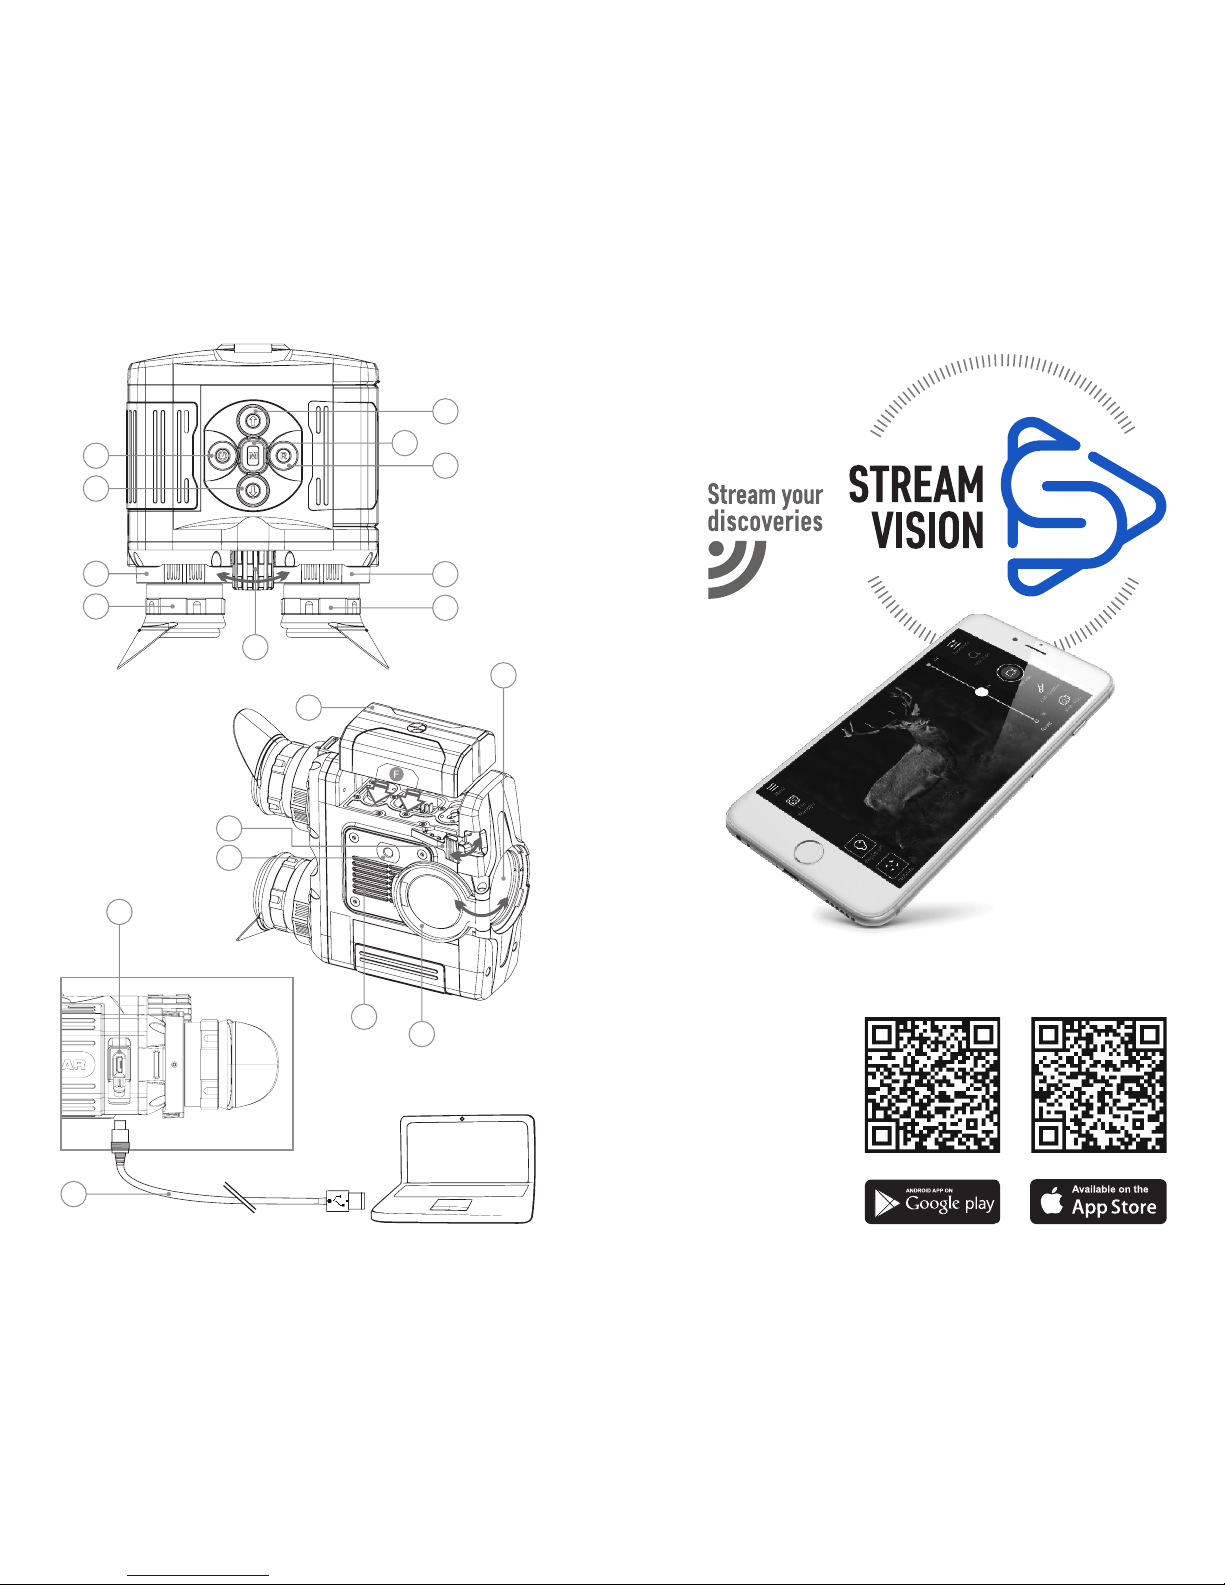
10
11
1
2
3
4
Power ON/OFF button
Navigation button UP
Button MENU
Recording button REC
Navigation button DOWN
Interpupillary distance adjustment rings
Dioptre adjustment rings
Lens focusing ring
Battery Pack
Battery Pack latch
Tripod mount
Radiator cooling system
Lens cover
Objective lens
MicroUSB port
MicroUSB cable
12
13
14
4
130
129
15
16
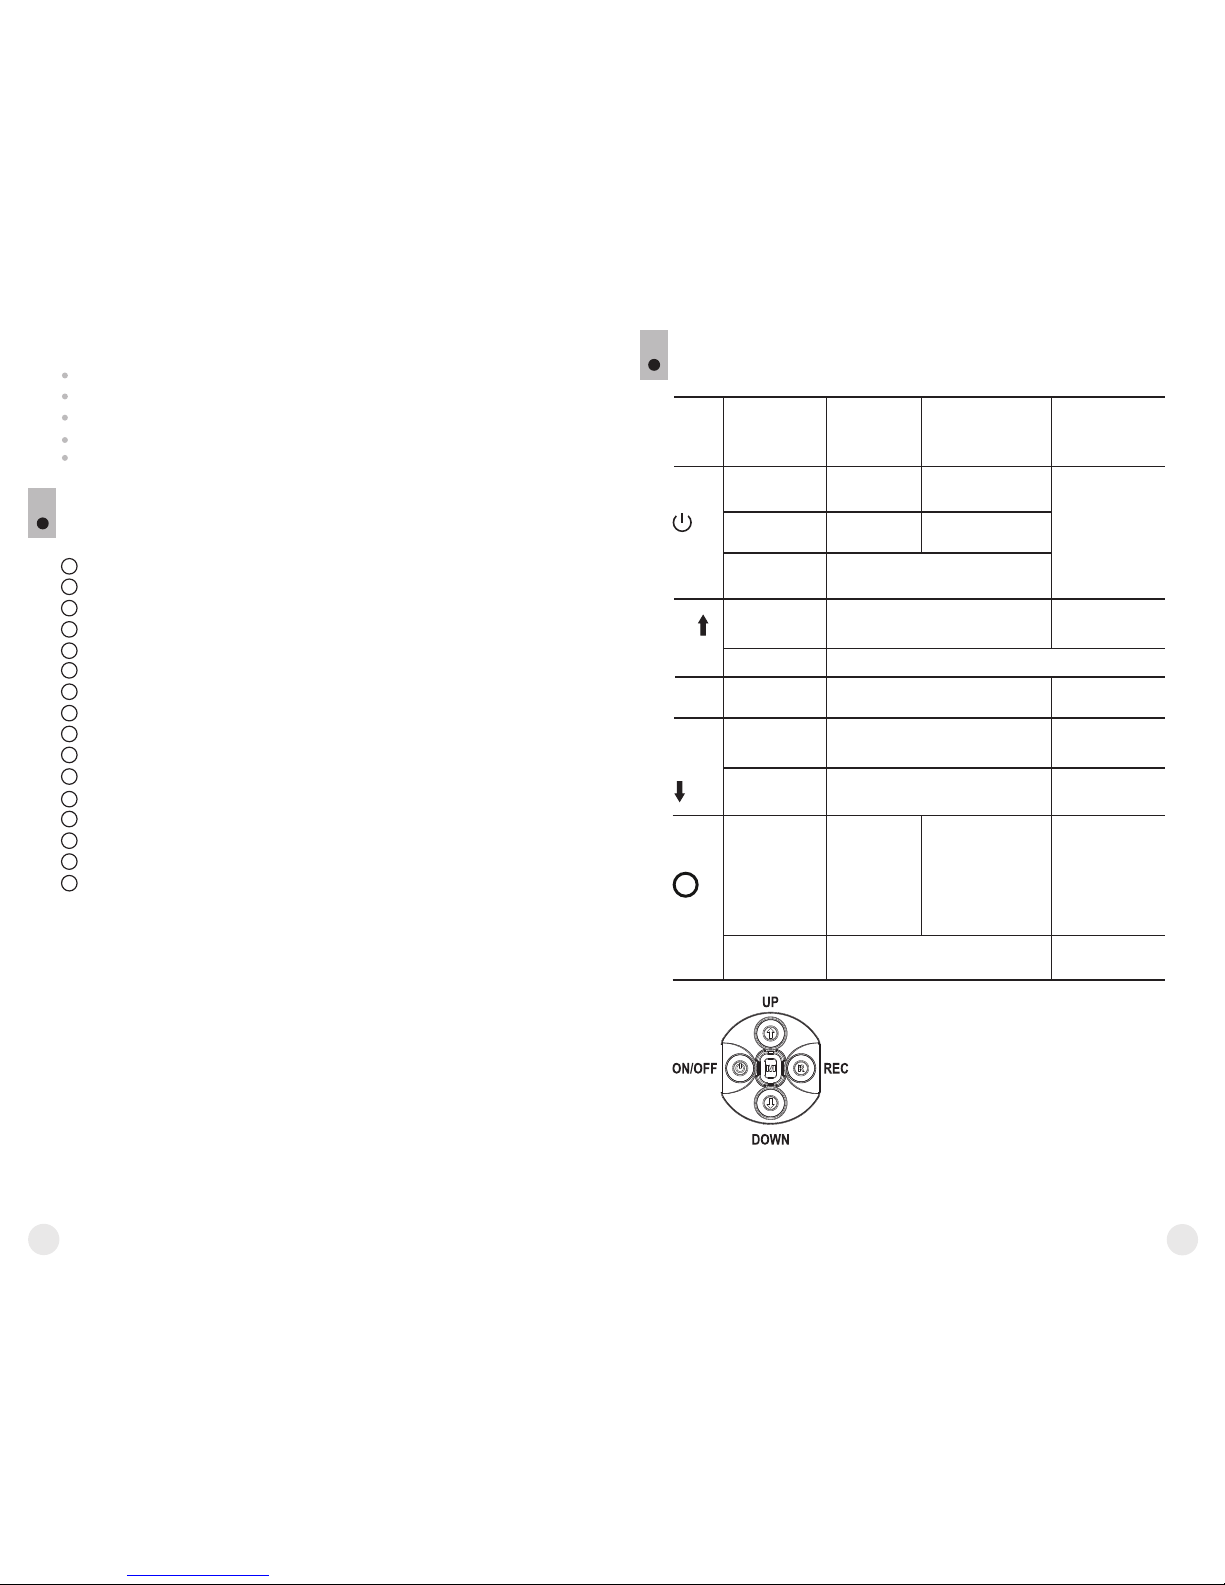
FUNCTIONS OF CONTROL BUTTONS
5
Extra features:
EXTERNAL VIEW AND CONTROLS
Device is off
OTHER SHORT
PRESSES
LONG PRESS
Turn display off/
Power device off
CURRENT
OPERATING MODE
FIRST SHORT
PRESS
Power device on
Calibrate the sensor
Display OFF
mode
Turn display on
Calibrate the sensor
Device is on Calibrate the sensor
Regular
Wi-Fi on/off
Menu navigation
Navigation upwards/rightwards
Switch between colour palettes
Regular
Menu navigation
Enter quick menu
Enter main menu
Control discrete digital zoom
PiP on/off
Navigation downwards/leftwards
Video
Start video
recording
Pause / resume video
recording
Stop video recording /
Switch to photo mode
Photo Take a photograph
Switch to video mode
BUTTON
M
ON/OFF
(1)
UP
(2)
MENU
(3)
DOWN
(5)
REC
(4)
Please refer to the picture on the front flyleaf.
131
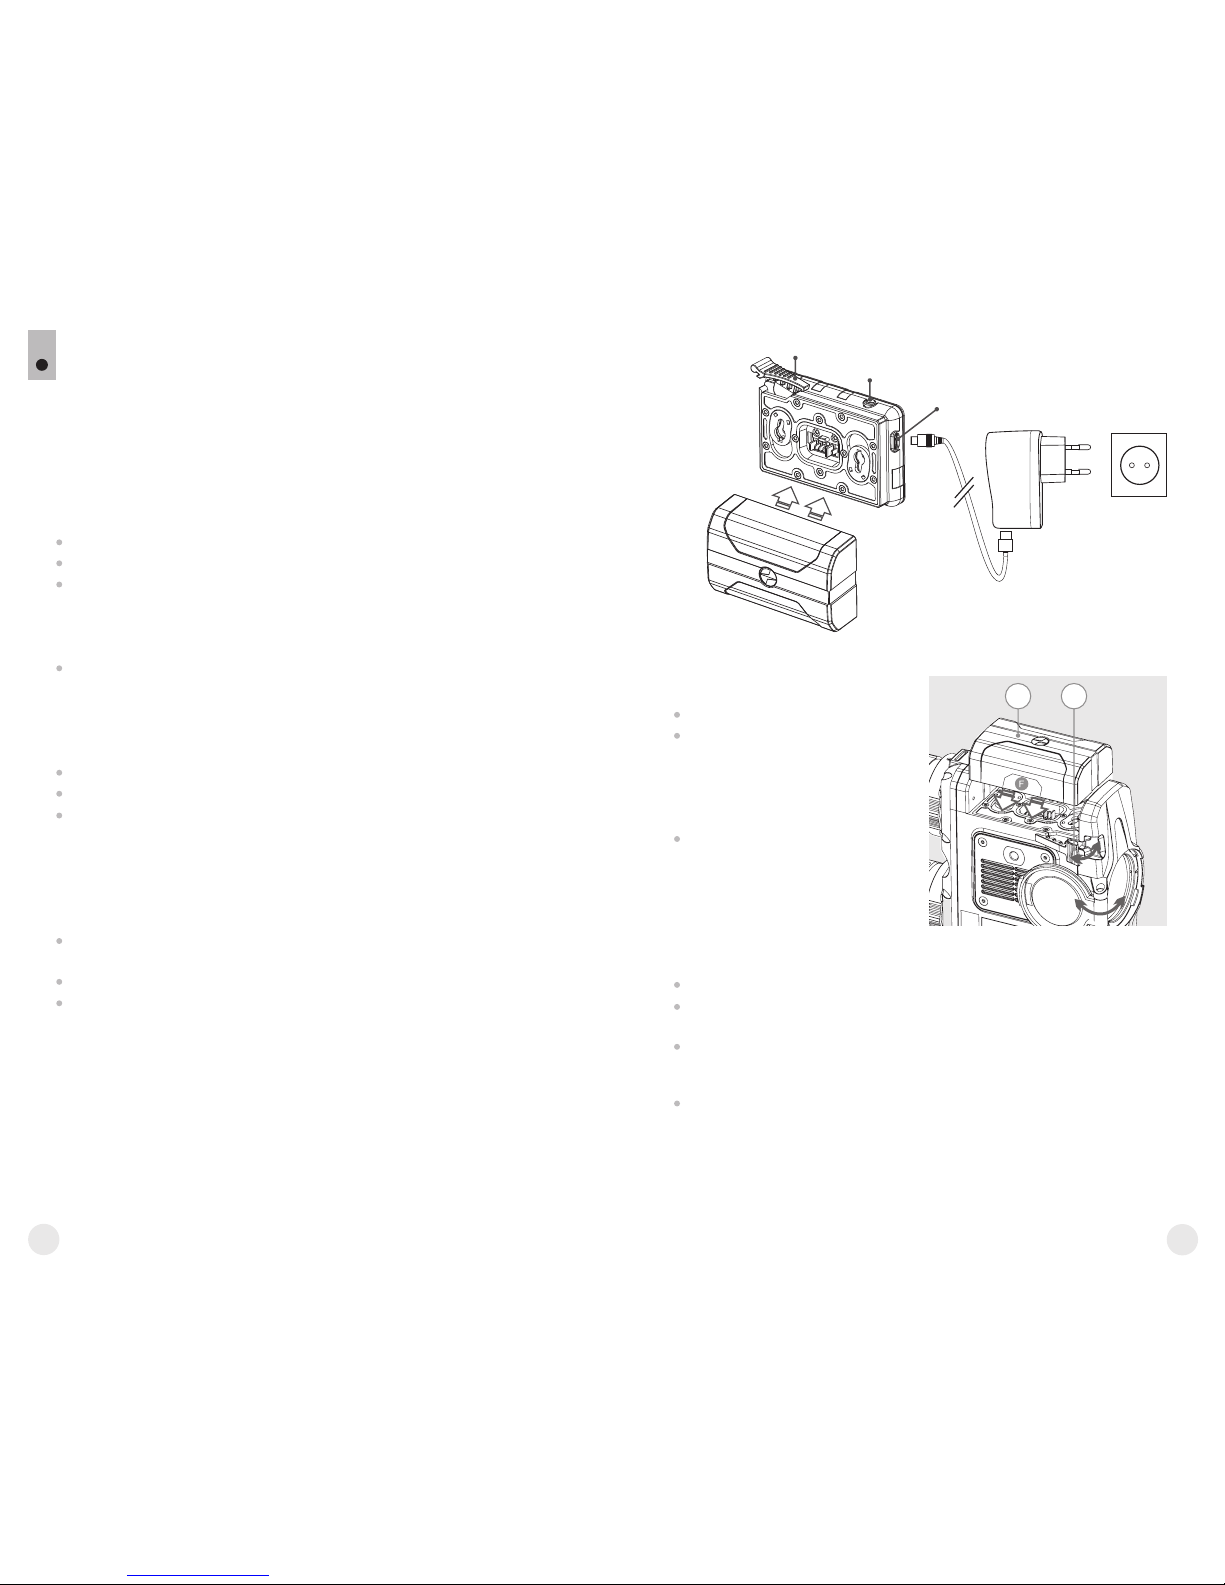
ACCOLADE thermal im aging bi nocul ars are supplied with a
rechargeable Li-Ion Battery Pack IPS5 which allows operation for up to
7 hours. Please remember to charge the Battery Pack before first use.
6
Charging:
132
Lift the lever (10).
Install the battery (9) all the
way into the dedicated slot on
the device housing so that
element F (Pic.3 on the flyleaf)
appears from below.
Fix the battery by clicking the
lever.
Installing the Battery Pack:
Only use the charger supplied with your binoculars.
When keeping the battery for a long period, the battery should
not be fully charged or fully discharged.
Do not charge the battery immediately after bringing the
battery from cold environment to a warm one. Wait for 30-40
minutes for the battery to get warm.
Charge the Battery Pack at a temperature from 0 °C to +45 °C.
Otherwise batter's life will decrease significantly.
Do not leave a battery unattended while charging.
Safety measures:
C
D
E
Charging
base
Battery Pack
Charger
220V socket
109
Pic. 3
Pic. 2
USING THE BATTERY PACK
Lift the lever (C) of the charging base.
Remove the protective cover from the Battery Pack.
Install the Battery Pack into the charging base by inserting the pins
(A) of the battery into the grooves (B) of the charger – the Pulsar logo
on the battery Pack should be located closer to the lever; click the
lever (C)(Pic.3).
Upon installation, a green LED indicator (D) on the charging base
will start to glow and begin flashing:
- once if the battery charge ranges from 0% to 50%;
- twice if the battery charge ranges from 51% to 75%;
- three times if the battery charge ranges from 75% to 100%;
If the indicator lights green continuously, the battery is fully charged.
You can remove the battery from the charger by lifting the lever (10).
If the indicator of the charger lights red continuously upon battery
installation, probably the battery's charge level is lower than
acceptable (the battery has been long in deep discharge). Keep the
battery in the charger for a long time (up to several hours), remove
and re-insert it. If the indicator starts blinking green, the battery is
good; if it keeps lighting red it's defective. Do not use the battery!
Connect the Micro-USB plug of the USB cable to the port (E) of the
charger.
Connect the Micro-USB plug to the charger.
Insert the plug of the charger to the 220V socket.
 Loading...