

Page 1
Document #:
ptf
Revision: B
Getting Started
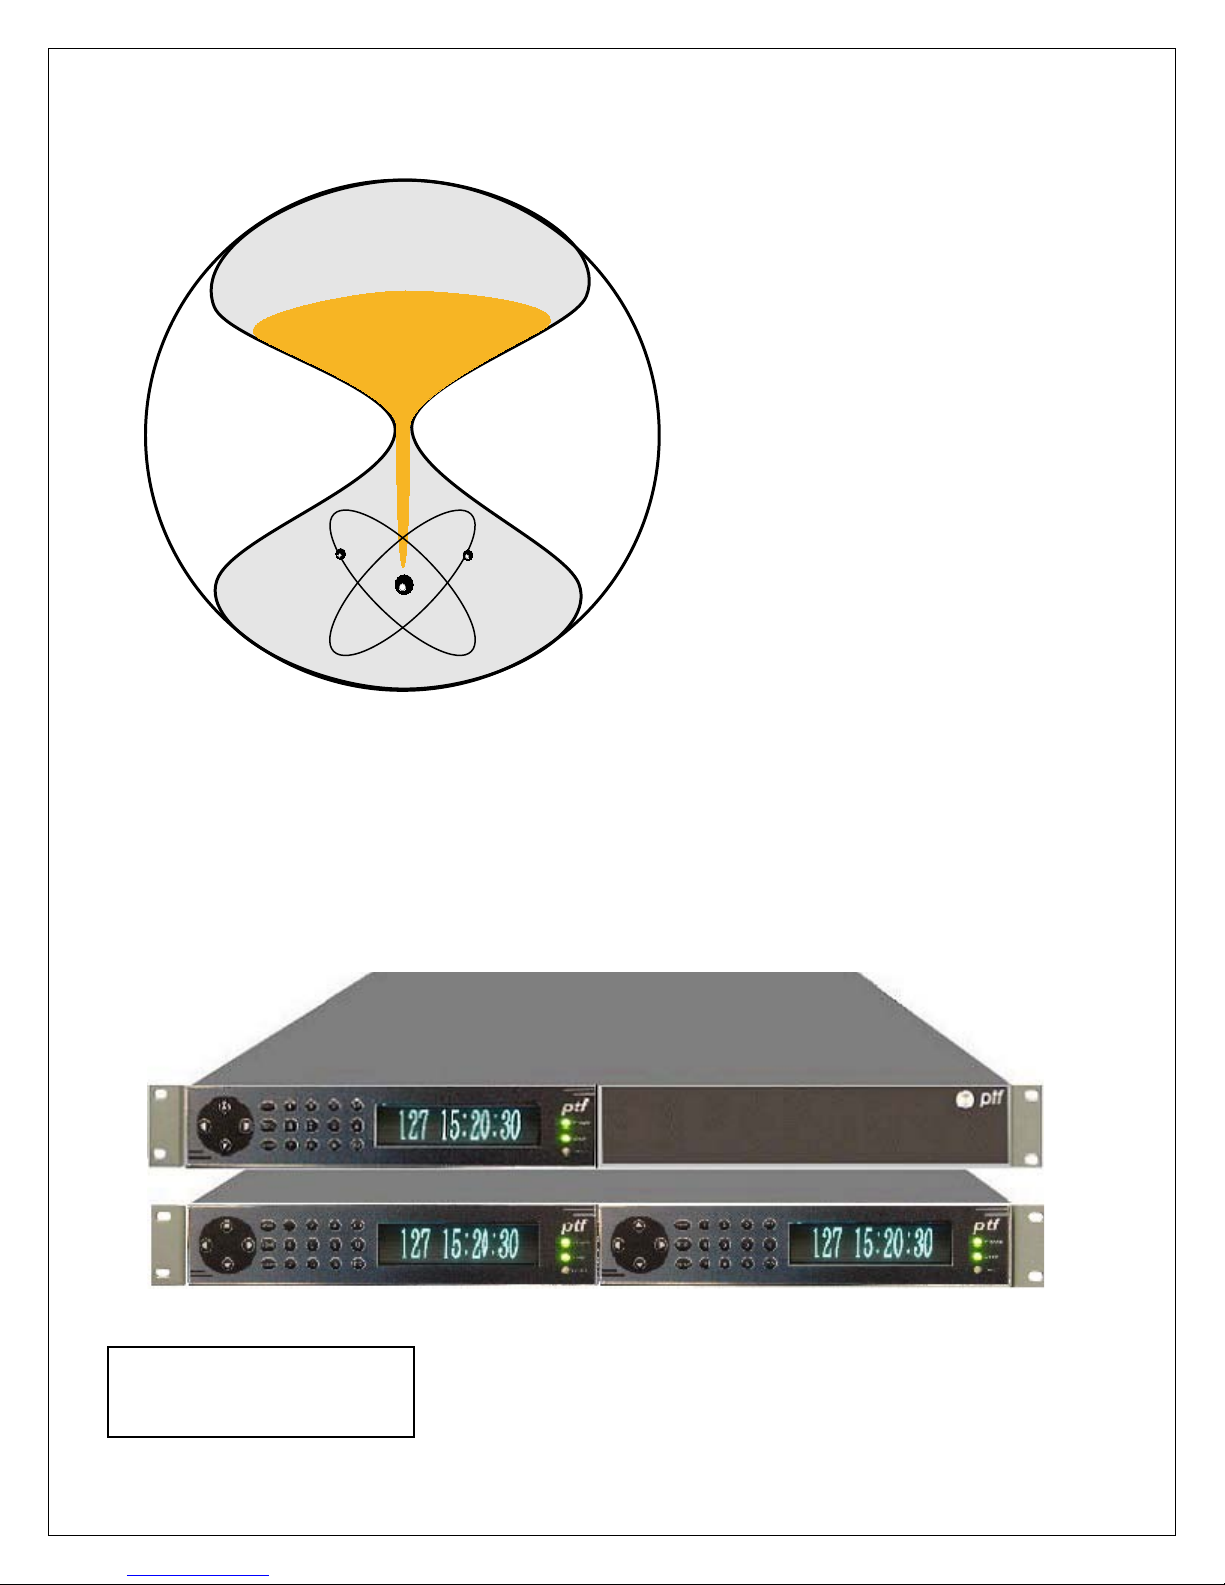
ptf 3207A
Quick Start Guide
Precise Time and Frequency, Inc., 50L Audubon Road, Wakefield, MA 01880, USA
Tel: +1 781 245 9090 e-mail: [email protected] web: www.ptfinc.com
Page 2

Carefully unpack the contents of the box and check that all items are present and
undamaged:
ptf 3207A Chassis
AC mains cord (1 per module)
Antenna and mounting kit
Antenna Cable
Module B Module A
Rear View of two Module Unit
Rear View of single Module Unit
Connections
Ethernet, RJ45
Antenna Input, 50 ohm, TNC
Ext Input, BNC
10MHz, 13dBm, 50 ohm, Output, BNC
1PPS, 5V TTL, 50 ohm, Output, BNC
IRIG B 120 (1kHz am), 50 ohm, BNC
RS 232 / Alarm Contact, Mini D type connector
AC Mains connector
AC mains fuses (both neutral and live fused)
Precise Time and Frequency, Inc., 50L Audubon Road, Wakefield, MA 01880, USA
Tel: +1 781 245 9090 e-mail: [email protected] web: www.ptfinc.com
Page 3

Step 1.
Using the supplied mounting kit, install the antenna in a location with a good view of
the sky. The importance of this step cannot be overstressed, having a good clear
view of the sky and the GNS satellites is a prerequisite in order to obtain good
performance from the unit.
Step 2
Connect one end of the supplied antenna cable to the antenna, and the other end to
the unit's antenna input.
Note: the center conductor of the cable is used to additionally supply the 5V DC
power to the antenna.
Step 3
Connect AC mains input power to the unit using the supplied AC mains cord. Upon
power connection the fault LED will flash at a rapid rate indicating that the unit is
initializing. During this period the unit operating system is being loaded and initial
self tests are being performed. After approximately 30 seconds the front panel will
illuminate and display the main status screen choices.
NOTE: If no key is pressed on the front panel keypad within 10 seconds, the last
selected default screen will be displayed.
To re-display the main status screen choices after a status screen is displayed,
simply press the "MAIN" key.
Selecting the required st atus di s play.
When in the m ain status screen choice display, pressing the keypad
forward/backward arrows will scroll forward/backward respectively through the
status screen choices. Pressing the up/down arrow keys will page up/down through
the status screen choices. Once the required choice is highlighted, pressing enter
will select the highlighted status screen as the new default, and will switch the
display to the selected choice.
Status Display Short Cut Keys
As an alternative to highlighting the required status screen choice, the number of the
required screen can be pressed on the front panel keypad and the required status
screen will be displayed. Similarly, when any of the status screens are being
displayed, pressing a number on the front panel keypad will switch the display to the
status screen represented by the number pressed.
Precise Time and Frequency, Inc., 50L Audubon Road, Wakefield, MA 01880, USA
Tel: +1 781 245 9090 e-mail: [email protected] web: www.ptfinc.com
Page 4
Step 4 Using the Ethernet interface.
In order to use the Ethernet functions, the unit may be connected directly to a
computer (with a crossover cable ) or to a local area network. By default, the unit is
set to DHCP mode and will be automatically allocated an IP address by the network
DHCP server.
If there is no DHCP server on the network, or if the unit is connected directly to a
computer via a cross over cable, it will be necessary to set the DHCP mode to OFF
and enter an appropriate static IP address, Gateway and Netmask.
To determine the allocated IP address in DHCP mode select IP address status
screen and the allocated address, Gateway, and Netmask will be displayed.
To disable DHCP and enter a static IP address, Gateway, and Netmask it is
necessary to use the unit menus.
Press the MENU key on the front panel keypad and using the forward/backward
arrows scroll down to the DHCP menu item. Once it is highlighted, press ENTER
and the mode may be edited by using the forward arrow to select OFF. Once OFF is
highlighted, press ENTER and the selection will be stored (and saved in non-volatile
memory)
Next scroll to IP Address, enter the required address, and similarly for Netmask, and
Gateway.
NOTE: The IP address, Netmask, and Gateway values cannot be changed when
DHCP is selected to ON.
Web Interface
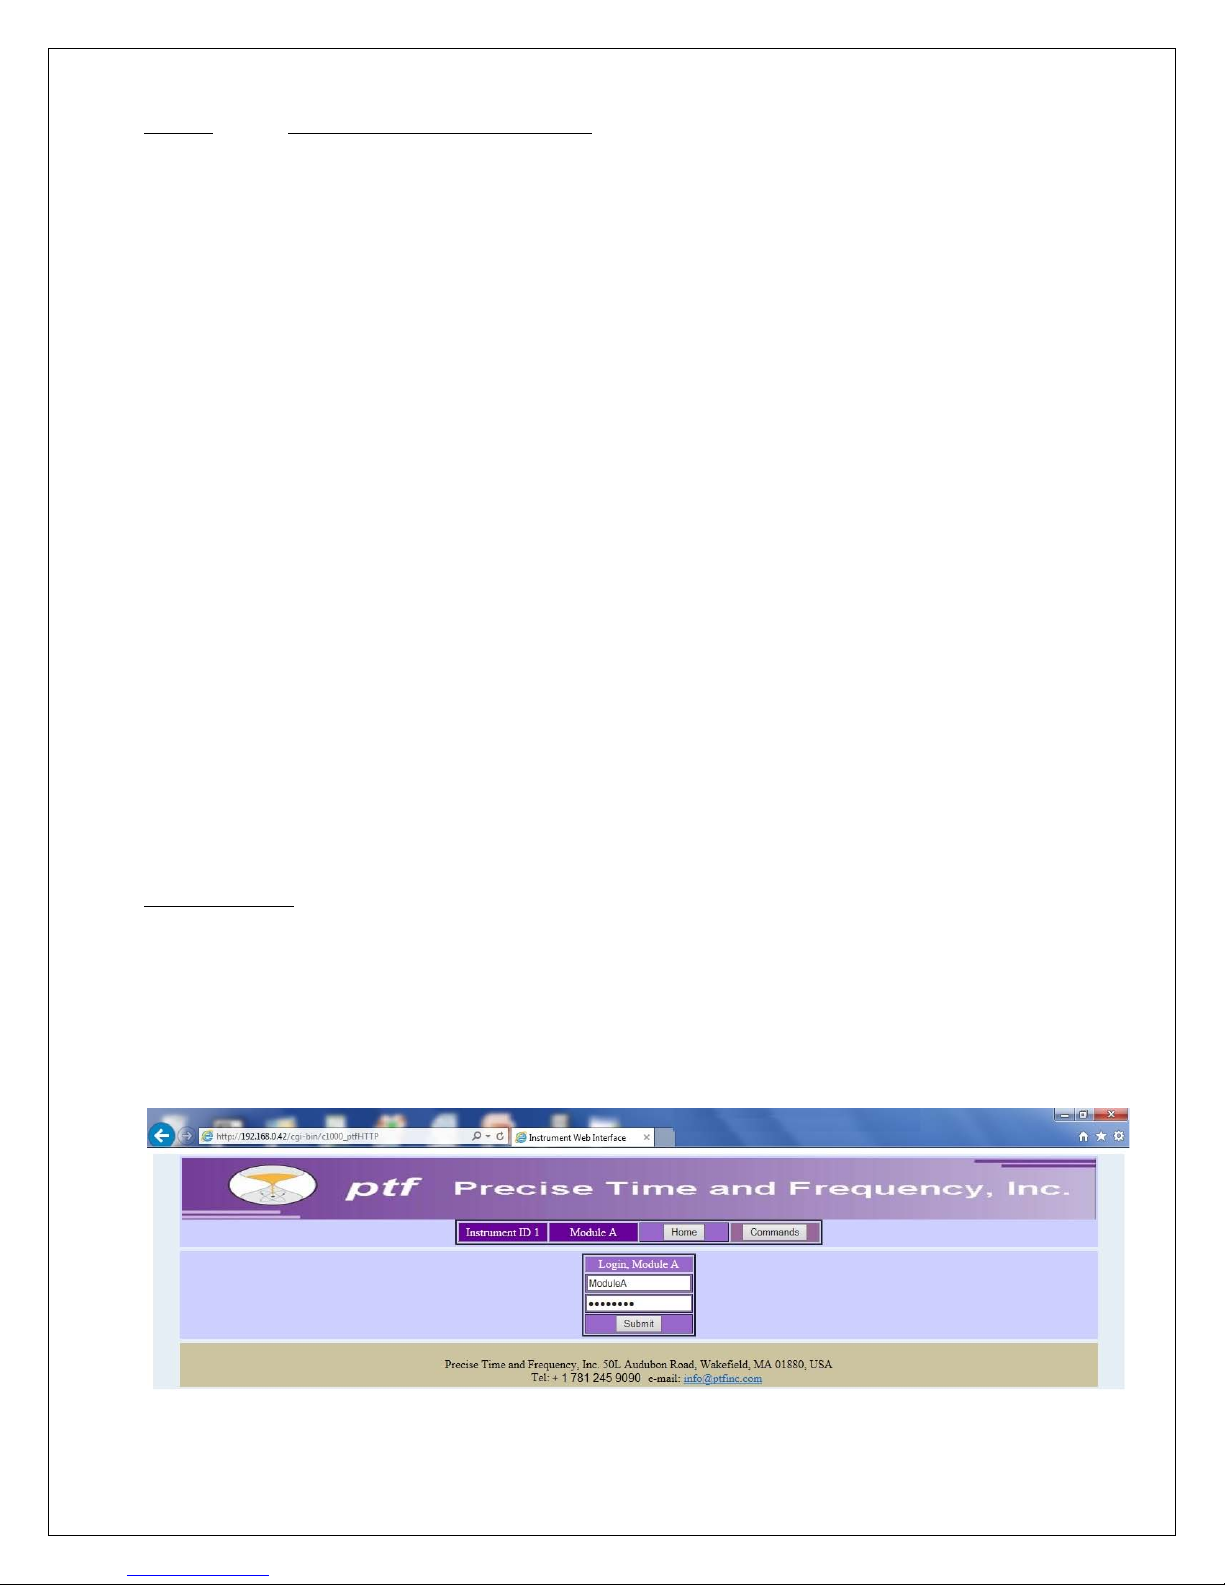
To verify the Ethernet connection is setup, open a web browser on a computer
connected to the local area network, and enter the IP address of the unit, e.g.
http://192.168.0.42 (where 192.168.0.42 is the address allocated or entered). If the
Ethernet connect is functioning correctly the unit will serve up an initial web page.
The default login password is ptf_pwd
Precise Time and Frequency, Inc., 50L Audubon Road, Wakefield, MA 01880, USA
Tel: +1 781 245 9090 e-mail: [email protected] web: www.ptfinc.com
Page 5
Telnet Interface
To access the telnet interface, open a telnet client on a local computer.
Note: on windows 7 operating systems, control panel > programs >
Turn windows features on/off >
Start the command console ( Start > Programs > )
at the command prompt (C:\) type telnet[SPACE]192.168.0.42[ENTER]
where 192.168.0.42 is the IP address of the unit.
The unit will respond with :
C\ ptf login:
enter the user name admin foll owed by [ENTER]
the unit will respond with
C\. password:
Enter the unit password (default is ptf_pwd) followed by [ENTER]
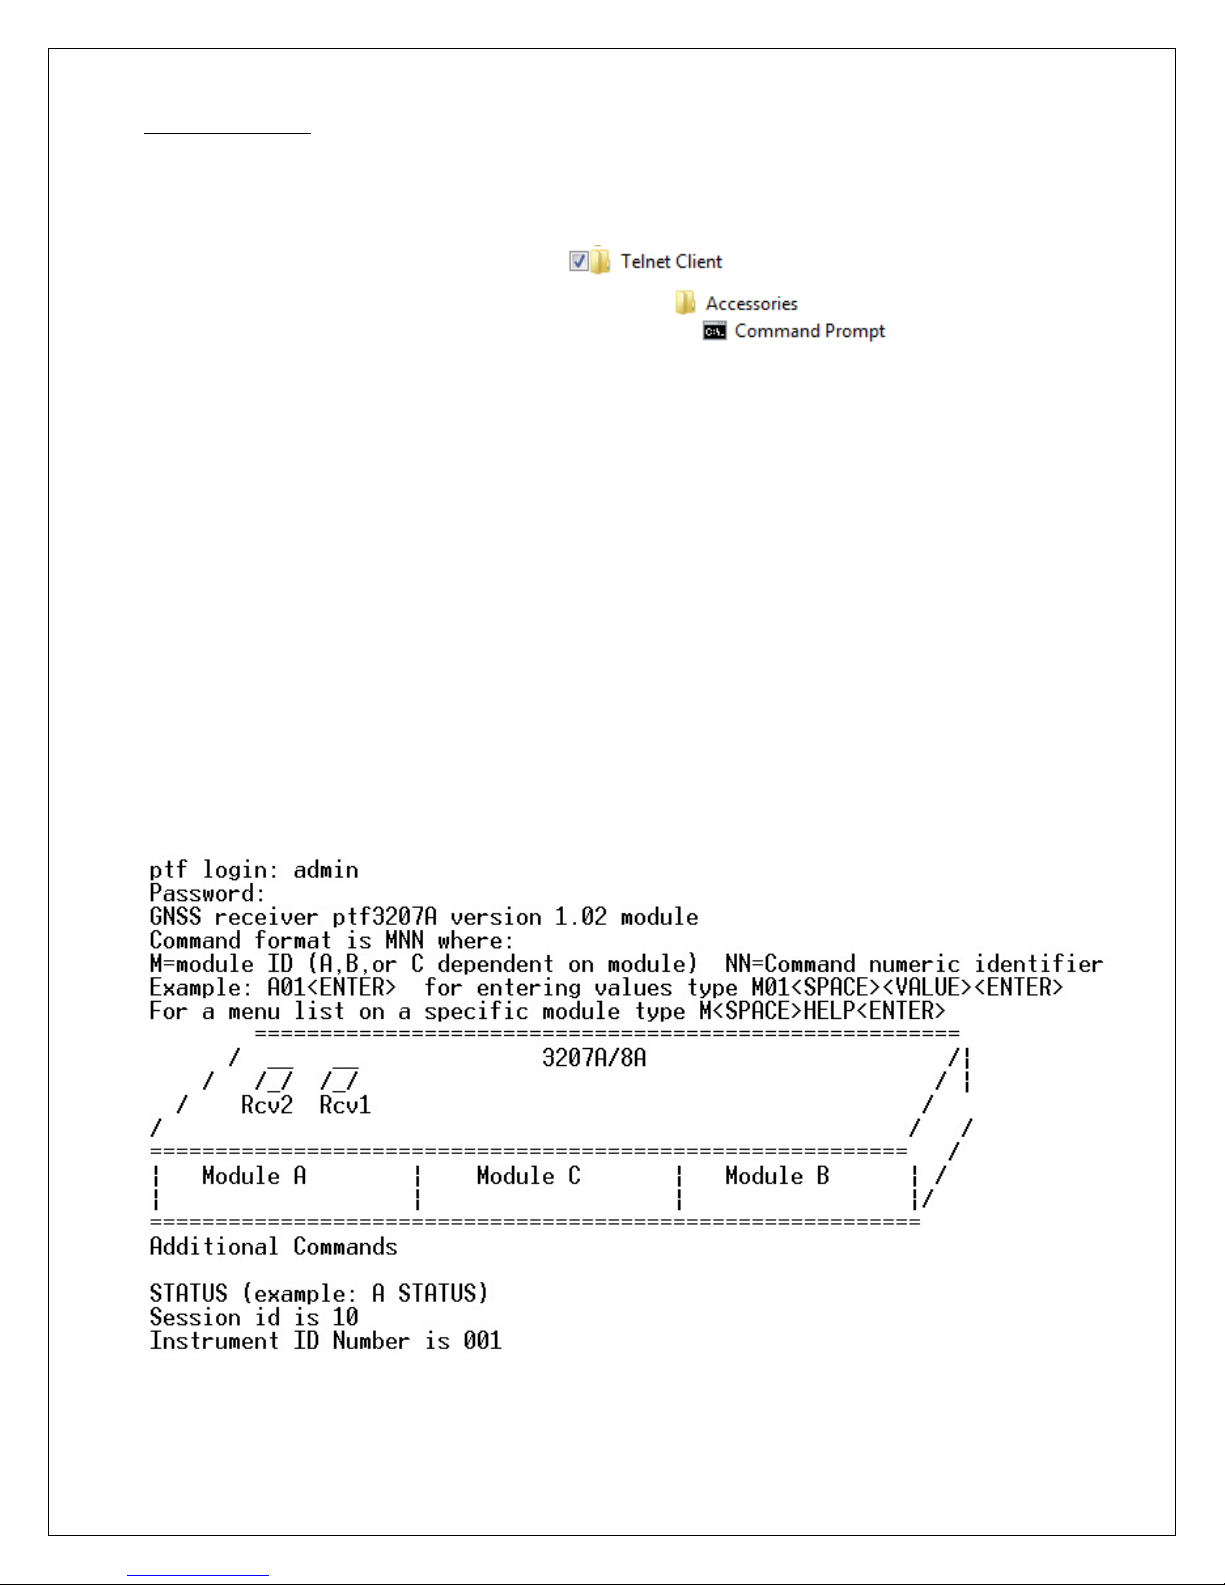
The system will respond with the initial telnet screen which shows the instrument
layout, the module letter designation and the session ID number, see below;
To see the commands available type ?[ENTER]
Precise Time and Frequency, Inc., 50L Audubon Road, Wakefield, MA 01880, USA
Tel: +1 781 245 9090 e-mail: [email protected] web: www.ptfinc.com
Page 6
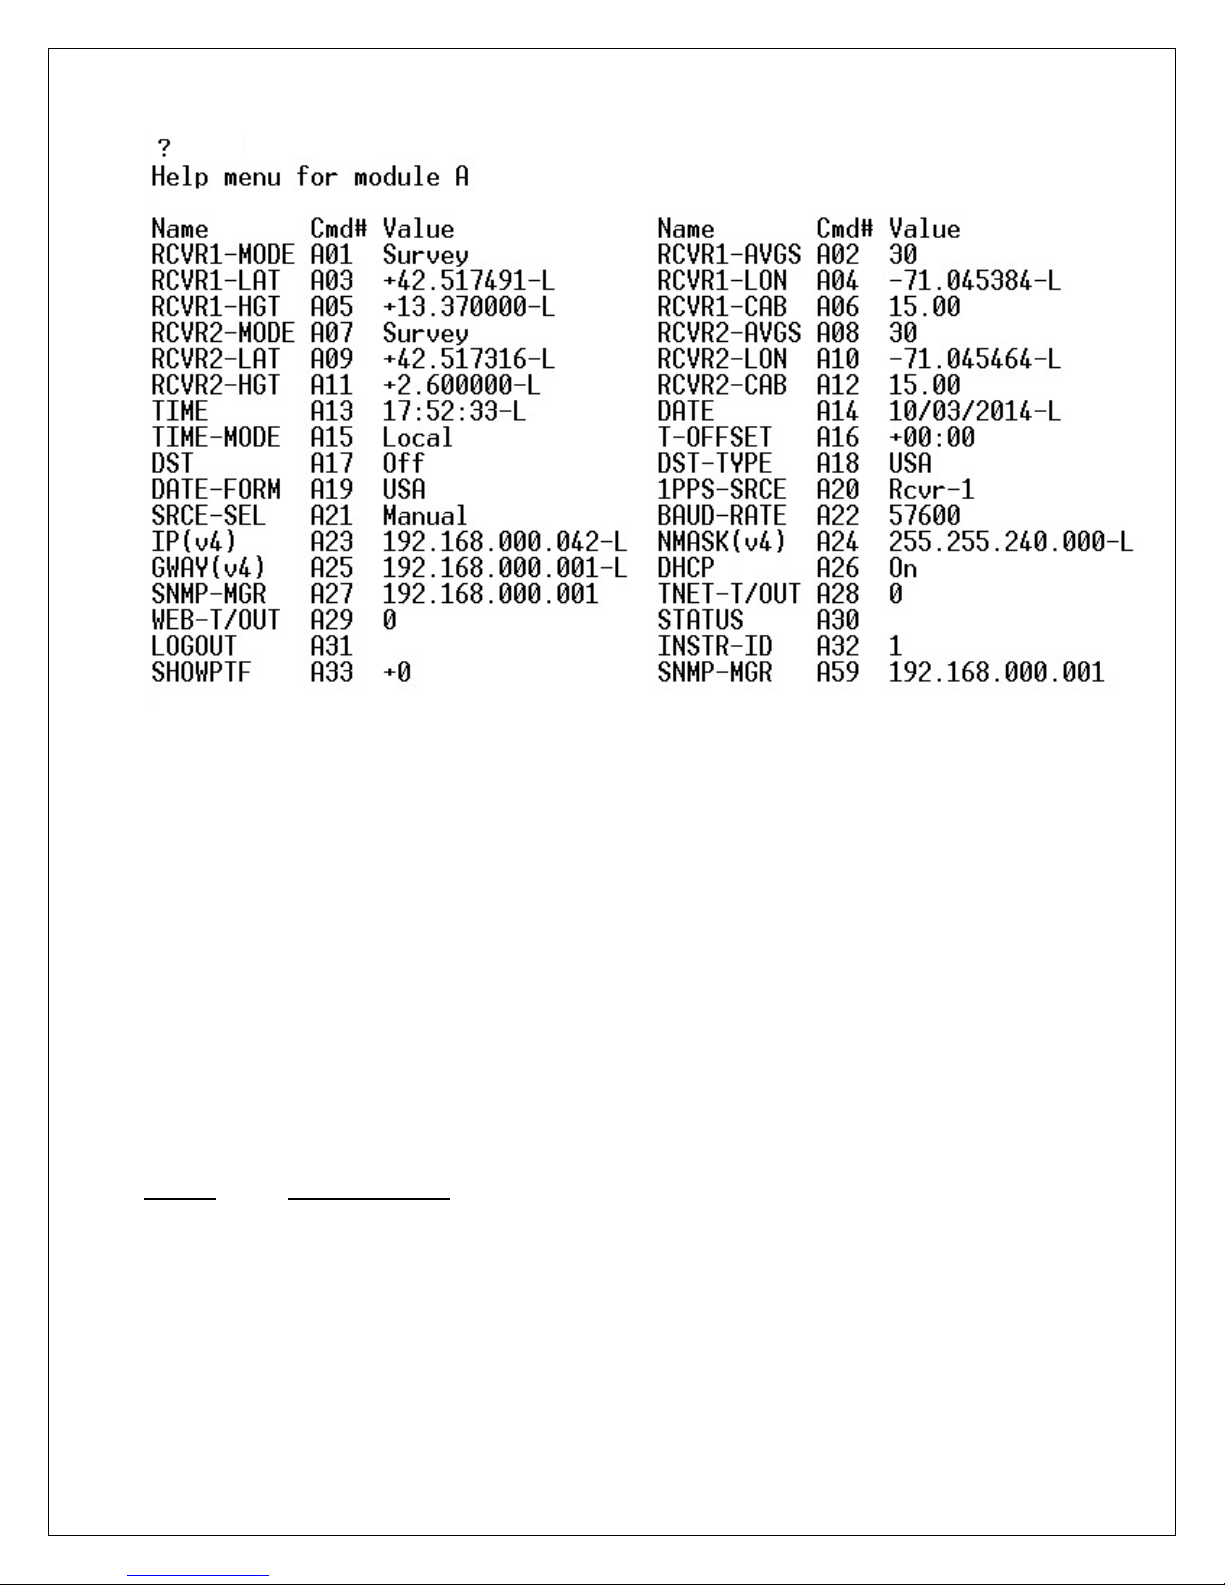
Format of command entry is :
3 character command, space, new value[ENTER] << sets new value
or
3 character command, space, help[ENTER] << display s additional hel p for
the command
or
3 character command[ENTER] << displays current value
Example:
A01[SPACE]fixed[ENTER] << sets the positioning mode
to fixed
Note: There are some special commands that can be entered using just th e
command name e.g. STATUS[ENTER]. These can be easily identified as
they do not have a value in the value column.
Step 5 Serial Interface
The serial interface operates in exactly the same way as the telnet interface, with the
same command format and responses.
To connect to the serial interface, connect a 3 wire cable to the RS232 connector
pins Rx, Tx and Ground and the other end to a serial output on you computer.
Default baud rate is 57600, and the format is, 8 data, no parity, 1 stop, no hardware
handshaking.
Precise Time and Frequency, Inc., 50L Audubon Road, Wakefield, MA 01880, USA
Tel: +1 781 245 9090 e-mail: [email protected] web: www.ptfinc.com
Page 7

Step 6 Initialization
The first time the unit is powered on in a new location, it will first check that the
current almanac is up to date and if not re-load it, it will then search for satellites and
lock on (or "track") them, then once it is tracking at least 4 satellites it will begin to
self-survey its position.
Once position is acquired, the unit will load current time and begin to lock the
internal oscillator to the incoming reference.
During these phases the front panel status will be as follows:
Initialization Phase Front Panel Front panel
Lock LED Fault LED
Initial satellite acquisition Extinguished Flashing Amber
Initial satellite lock Extinguished Flashing Amber
Self survey Extinguished Flashing Amber
Internal oscillator lock Flashing green Illuminated Amber
Internal oscillator locked Solid green Extinguished << Normal oper a ti on
With a good view of the sky and good satellite reception this phase can be as short
as 30 minutes, however with a poor view of the sky, or with poor satellite reception
this phase can take up to several hours - patience is required !
Subsequent initialization after short (less than a few days) i nter r upti o ns to pow er is
much faster, typically a couple of minutes provided there is good satellite reception.
Step 7 Further Support
For further help and support please contact Precise Time and Frequency, Inc.
Hours are 8:00 a.m. to 5:00 p.m. Mondays to Fridays, Eastern US Time.
By telephone: +1 781 245 9090
By e-mail: [email protected]
Web: www.ptfinc.com/support/ptf3207A.htm
Precise Time and Frequency, Inc., 50L Audubon Road, Wakefield, MA 01880, USA
Tel: +1 781 245 9090 e-mail: [email protected] web: www.ptfinc.com
 Loading...