

PTEC JURA User Manual
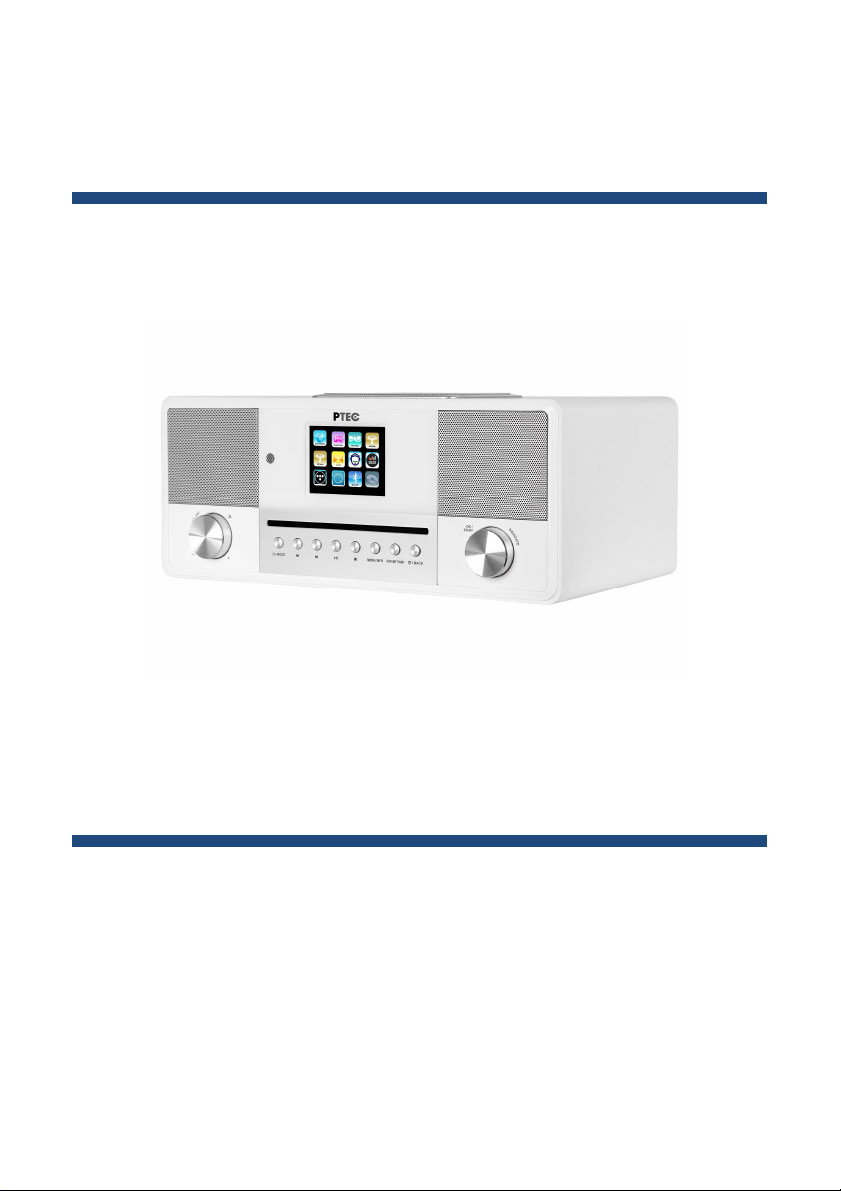
PTEC
JURA
Stereo, Internet,
CD,
DAB+/FM,
MANUAL
All in One Smart Radio
Bluetooth, Spotify

Contents
1
Introduction
Intended use
2
Package contents
3
Safety
4
Overview
5
Getting Started
6
6.1 General Device Functions
6.2 Internet Connection
6.3 First-time Setup
Menu Operation
7
7.1 Main Menu
7.2 Operating modes
7.2.1 Internet Radio
7.2.2 Spotify Connect
7.2.3 Music Player (Shared media / USB playback)
7.2.4 DAB+ Radio
7.2.5 FM Radio
7.2.6 CD Player
7.2.7 Bluetooth
7.2.8 Aux in
7.2.9 DLNA streaming (DMR)
7.2.10 Streaming services
7.3 Sleep
7.4 Alarm

7.5 UNDOK
System settings
8
8.1 Equalizer
8.2 Network
8.3 Time/Date
8.4 Language
8.5 Factory reset
8.6 Software update
8.7 Setup Wizard
8.8 Info
8.9 Backlight
Troubleshooting
9
Technical Specification
10
Disposal
11
Conformity
12
Trademarks
13
1 Introduction

Thank you very much for buying the smart radio. In order to let you freely operate the
product and fully enjoy the overbalancing happiness it brings you, we have introduced
each function of the player in detail in this user manual. Please carefully read this user
manual before use and keep for future reference.
If you pass the smart radio on to someone else, make sure to give them all the relevant
documents with it.
2 Intended use
The device has been developed for the receiving and playing back audio data from the
Internet or a network, and reception of DAB+/FM radio programs. The device has been
designed for private use and is not suitable for commercial purposes.
3 Package contents
The items enclosed in the packaging box are as follows:
Smart Radio PTEC JURA
Power adaptor
Remote Control
2 batteries of type AAA/LR03, 1.5 V
Audio cable with 3.5mm jack at both ends
User manua
l
4 Safety
General
• Do not drop the device and do not expose it to liquid, moisture or humidity. These
might lead to damage to the device.
• If the device is moved from a cold environment into a warmer one, do let it adapt to
the new temperature before operate the device. Otherwise, it might lead to
condensation and cause malfunctions in the device.
• Do not use the device in the dust environment as dust can damage the interior
electronic components and lead to malfunctions in the device.
• Protect the device from strong vibrations and place it on stable surfaces.
• Do not attempt to disassembly the device.
• If the device is not using for a long period of time, disconnect it from the power
supply by unplugging the power plug. This is to avoid the risk of fire.
• The ventilation should not be impeded by covering the ventilation openings with
items, such as newspapers, table-cloths, curtains, etc.
• No naked flame sources, such as lighted candles, should be placed on the apparatus.
• To maintain the compliance with the WiFi RF exposure requirement, place the
product at least 20 cm (8 inches) from nearby persons except when operating the
controls.
Compact discs
• Use only Digital Audio CDs which have the symbol .
• DO NOT USE THESE TYPES OF DISC:- Mini (8cm) CDs. Use only full-size 12cm discs.
Mini CDs will jam the feed mechanism.
- Discs which do not have a complete metallic reflection layer. Discs with a
large transparent section will not be detected and may fail to play or eject.
- Disc which are extra thin or flexible. Such discs may fail to feed in or out
correctly and may jam the CD mechanism.
• Never write on a CD or attach any sticker to the CD. Always hold the CD at the edge
and store it in its box after use with the label facing up.
• To remove dust and dirt, breathe on the CD and wipe it with a soft, lint free cloth in a
straight line from the center towards the edge.
• Cleaning agents may damage the CD.
• Do not expose the CD to rain, moisture, sand or to excessive heat. (e.g. from heating
equipment or in motor cars parked in the sun).
• The CD player uses an invisible laser beam. If used incorrectly, this can injure your
eyes. Never look directly into the open CD compartment.
• This devices has been classified as CLASS 1 LASER. The corresponding sticker (CLASS
1 LASER PRODUCT) is on the rear of the device.
Power adapter
• Only use the power adaptor delivered with the device. •
The socket outlet should be installed near the device and
should be easily accessible.
• Never touch the power plug with wet hands and never pull on the power cable when
pulling the plug out of the power socket.
• Make sure the electrical voltage specified on the device and its power plug is
corresponding to the voltage of the power socket. Incorrect voltage will destroy the
device.
Risks associated with high volumes
• Listening the device with headphones, always reduce the
volume before put on the headphones. After the headphones are
positioned properly, increase the volume to the desired level.
To prevent possible hearing damage, do not listen at high volume for long periods.
Maintenance / Cleaning
• Always power off the unit when cleaning it.
• Never use any harsh or strong solvents to clean the device since these may damage
the surface of the device. Dry, soft cloth is appropriate, however, if the device is
extremely dirty, it may be wiped off with a slightly moist cloth. Make sure the device is
dried off after cleaning.
• When you are necessary to ship the device, store it in its original package. Save the
package for this purpose.
•
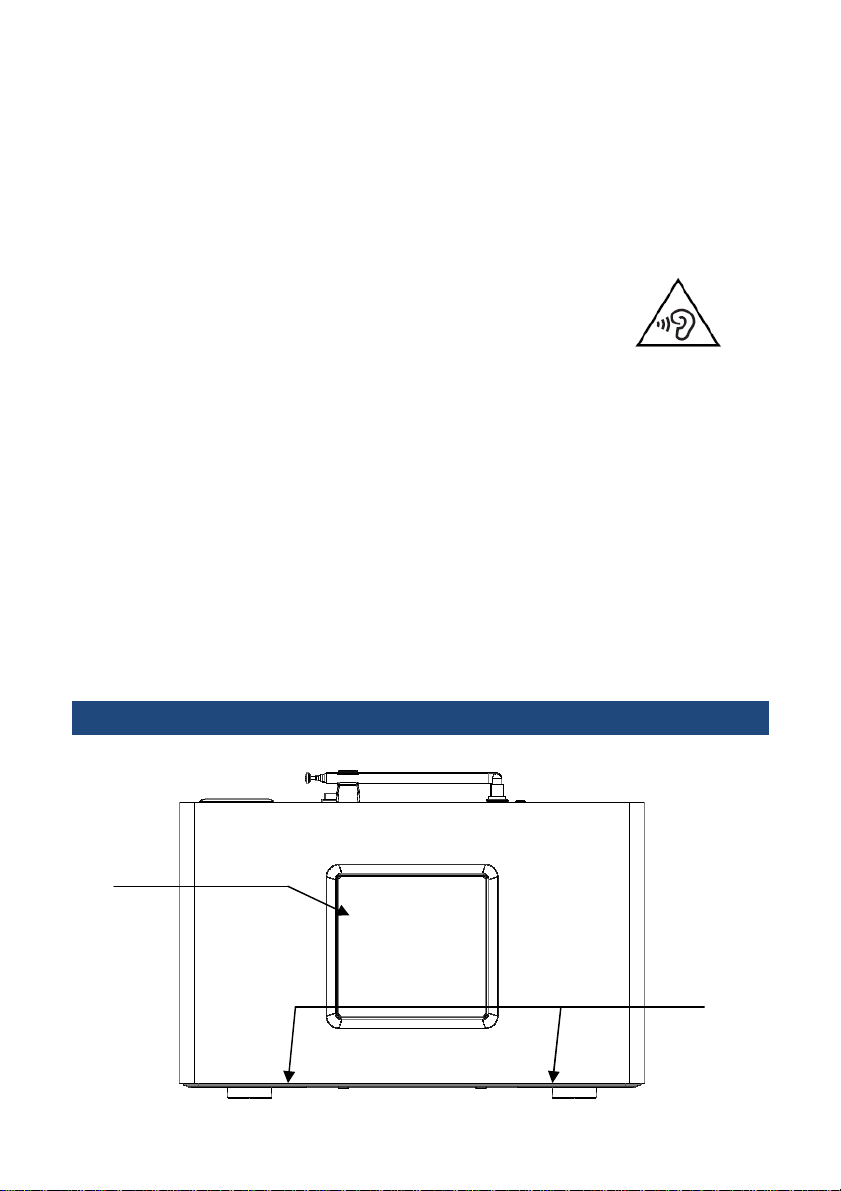
5 Overview
Top
1
2

1 Subwoofer
2 Satellites
Front
3
4
5
6
7
8
3 PLAY / PAUSE / RESUME
4 NEXT/FAST FORWARD
5 Receiver for infrared signal from remote control
6 PREVIOUS / REWIND
7 STANDBY / MODE
8 Volume Knob – EJECT / VOLUME
9 2.8” TFT LCD display
10 STOP
11 MENU / INFO
12 FAVORITE / PROGRAM / BT PAIR
13 ALARM / BACK
14 Navigate Knob - OK / SCAN / NAVIGATE
15 CD player slot
Rear
9
10
11
12
13
14
15
16
17
18
19
20
21

16 DAB+/FM antenna
17 AUX IN socket
18 HEADPHONE socket
19 ON/OFF switch
20 DC IN power supply
21 USB connection for playback
Remote Control
1
2
3
4
5
6
7
8
9
10
11
12
1
2
3
13
14
15
16
17
18
19
4
5
6
7
8
9
10
20
11
21
12
22
13
14
15
16
17
18
19
20
21
22
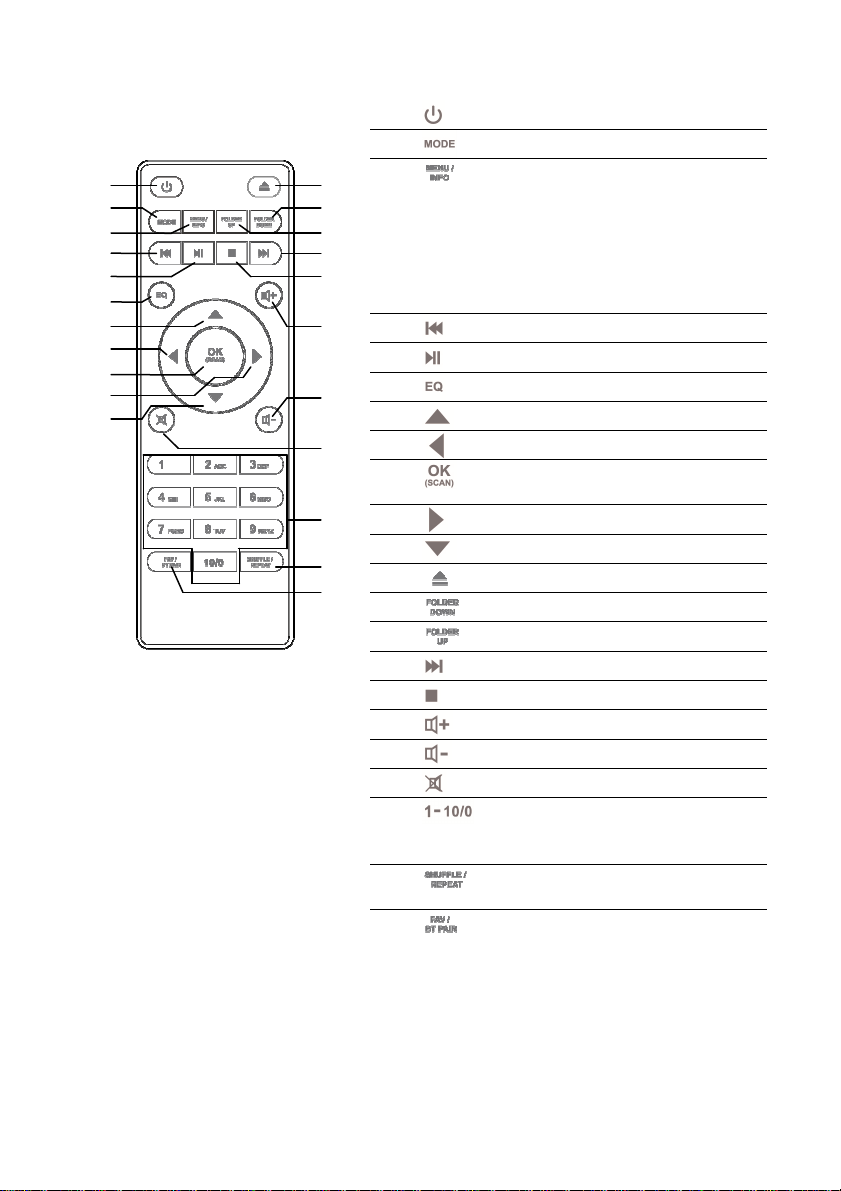
Device power on/off; alarm off
Open, close mode selection
Display FM mode info
(Name, PTY, RT, frequency)
Display DAB mode info
(Station, track, artist etc.)
Display CD/USB mode info
(Track, artist, etc.)
Press and hold to open, close menu
Select track, hold down to seek
Start playback, pause
Select equalizer preset
Move up; FM: Set frequency
Move left, step back
Confirm entry; FM: Scan;
Playing: album in full screen
Move right, step next
Move down; FM: Set frequency
Eject the CD
Move down the folder for CD
Move up the folder for CD
Select track
Stop music playback
Increase volume
Decrease volume
Mute, unmute
Number buttons: retrieve saved
favorite station,
hold down to save station
Music: random and repeat
selection
Select favorite stations, hold down
to save favorite
Program the track of CD
Press and hold to BT discoverable
under BT mode
6 Getting Started
6.1 General Device Functions
Connect the power adaptor to the back of device and plug it into power socket. Switch
on the device, it starts up.
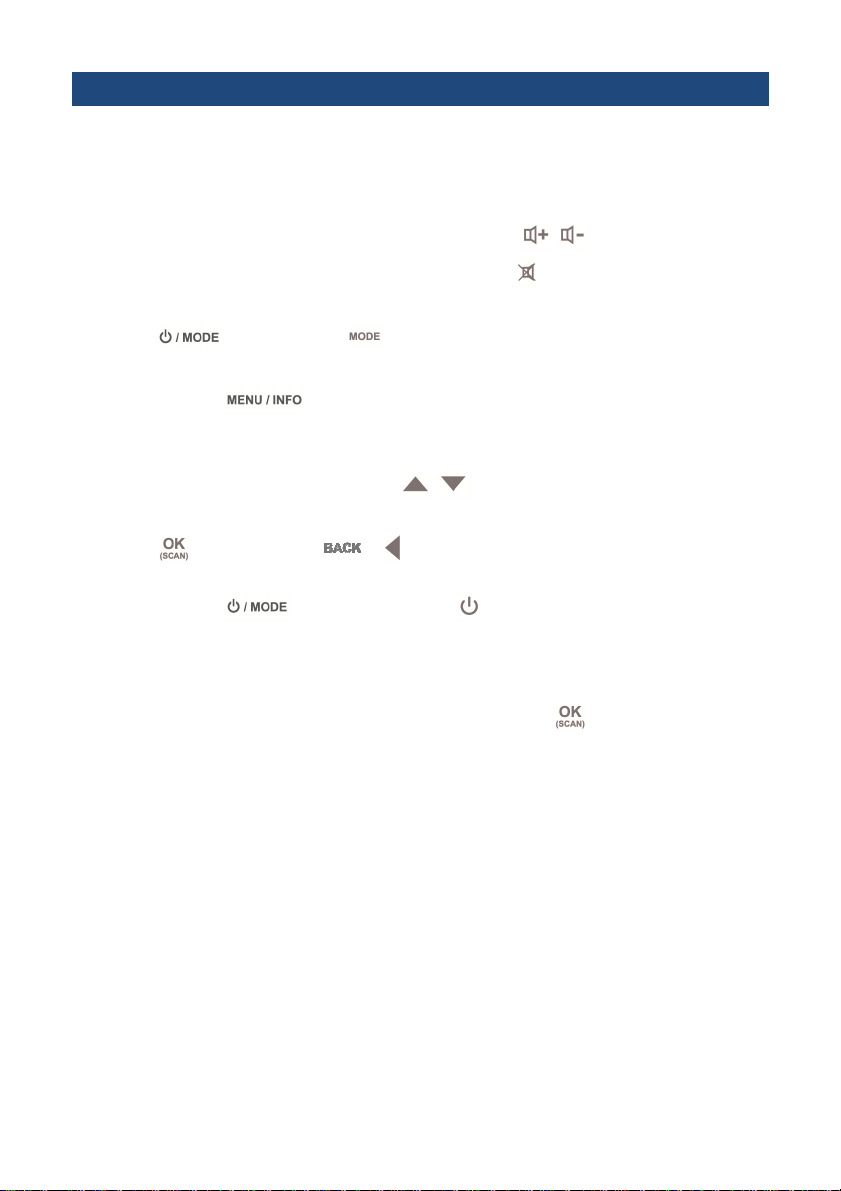
On the playing screen, rotate the volume knob or press / on the remote control
to adjust the volume. Switch off the sound by pressing on the remote control.
Press on the device or on the remote control to select modes.
Press and hold to open the menu. Press again to close the menu and return
to playing screen.
On the menu, rotate the knob or press / on the remote control to move along
the entries.
Press to confirm; press or on the remote control to step back.
Press and hold on the device or press on the remote control to switch to
standby mode. The time, date and any active alarm times display on the screen. Switch
on with the same button.
When album cover is displayed on the playing screen, press to view the full screen
size of the picture. (This feature may need software update, contact us if required.)
6.2 Internet Connection
• A broadband connection in combination with a wired/wireless access point, router
or similar network device.
• The network device needs to support WiFi (802.11 b/g/n) wireless connection.
• PC, tablet or smartphone with network connected. This network has to be the same
one as the smart radio equipped with.
Make sure you have setup the wireless network and you have the WEP, WPA or WPA2
security password to activate the connection.
You may also use the WPS (WiFi Protected Setup) function for easy pairing between the
network device and JURA. Check if the light indicators on the network device are in
appropriate status.
6.3 First-time Setup
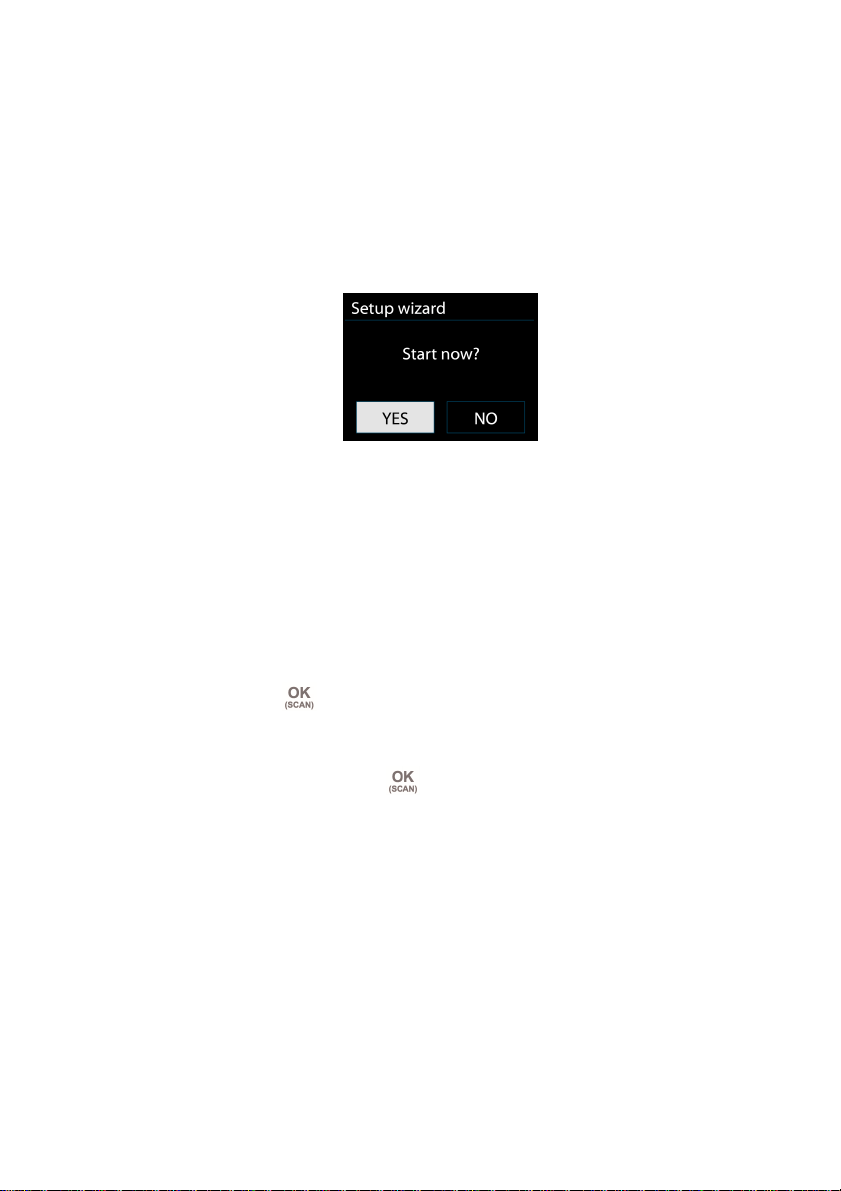
When powering the device on for the first time, the following shows on the display:
Rotate the knob to select “YES” and press it to confirm your selection and launch the
setup wizard.
If you select “NO”, the next window will ask you choose if you want to start the setup
wizard again next time you power the device on.
Setup wizard helps you setup the main use of the device.
Selecting the menu language - Rotate the knob to select the menu language you want
from the list and press to confirm.
Setting date and time - Rotate the knob to select “12” for 12-hour display format or “24”
for 24-hour display format and press to confirm. If you select the 12-hour format,
the display shows “AM” in the morning or “PM” in the afternoon after the time.
After this, the following options are available, to define if the time to be synchronized
from radios:
- Update from DAB (the tuned station must support this function)
- Update from FM (the tuned station must support this function)
- Update from Network
- No update
If you choose “Update from Network” you must indicate your time zone in the next
window.
Next choose “ON” for summer time, otherwise select “OFF”.
If you choose “No update”, you will have to enter the date and time manually.
The day flashes. Set the day and press to confirm.
The month flashes. Set the month and press to confirm.
The year flashes. Set the year and press to confirm.
The hour flashes. Set the hour and press to confirm.
The minute flashes. Set the minute and press to confirm.
“AM” displays only if you have chosen the 12-hour time format. Select “AM” for the
morning hours or “PM” for the afternoon hours and press to confirm.
Setting network - Firstly the device asks if keep network connected. If you want to
control the device in all operating modes via the app, select “YES”. Press to confirm.
If choosing “NO”, it is not possible to control the device from the app in the (Standby,
AUX-IN, FM, DAB, USB) operating modes. Note that the power consumption in standby
mode will be higher when the network connection is kept up.
Next, select “Most of Europe” or “Australia”. Press to confirm. This launches a
search for available wireless networks.
Any WLAN networks found are listed on the display, along with their names. In addition
to the available networks, you may do the following on the list:
[Rescan] This re-launches a search for available wireless networks.
[Wired] Choose this option if you don't want to connect your Internet Radio to your
router via wireless and would prefer a wired connection. The connection is then
established immediately.
[Manual config] Manual input of connection details. This option should only be used by
experienced users. It allows you to adjust network-specific parameters (Connection type,
DHCP, IP settings, Gateway address, DNS, SSID, Authentication, Encryption type, key).
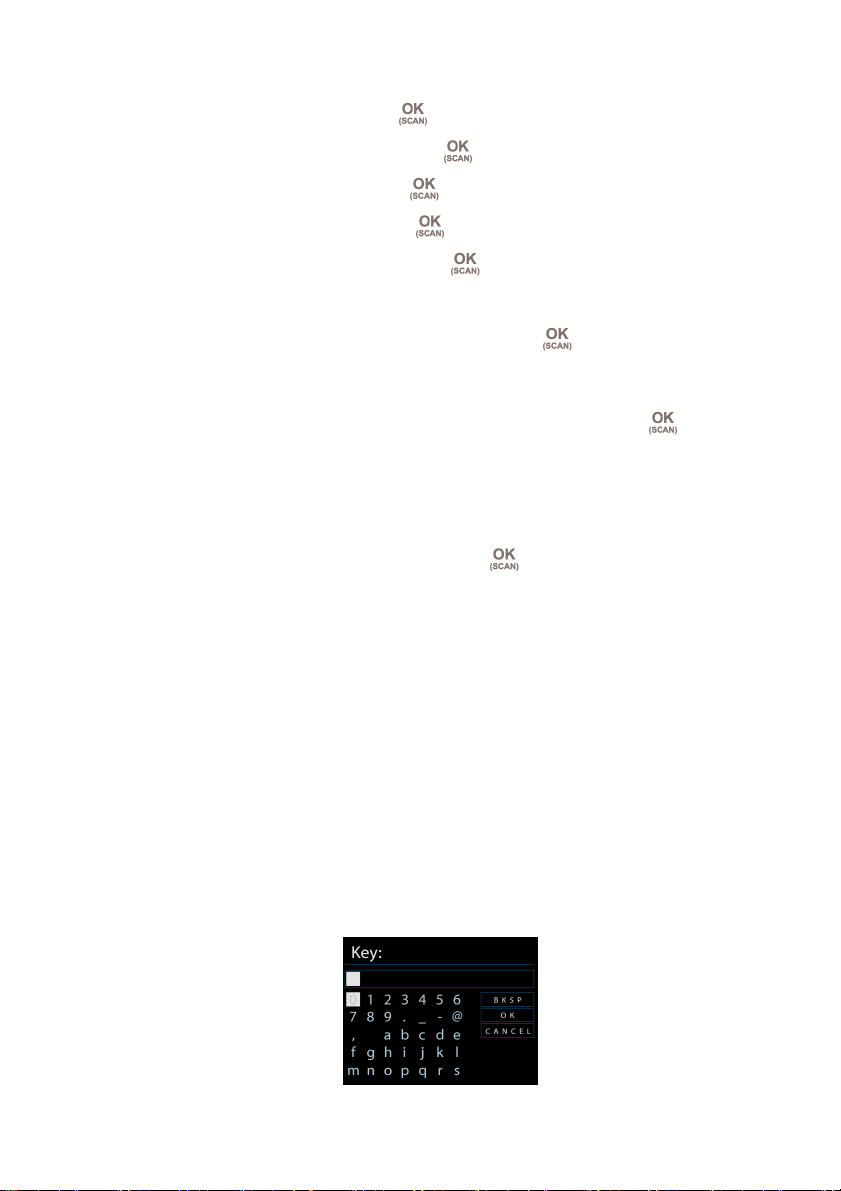
After selecting the network, you will be asked for input a standard encryption.
 Loading...