

Page 1
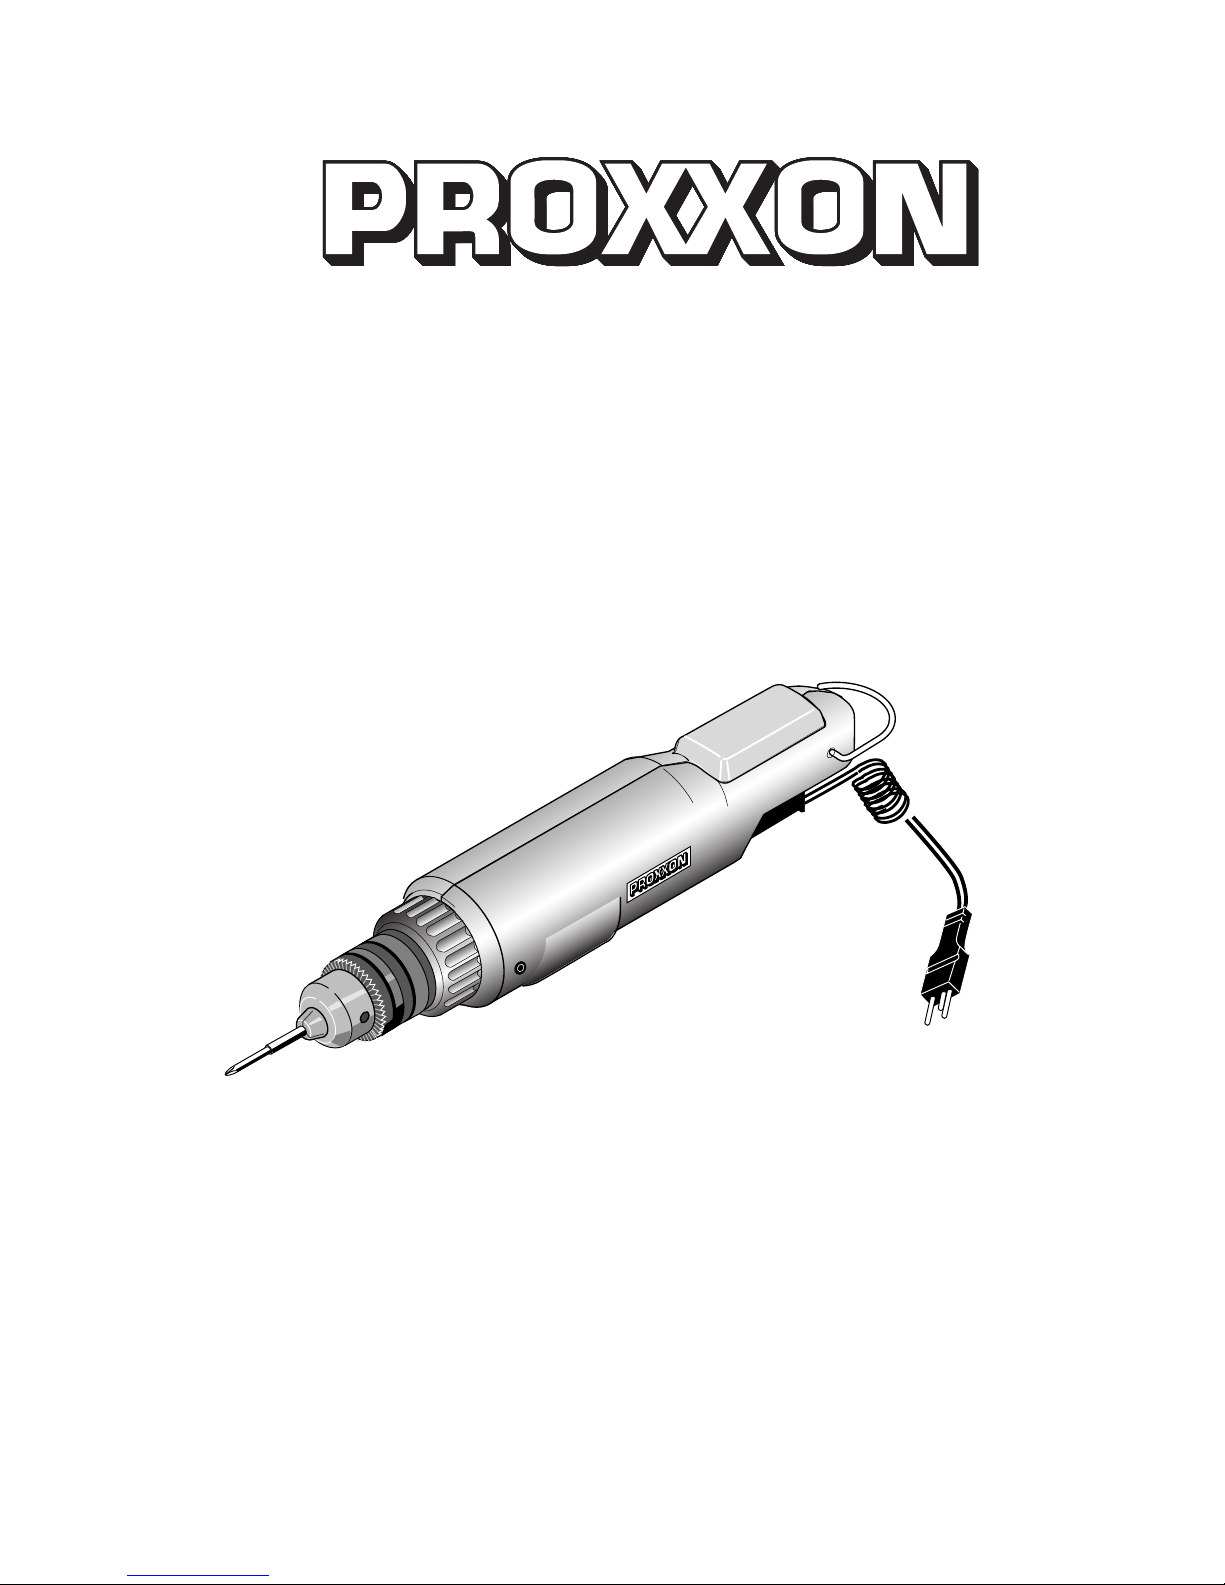
MIS 1
Manual
Page 2

A
B
B
A
B
A
B
A
Fig. 5
1
1
6
Fig. 3
Fig. 4
Fig. 6
1
2
3
4
5
7
6
Fig. 1
1
3
2
A
B
Fig. 2
Page 3

Forword
Dear customer!
The PROXXON Micro screwdriver MIS 1 is a
handy, but however, a powerful tool for sensitive
screwing.
This manual comprises:
• safety regulations,
• operating and maintenance instructions,
• spare parts list.
Please note!
Using this manual will
• help you to understand the machine
• avoid malfunctions caused by faulty operation
• increase the lifetime of the machine.
Always keep this manual close at hand.
Do not operate the machine unless you are fully
familiar with it. Follow the instructions.
PROXXON will not assume liability lor safe
functioning
• if the machine is used in a way that does not
comply with the usual modes of operation,
• if it is used for purposes other than those
mentioned in this manual,
• if the safety regulations are not observed.
No warranty claims can be lodged for damage
resulting from
• operating errors,
• insuffi cient maintenance.
Please observe the safety regulations for your
own safety.
Use only genuine PROXXON spare parts.
We reserve the right for technical modifi cations
without prior notifi cation.
We wish you much success with your new
machine.
Read all safety warnings and instructions. Failure to follow all safety
warnings and instructions listed below
may result in electric shock, fi re and/or
serious injury.
KEEP ALL SAFETY WARNINGS AND INSTRUCTIONS FOR THE FUTURE !
Legend
Fig.1
1. Tool insert
2. Toothed rim chuck
3. Torque adjustment ring
4. Tumbler switch to cw and ccw rotation
5. Machine hanger
6. Power cable
7. Drill chuck key
Description of the machine
The PROXXON Micro screwdriver MIS 1 is an
ideal tool for sensitive screwing for watch makers,
opticians, jewellers, precision mechanics and
model makers.
The machine is equipped with:
• Toothed rim drill chuck with a clamping diame-
ter of up to 6 mm, also for 1/4“ normal bits.
• Three-step planetary gear tor correct screwing
speed of 150 rpm.
• Conveniently positioned tumbler switch for
clockwise and counter-clockwise rotation.
• Sensitive friction clutch. Adjustable in fi ve
steps from 0.25 to 1.0 Nm. Step 6 = clutch
OFF up to a torque of 2.0 Nm.
Accessories included
You will find the following screwdriver bits in your set:
• screwdriver bits for slot-head screws:
0.3 x 1.5 mm, 0.35 x 2 mm, 0.4 x 2.5 mm
• TX screwdriver bits, sizes T6, T8 and T10
• Phillips screwdriver bits, sizes 0 and 1
• Allen key bits, sizes 1.5, 2.0 and 2.5 mm
• Hexagon socket inserts:
3.0, 3.5, 4.0, 4.5 and 5.0 mm
Suitable power supplies
To supply the machine, we recommend only
Proxxon power supplies (including the adjustable
versions, NG2/E or NG5/E). In all cases, the
power supply should have an output capacity of
1 A at 12 V.
Technical data
Voltage: 12 to 18 V
Power consumption: 40 Watt
Speed: 250/rmp
Warning!
Page 4

- 7 -
Gear ration 93:1
Friction clutch 5-step,
0,25 bis 1,0 Nm
Torque with the
frictlon clutch
switched off
(step 6) 2 Nm
Weight: 400 g
Noise: ≤ 70 dB (A)
Please do not dispose off the machine!
For your safety, always wear hearing
protection while working!
Operation
Clamping, changing tools
Disconnect the machine (rom the power pack
before changing tools.
Insert the drill chuck key 2 (Fig. 2) into the drill
chuck (1) and turn in direction „A“ to open the
chuck.
Insert the tool (3) into the drill chuck until it bottoms and turn the drill chuck key in direction „B“
to clamp the tool.
Always clamp the tools securely.
Adjusting the torque
Turn the adjustment ring 1 (Fig. 3) to the desired
torque value.
Step 1 = 0,35 Nm
Step 5 = 1,0 Nm
Step 6 = 2 Nm (clutch OFF)
Connecting the machine
Insert the plug (Fig. 4) into the socket on the
power pack.
Working with the machine
Danger of injury!
Replace worn tools in due time.
Adjust the correct torque for the werc on the
adjustment ring (Fig. 3).
Torques which must be strictly observed should
be determined with a torque wrench.
Attach the screwdriver to the screw or nut and
hold it as shown in Fig. 5 cr 6.
Operate the tumbler switch „A“ or „B“ (Fig. 5
and 6).
Press A = clockwise rotation
Press B = counter-clockwise rotation
Disposal:
Please do not dispose of the device in domestic
waste! The device contains valuable substances
that can be recycled. If you have any questions
about this, please contact your local waste
management enterprise or other corresponding
municipal facilities.
Attention!
Attention!
Attention!
Note
EC Declaration of Conformity
Name and address:
PROXXON S.A.
6-10, Härebierg
L-6868 Wecker
Product designation: MIS 1
Article No.: 28690
In sole responsibility, we declare that this product
conforms to the following directives and normative
documents:
EU EMC Directive 2014/30/EG
DIN EN 55014-1 / 05.2012
DIN EN 55014-2 / 06.2009
DIN EN 61000-3-2 / 03.2010
DIN EN 61000-3-3 / 6 2009
EU Machinery Directive 2006/42/EG
DIN EN 62841-1/07.2016
Date: 29.09.2017
Dipl.-Ing. Jörg Wagner
PROXXON S.A.
Machine Safety Department
The CE document authorized agent is identical with
the signatory.
GB
Page 5

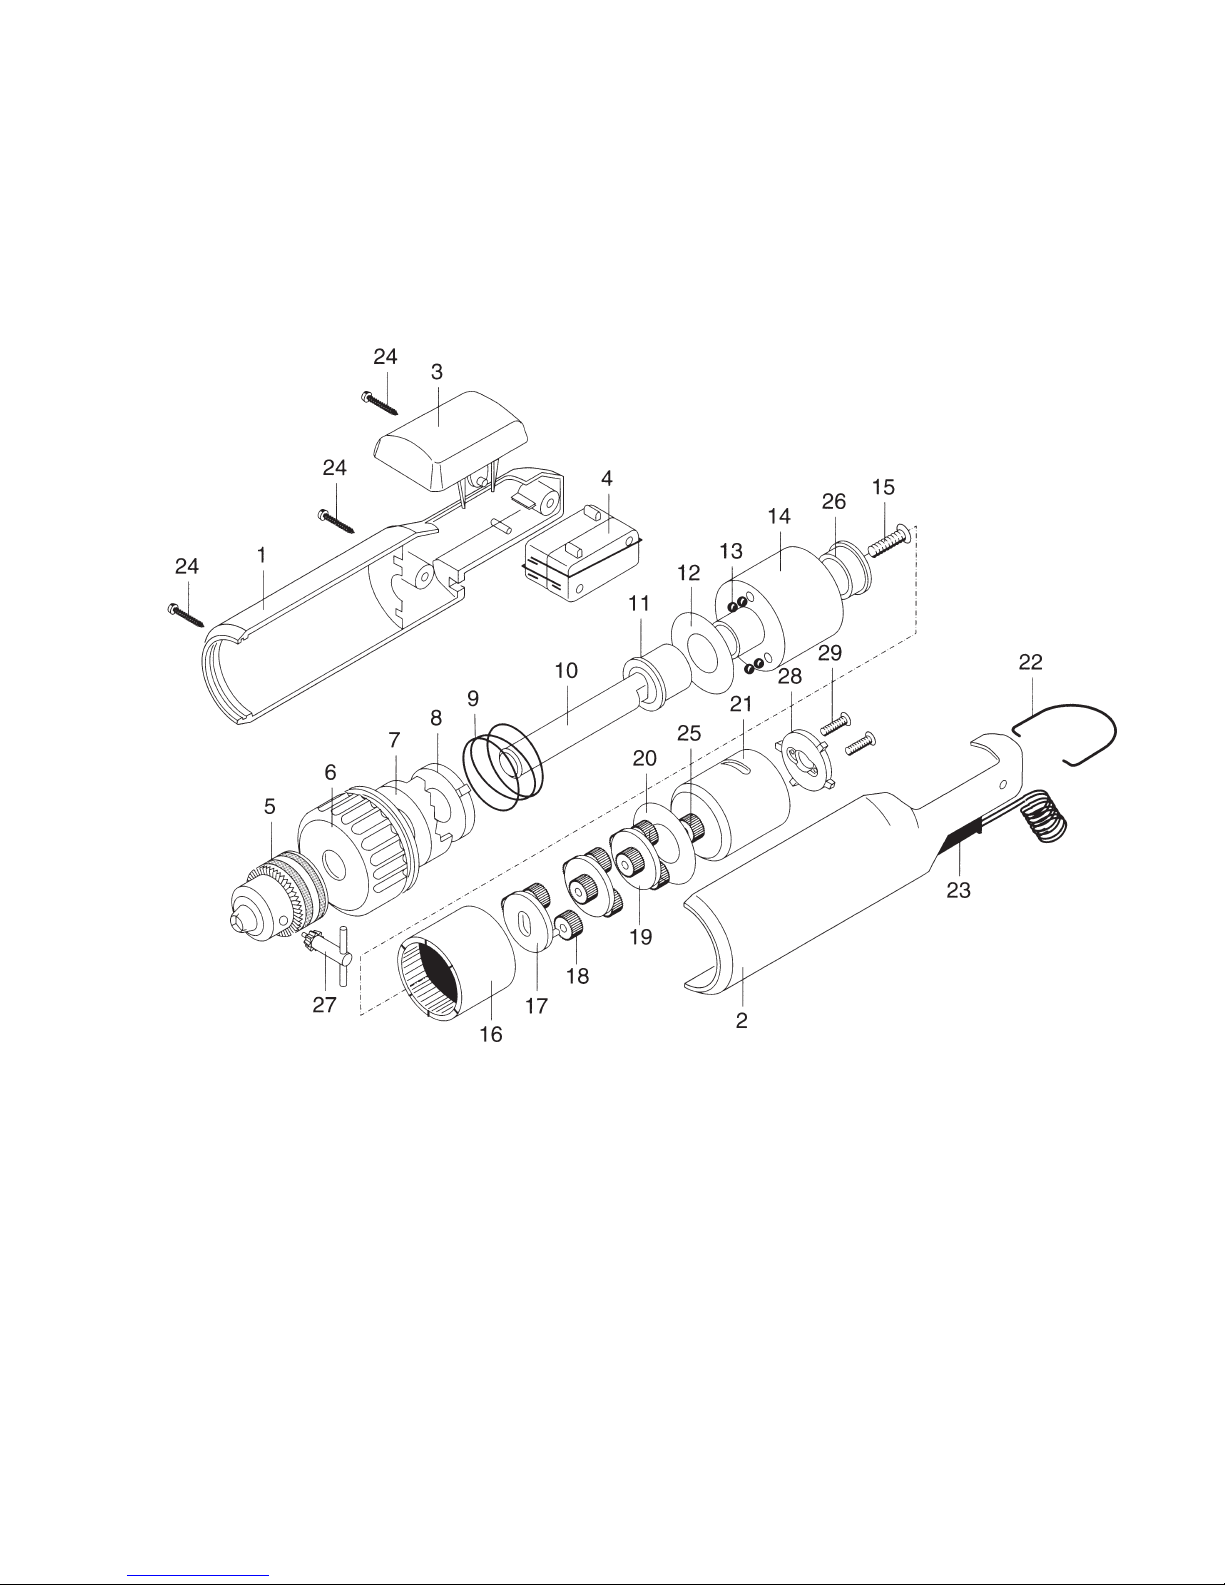
Spare Parts List
Description .rN-Art
Page 6
- 32 -
 Loading...