

Page 1
Note: 1. More details refer to User Manual. 2. For better readability, please print this document with laser printer.
M2D Presentation Imager Quick Guide
Note
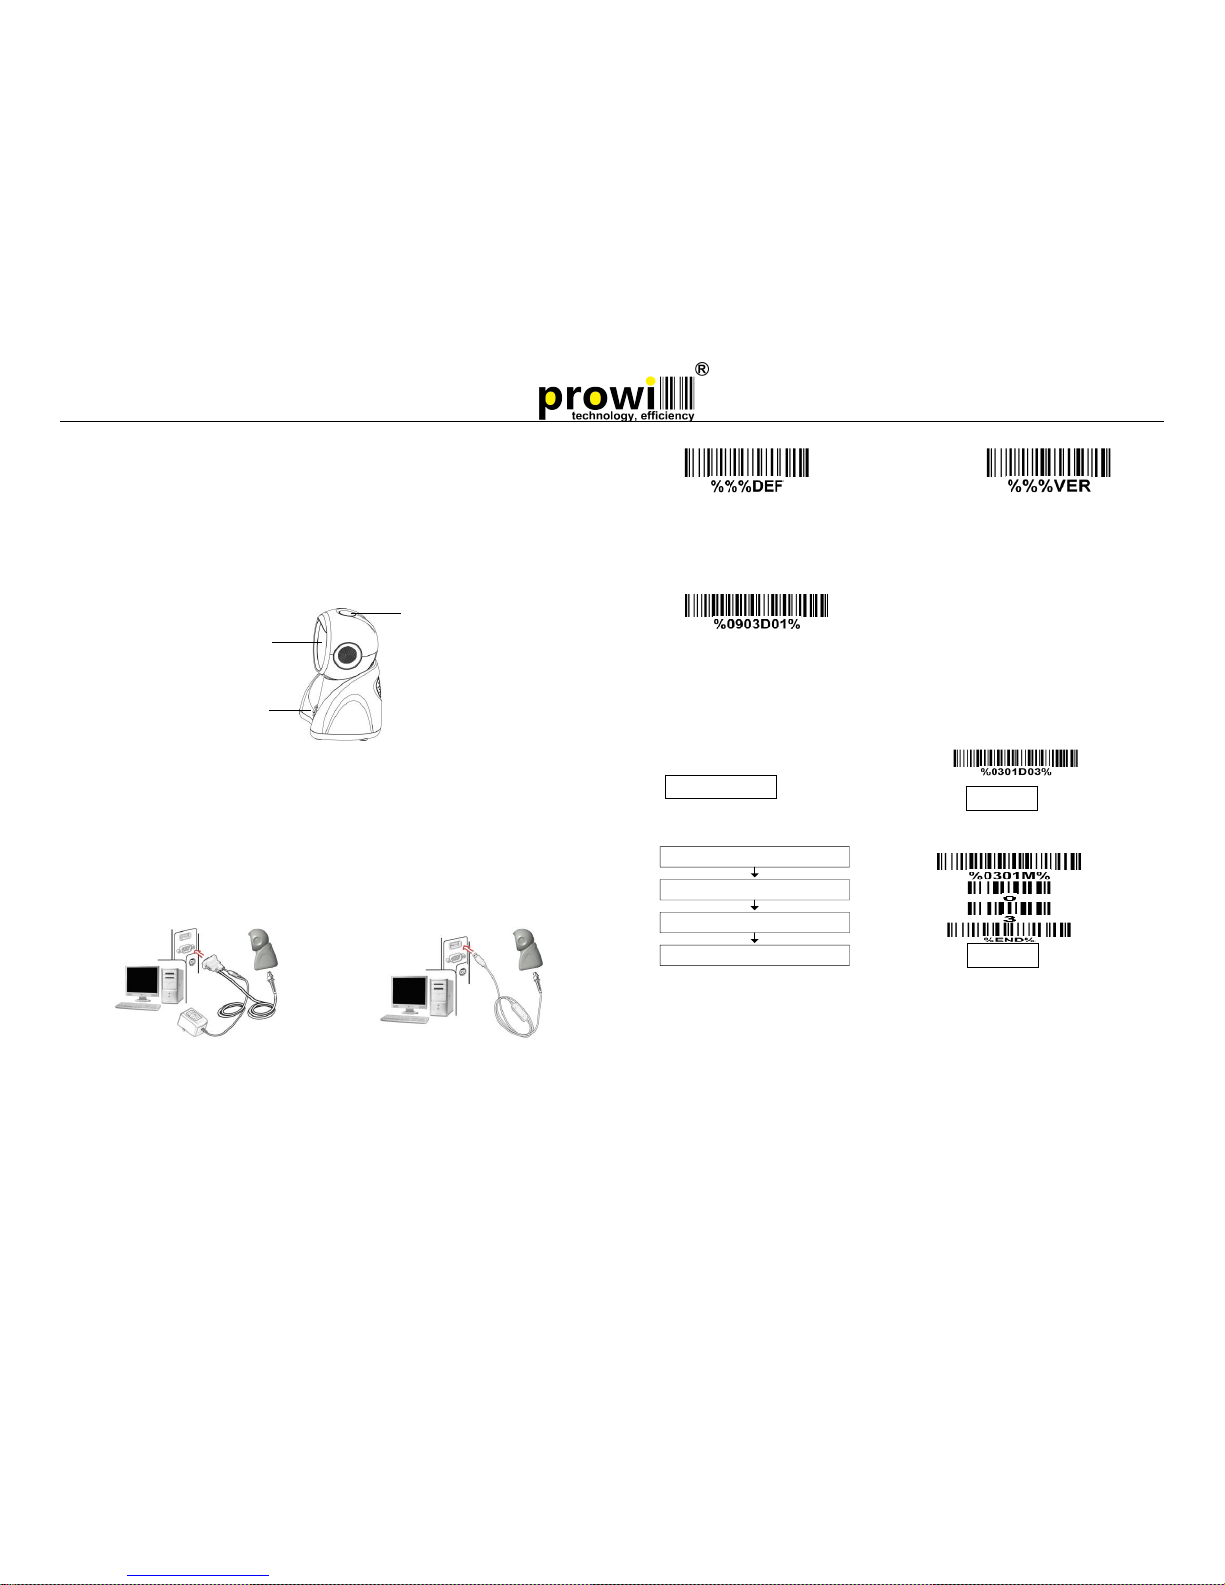
Parts of the imager
Installing the cable
1. Switch off the host;
2. Refer to the below pictures, connect the host with the imager based on different cables;
3. Ensure that all connections are secure.
4. Switch on the host system. If the installation is successful, the beeper will beep and LED
will light.
RS232 cable
USB cable
Return default parameters and version information
Default value initialization
Firmware version list
Note: If the host cannot receive data normally because the input speed of the imager is too
fast, please scan the barcode below:
Programming instruction and example
Two programming modes have been provided as bellows:
Single-scan setting
Scan the appropriate
Single-scan setting
Example: to set Flow control to be XON/XOFF.
Multiple-scan setting
Scan “Option bar code”
Scan “The 1st character of option”
Scan “The 2nd character of option”
Scan “END”
Example: to set Flow control to be XON/XOFF.
A standard packing includes an imager, a USB cable and a CD (or a user manual).
Accessories include a RS232 cable, a 5V adaptor.
Use a piece of dry and soft cloth when cleaning the imager is in need.
Scan window
Beeper
Trigger
Page 2
Note: 1. More details refer to User Manual. 2. For better readability, please print this document with laser printer.
Reading techniques
1. Press and hold the trigger, the imager projects a green LED square which allows
positioning the barcode within its field of view, and turns on a white LED for illumination.
2. When reading a barcode, the green LED square will be smaller when the imager is closer
to the barcode and larger when it is farther from the barcode. Please hold the imager at an
appropriate distance from the barcode, and center the green LED square on the barcode.
3. On a successful barcode reading, the imager will beep once, and the green LED square
and white LED will be turned off. Then the imager transmits barcode message to the host.
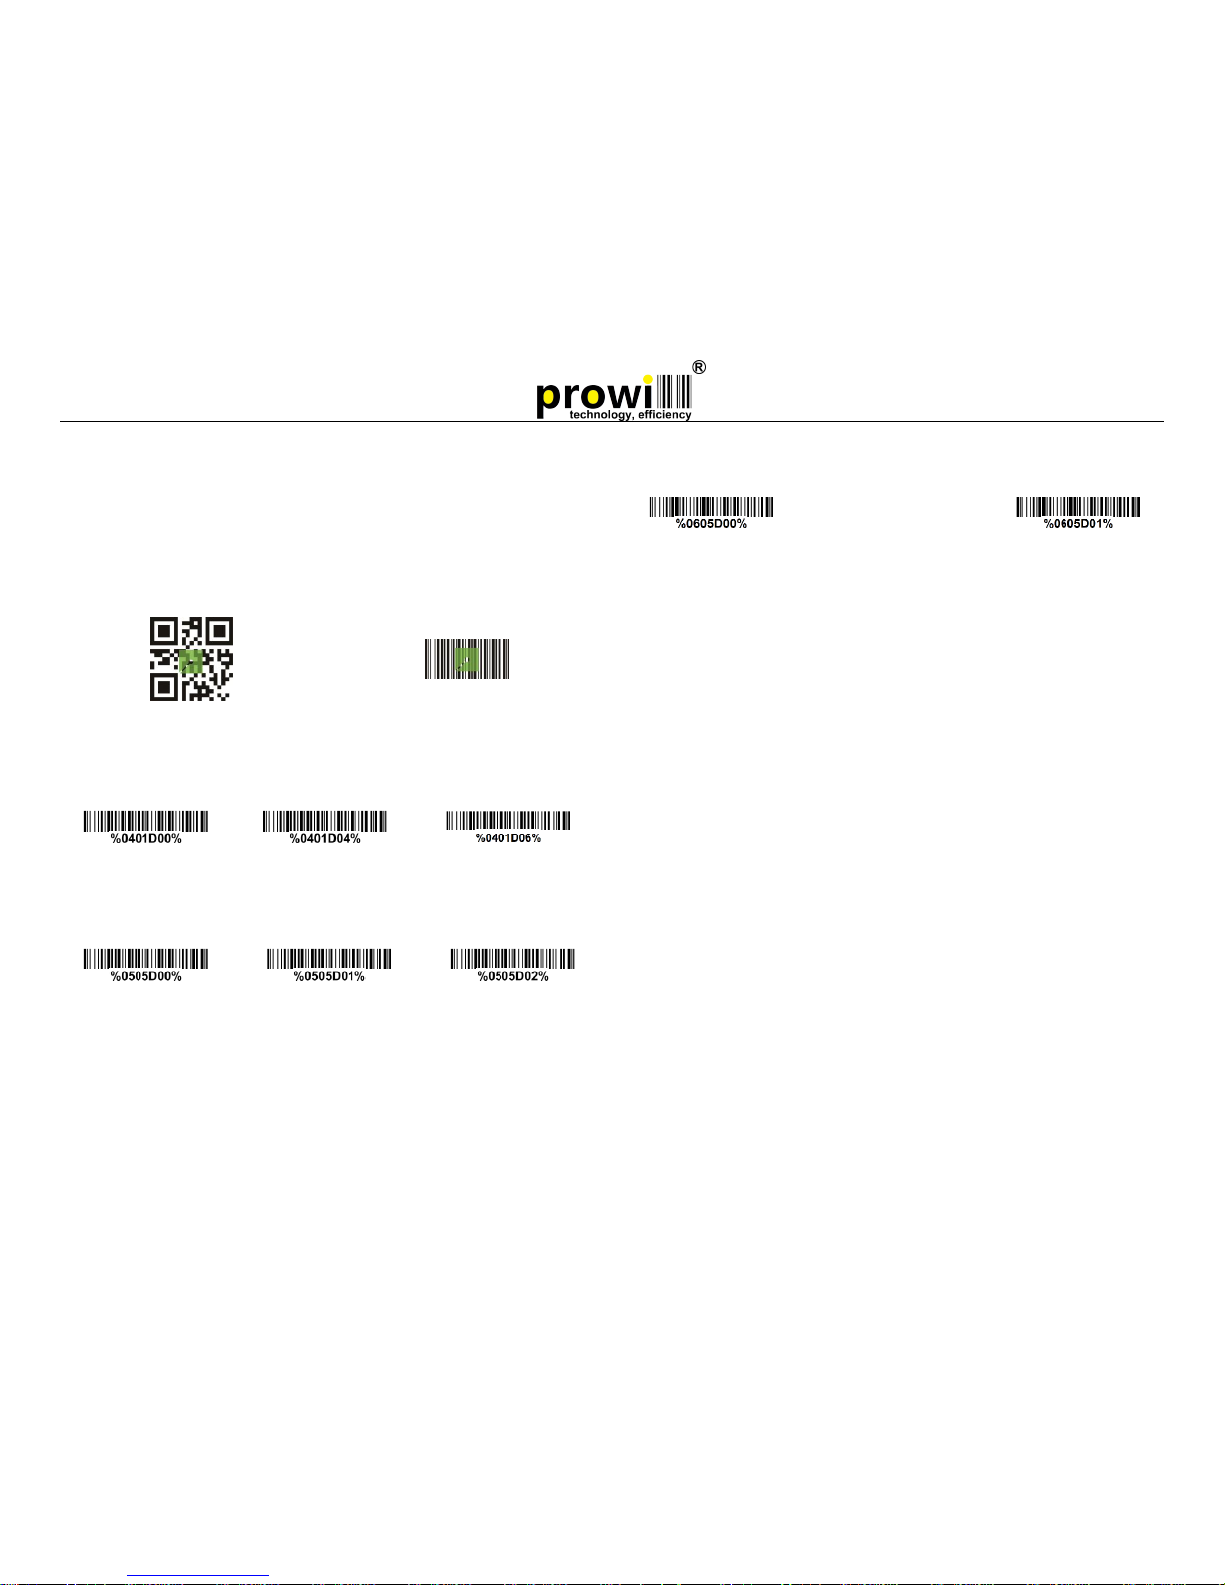
Scanning mode
Note: The factory default settings are indicated with asterisks (*).
Good-read off
Good-read on
Auto-detection-Good-read on*
Volume of beeper
Low
Middle
High*
Enable illumination in low light conditions
Notes: This function is only valid in auto-induction mode.
Disable*
Enable
 Loading...