


LED-PAR 631 INT ACCU
User Manual
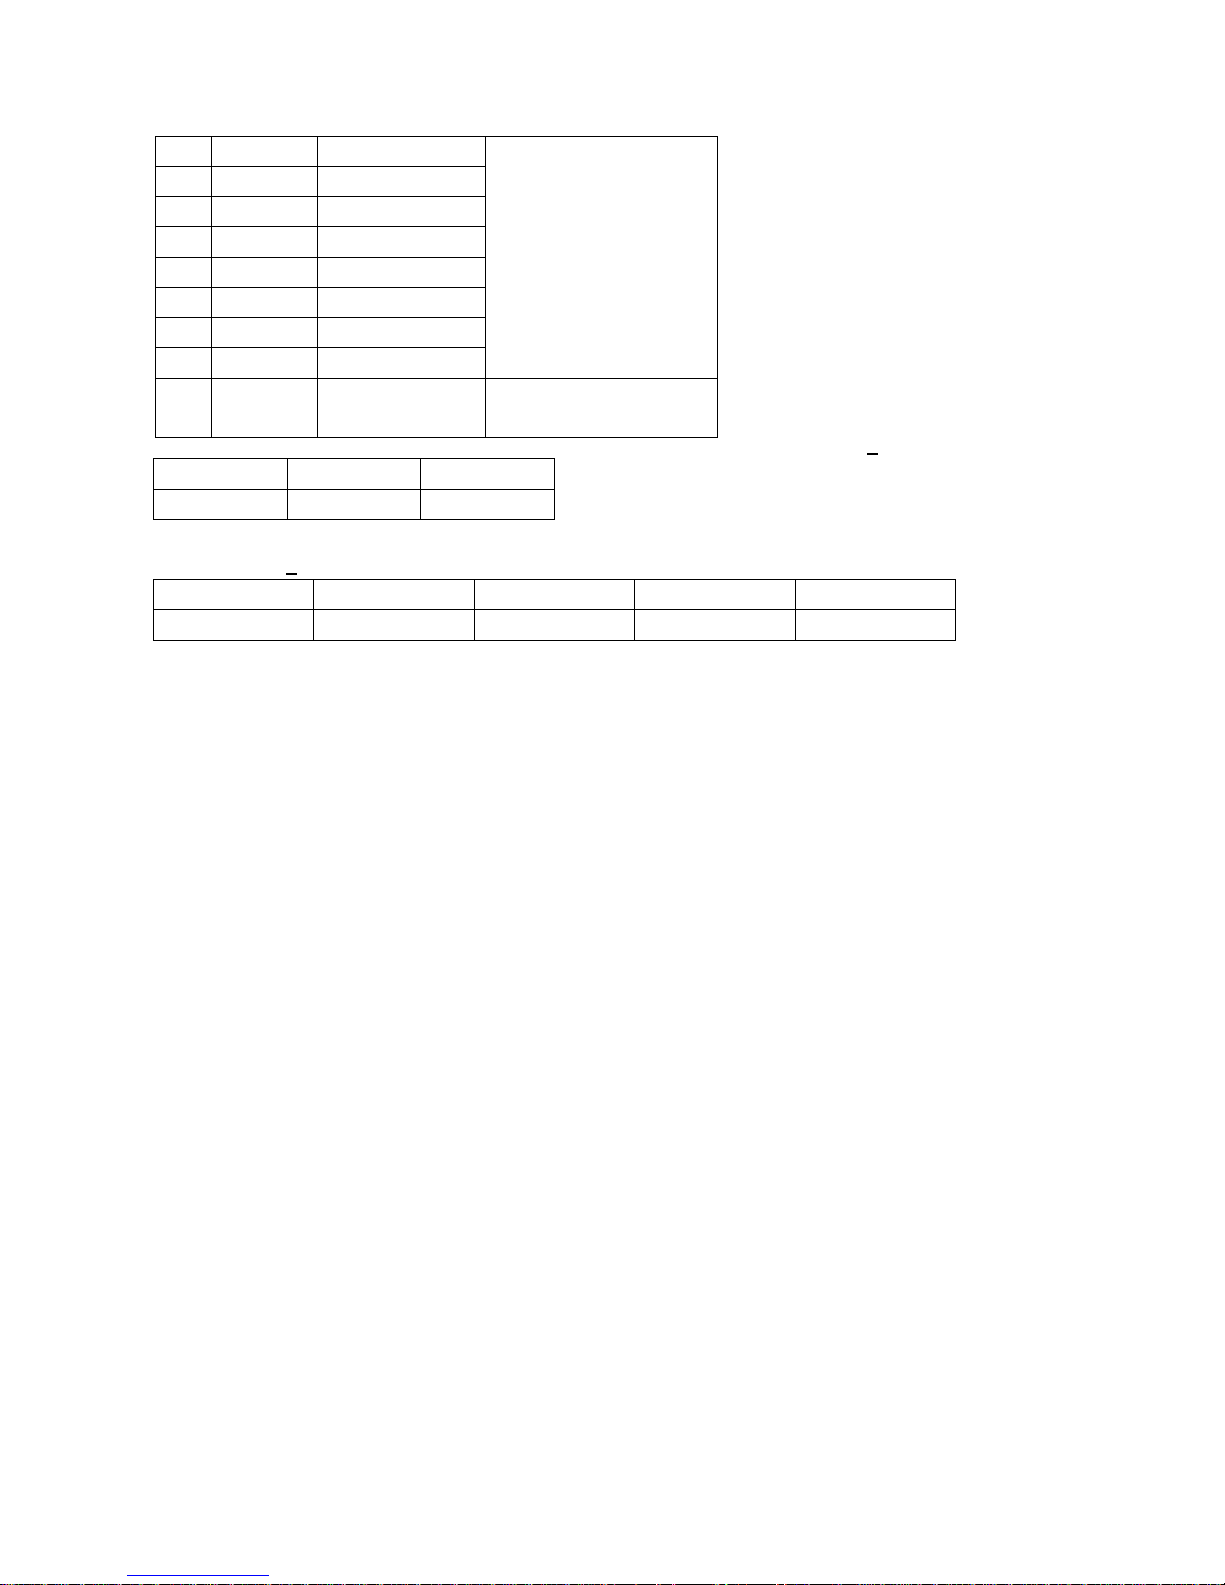
A. SPECIFICATION
1. Voltage: AC 100V-240V, 60Hz/50Hz (only power in, no power out)
2. Battery: 11.1V, 12AH
3. LED: 6*Tri-3W
4. Power consumption: 30W
5. Fuse: 1A/250V
6. Stand by time: 7 hours(RGB)
7. Charging time: 8 hours(LED blackout when the device is charging)
8. Operation mode: LCD display
9. Control feature: Built-in programs, auto running mode, DMX mode, master/slave mode, sound-active
mode, and static color
10. DMX channels: 2, 3, 5CH
11. DMX communication mode: 2.4GHz wireless communications (received), XLR3 wired connection
12. Wireless module: Sweden W-DMX TRx 2.4G WIFI, 2dBi Antenna
B. OPERATION
This fixture with rich effect programs, LCD dislay for easier operation, there are 6 working modes:
Auto running mode
Built-in programs mode
Sound-active mode
Static color mode
DMX mode
Master/slave mode
(When set the programs parameters, the cursor will stop and flicker, press the “UP” or “DOWN”, the
parameter will change accordingly.)
1. Built-in Programs Mode
1) Press the “MODE”, enter into built-in programs mode “Program Mode”.
2) Press the “SETUP”, enter to select the operation programs menu “Program: 01”.
3) Press the “UP” or “DOWN”, select the operation programs effect “01-09”.
4) When the LCD displays shows “Program : 01”, press the “SETUP” to edit the static color. Press the

“UP” or “DOWN” to select the static colors.
N0. 0 1 2 3 4 5 6 7
8
Color
OFF
Red
Yellow
Green
Cyan
Blue
Purple
Rosiness
White
5) When the LCD display shows “Program : 02”-“Program : 09”.Press the “SETUP”, enter to set the
operation speed of programs “Speed: 080”.
6) Press the “UP” or “DOWN”, set the speed value “001-100”.
7) Press the “SETUP”, enter to set the strobe speed menu of operation programs “Flash: 000”.
8) Press the “UP” or “DOWN”, to set the strobe value “000-100”.
2. Auto Running Mode
1) Press the “MODE”, enter into auto running mode menu “AutoRun Mode”.
2) Press the “SETUP”, enter into operation speed menu of auto running programs “Speed: 080”.
3) Press the “UP” or “DOWN”, to set the speed value “001-100”.
4) Press the “SETUP”, enter into the strobe menu of auto running programs “Flash: 000”.
5) Press the “UP” or “DOWN”, to set the strobe value “000-100”.
6) Press the “SETUP”, enter into running times settings menu of auto running programs “Run Times:
001”;
7) Press the “UP” or “DOWN”, to set the running time value of auto running programs “001-100”.
3. Sound-active Mode
1) Press the “MODE”, enter into sound-active mode “Sound Mode”.
2) Press the “SETUP”, enter to set the sound-active sensitivity menu “Sensitiv: 20”.
3) Press the “UP” or “DOWN”, to set the sound-active sensitivity value “00-31”.
4. DMX Mode
1) Press the “MODE”, enter into DMX mode “DMX512 Mode”.
2) Press the “SETUP”, enter to set the DMX address menu “Address: 001”.
3) Press the “UP” or “DOWN”, to set the DMX address value “001-512”.
4) Press the “SETUP”, enter to set the DMX working mode menu “Channels: 02 CHs”.
5) Press the “UP” or “DOWN”, to set the DMX working mode: 02 CHs, 03 CHs, 05 CHs
DMX mode1: 02 CHs
CH1
CH2
NO.
Value
FUNCTION
1
0—9
OFF
--
2
10—19
Red
3
20—29
Yellow
4
30—39
Green
5
40—49
Cyan
6
50—59
Blue
7
60—69
Purple
8
70—79
Rosiness
9
80—89
White
DMX mode2: 03 CHs
CH1
CH2
CH3
Red
Green
Blue
DMX mode3: 05 CHs,
CH1
CH2
CH3
CH4
CH5
Red 0-255
Green 0-255
Blue 0-255
Dim 0-255
Flash 0-255
5. Master/slave Mode
Press the “MODE”, enter into master/slave mode “Slave Mode”.
6. Static Color Mode
1) Press the “MODE”, enter into static color mode “Color Mode”.
2) Press the “SETUP”, enter into red brightness settings menu “Red: 255”.
3) Press the “UP” or “DOWN”, to set the red brightness “000-255”.
4) Press the “SETUP”, enter into green brightness settings menu “Green: 255”.
5) Press the “UP” or “DOWN”, to set the green brightness “000 -255”.
6) Press the “SETUP”, enter into blue brightness settings menu “Blue: 255”.
7) Press the “UP” or “DOWN”, to set the blue brightness settings menu “000-255”.
8) Press the “SETUP”, enter into static color strobe settings menu “Flash: 000”.
9) Press the “UP” or “DOWN”, to set the strobe value “000-100”.
7. Wireless DMX Function Setting
1) Press the “MODE”, enter into wireless DMX function setting mode “Wireless Setup”, now the fixture
operate the master/slave mode.
2) Press the “SETUP”, enter into wireless DMX function ON-OFF setting menu “Wireless: ON”. Press the
“UP” or “DOWN”, to adjust the ON or OFF.
REMARK
1) “Wireless: ON”: able to receive the wireless DMX signal;
2) “Wireless: OFF”: unable to receive the wireless DMX signal;
3) Wireless DMX function setting can be applied for any operation mode;
4) If the fixture is operating as a master, close the wireless DMX mode to avoid interference between
signals.
10
90—99
Program:02
Speed
0—255
11
100—109
Program:03
12
110—119
Program:04
13
120—129
Program:05
14
130—139
Program:06
15
140—149
Program:07
16
150—159
Program:08
17
160—169
Program:09
18
170—255
SOUND
Sensitivity
0—255

5) If the fixture is operating wire DMX mode, close the wireless DMX mode to avoid interference
between signals.
6) When setting the wireless DMX function, it will cause operation failure if interfered by wireless DMX
signals.
Then power-out and power-on, it will recover to work.
8. IR Remote Description
1) It can be used all the operation mode except DMX mode and Master/slave mode.
2) Both IR controller and button can adjust the operation effect of the fixture.
Auto Running Mode
1) Press the “AUTO”, enter into auto running mode.
2) Press the “SPEED”, enter into operation speed menu of auto running programs. Press “+” /“-” to
adjust the speed value.
3) Press the “STROBE”, enter into strobe mode. Press “+” /“-” to adjust the strobe speed value. Press
the “STROBE” again, STROBE stops.
Built-in Programs Mode
1) Press the “PRG”, enter into built-in programs mode. Press “+” /“-” to select the programs“Program :
02 ”-“Program : 09 ”.
2) Press the “SPEED”, enter into operation speed menu of built-in programs. Press “+” /“-” to adjust the
speed value.
3) Press the “STROBE”, enter into strobe mode. Press “+” /“-” to adjust the strobe speed value. Press
the “STROBE” again, STROBE stops.
Sound-active Mode
1) Press the “SOUND”, enter into sound-active mode.
2) Press the “+” /“-” to adjust the sound-active sensitivity menu.
Static Color Mode
1) Press down the “Dimming”, and then press the “R”, entering into the red brightness setting menu.
2) Press the “+” /“-” to adjust red brightness.
3) Press down the “Dimming”, and then press the “G”, entering into the green brightness setting menu.
4) Press the “+” /“-” to adjust green brightness.
5) Press down the “Dimming”, and then press the “B”, entering into the blue brightness setting menu.
6) Press the “+” /“-” to adjust blue brightness.
Quick select Static Color Mode
1)In any operation mode, press down the number “0”-“9” to quick select static color.
The corresponding sheet as below:
Number
0 1 2 3 4 5 6 7 8
9
Color
Cyan Purpl
e
Rosine
ss
Yello
w
White1
Pink Tin
Green
Baby
Blue
Fawn
White3
2)In any operation mode except Static Color Mode, or no pressing down the “Dimming”,press down the
“R”、“G”、“B”、“A”、“W” respectively to quick select static color.
The corresponding sheet as below:
Button R G B A
W
Color
Red
Green
Blue
Amber
White2
Turn off IR Remote and Recover Factory Settings

1) Press “ON/OFF”,turn off the IR Remote;
Press “ON/OFF” again,recover to the previous state.
2) When in OFF state, press down “9” + “8” + “7” respectively to recover factory settings.
3) Once recover the factory settings, wireless DMX is open to receive signals. Need to reset the
parameter according to your application.
Operation Instruction
1. Charging:
1) The device equipped with a 11.1V/12AH lithium battery;
2) Please recharge in time when the battery is in low power or out of power; if does not use this device
for long time, please charge at least once within one month, in order to prevent the lithium electricity
from causing and damaging because of excessive consumption.
3) Lithium battery charging time should not more than 24 hours.
4) After cycle use 300 times, battery capacity will be reduced to about 8AH(70% of the total capacity);
please reduce the charge and discharge times, to extend battery lifetime; after 300 times charging
and discharging, need to replace the battery, in order not to affect use.
5) Lithium battery cannot separate charge take out from the device.
2. Temperature Control Protection
1) When the temperature of LED board is more than 60 Celsius degree, or the Thermistor check fails, the
device will start the high temperature protection, reduce power output automatically.
Thermistor test failures: Thermistor damaged, or the Thermistor connected abnormally, or single chip
microcomputer port damaged.
2) “Detection” and display when device power on:
When the device power off, then turning on the power supply in two seconds, the device will detect
temperature control work condition.
3) The Red Indicator Light
Two seconds prior to power, the Thermistor test failures, the red light will light up.
The Thermistor is working normally, the light is off.
4) LCD display
Press the “MODE” button and then power on. If the temperature control working normal, will display
“Check-up Tr1: xx”(xx is the current LED board temperature value); if the temperature control working
abnormal, will display “Check-up Tr1: Er”.
5) In the process of using, the brightness of abnormal device is far below the normal device. Please test
the temperature condition before use.
3. Wireless DMX connection
The device using 2.4GHz wireless receiving module “Pico G4 Receiver, 2.45GHz”, provided by Swedish
WIRELESS SOLUTION, with only a 2.45 GHz wireless signal receiving function. In order to match using,
please choose “Black Box F-1 G4 MK2” provided by WIRELESS SOLUTION;
The status indicator of wireless communication: through an LED indicator light display
1) No emitter matching: indicator light goes out for a long time;
2) Matching with one emitter, but loss signal communication: the indicator light will lighting for 100ms, and
then put out for 100ms, will flicker quickly.

3) Communication with a emitter, but no DMX data: the indicator will lighting for 900ms, and then put out
for 100ms, will flicker slowly;
4) When wireless DMX communication is normal: the indicator light will always on
The device cannot receive DMX wireless signal and DMX cable signal at the same time.
When the device working in built-in programs mode, auto running mode, sound-active mode, static color
mode, please ensure that the matching 2.4GHz DMX wireless signal transmitter doesn’t work, or can’t
send DMX signal.
When the device working in DMX mode or SLAVE mode can only receive Wireless DMX signal, and also
can output the DMX signal by DMX cable.
4. Disconnect and connect with Wireless DMX signal transmitter
The device can actively disconnect with wireless DMX signal transmitters:
1) press the “Unlink” button more than 3s, and then release it, the device will disconnect with wireless
DMX signal transmitter, the indicator light turn off; the device can only rebuild communication in
disconnect matching condition.
2) The device matching with wireless DMX signal transmitter;
The device cannot match signal transmitter actively, need operating the transmitter, build a matching
relationship. (About the operation of Wireless DMX signal transmitter, please refer to other user manual).
NOTE:
1) If no buttons operation within 20s, the LCD display will darken (no display); when in darken state,
press down any button, will display the current state; in display state, adjust the working mode and
operation state.
2) Pressing the Unlink button for 3s will disconnect from the current wireless DMX links, and can make a
new link after disconnected.
3) Press “MODE” “SETUP” and charge at the same time, the fixture recovers to the factory settings.
4) Press “MODE” only and charge at the same time, LCD display shows the temperature of the LED
board; if it is abnormal, it will show “Tr1: Er”
5) Once charge it will check-up automatically. If the temperature control is abnormal the fixture will light
up Red, or no light if it is normal.
6) Battery capacity instruction:
Lithium battery full charged, the 100% indicator light will on; at this time low current will be charged.
The fixture full charged, the red charging indicator light will off, please disconnect the power then.
The 25% indicator light or charging indicator light flickers, indicating it is low power and please
charge in time.
 Loading...