

Page 1
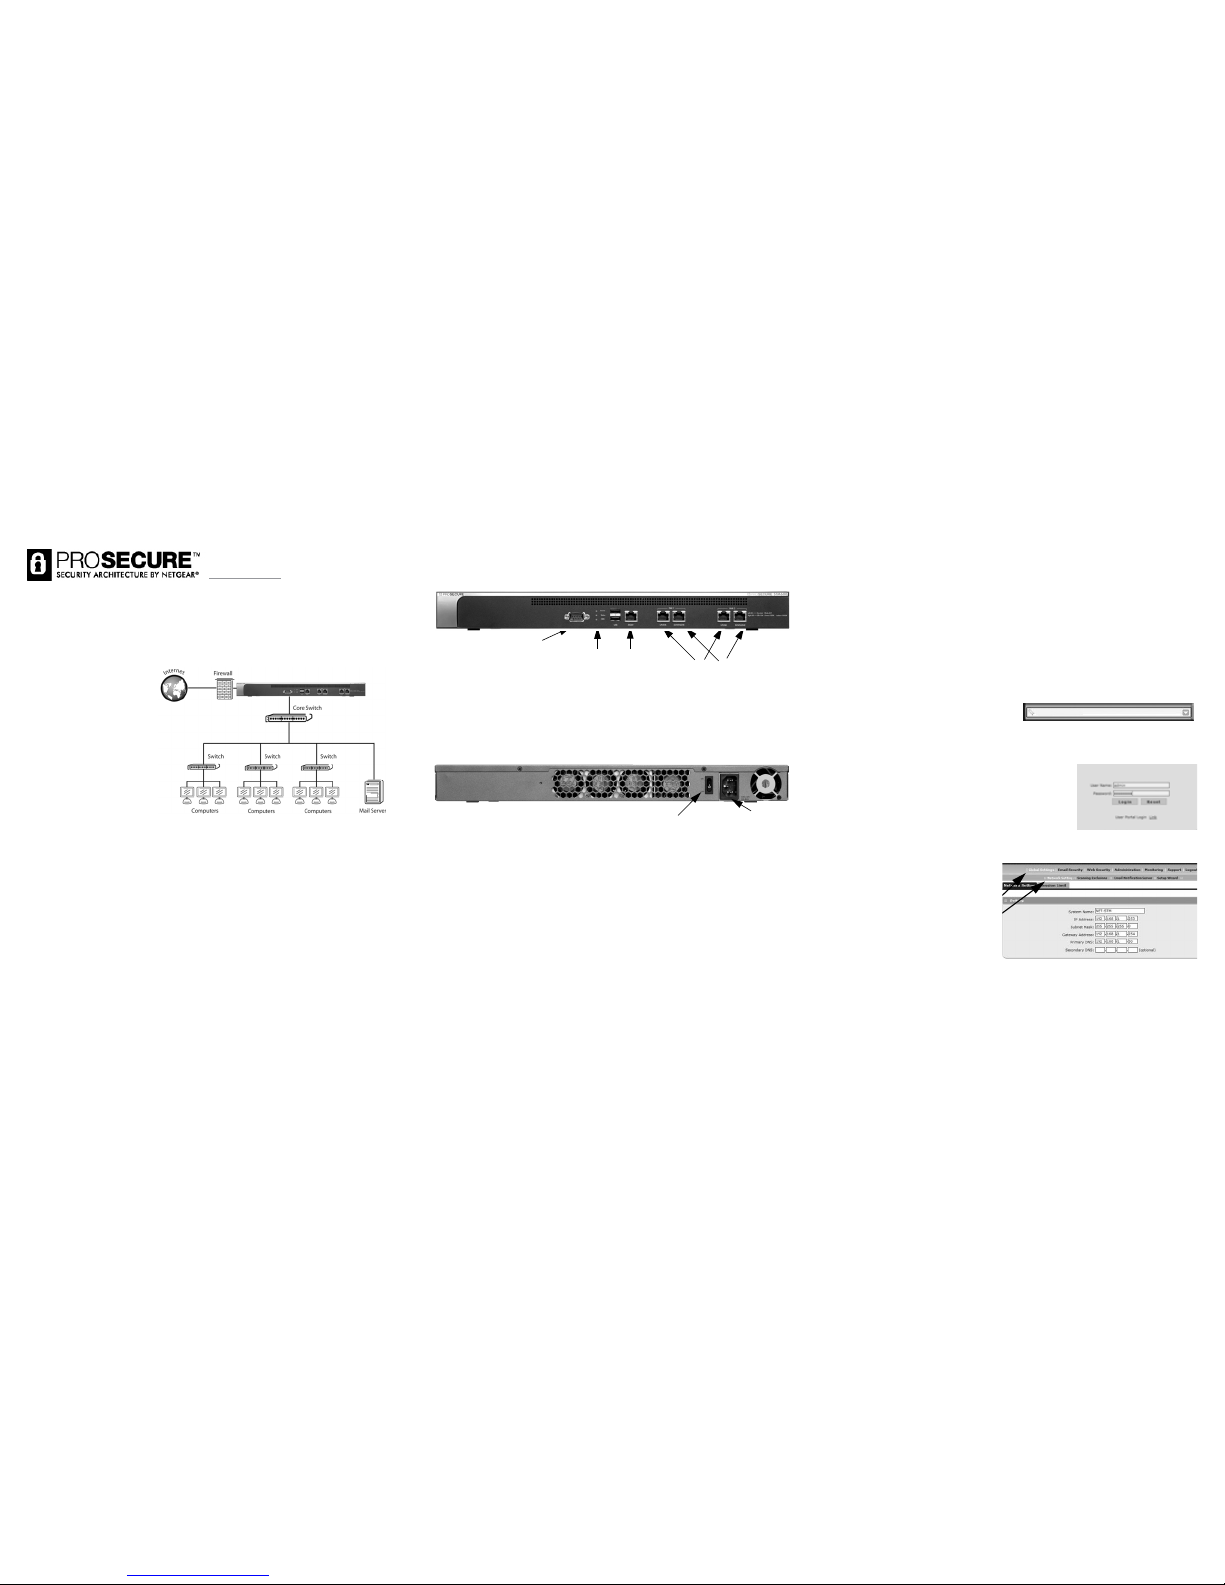
)NSTALLATION'UIDE
ProSecure™ Web/Email Security Threat Management Appliance STM600
Start Here
Follow these instructions to set
up a gateway configuration
where a single STM600 is
installed between your firewall
and the LAN core switch.
After completing these
installation steps, your network
will resemble this illustration.
For server group or segmented
LAN configurations, see the
Reference Manual.
You can download the
Reference Manual from the
documentation link in the Web Support page of the product user interface or from the
ProSecure support site at: http://prosecure.netgear.com/resources/document-library.php.
Before you begin, ensure you have the IP configuration parameters of your network
(available reserved IP address, subnet range, gateway, and DNS addresses).
Estimated completion time: 25 minutes.
Verify the Package Contents
Unpack the box and verify the contents:
• ProSecure Web/Email Security Threat Management Appliance STM600
• Depending on the model purchased, license registration card
• Rubber feet (4) with adhesive backing
• Rack mount brackets hardware
• Power cord
• Straight through Category 5 Ethernet Cable
• Installation Guide
Familiarize Yourself with the STM600
Take note of the connectors, status lights, and controls on the front and back of the unit.
1. Administration console port.
2. Power, power on test status, and hard disk status lights (LEDs).
3. Management Ethernet port.
4. Uplink switched N-way automatic speed negotiating auto MDI/MDIX Ethernet port.
5. Downlink switched N-way automatic speed negotiating auto MDI/MDIX Ethernet
port.
Note: The system configuration applies to both pairs of uplink and downlink ports.
6. Power switch.
7. Power socket.
Connect the STM600 to Your Network
1. Power on the STM600 by plugging in the power cord and connecting it to the power
connector on the rear of the unit. Verify the following:
• Power. The power status light (LED) should turn solid green. If it does not turn
solid green, see the Troubleshooting chapter in the Reference Manual.
• Test. Initially, the amber test status light (LED) will be lit for approximately
2 minutes. If it is still on after 2 minutes, see the Troubleshooting chapter in the
Reference Manual.
2. Connect the UPLINK Ethernet port (4) to your gateway firewall.
3. Use the Ethernet port LEDs to verify the status and speed of the connection,
according to the legend printed on the front of the unit.
2
3
1
4
5
7
6
4. Connect a computer to the STM600
a. The STM600 factory default IP address is 192.168.1.201. Configure the
computer with a static IP address such as 192.168.1.111.
b. Connect this computer to the Management Ethernet port (3).
c. Use the Ethernet port LEDs to verify the status and speed of the connection,
according to the legend printed on the front of the unit.
Configure the STM600 Network Settings
1. Log in to the STM600:
a. Use a browser to connect to
https://192.168.1.201.
The unit uses a secure HTTPS
connection for login. If you enter the URL as HTTP, you will be redirected to an
HTTPS connection.
b. When prompted, enter admin for the user name
and password for the password.
c. Click Login. You are now connected. The
Dashboard screen displays.
d. The Web Support tab on the main menu contains
links to the online ProSecure STM600 product
documentation and support Knowledge Base.
Note: After 5 minutes of
inactivity (the default login
time-out), you are
automatically logged out.
2. Configure the Network Settings:
a. Select Global Settings >
Network Settings. The
Network Settings tab displays.
b. Enter the settings according to the configuration requirements of your network.
Be sure to record the IP address that you assign to the STM600; you will need it
in the future when you log in to this unit. For now, ignore the speed and MTU
settings.
https://192.168.1.201
Page 2
December 2009
This symbol was placed in accordance with the European Union Directive 2002/96 on the Waste
Electrical and Electronic Equipment (the WEEE Directive). If disposed of within the European Union,
this product should be treated and recycled in accordance with the laws of your jurisdiction
implementing the WEEE Directive.
© 2009 by NETGEAR, Inc. All rights reserved. ProSecure and the ProSecure logo are registered trademarks of
NETGEAR, Inc. in the United States and/or other countries. Other brand and product names are trademarks or
registered trademarks of their respective holders. Information is subject to change without notice.
Note: If your network uses DHCP, be sure to reserve this IP address for the
STM600 in your DHCP server or gateway firewall.
c. Click Apply to save your changes.
The STM600 will reboot. Your computer will lose its connection to the unit if its
IP address is now on a different subnet than the STM600. If so, reconfigure the
computer to match the settings of your network.
Run the Setup Wizard
1. Start the Setup Wizard:
Select Global Settings > Setup
Wizard to start the wizard.
For guidance on how to enter the
proper values in the wizard
screens, see the online help or
Reference Manual.
2. Configure the Web and e-mail
threat management settings.
Follow the wizard prompts to configure these settings:
• Network settings: update these as needed.
• Define internal domains for scan policies on various types of traffic.
• Set the system time (NTP server) and time zone.
• Enable scanning of network protocols.
• Define default scan actions when the unit detects threats.
• Define scan exceptions such as the maximum file size.
• Specify the notification server and notices for e-mail notices.
• Configure web interface security (inactivity time-out and ACL members).
Activate the Service Licenses
Note: Activating the service licenses initiates their term of use. Activate the licenses only
when you are ready to start using this unit.
1. If your STM600 included a
license key card, refer to it.
Be sure to store the license key
card in a secure location. Not
only will you need these keys
to activate your product during
the initial setup, but also to
reactivate the licenses if you
ever have to reset the unit back to its factory defaults.
If you did not get a license key card, have your license keys available.
2. Register the licenses:
Note: Be sure that the unit has
Internet access before
registering the licenses.
a. Log in to the unit.
b. Select Support >
Registration to display
the Registration screen.
c. Enter the first registration
key and customer
information. Then, click
Register.
d. Repeat this step for the remaining keys. The STM600 will activate the licenses
and register the unit with the ProSecure support server.
Online Documentation and
Support
Select Support > Documentation to
view the STM600 Reference Manual.
Select Support > Knowledge Base to
view the STM600 support page,
which includes this document and the
Reference Manual. By going to
http://prosecure.netgear.com and
selecting STM600, you can also reach
the support page.
Technical Support
Thank you for selecting ProSecure products.
After installing your device, locate the serial number on the bottom label of your product
and use it to register your product at http://www.netgear.com/register.
Registration is required before you can use our telephone support service. The phone
numbers for worldwide regional customer support centers are on the Warranty and
Support Information card that came with your product.
Go to http://prosecure.netgear.com/support for product updates and Web support.
Go to http://prosecure.netgear.com/community/forum.php for information about the
ProSecure™ forum and to become part of the ProSecure™ community.
 Loading...