

Page 1
Installation manual
ProofVision
“Making it work in challenging conditions”
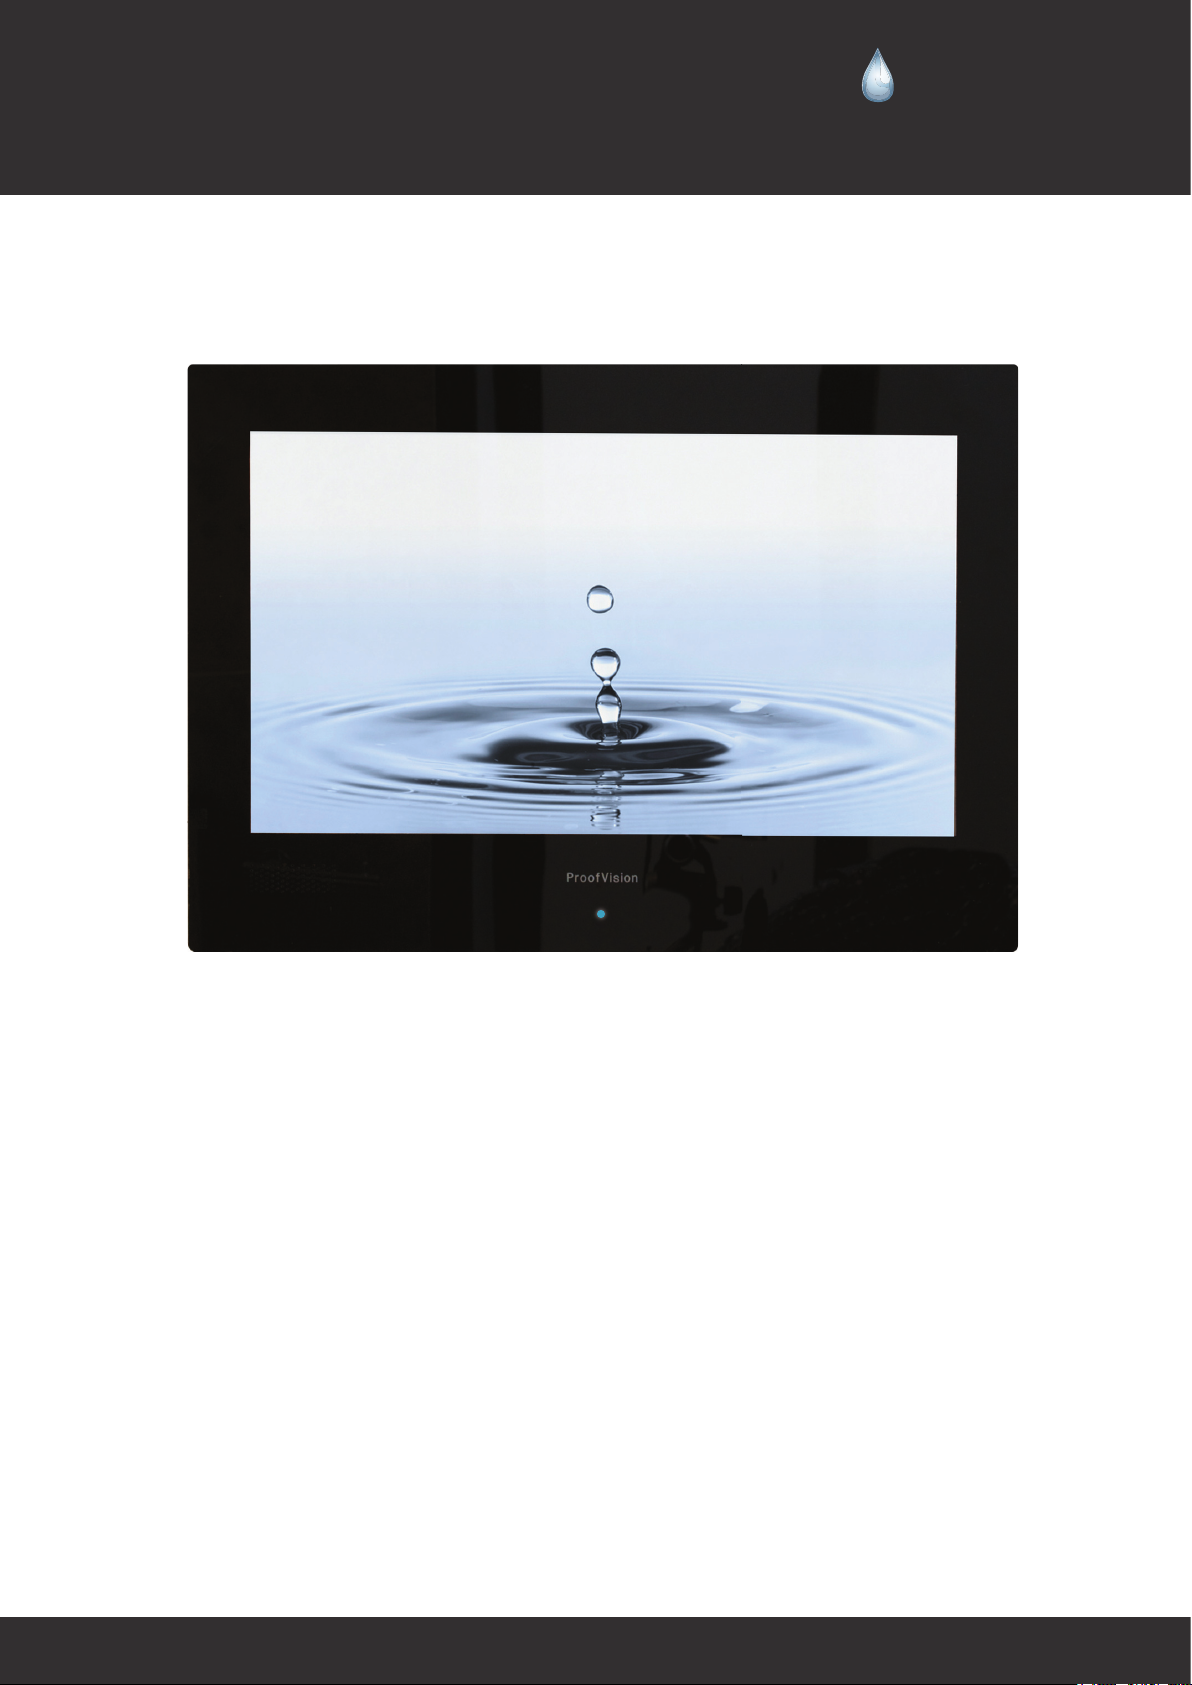
19” Waterproof TV
Dimensions of TV Front screen 490mm x 335mm x 3mm
Mounting Plate 474mm x 318mm x 48mm
24” Waterproof TV
Dimensions of TV Front screen 595mm x 397mm x 3mm
Mounting Plate 580mm x 380mm x 45mm
Page 2
Installation manual
PLEASE NOTE: installation of your TV should be carried out by a technical competent person and
confirm to all relevant regulations. If in any doubt please contact us or a qualified electrician. Your
warranty will be void if any problems are due to incorrect installation/ poor sealing of the unit.
1. Ensure that you get the correct viewing position when installing your mounting plate. Once you
have got the correct position check that there are no hazards around the area of installation, for
example, cables or pipes.
2. Please use our Mounting plate TV sizes below to cut out a recess in the wall to fit into the wall
depending on what TV size you have.
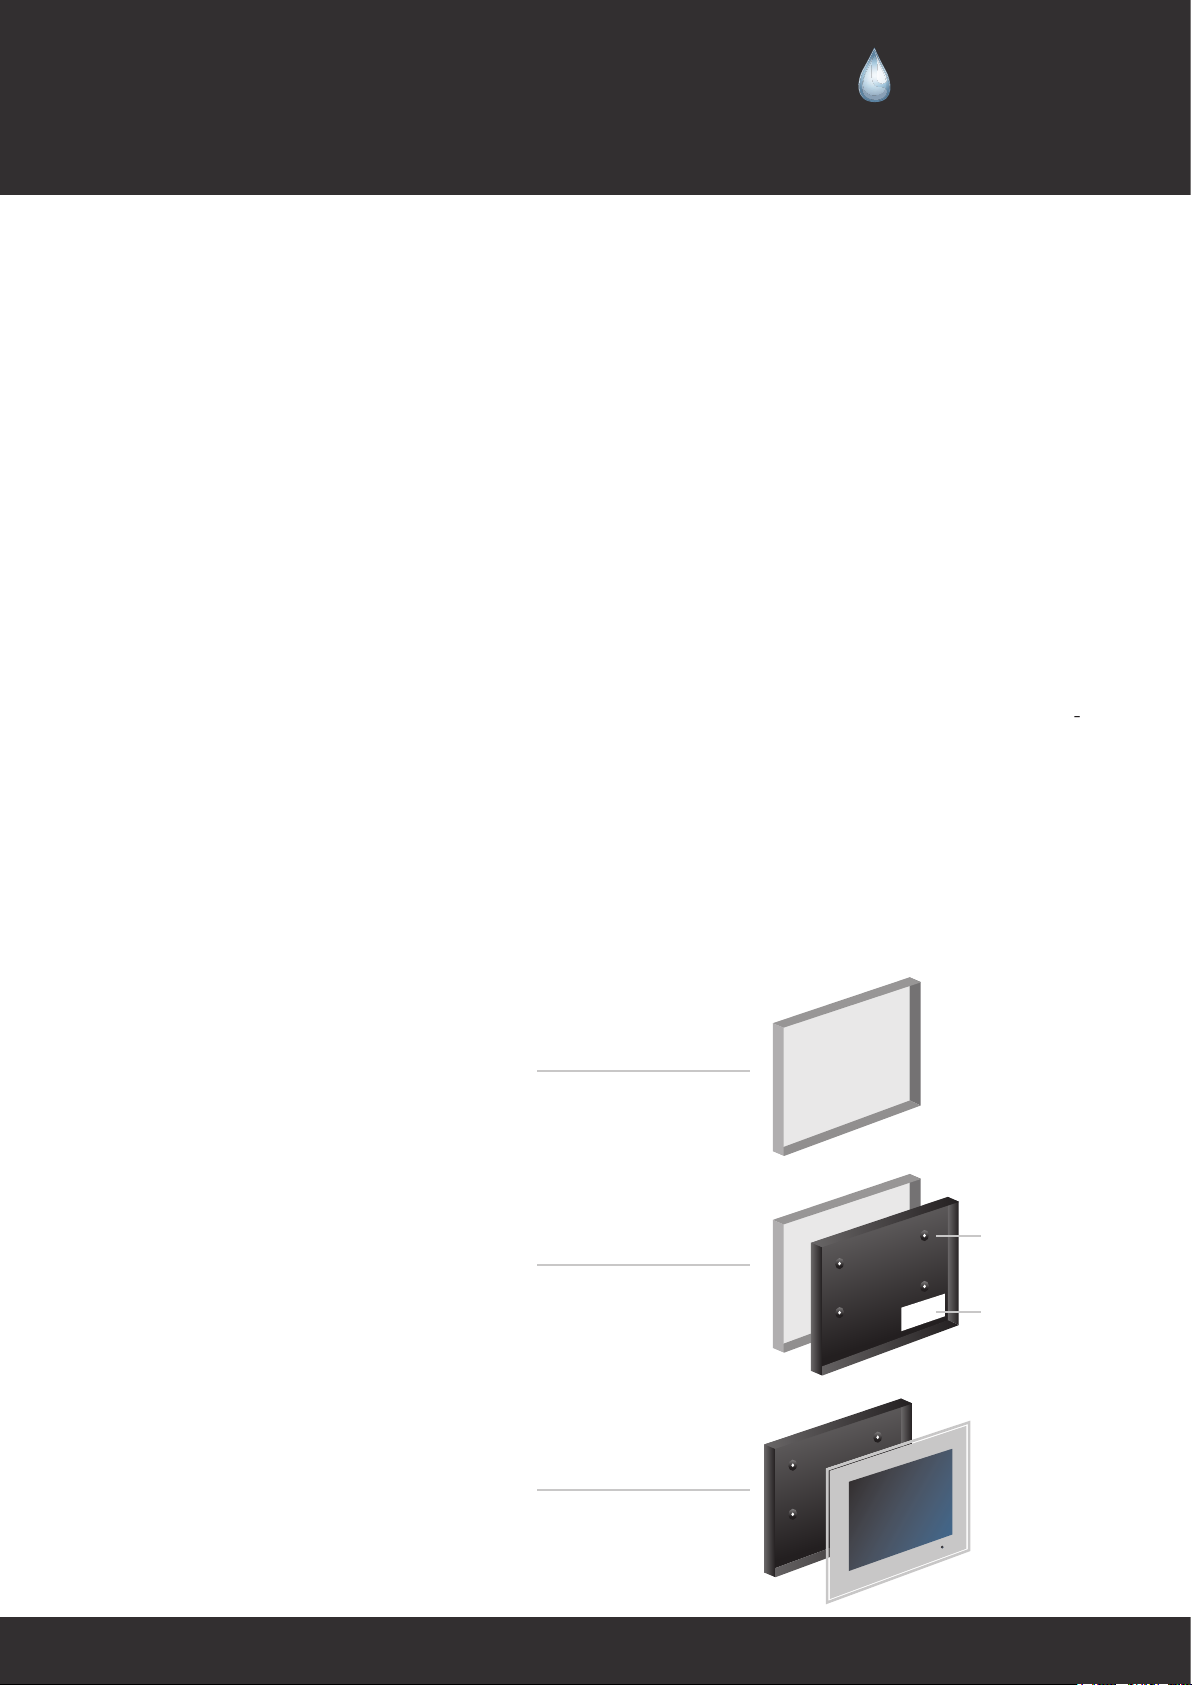
3. Un-screw the plate at the back of the TV unit and connect all wires needed, then screw back the
plate securely. Chase all cables into the cable hole as seen above.
4. Fix your mounting plate into place with the screws provided.
ProofVision
“Making it work in challenging conditions”
5. Once you have checked that the TV is functioning correctly and all cables are fitted, apply unbro-
ken bead of silicon to the inside of the TV bezel at least 5mm thick.
6. Please ensure the bezel is firmly sealed to the wall surface to complete the waterproof properties of
the installation. If it is not sealed correctly this will void your warranty.
Installing the mounting plate
1. Make a hole in the wall
(please leave enough room for the cables)
Screw hole
2. Position the mounting plate
3. Fit the waterproof television
Cable hole
 Loading...