

Page 1
General Operating Instructions
STOP
ST
AR
T
T
P
r
o
M
i
n
e
n
t
delta
®
gamma/ L
Beta
®
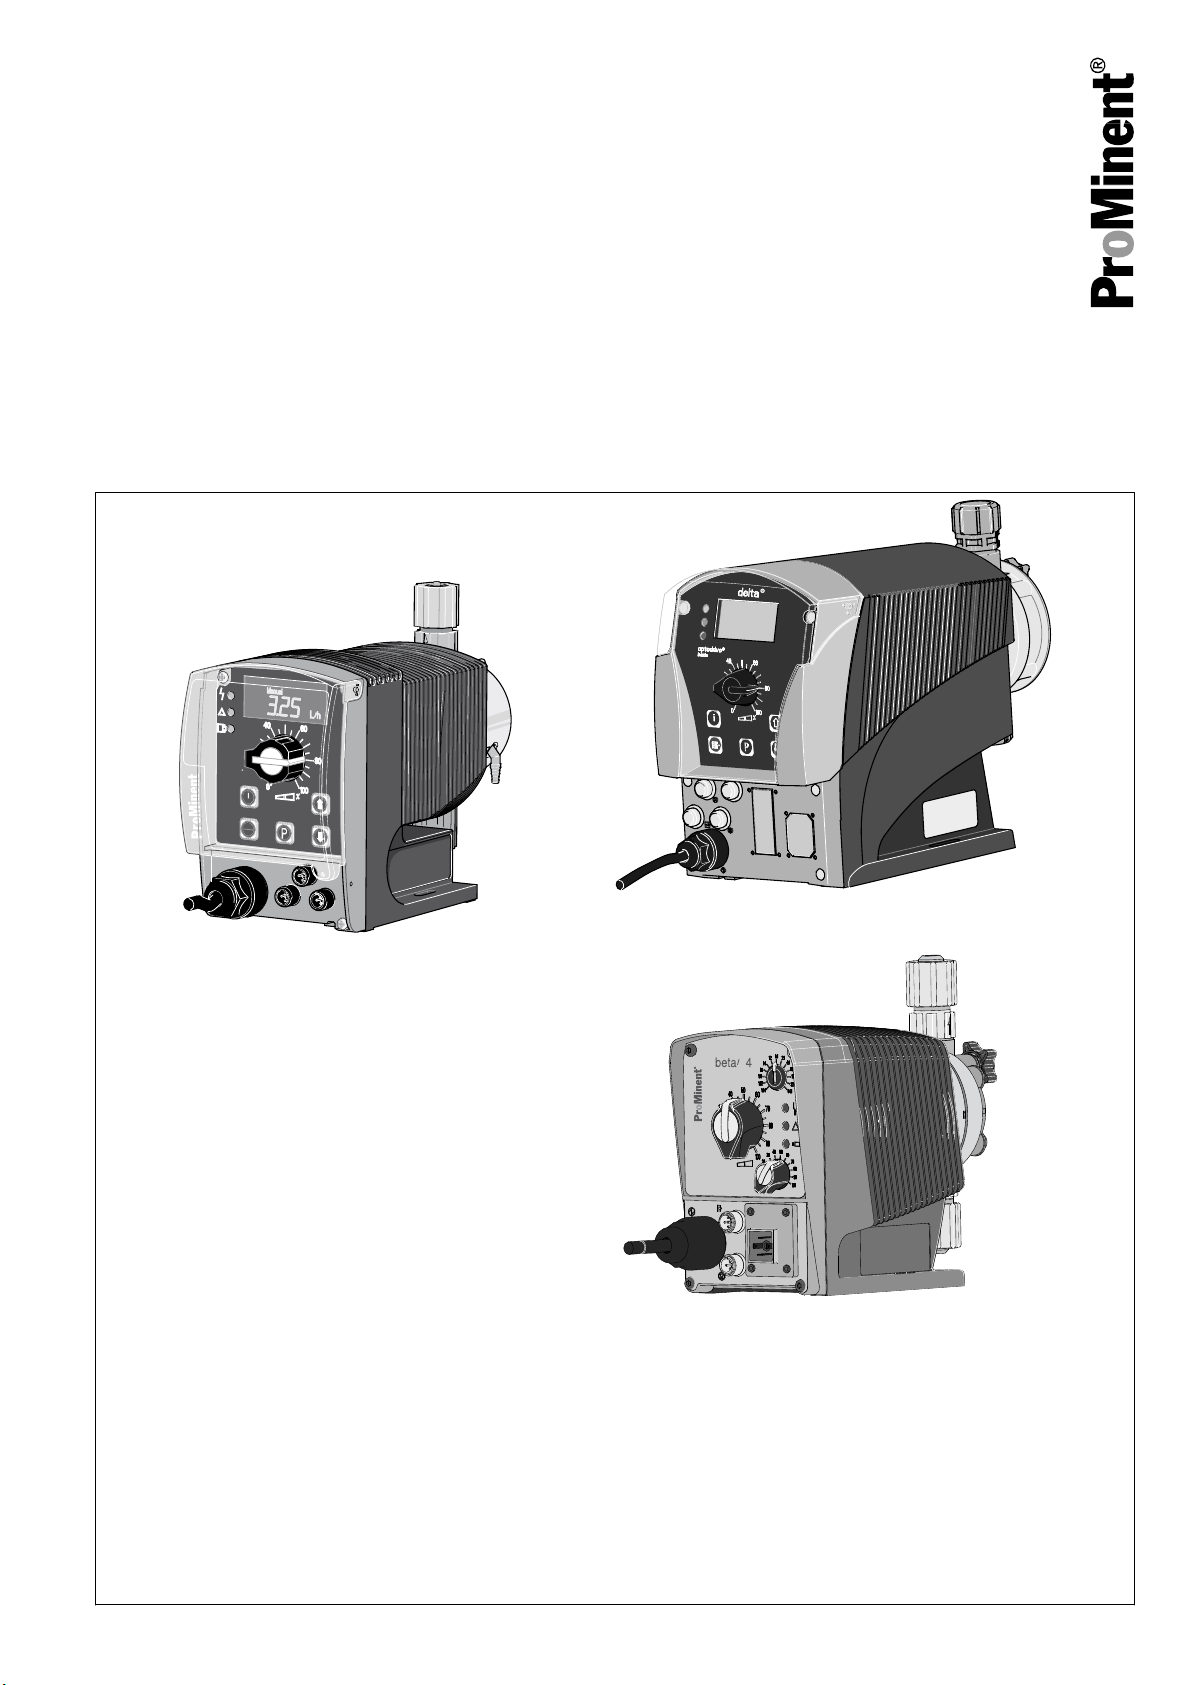
ProMinent® Solenoid Metering Pumps
Two sets of operating instructions are required for the safe, correct and proper operation of the metering pumps: the
product-specific operating instructions (for instance for beta) and the "General Operating Instructions for ProMinent® Sole‐
noid Metering Pumps".
Both sets of operating instructions are only valid when read together.
Please carefully read these operating instructions before use! · Do not discard!
The operator shall be liable for any damage caused by installation or operating errors!
Technical changes reserved.
Original Operating Instructions (2006/42/EC)Part no. 987057 BA MAZ 018 08/12 EN
Page 2

ProMinent Dosiertechnik GmbH
Im Schuhmachergewann 5-11
69123 Heidelberg
Germany
Telephone: 06221 842-0
Fax: 06221 842-617
email: info@prominent.com
Internet: www.prominent.com
987126, 1, en_GB
© 2003
2
Page 3
Supplementary information
Fig. 1: Please read!
Supplemental instructions
Read the following supplementary information in its entirety! Should you
already know this information, you have an even greater need of the Oper‐
ating Instructions.
The following are highlighted separately in the document:
n Enumerated lists
Instructions
Outcome of the instructions
ð
Information
This provides important information relating to the correct
operation of the device or is intended to make your work
easier.
Safety information
Safety information is identified by pictograms - see Safety Chapter.
User information
State the identity code and serial number
General non-discriminatory approach
Two sets of operating instructions are required for the safe, correct and
proper operation of the metering pumps: The product-specific operating
instructions and the "General Operating Instructions for ProMinent® Sole‐
noid Metering Pumps".
Both sets of operating instructions are only valid when read together.
Please read these operating instructions carefully before use! Do not dis‐
card!
Please state identity code and serial number, which you can find on the
nameplate when you contact us or order spare parts. This enables the
device type and material versions to be clearly identified.
In order to make it easier to read, this document uses the male form in
grammatical structures but with an implied neutral sense. It is aimed
equally at both men and women. We kindly ask female readers for their
understanding in this simplification of the text.
3
Page 4

Table of contents
Table of contents
1 Safety Chapter................................................................................. 5
2 Assembly......................................................................................... 7
Installation, hydraulic....................................................................... 8
3
3.1 Overview and Information on Accessories.............................. 8
3.2 Standard installation.............................................................. 10
3.3 Information on the suction-side installation........................... 11
3.4 Information on the discharge-side installation....................... 13
3.5 How not to install................................................................... 14
3.6 Special installation instructions............................................. 15
4 Start up.......................................................................................... 17
5 Accessories................................................................................... 20
6 Warranty claim............................................................................... 21
Installation details ......................................................................... 22
7
8 Decontamination declaration......................................................... 23
9 Index.............................................................................................. 24
4
Page 5
1
Explanation of the safety information
Safety Chapter
Safety Chapter
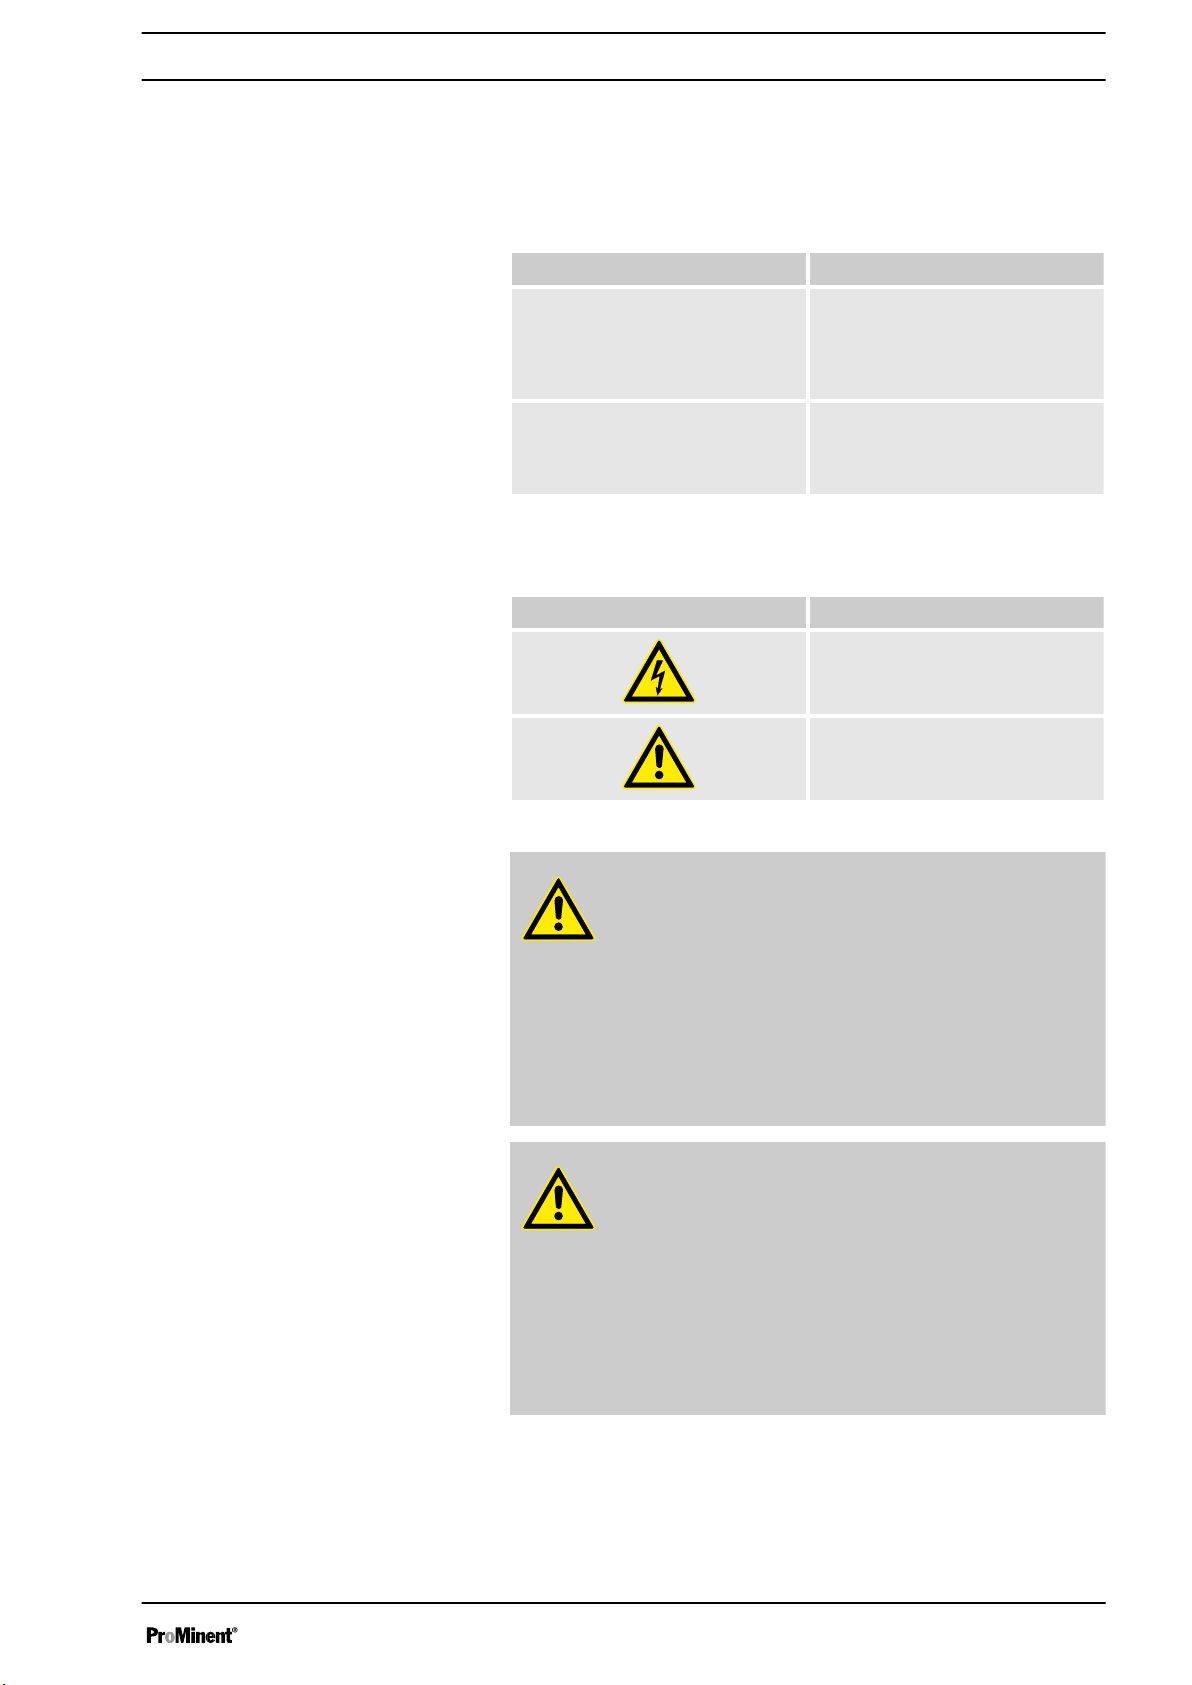
The following signal words are used in these operating instructions to
identify different severities of a hazard:
Signal word Meaning
Warning signs denoting different types of
danger
WARNING Denotes a possibly hazardous sit‐
uation. If this is disregarded, you
are in a life-threatening situation
and this can result in serious inju‐
ries.
CAUTION Denotes a possibly hazardous sit‐
uation. If this is disregarded, it
could result in slight or minor inju‐
ries or material damage.
The following warning signs are used in these operating instructions to
denote different types of danger:
Warning signs Type of danger
Warning – high-voltage.
Warning – danger zone.
WARNING!
Warning of hazardous or unknown feed chemical
Should a hazardous or unknown feed chemical be used, it
may escape from the hydraulic components when working
on the pump.
– Take appropriate protective measures before working on
the pump (protective eyewear, protective gloves, ...).
Read the safety data sheet on the feed chemical.
–
Drain and flush the liquid end before working on the
pump.
CAUTION!
Warning of feed chemical spraying around
Feed chemical can spray out of the hydraulic components if
they are manipulated or opened due to pressure in the liquid
end and adjacent parts of the system.
– Disconnect the pump from the mains power supply and
ensure that it cannot be switched on again by unauthor‐
ised persons.
– Depressurise the system before commencing any work
on hydraulic parts.
5
Page 6

Safety Chapter
CAUTION!
Warning of illegal operation
Observe the regulations that apply where the unit is to be
installed.
NOTICE!
Danger from incorrect dosing
Should a different liquid end size be fitted, this will change
the dosing behaviour of the pump.
– Have the pump reprogrammed in the works.
Information in the event of an emergency
In an emergency either press the customer installed emergency-off switch
or disconnect the pump according to the emergency-off management of
your system!
If feed chemical escapes, also depressurise the hydraulic system around
the pump. Observe the safety data sheet for the feed chemical.
6
Page 7
2
Assembly
Assembly
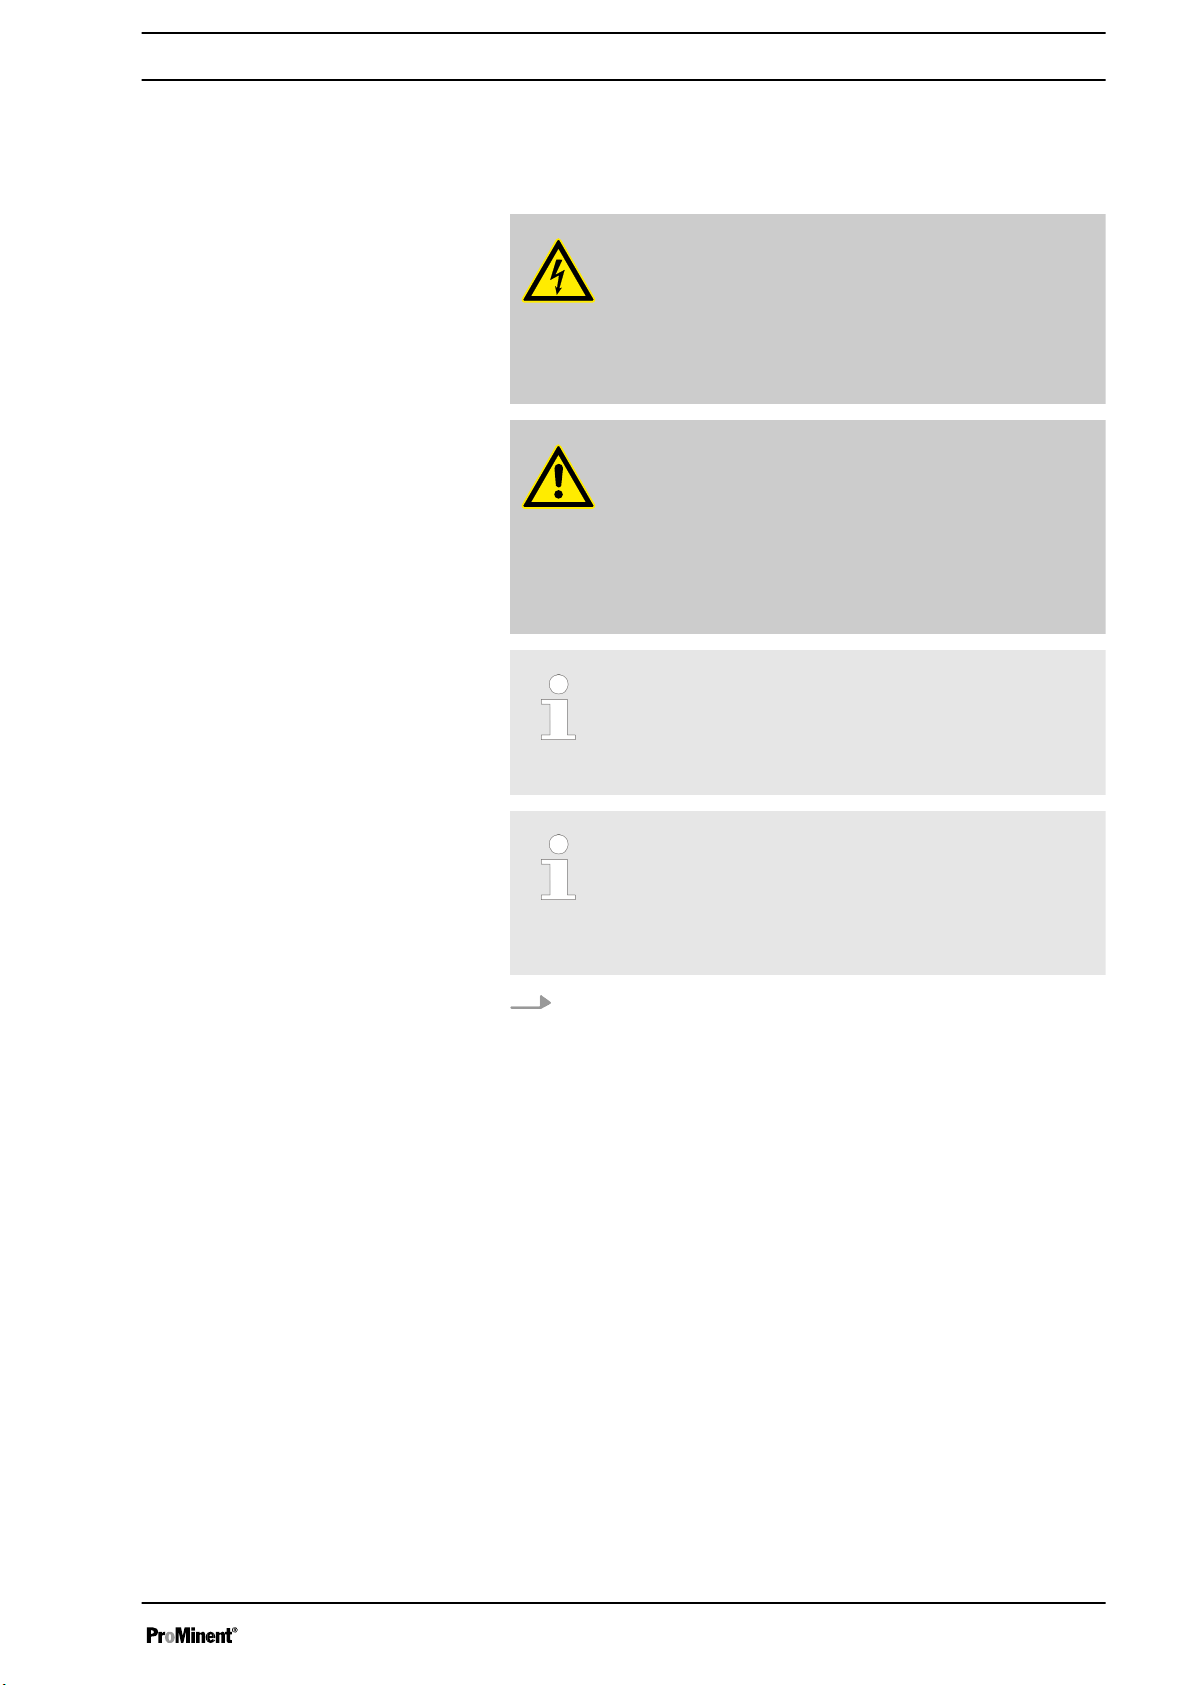
WARNING!
Risk of electric shock
If water or other electrically conducting liquids penetrate into
the drive housing, an electric shock may occur.
– Position the pump so that drive housing cannot be
flooded.
CAUTION!
Danger from incorrectly operated or inadequately maintained
pumps
Danger can arise from a poorly accessible pump due to
incorrect operation and poor maintenance.
– Ensure that the pump is accessible at all times.
– Adhere to the maintenance intervals.
Capacity too low
The liquid end valves can be disrupted by vibrations.
–
Secure the metering pump so that no vibrations can
occur.
Capacity too low
If the valves of the liquid end do not stand vertically upwards,
they cannot close correctly.
–
Suction and discharge valves must stand vertically
upwards (for self-bleeding liquid end, the bleed valve).
Mount the metering pump with the pump foot on a horizontal, level
and load-bearing supporting surface.
7
Page 8
pk_1_001_1_hydr
B
E
I
C
D
F
A
H
G
Installation, hydraulic
3
Installation, hydraulic
3.1
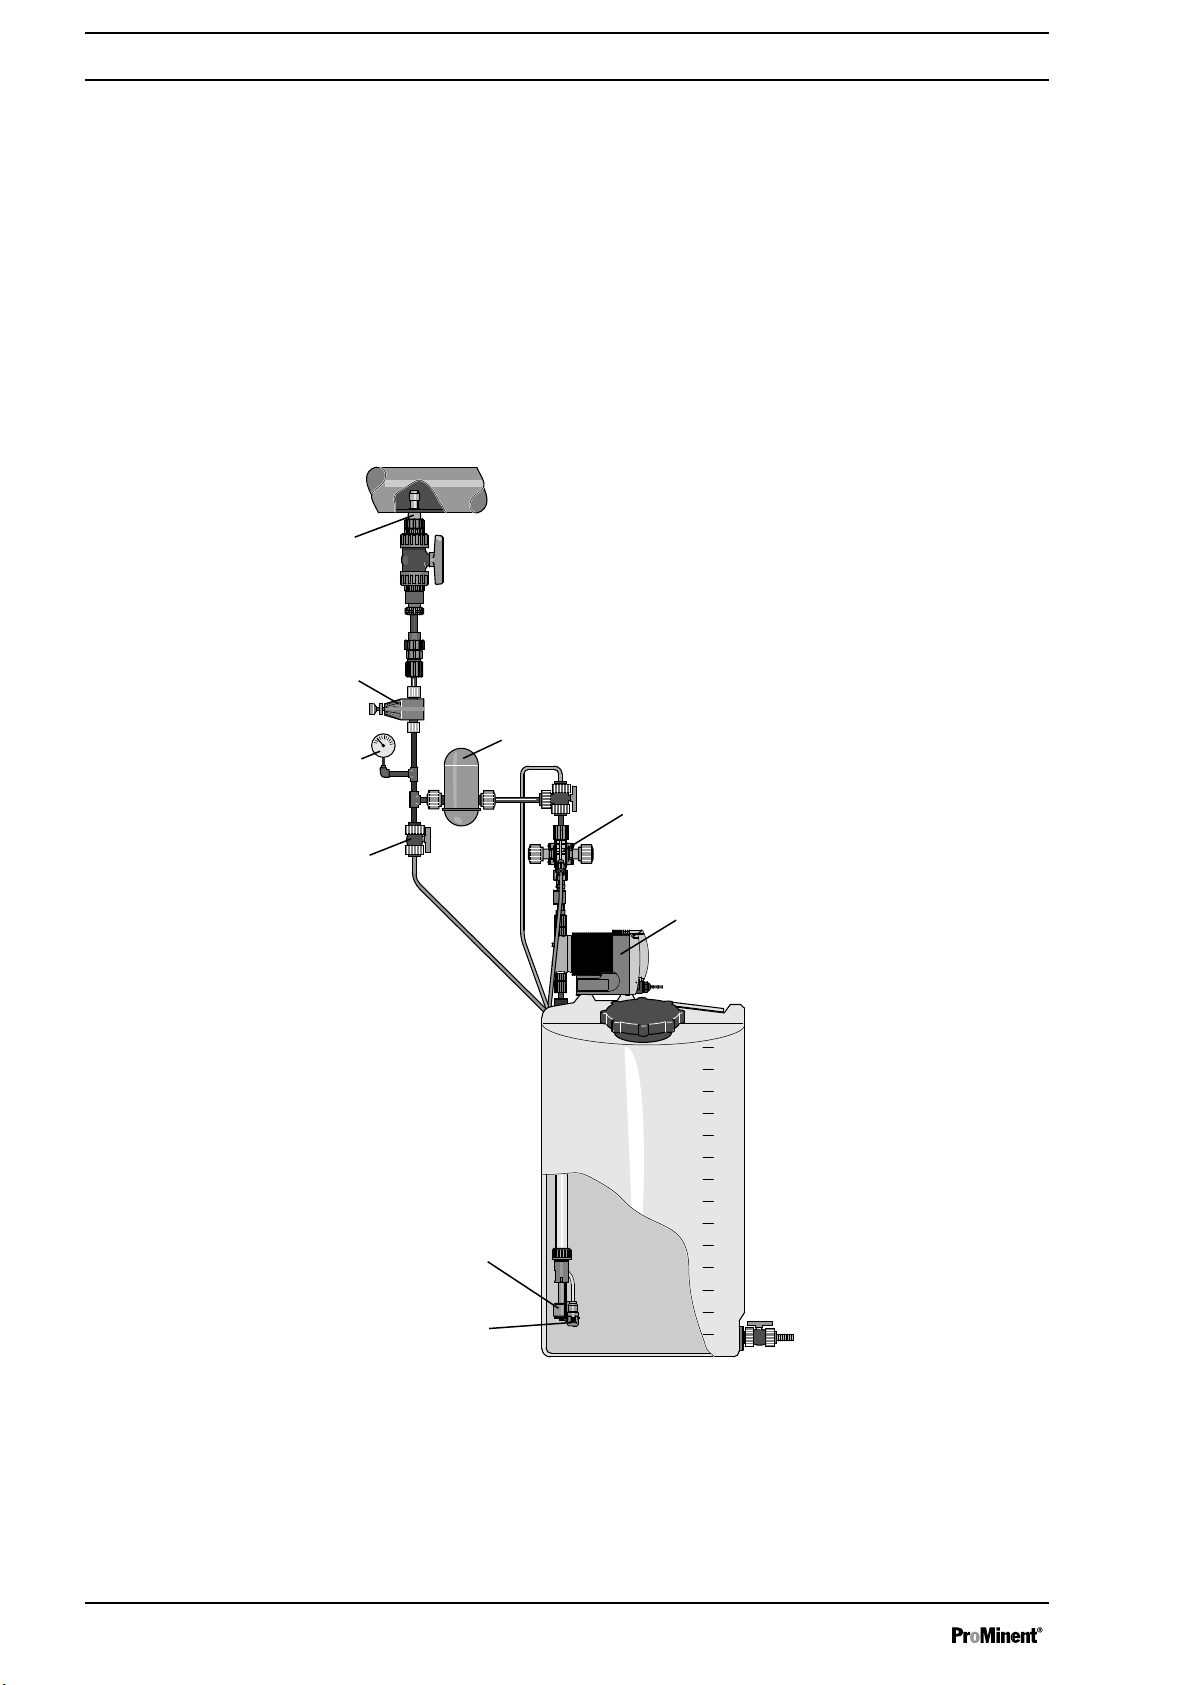
Overview and Information on Accessories
In addition to a correctly selected metering pump, individually combined
hydraulic and electrical accessories are needed for the perfect operation
of metering systems. A number of accessories are shown on the following
pages, which are not always needed but provide an overview of the pos‐
sible options. We would be happy to assist with the selection of the right
accessories for your metering tasks and are also available for ongoing
advice, for instance on pipe calculations.
Fig. 2: Example of an installation with different accessories
8
Page 9

System components Function Use
Installation, hydraulic
Metering pump* A Metering a defined volume in liquid into
a system. Control: manual or automatic
(external signal)
Perfect adaptation to metering tasks is
possible thanks to the variably adjustable
metering volume and external control
options.
Injection valve* B Non-return valve
(Vacuum breaker)
... with closed pipe systems to prevent
backflow and mixing with the discharge
line.
As a back pressure generator ... for use with pipe systems with a free
outlet, to generate a defined back pres‐
sure.
Shut-off valves C To split the pipe system into sections
(functional sections)
Pulsation dampener D Smooths out pulsation in the pipe (dis‐
charge side), generates a low-pulsation
... for maintenance, renovation or repair
work to shut down parts of the system.
... for use with long pipes to minimise pres‐
sure loss.
flow
... to generate continuous flow/metering.
... to avoid disruptive pipe vibrations.
Back pressure valve* E Generates a defined back pressure
(configurable)
... for use with pipe systems with a free
outlet, to guarantee the correct operation of
the metering pump.
... when using a pulsation dampener
Multifunctional valve* F Generates a defined back pressure ... for use with pipe systems with a free
outlet, to guarantee the correct operation of
the metering pump.
Prevents through-suction ... with a positive pressure difference
between the suction line and discharge
line.
Priming aid ... when operating the pump against pres‐
sure.
Relief device for the discharge line ... e.g. for repairs
Opens up a relief line when a pressure
limit value is set
...as a safety device to protect the metering
system from overloading by the metering
pump.
Relief valve* Opens up a relief line when a pressure
limit value is set
...as a safety device to protect the metering
system from overloading by the metering
pump.
Level switch G Signals the liquid level of the storage
...for the correct operation of the system.
tank
(two-stage design (with pre-warning) or
single-stage)
...to display a pending change of tank or fill
the storage tank.
...to protect the metering system from
sucking dry.
Foot valve* H Non-return valve (vacuum breaker) ... to protect the suction line from running
dry (e.g. when changing tanks).
With filter meshes as a coarse filter ...to protect the metering pump from coarse
particles of solids.
Manometer I
(general pressure measuring
device)
Displays the actual pressure, for
example at the pressure connector of
the metering pump
...to determine the actual operating pres‐
sure in the discharge line.
...crucial to adjust the back pressure valve
or relief valve.
9
Page 10

P_MAZ_0001_SW
2
1
Installation, hydraulic
System components Function Use
Vacuum cylinder Smooths out pulsation in the pipe (suc‐
Priming aid ... as a priming aid together with a vacuum
Filter Filters coarse particles of solids from
Solenoid valve Automatic shut-off valve
3.2
Standard installation
tion side), generates a low-pulsation
flow
the suction flow
Control: for example electrically locked
by the metering pump's mains power
supply
CAUTION!
* The system components in the table labelled with a * are
not absolutely leak-tight shut-off elements.
– For this purpose use a shut-off valve C or a solenoid
valve.
... to reduce pressure losses with longer
suction lines.
pump.
... to protect metering pump and system
from dirt and increased wear and tear.
... as a safety device for shutting off (tightly
sealing) the discharge line when the
system is idle.
Fig. 3: Standard installation
1 Main line
2 Storage tank
10
Page 11

Legend for all hydraulic diagrams
P_MAZ_0027_SW
P_MAZ_0057_SW
h
P_MAZ_002_SW
Installation, hydraulic
Icon Explanation Icon Explanation
3.3
Information on the suction-side installation
Bends
n Always use bends to curve lines - never angles.
Metering pump Foot valve with filter
meshes
Injection valve Filter insert
Settable back pressure
Hopper with float valve
valve
(also used as a relief
valve)
Multifunctional valve Level switch
Shut-off valve Manometer
Solenoid valve Filling device
Ball retaining valve Siphon device
Fig. 4
Length of suction line
Fig. 5
Height difference, suction side
Fig. 6
n Maintain the suction line as short as possible.
n The height h (see diagram) may only be smaller than or equal to the
suction lift of the pump P divided by the density rho of the feed chem‐
ical:
h (in m)≤ P (in mWS) / rho (in g/cm3)
n The height h - see diagram - and the cross-section of the suction line
must be dimensioned in such a way that the negative pressure cre‐
ated during the suction process cannot reach the vapour pressure of
the feed chemical being metered (cavitation!).
That is displayed in extreme cases by the dropping of the fluid level or
by an incomplete reciprocal stroke.
11
Page 12

P_MAZ_0003_SW
P_MAZ_0004_SW
h
P_MAZ_002_SW
P_MAZ_0005_SW
P_MAZ_0006_SW
Installation, hydraulic
With dirt or impurities in the feed chemical,
Fig. 7
With slightly gaseous feed chemicals
(hydrogen peroxide, sodium-calcium hypo‐
chlorite ...)
Fig. 8
n fit a filter insert (mesh width 100–400 μm depending on the feed
chemical and type of metering pump) for example.
n Always connect the suction line somewhat above the tank base or any
sediment accumulated.
n With feed chemicals containing impurities or sediment, suspend the
foot valve at a sufficient distance above the tank base or any sediment
that has accumulated - see Fig. 6.
n Preferably route the suction line with a falling rather than a rising gra‐
dient to prevent the priming of air bubbles.
n Install the pump with the feed on the suction side.
Avoid allowing the suction line to run dry.
Fig. 9
Prime without connecting options at the
tank base
n Install a foot valve at the end of the suction line, in case the pump is
higher than the maximum fluid level in the storage tank.
n Only shorten the free end of the suction line until the foot valve is sus‐
pended just above the container base.
n With high storage tanks without a connecting option at the tank base,
prime using a siphon line.
Install a filling device (
Fig. 10) or siphon vessel (Fig. 11) for the siphon
line (suction line).
Fig. 10
12
Page 13

Fig. 11
P_MAZ_0008_SW
P_MAZ_0007_SW
*
PD
P_MOZ_0001_SW
*
PD
P_MOZ_0001_SW
Installation, hydraulic
3.4
Information on the discharge-side installation
With return from the main line
n Install a vacuum breaker if the feed chemical may not press through
the metering pump. A metering pump is not an absolutely leak-tight
shut-off device.
n Install the injection valve at the injection point to prevent unwanted
mixing of water and feed chemical in the discharge line.
Fig. 12
Avoid exceeding maximum permissible
operating pressure
n A relief valve with a return into the storage tank is useful as overload
protection for the discharge line, for example install a ProMinent® mul‐
tifunctional valve.
n Dampen pressure peaks with a metering stroke with long discharge
lines with a pulsation dampener or increase the pipe cross-section.
Fig. 13
Fig. 14
With pulsations caused by acceleration
inertial forces
Fig. 15
* Ventilation line with pressure vessels
PD Pulsation damper
n Dampen the pulsations with a pulsation dampener in order to avoid
metering errors, premature wear and tear and damage to the metering
system.
* Ventilation line with pressure vessels
PD Pulsation damper
13
Page 14

P_MAZ_0009_SW
P_MAZ_0010_SW
P_MAZ_0011_SW
P_MAZ_0012_SW
Installation, hydraulic
3.5
How not to install
Fault description Cause Remedy
The suction line cannot be
bled.
A pocket of air (arrow) is in the
suction line.
Prevent the air pocket or install as shown in
high suction-side pressure 1’ on page 15
Fig. 16
Fault description Cause Remedy
Feed chemical flows uncontrolled
when the line is filled.
Siphon effect by discharge
line falling too deeply.
Interrupt the discharge line, as in
suction-side pressure 2’ on page 15
Fig. 17
Ä ‘With
.
Ä ‘With high
Fault description Cause Remedy
feed chemical
presses through the
liquid end.
The suction-side priming pressure is too high
caused by the negative pressure difference
between the discharge and suction side.
Install as shown in
pressure 3’ on page 15
Ä ‘With high suction-side
or
Ä ‘With high suc‐
tion-side pressure 3’ on page 15
Fig. 18
Fault description Cause Remedy
The suction line can pull off. The overflow line is routed back to the suction line, which is
secured with a foot valve or can be blocked.
The metering pump meters the
feed chemical in a cycle.
The overflow line is routed back to the suction line, whereby the
multifunctional valve possibly no longer closes after being
Install as in
Fig. 13.
Install as in
Fig. 13.
opened.
.
14
Page 15

Fig. 19
P_MAZ_0013_SW
P_MAZ_0014_SW
P_MAZ_0015_SW
P_MAZ_0016_SW
Installation, hydraulic
3.6
Special installation instructions
With high suction-side pressure 1
Fig. 20
With high suction-side pressure 2
n Position the end of the discharge line higher than the fluid level in the
storage tank to avoid overstraining.
n Position the outlet of the discharge line higher than the fluid level in
the storage tank to avoid overstraining.
Fig. 21
With high suction-side pressure 3
Fig. 22
With high suction-side pressure 1
n Install an adjustable back pressure valve in the discharge line and
install a shut-off valve in the suction line, which has to be closed when
the pump is at a standstill (preferably a solenoid valve).
n If the system is primed from lines with fluctuating pressure, use a
hopper with a float valve to ensure a regular discharge flow.
Fig. 23
15
Page 16

P_MAZ_0010_SW
P_MAZ_0010_SW
1
2
P_MAZ_0019_SW
P_MAZ_0020_SW
1
2
3
Installation, hydraulic
With fluctuating suction-side pressure 2
Fig. 24
n If the system is primed from a high feed level with fluctuating pressure,
use a hopper with a float valve to ensure a regular discharge flow.
With negative pressure in the main line
Fig. 25
With danger of deposits in the liquid end
n When metering into a main line, in which there is negative pressure,
install a multifunctional valve, a back pressure valve (DHV-RM) or an
injection valve in the discharge line to ensure that the feed chemical is
not sucked through.
n When metering suspensions, use flushing equipment (see Product
Catalogue Chapter 1.8) to prevent deposits in the liquid end.
1 Rinsing water
2 Flushing equipment
Fig. 26: Manual flushing equipment
Fig. 27: Automatic flushing equipment
There are two versions of flushing equipment:
n Manual flushing equipment
n Automatic flushing equipment
There are two flushing principles:
n Flushing when metering is interrupted (intermittent flushing)
n Flushing when metering is finished.
CAUTION!
Problems may arise if flushing cannot be performed cor‐
rectly.
– Ensure that the metering pump is idle during flushing.
– Do not exceed the maximum permitted flushing pressure
of 2 bar!
16
Page 17

4
Start up
Start up
WARNING!
Dangerous reactions are possible due to contact of feed
chemical with water
The feed chemical can mix and react in the liquid end with
water remaining after testing in the factory.
– Read the safety data sheet on the feed chemical.
– Blast the liquid end with compressed air.
– Flush the liquid end with a suitable medium through the
suction connector.
CAUTION!
Danger with dangerous feed chemicals
Provided the following handling instructions are followed,
contact with the feed chemical is possible.
– If the feed chemical is dangerous, take appropriate
safety precautions when carrying out the following han‐
dling instructions.
– Observe the feed chemical safety data sheet.
CAUTION!
Warning of feed chemical spraying around
An unsuitable feed chemical can damage the parts of the
pump contacted by the chemical.
– Take into account the resistance of the material con‐
tacted by the chemical when selecting the feed chemical
- refer to the ProMinent
equipment catalogue or at
Reliable metering cannot be guaranteed after the
–
®
resistance list in the product
www.prominent.com
.
metering pump has been idle for a long time, as the feed
chemical can crystallise in the valves and on the dia‐
phragm. Check the valves and diaphragm regularly - see
product-specific operating instructions.
–
Only adjust the stroke length when the pump is running.
–
The metering pump should prime at 100% stroke length,
as the priming lift depends on the stroke volume when
the liquid end is empty. If the metering pump has to
prime at a smaller stroke length and is not priming,
reduce the priming lift.
–
SEK-type only: The suction lift corresponds to the pri‐
ming lift, as some gas always remains in the liquid end
with gaseous media.
Starting up the metering pump
1.
Drain the liquid end -
2.
Fill the liquid end -
3. Check the pump connectors and connections for leak-tightness.
4. Check the suction valve and discharge valve for leak-tightness and
tighten if necessary.
5. Check the liquid end for leak-tightness and tighten the screws on
the dosing head if necessary - see below for starting torque.
6. Only with bleed valve: Check whether the bleed valve is closed.
17
Ä ‘Draining the liquid end’ on page 18
Ä ‘Filling the liquid end’ on page 18
.
.
Page 18

Start up
7. Start up the relief valve in the system.
8. Start up the system.
9.
Set the precise dosage -
on page 19
10. After 24 operating hours: Tighten the screws on the dosing head see below for starting torque.
.
Ä ‘Setting the precise dosage’
Draining the liquid end
Filling the liquid end
With feed chemicals that may not come into contact with water.
1. Turn the pump downwards using the pressure connector.
2. Allow water to flow out of the liquid end.
3. Flush the suction connector from above with a suitable medium or
blast with compressed air.
With liquid ends without bleed valves:
1. Connect the suction line to the liquid end but not yet to the dis‐
charge line.
2. Connect a short, transparent section of tubing to the discharge
valve.
3. Switch on the metering pump and allow to work at maximum stroke
length and stroke rate until some feed chemical becomes visible in
the short section of tubing.
The liquid end has been filled completely without bubbles.
ð
4. Switch off the metering pump.
5. Connect the discharge line to the liquid end.
The metering pump is ready for operation.
ð
With liquid ends with bleed valves (not SEK):
1. Connect the suction and discharge line to the liquid end.
2. Connect the return line.
3. Open the bleed valve by turning the star-shaped handle in a
counter-clockwise direction.
You can now bleed the pump using the return line.
ð
4. Switch on the metering pump and allow to work at maximum stroke
length and stroke rate until some feed chemical becomes visible in
the return or discharge line.
The liquid end has been filled completely without bubbles.
ð
5. Switch off the metering pump.
The metering pump is ready for operation.
ð
With self-bleeding metering pumps (SEK type):
–
The return line is connected to the vertical valve on the
top of the liquid end. It is labelled with a red sleeve from
factory.
–
The discharge line is connected to the horizontal valve.
1. Switch on the metering pump and allow to work at maximum stroke
length and stroke rate until some feed chemical becomes visible in
the return or discharge line.
The liquid end has been filled completely without bubbles.
ð
18
Page 19

Setting the precise dosage
Start up
2. Switch off the metering pump.
The metering pump is ready for operation.
ð
Stroke length and stroke rate
–
Select as large a stroke length as possible with gaseous
feed chemicals.
–
Select as high a stroke rate as possible for good mixing.
–
For precise metering using quantity-proportional
metering, do not set the stroke length to less than 30 %.
With SEK types: not less than 50%.
Use the diagrams to adjust the capacity
1. In the product-specific operating instructions: Open at the page with
the diagram of the pump type.
2. First determine the correction factor: To do so, highlight the oper‐
ating pressure for the application in the "Correction factor
dependent on operating pressure" diagram.
Go from the calculated value vertically upwards to the graph and
then horizontally to the left and read off the correction factor.
3. Divide the required capacity by the calculated correction factor and
highlight this figure on the "C [l/h]" axis in the "Capacity dependent
on stroke length and stroke rate" diagram.
4. Move from this point horizontally to the left and then move from the
intersections with the straight lines for the adjustable stroke rates,
move vertically downwards to the "Stroke length [s]" axis.
5. Set one of the stroke rates obtained in this way and the associated
stroke length on the metering pump.
The measurements to calculate the capacity for the corre‐
sponding diagrams were performed with water. The correc‐
tion factor was determined at a stroke length of 70%. Spread
of pump capacities across all material versions: 5 to +15 %.
19
Page 20

Accessories
5
Accessories
CAUTION!
Danger of personal and material damage
The use of untested third party parts can result in damage to
personnel and material damage.
– Only fit parts to dosing pumps, which have been tested
and recommended by ProMinent.
n Level switch
2-stage, with 2 m connecting cable.
n Fault indicating relay
for reporting faults.
n Fault indicating and pacing relay option
for reporting faults and pacing other devices.
n Signal cable
Universal signal cable 5-wire / 2 m, 5 m and 10 m
External contact cable 2-wire / 2 m, 5 m and 10 m
n Foot valves
with suction filter and ball check for connection at the end of the suc‐
tion line.
n Injection valves
with spring-loaded ball check for metering in open and closed systems
and for fixing the discharge line.
n Injection lances
for metering in large pipe cross-sections and for preventing blockages
with crystallising feed chemicals.
n Multifunctional valves
for fitting directly on the pump's dosing head with the functions: back
pressure valve, relief valve, priming aid, discharge line relief.
n Back pressure valves
for precise metering with low operating pressure or as overflow safety
valve.
n Accumulators
for pulsation damping with, for example, long discharge lines.
n Dosing monitors
for the monitoring of metering. After a reasonable number of unac‐
knowledged strokes, the fault is displayed and the metering pump
switched off.
n Suction lances
with foot valve and level switch for disposable containers or storage
tanks.
n Flushing equipment
for flushing and cleaning dosing heads, metering lines and injection
valves. As a manual or automatic, time-controlled design.
n Storage tank
from 35 to 1000 l content with lockable screw lid and requisite acces‐
sories.
n Manual/electric stirrers
for mixing and batching metering solutions.
n Brackets
for stable installation of the pump.
20
Page 21

6
Please copy and return with the pump!
If the meter ing pump fail s within the warran ty per io d, ple ase r eturn it to us
in a c leaned sta te w it h a fu lly co mplet ed warranty
claim.
Please complete in full!
No.
Warranty claim for pump
Date:
Electrical fa ult
Connectors, like plugs or cables loose
Operating elements (e.g. switch)
Control
Mech anica l fault
Non-typical wear and tear
Wear parts
Breakage/Other damage
Corrosion
Damage during transport
Leakage
Connectors
Dosing head
Tel. no.:
No or p oor pump ing
Diaphragm defective
Other
Cond itio n s of use:
Company:
Installation site/Description of system:
Accessories used:
Commissioning (date):
Operating time
(approx. operating hours):
Please provide installation data and include a sketch of the system!
Address:
Administrator (customer)
Order no.: .
Delivery date:
Serial number:
Pump type / identity code:
Brief des cr ip tio n of fault
Type of fault
Warranty claim
Warranty claim
21
Page 22

Install ati on details
Sketch enclosed:
Pump
Type:
Pump capacity
Stroke rate
Stroke length
Valve spring pressure, suction-side
Valve spring pressure, discharge-side
l/h
Strokes/min
%
bar
bar
Description/Concentration
Proportion of solids/Grain size
Solids material/Degree of hardness
Dynamic viscosity
Density
Vapour pressure at operating temperature
Medi um
- / %
% / mm
- / (Mohs scale)
mPa s (cP)
kg/m3
bar / °C
Pressure in the suction tank
Nominal width of suction line
Suction lift min./max.
Feed height min./max.
Length of suction line
Number of angles/valves
Pulsation dampener
Sucti on-side system
bar
DN / mm
m
m
m
litr
litr
Pressure vessel
Static system pressure min./max.
Nominal width of discharge line
Length of discharge line
Discharge lift
Number of angles/valves
Pulsation dampener
Discharge-sid e
bar
DN/mm
m
m
litr
Pressure vessel
litr
P_MOZ_0003_SW
Cust omer:
Project no.:
Date:
Diaphragm
Diaphragm
Installation details
7
Installation details
22
Page 23

8
Decontamination declaration
Decontamination declaration
23
Page 24

Index
9
A
Assembly
Avoid deposits in the liquid end.....................................
C
Components.................................................................... 9
D
Decontamination declaration......................................... 23
Discharge-side installation............................................ 13
E
Emergency...................................................................... 6
Example of an installation............................................... 8
Explanation of the safety information ............................. 5
F
Fluctuating suction-side pressure................................. 15
Flushing equipment....................................................... 16
Flushing principles........................................................ 16
H
High suction-side pressure............................................ 15
How not to install........................................................... 14
Index
......................................................................... 7
16
I
Information in the event of an emergency....................... 6
Information on the discharge-side installation............... 13
Installation, hydraulic....................................................... 8
Installation details ......................................................... 22
N
Negative pressure in the main line................................ 16
O
Overview and Information on Accessories...................... 8
S
Special installation instructions..................................... 15
Standard installation...................................................... 10
Suction-side pressure, fluctuating................................. 15
Symbols........................................................................ 11
System components........................................................ 9
W
Warning sign................................................................... 5
Warranty claim.............................................................. 21
Wrong............................................................................ 14
24
 Loading...