

Page 1
1
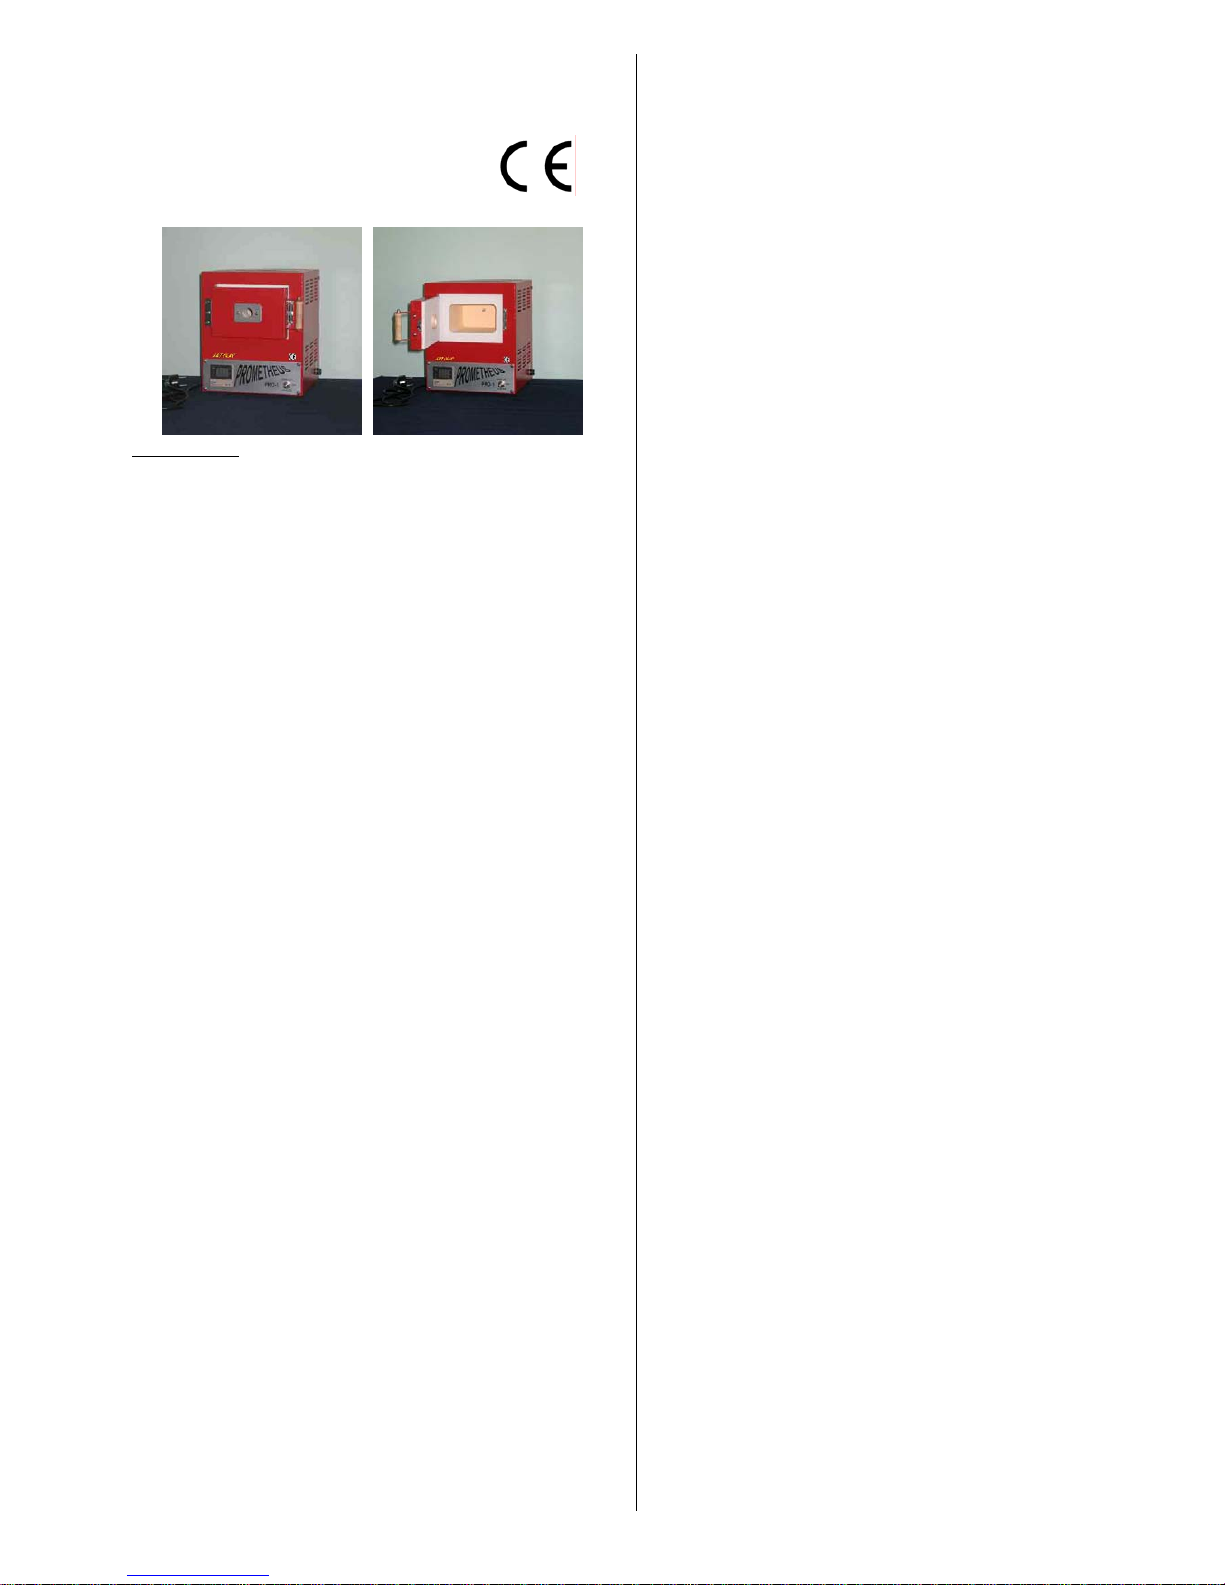
PROMETHEUS
PRO-1
Multi-Functional Kiln Instruction Guide
CONTENTS
(1) Technical Specifications
(2) When You Receive the Kiln
Inspect the kiln
Save the Shipping Box
(3) Important Safety Rules
(4) Setting up
Electrical Installation
Where to Locate
(5) Running the Kiln
Firing Temperature Adjustment
Starting To Heat
Loading the Kiln
Firing Temperature and Hold Time
Unloading the Kiln
(6) Important Points
Read the Instruction
Outer Surfaces of the Kiln
Ceramic Surfaces
Embedded Heating Element
Protect Your Kiln from Harmful Materials
Cleaning the Heating Chamber
Check the Thermo-Couple
Optional Glass View Window
Electrical Data Plate
(7) Needless Worries
********************************************
Thank you for preferring PROMETHEUS Kilns. Our kilns are
designed to give you best service for many years.
Please read this Instruction Guide carefully. This will
answer your many questions to provide you the most enjoyment
from your kiln without damaging your kiln and harming
yourself.
********************************************
(1) TECHNICAL SPESIFICATIONS:
Volts: 220 V
Amps: 3.2 A
Watts: 700 W
Temp. Control: Digital
Max. Temp: 1000 ºC
Outer Dimensions: 22.5 cm(W).x 22.0 cm(D).x 28.0 cm(H)
Inner Dimensions: 11.5 cm(W).x 13.0 cm(D).x 7.0 cm(H)
Weight: 5.7 Kg.
PROMETHEUS Pro-1 is a Multi-F unctional Kiln for
Hobbyists and Professionals as well. ENAMELLING; Firing
SILVER CLAY and GOLD CLAY works, small articles of
CERAMICS; GLASS-FUSING, GLASS BEADS and
GLASS MOULDING; ANNEALING and HARDENING of
SILVER, GOLD and OTHER METALS are som e of the fields
Pro-1 can serve you.
********************************************
(2) WHEN YOU RECEIVE:
Inspect Your Kiln: Check th e Bill of Lading number and be
sure the number on the parcel you would take delivery of, is the
same. Before signing the receipt document, check the carton for
damage. (Ruptures, holes, crushed, etc.) If you see any damage
on the carton, you can return by refusing the shipment or accept
it with the drivers note, on the Bill of Lading and inform our
company or our dealer who has delivered the parcel to you, by
fax or e-mail. Inspect the outer surfaces of your kiln, open the
kiln door and inspect the heating chamb er. If you observe any
damage, inform our company or our dealer who has delivered
the parcel to you, by fax or e-mail.
Save the Shipping Carton: If you would take your kiln to
vacation or seminars or return to factory for repairs, this carton
will provide maximum protection during transportation. If you
haven’t save the carton, place your kiln, the door up, back side
down, on a soft surface; support it at the sides. Vibration during
travel may damage your kiln.
********************************************
(3) IMPORTANT SAFETY RULES
An Electric Kiln is as safe as your iron if these basic safety rules
are followed:
• Locate your kiln in a good ventilated, sheltered place.
• Put your kiln on a fire-proof surface, minimum 30 cm away
from doors, walls and apart from any curtains or
combustible materials.
• Unplug your kiln, when n ot in use or before serv icing.
• Do not touch hot surfaces.
• Avoid unsupervised children enteri ng your work-shop.
• Keep the main cord away from the hot surfaces of your kiln.
• Do not touch heating element with anything. This may
cause SERIOUS ELECTRIC SHOCK!
• Do not leave your kiln unattended while firing.
• Wear protective glasses when you look into hot kiln.
• TURN OFF the kiln before opening the kiln door, when
loading or unloading.
• Wear thick work gloves when loading or unloading your
kiln.
• Do not fire any material which you wouldn’t know how it
behaves at high temperatures. (Explosi on, d anger ous fum es,
etc. can be caused.)
• Do not keep food at your wor king area.
********************************************
(4) SETTING UP:
Electrical Installation: Do not use an extension cord. If it is
essential, use not thinner than 3 X 0.75 mm. and not longer than
500 cm. Variations at th e voltage may decrease or in crease the
heating rate of kilns. If the vo ltage drops to low, the kiln may
not even reach the desired temperature.
Page 2
2
Where to Locate:
1- Locate your kiln in a dry, good ventilated, sheltered
place.
2- Do not keep any combustible materials in the kiln
room. (paints, solvents, gasoline, etc.)
3- Place your kiln minimum 30 cm. away from the walls
and far from curtains, window frames, etc.
4- Do not allow the temperature of your kiln room to
exceed 40 °C. Use air conditioner or fans, to lower the
temperature if necessary.
5- Although your kiln does not give dangerous heat to the
surface it is located on, we recommend it to be sat on
a fire proof plate about 50 X 50 cm., to provide a
safe place to put hot articles remover from the kiln.
6- Keep the main cord apart from the kiln.
********************************************
(5) RUNNING THE KILN
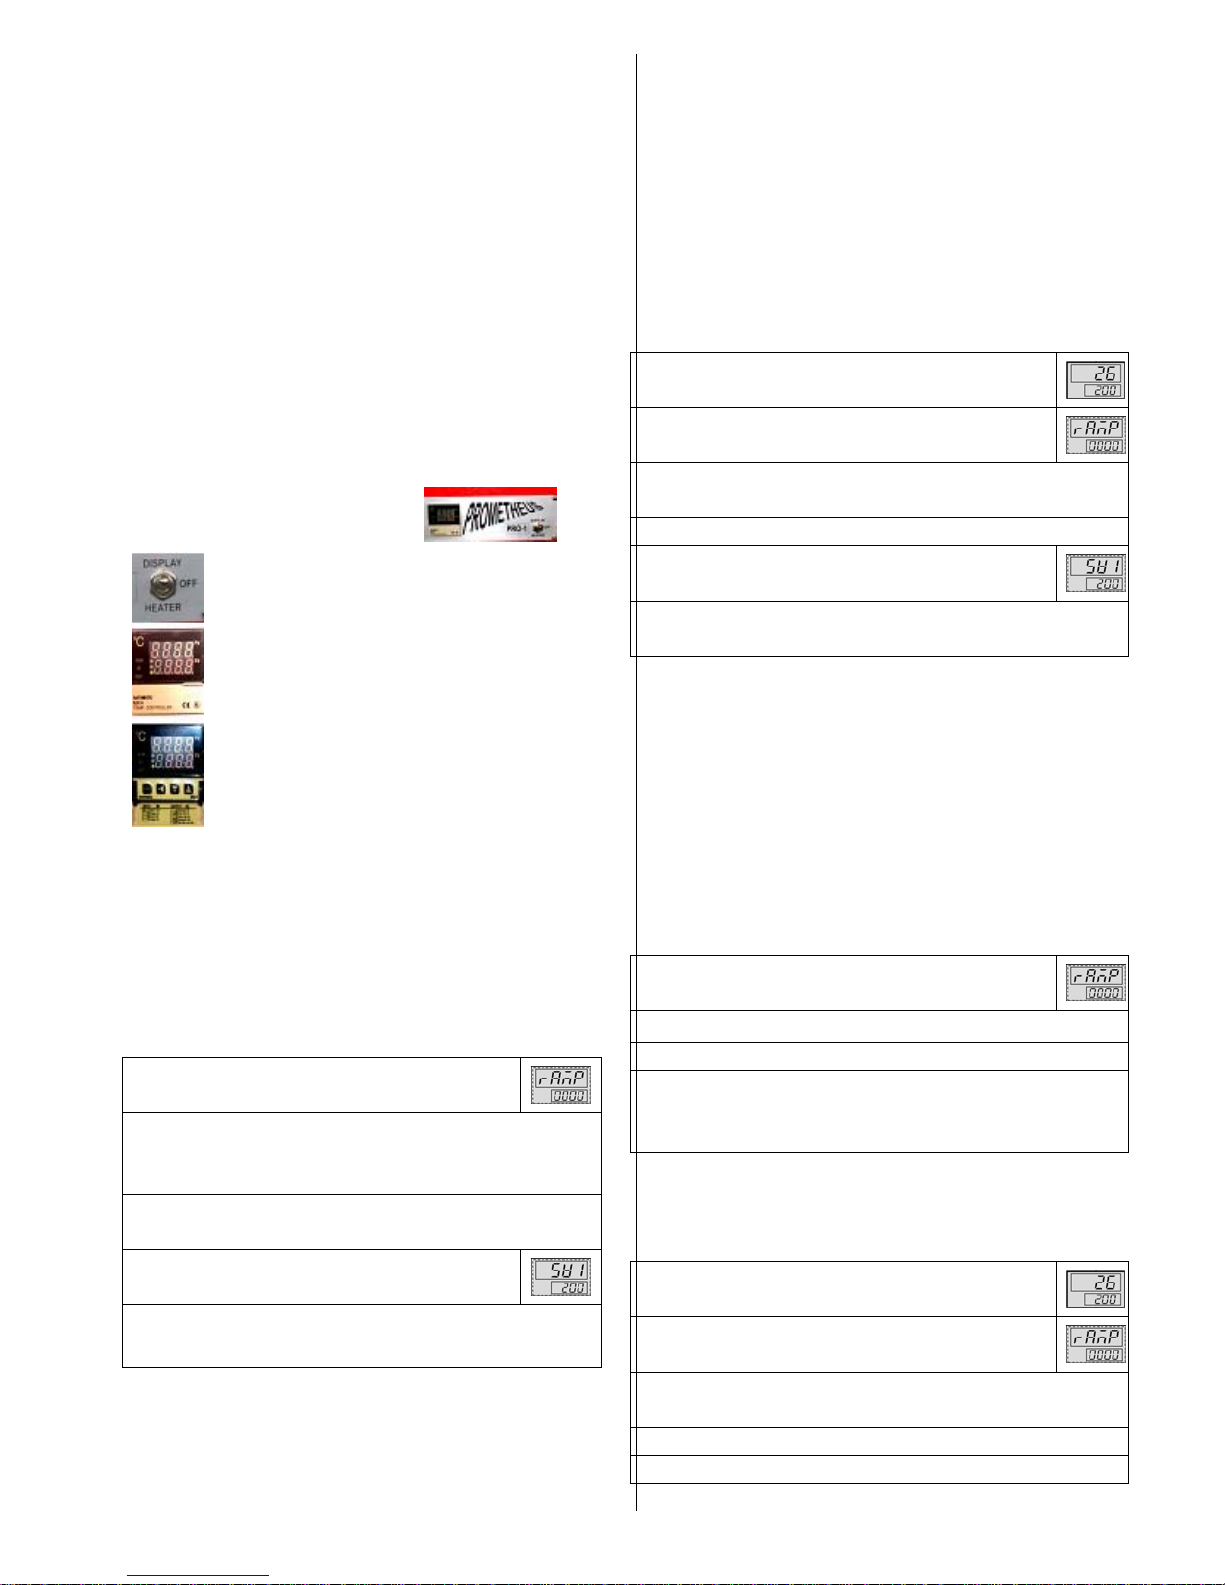
At the lower part of the front face, you see the
Control Panel. On the left side of the Panel, is the
3-Position-Swich. When the switch is in the
DISPLAY Position, on the DIGITAL
TEMPERATURE CONTROLER, at the upper
line, in a few seconds you can read the present
temperature of the heating chamber of your kiln.
And at the lower line, the firing temperature
already set. To adjust the working temperature
according to the materials you would be working
with, just do the following steps.
Firing Temperature and RAMP Adjustment
Ramp Function will give you the opportunity of
heating OR cooling, in a period of time, which you can
easily adjust. Now let’s see how it is done.
Take the switch to “Display” position, wait and see the
“Operation Screen”.
Press “mode” for 3 sec., and see,
Adjust 0000 to any value between 0000 and 0540. (This is
the time -in minutes- which you want the process to
complete) and turn the kiln off.
Take the switch to “Heater” position, wait and see the
“Operation Screen”.
Press “mode”, and see,
Adjust your target temperature as usual and press “mode”
twice.
Now you have started your “1-step- program”. On the
“Operation Screen”, you see 2 numbers: On the upper
row, yellow numbers indicate the present temperature of
heating chamber. On the lower row, red numbers indicate
the determined temperature, the kiln must reach for that
vey moment. This is calculated by the Temperature
Controller and impuls are sent to the heating elements to
keep the heating or cooling process in the limits of the
programm.
SAMPLE OPERATIONS
Operation no I :
“I want my Pro-1 to heat up to 650 deg.C, in 90
minutes”.
Turn on your kiln to “ Display” position and wait for
the “ Operation Screen”.
Press “mode” for 3 sec., and see,
Adjust displaying number to 0090 and press”mode” and then
turn off the kiln.
Turn on your kiln to “ Heater” position,
Press “mode” and see,
Adjust the red numbers to 650 and press “mode” twice.
That’s all.
Now at the upper row you see the present temperature of
the heating chamber and at the lower row the temperature
steps which the controller guides the heating elements to
follow. At the end of the decided period, the kiln will
reach to the Target Temperature step by step.
Operation no II :
“ I have fired my work, now I want it to cool down (to
room temp.) in 6 hours( 360 min.)”
(We assume your kiln is still at “ heater or display”
position) Press “mode” for 3 sec. and see,
Adjust displaying number to 0360 and turn off the kiln.
Turn on to “Heater” again, press “mode”,
Adjust the red numbers to 0000 and press”mode” and then
press “mode” twice.( or any number bellow your room
temperature).
Operation III:
“ I want my kiln heat up to 780 deg C., at full power).
Turn on your kiln to “ Display” position and wait for
the “ Operation Screen”.
Press “mode” for 3 sec.
Adjust displaying number to 0000 and press”mode” and then
turn off the kiln.
Turn on to “Heater” again, press “mode”,
Adjust the red numbers to 0780 and press “mode” twice.
Page 3
3
Starting To Heat: The thermal isolation of your kiln contains
some cellulose type bonding materials. During the initial
heating, you will notice some fume or odor similar to burning
paper. It is harmless, as you would expect but ventilate your
place well and do not let persons with respiratory health
problems in the room until the odor is completely finished.
Firing Temperature and Hold Ti me: The firing temperature
and the hold time of a n y m at erial you w oul d us e a re un der you r
responsibility. Refer to using instructions of the materials you
would consume
Loading The Kiln: Do not put any object to be fired, directly
inside the firing chamber, but use some kind of ceramic tray to
avoid the object touching the heater chamber bottom. For
example, you can use a ceramic fiber shelf, alumina bowls, etc.,
according to your works.
Every time, put your kiln to “OFF” position b e fore opening the
kiln door. Use protective glasses and work glows. Put the
objects to be fired on the cerami c tray, and place the tray into
the kiln with tongs long enough to protect you from h eat and
close the door. Be sure that it is complet ely closed and turn the
switch to “Heater” position. Do not leave the k iln door open
longer than necessary and close it tightly. High heat which
would escape from the gaps between the door and the front side
of the heating chamber causes discoloration at the paints of the
kiln.
Because of opening the kiln for a short time, the temperature of
the heating chamber will fall some degrees which you would
see on the indicator. Wait until it reaches the temperature you
have adjusted and start your chronometer or alarm watch for
hold time.
Unloading of Fired Objects: Turn your kiln to “OFF”
position. Put protective gl asses and work glows on. Hold the
tongs, enameling tray, etc., op en the kiln door, take the THE
CERAMIC TRAY out, with the fired object on it and close the
door. Leave it on the fire proof plate as it is and let it to cool.
Note: Do not hurry while loading and unloading but do it in a
short time. Do not leave the kiln door longer than necessary and
close it tightly. High heat w hich would esca pe from the ga ps
between the door and the front side of the heating chamber
causes discoloration at the paints of the kil n. When taking a
break for a period, turn your kiln to”OFF” position. If you
would be by your kiln and want to watch the kiln temperature,
you may turn it to “DISPLAY” position where only shows the
temperature but not heats. When you complete your study, turn
your kiln to “OFF” position, unplug and leave it to cool the door
closed. To leave your kiln door fully or partially open is not
convenient. Heating chamber, ceramic surfaces can be
damaged, the painted surfaces adjacent to door opening can be
discolored, even burned.
********************************************
(6) IMPORTANT POINTS
Read the Instruction Guide: Before operating your kiln read
every page of this guide carefully.
Maintenance: Before any maintenance, be sure the kiln is
unplugged and completely cold.
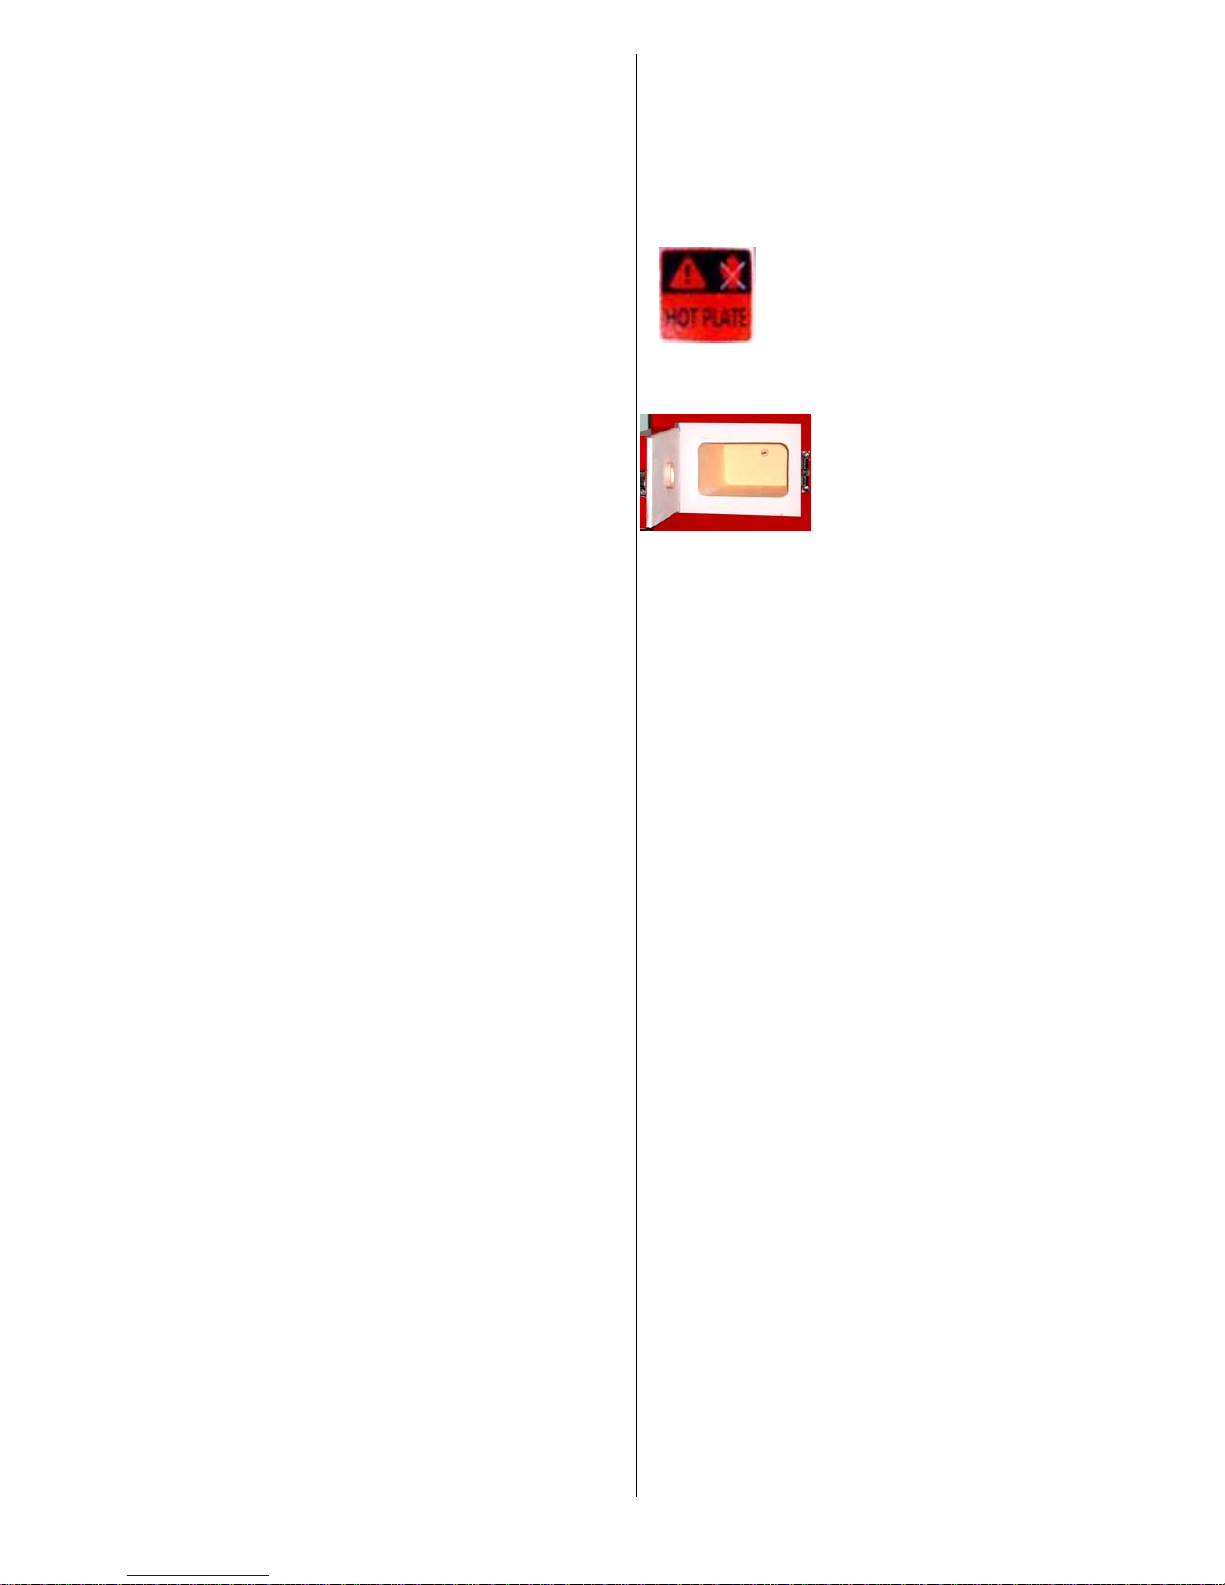
Outer Surfaces of the Kiln: Do not touch
these hot surfaces with bare hands, may cause
burns. Make the cleaning of these surfaces with
slightly wet soft cloth, when the kiln is cold
and unplugged. Do not use detergents, alcohol or any other
chemicals or abrasives.
Ceramic Surfaces: The Heating Chamber,
the front face of the kiln isolation, inner face
of the door isolation are ceramic surfaces. Be
aware of touching them with sharp or
pointed instruments, you may damage them.
Do not touch heating elements which are embe dded under these
ceramic surfaces. It may cause severe electric shock.
Embedded Heating Elements: The heating element of the
kiln is embedded around the heating chamber. This protects you
from an electric shock, if properly used. The surfaces of the
heating chamber are strong enough to stand proper tasks. But
never rub or scratch with inconvenient instruments. Do not
apply mechanical forces to ceramic and outer surfaces of your
kiln to avoid any undetecta ble damage whic h may cause se rious
risks.
Protect Your Kiln From Harmful Materials: Avoid the
heating chamber contamining with any other material not
recommended by our company for any purpose. Water, oils,
solvents, silica and silica involving substances, alumina hydrate,
enamel powders, glaze and glass can be absorbed by the
ceramic parts of the kiln and ruin the heating elements and
ceramic parts as well. Do not place glazed ceramics, glass and
enameling directly on the Firing Chamber bottom. Protect the
chamber from contamination of these, by using ceramic s helves
under your works. If such a contamination occurs, unplug the
kiln and carefully scrape the contaminant off the surface with a
knife and vacuum the residues. Be careful not to damage the
ceramic surfaces.
Cleaning the Heating Chamber: Unplug and cool your kiln to
room temperature. Take out any residues with a soft brush
without leaving any hairs. If any contaminants left, carefully
scrape it with a knife and take it out. Vacuuming is also
recommended for inner cleaning.
Page 4

4
Check the Thermo-couple: When you open your kiln’s door
you will see a small rod in the back wall of the Firing C hamber.
This is called the thermo-couple and senses the minimal voltage
differentials under temperature changes, passes it to the
Temperature Controller, which interprets and simply controls
the heating element. If this rod is pushed out of the Firing
Chamber, the Temperature controller will assume that the firing
chamber is cold and this will cause over heating. To avoid this,
before firing the kiln, make sure that the tip of this rod extends
to the firing chamber about 1 cm.
Optional View Glass: Do not exceed 900°C for firing
temperature, other wise, and the glass will be damaged.
Note: Wear protective glasses when you look into hot kiln,
directly or through a view glass.
Electrical Data Plate: On this plate, on the back side of your
kiln, important not es are record ed. When
ordering spare parts or corresponding
with your dealer or our company about
your kiln, please include this information.
********************************************
(7) DO NOT WORRY NEEDLESSLY
The ceramic parts of your kiln expand and contract every time it
is heated and cooled. At the in ner surface of the door isol ation
and the front surface of the Firing Chamber, small cracks may
appear. Don’t be concerned, these will not affect your kilns
performance. Also, eventually, discolorisation on the painted
surfaces of your kiln, around the door will be seen. This is due
to the heat, coming out when the d oor is opened. This is not a
problem for your kilns performance too. To minimize this
discoloration, do not open the door over 780°C, do not leave it
open longer than necessary and be sure it is tightly closed when
you close it. Do not hurry while loading and unloading but do it
in a short time.
********************************************
ODAK SANAT, HOBI ve KRAFT Sanayi Dis Ticaret Ltd.Sti.
Perpa Tic. Mrk. A Blok Kat:8 No:791,
Okmeydani – ISTANBUL
Tel: +90 212 3204594 Fax: +90 212 3204394
E-mail: [email protected] Web: www.odakhobi.com
********************************************
2006 all right reserved.
 Loading...