

Page 1

ProV Island
Ins ta ll ation
Manual
Page 2
proLINE
install guide | 4
1.
2.
3.
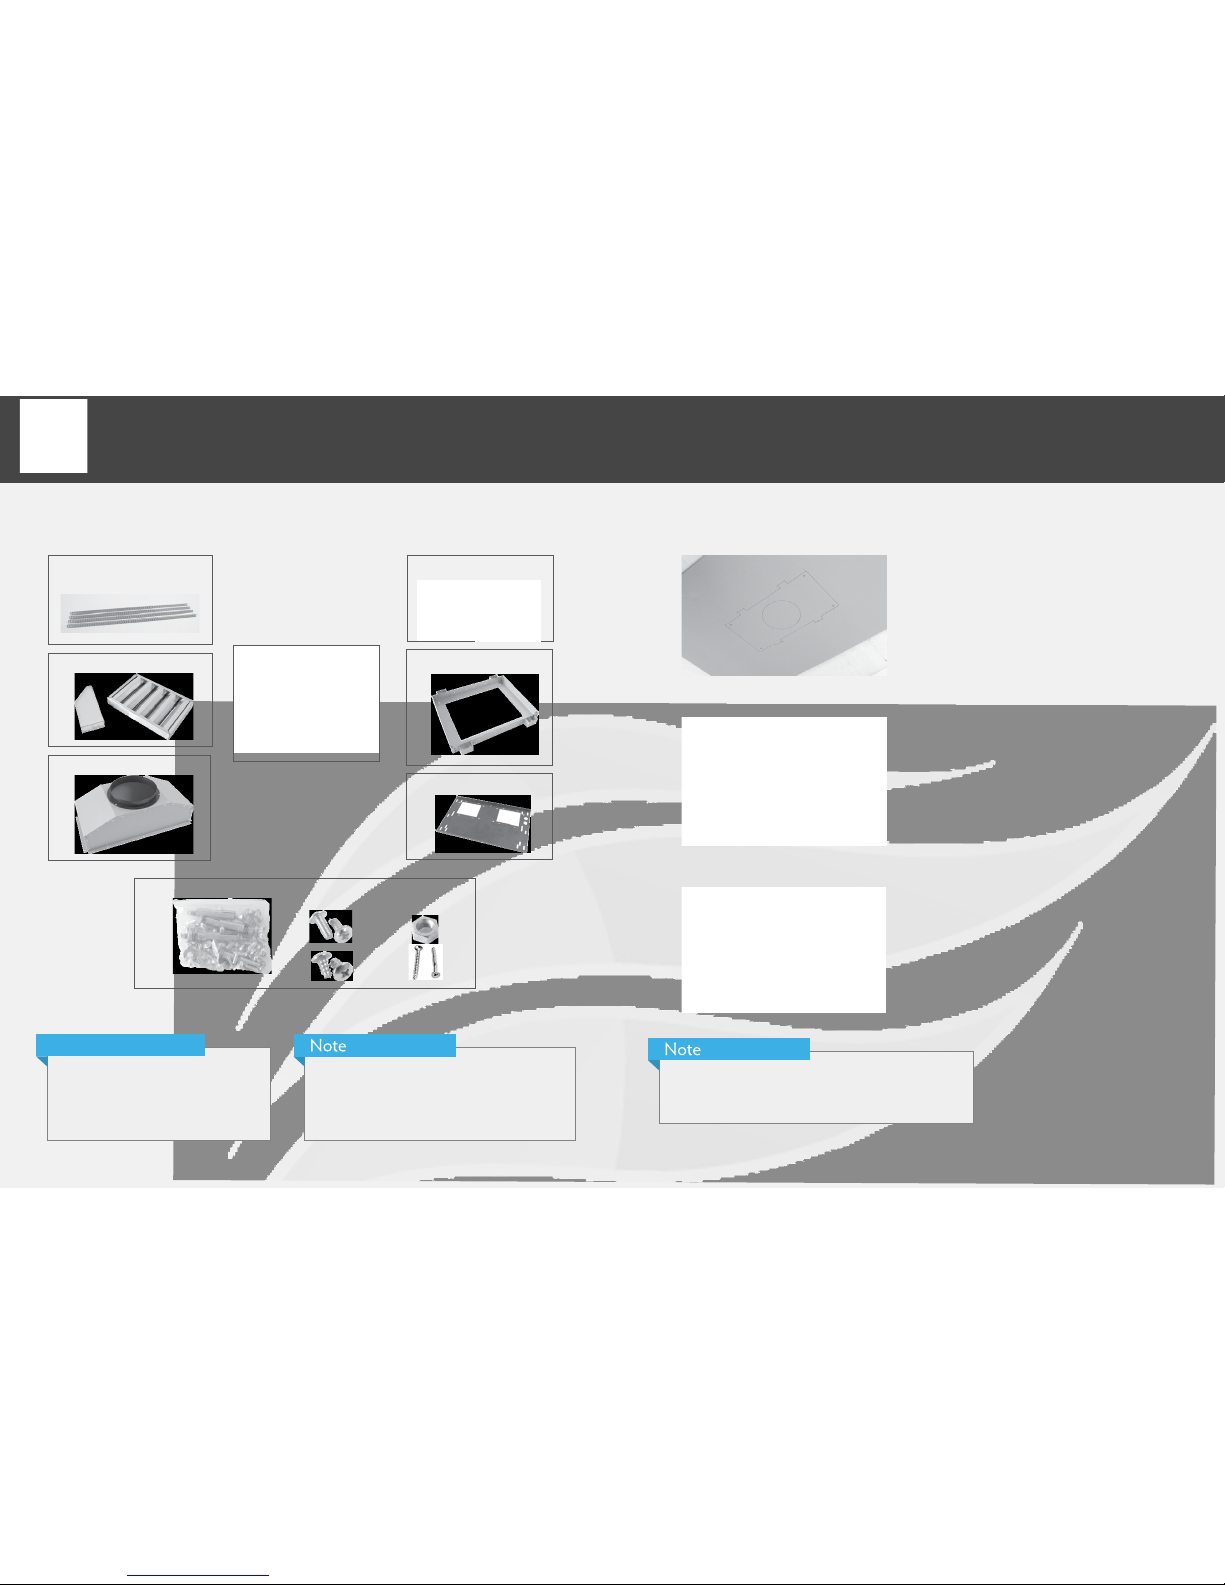
Par t s P rovided Installation Steps
Adjustable Support Brackets (8)
Place your Ceiling Mounting Bracket on the ceiling where
you’d like your hood to hang from. Use a Marking Pencil
to trace the bracket and mark where the 4 load bearing
screws will go.
Cut out the hole in the center, where your ventilation
duct will eventually go.
Attach the Ceiling Mounting Bracket to the ceiling using
the Load Bearing Screws.
Bae Filters & Spacers (8-12)
Blower Mounting Plate
Duct Transition
Component Pack Containing
Nuts, Screws, Mounting Screws,
and Self-Tappping Screws
Ceiling Mounting Bracket
Top and Bottom
Chimney Sections
Hood Body
- This model requires a minimum ventiliation size
of 8 inches.
- Must be installed into a load bearing structure
capable of supporting three times the weight of
the hood.
- If the load bearing screws are not placed into a weight
bearing infrastructure, additional support may need to be
built above the area where the hood will hang.
Additional Supplies Needed
- Drill
- Marking Pencil
- Paper Tape
- Duct Work
- Aluminium Tape
Page 3

proLINE
install guide | 6
4.
7.
5.
8.
6.
9.
Set the Adjustable Support Brackets to your desired
height and secure them using 4 Bolts and 4 Threaded
Screws on each bracket.
Inside View
Outside View
Slide Bottom Chimney Section over the Top Chimney
Section and secure it in place using Paper Tape.
Attach Adjustable Support Brackets to the Ceiling
Mounting Bracket using 4 Threaded Screws on each
bracket.
Use 4 Lock Nuts to secure the Blower Mounting Plate to
the 4 bolts located in the upper portion of the inside of
the range hood.
Attach Top Chimney Section to Ceiling Mounting Bracket
using 4 Screws.
Attach Duct Transition to the top of the Blower Mounting
Plate.
Page 4

proLINE
10.
1.
11.
2.
12.
3.
4.
Attach your range hood body to the bottom of the 4
Adjustable Support Brackets using 4 Threaded Screws on
each bracket.
Lower your duct work down through the ceiling and seal
it around the Duct Transition using Aluminium Tape. Then
ensure that your needed power cords are lowered through
the ceiling and accessible both through the bottom of the
range hood and the ceiling area above the installation.
Remove the Paper Tape holding your Bottom Chimney
Section in place and lower the section down to rest on
the range hood.
Install your remote or local blower and connect it to the
range hood in accordance with your local building code.
If you’ve followed all the previous steps, your range hood should now
be installed. But in order to get it completely up and running, there are
a few additional steps you should follow.
Run electric power to your range hood in accordance
with your local building code.
Test range hood to ensure proper installation.
Install bae lters and grease traps.
Additional Steps
install guide | 8
- If you experience any trouble with the steps listed above,
or the installation of your hood, feel free to contact us at
support@prolinerangehoods.com
 Loading...