

Project Nursery PNMAL2 User Manual

BABY MONITOR SYSTEM
The SMARTS
start here...
PNMSA2 QSG 01
2
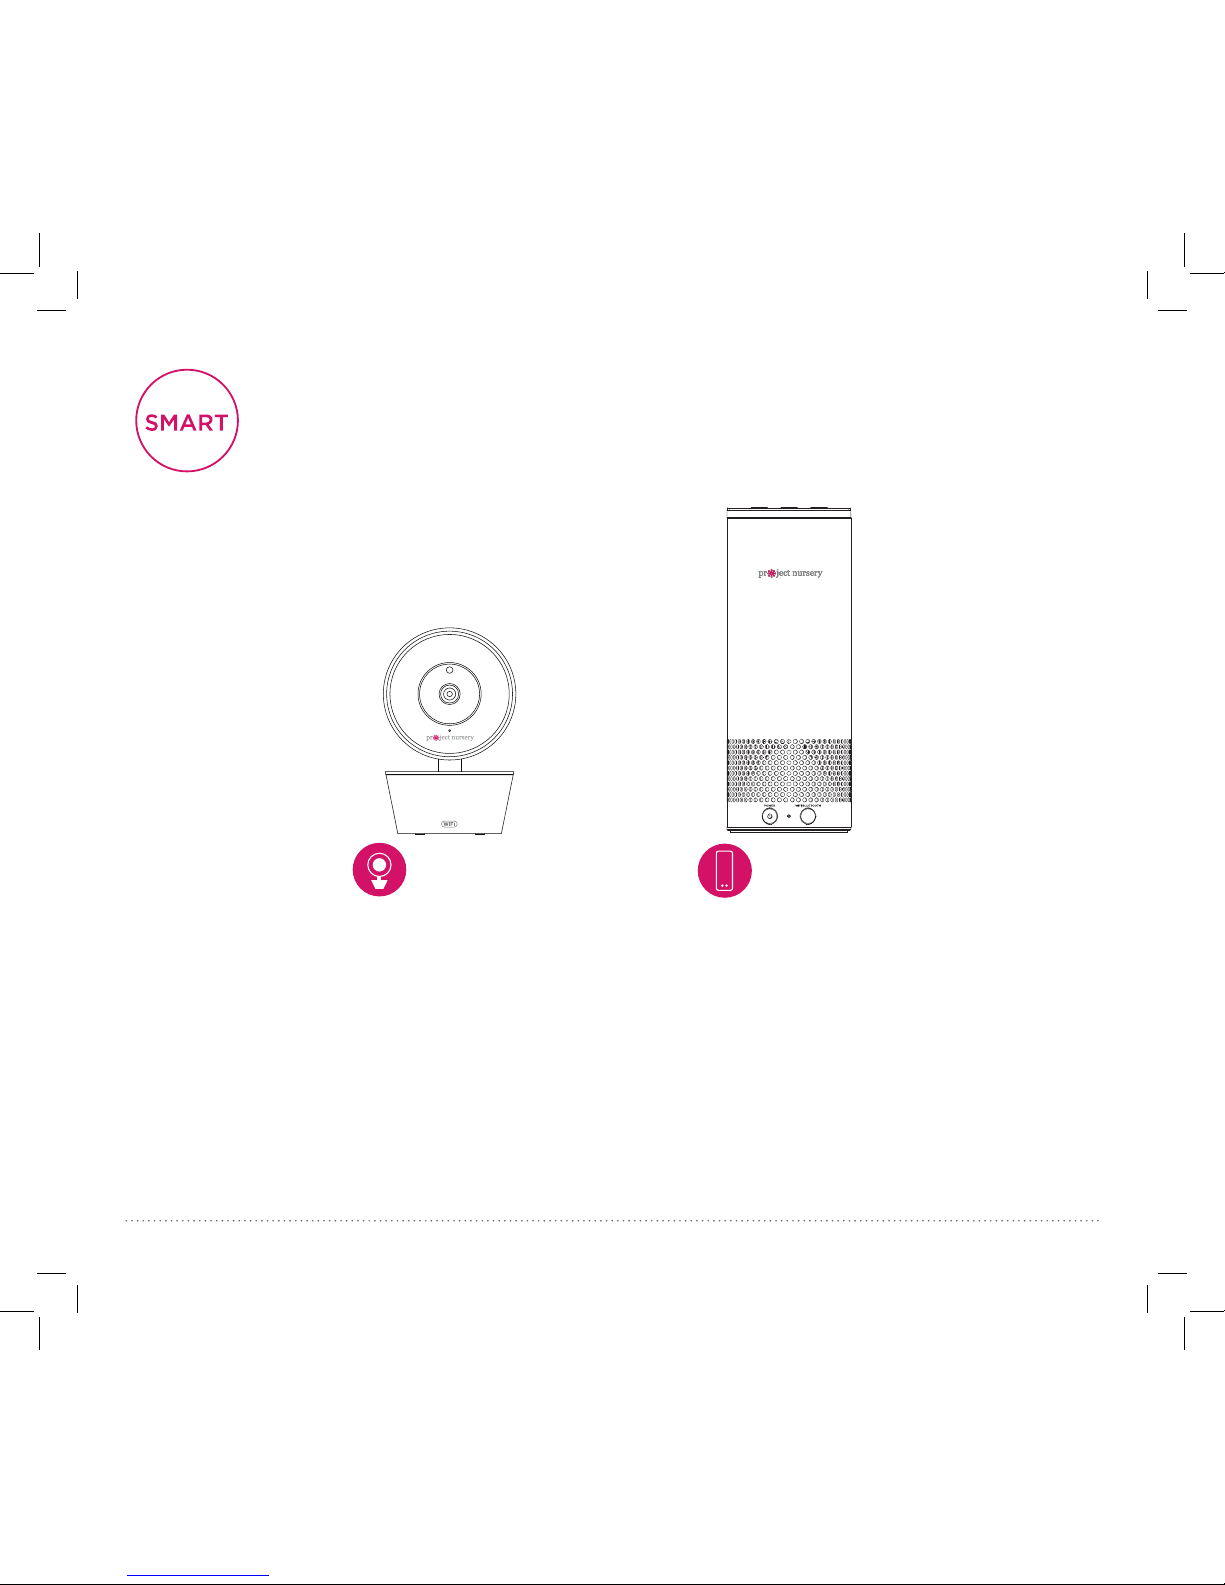
+ +
SMART
CAMERA
SMART
SPEAKER
=
The Project Nursery Smart Baby Monitor System is your gateway to smart
baby monitoring and voice control for your smart home. It’s easy to set
up and easy to use—this guide takes you through the steps to get started.
WELCOME!
Check out our setup videos
For the Smart Camera
On your computer, go to
http://bit.ly/2k9veoG or
scan the QR code here.
For the Smart Speaker
On your computer, go to
http://bit.ly/2BIeOKN or
scan the QR code here.
3
Smart Baby
WiFi Camera
Plus accessories:
(1) Power adapter
(1) 10’ Power cable
(2) Mounting screws
(1) Mounting template
STEP 1: UNPACK
Smart
Speaker
Plus accessory:
(1) Power adapter
with attached cord

4
STEP 2: PLACE THE CAMERA
Position the camera
Find a location for the camera that gives you the best
view of your baby in his or her crib. Place the camera on
a at surface, like a dresser or shelf, or mount the camera
to a wall using the keyhole slots on its bottom (see the
mounting template included in this package).
Test your WiFi signal
Your Project Nursery Smart Baby WiFi Camera needs a
strong enough signal from your WiFi router to send its
video signal. Here’s how to test for signal strength.
First, go to where you want to put the camera. Make sure
your smartphone or other portable wireless device is
connected to the WiFi network you want to test. Then look
at the WiFi icon on your device screen to see the strength
of the connection.
For best results, look for a location with at least 50%
strength to use the WiFi camera.
IMPORTANT: NEVER place the camera or cords of any
kind inside the crib. NEVER place the camera or cords
within reach of the baby.
IMPORTANT: If you have a dual-band router that uses
different networks for the two bands, make sure the WiFi
signal you use for the camera is 2.4GHz, not 5GHz!
5
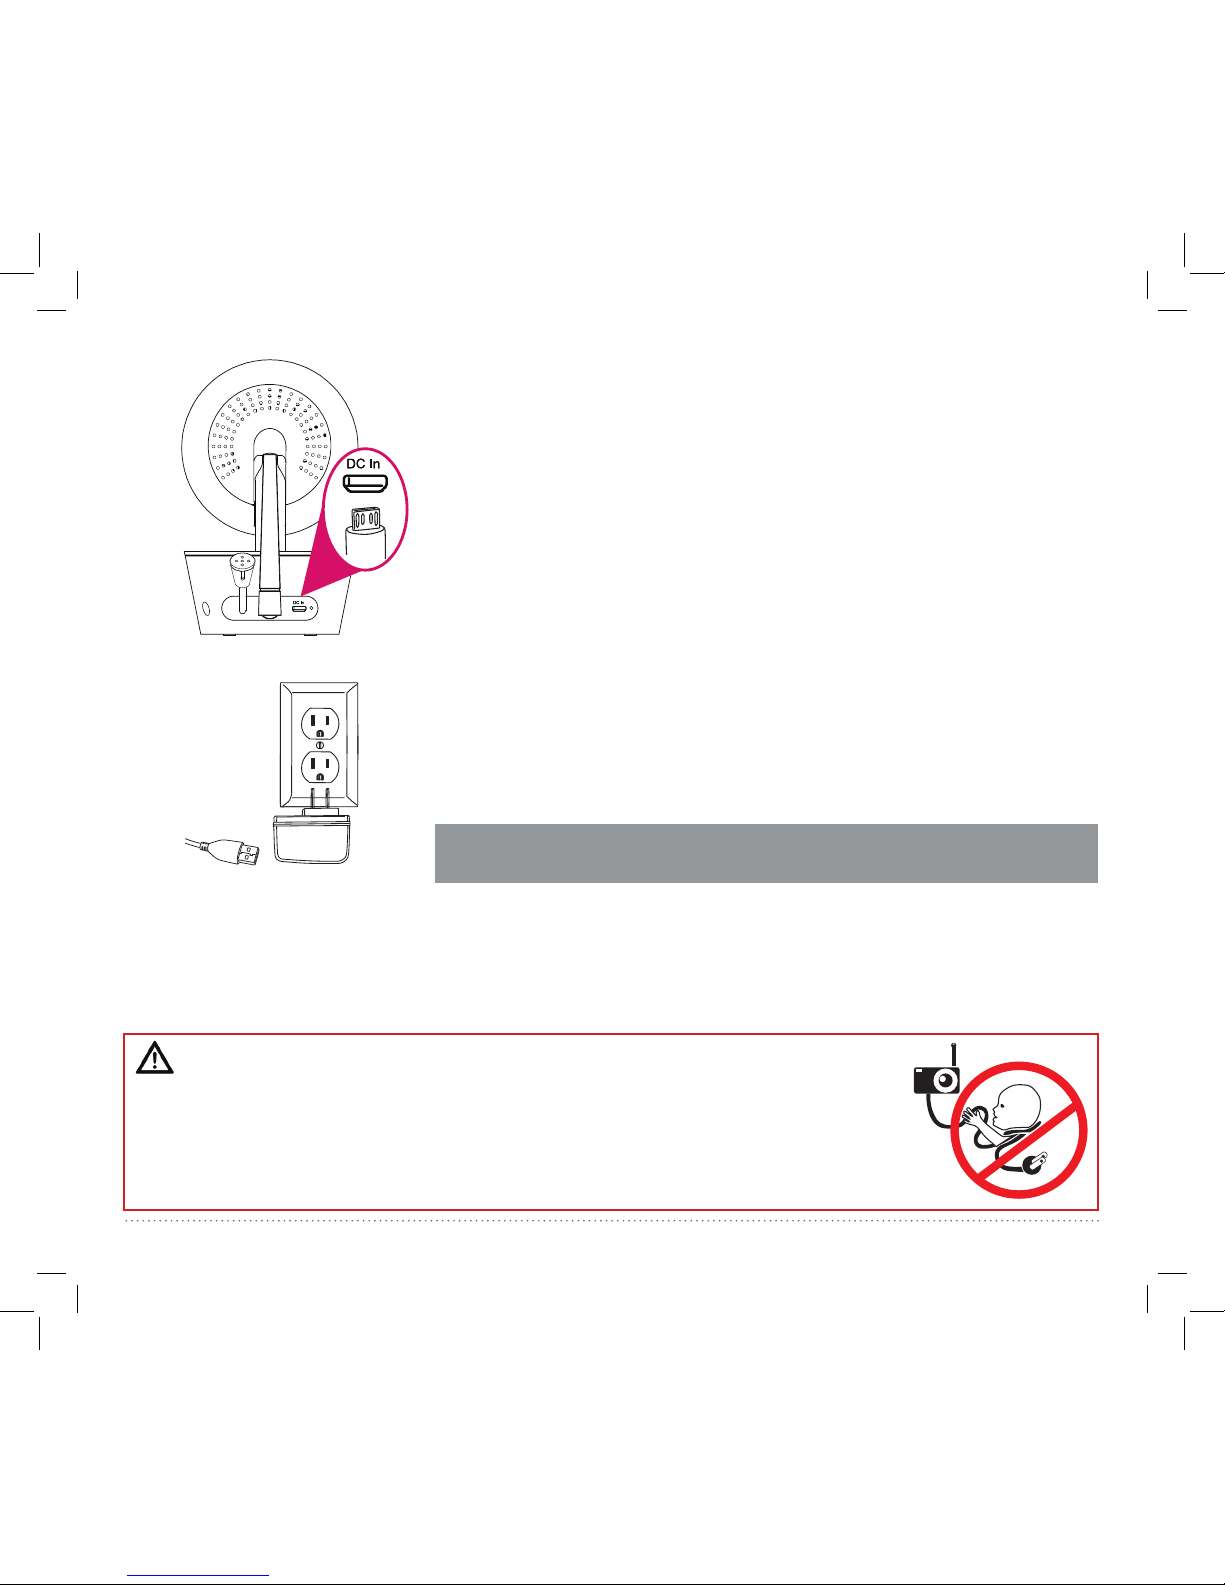
Plug in the camera
Plug one end of the included power cable into the DC In jack on the
back of the camera.
Plug the other end into the included power adapter. Then plug the
adapter into an outlet or surge protector.
The camera turns on automatically when you plug it in (the indicator
light on its back panel turns solid red).
WARNING
Strangulation Hazard: Children have STRANGLED in cords. Keep this
cord out of the reach of children (more than 3ft (0.9m) away). Never
use extension cords with AC Adapters. Only use the AC Adapters
provided.
IMPORTANT: Make sure you carefully remove the protective lm
covering the camera’s face and lens before you continue setup.
 Loading...