

Project Nursery PNM4N11 User Manual
User Guide
What’s inside
Welcome! ................................................................ 2
Getting started ...................................................... 3
Tour of the system ............................................... 7
Everyday use .........................................................12
Cameras ............................................................ 13
Motion/Alerts ..................................................16
Sleep Mode .................................................... 20
Lullabies ............................................................21
Display ..............................................................22
Settings ............................................................23
Troubleshooting / FAQs ..................................26
Getting Started
2
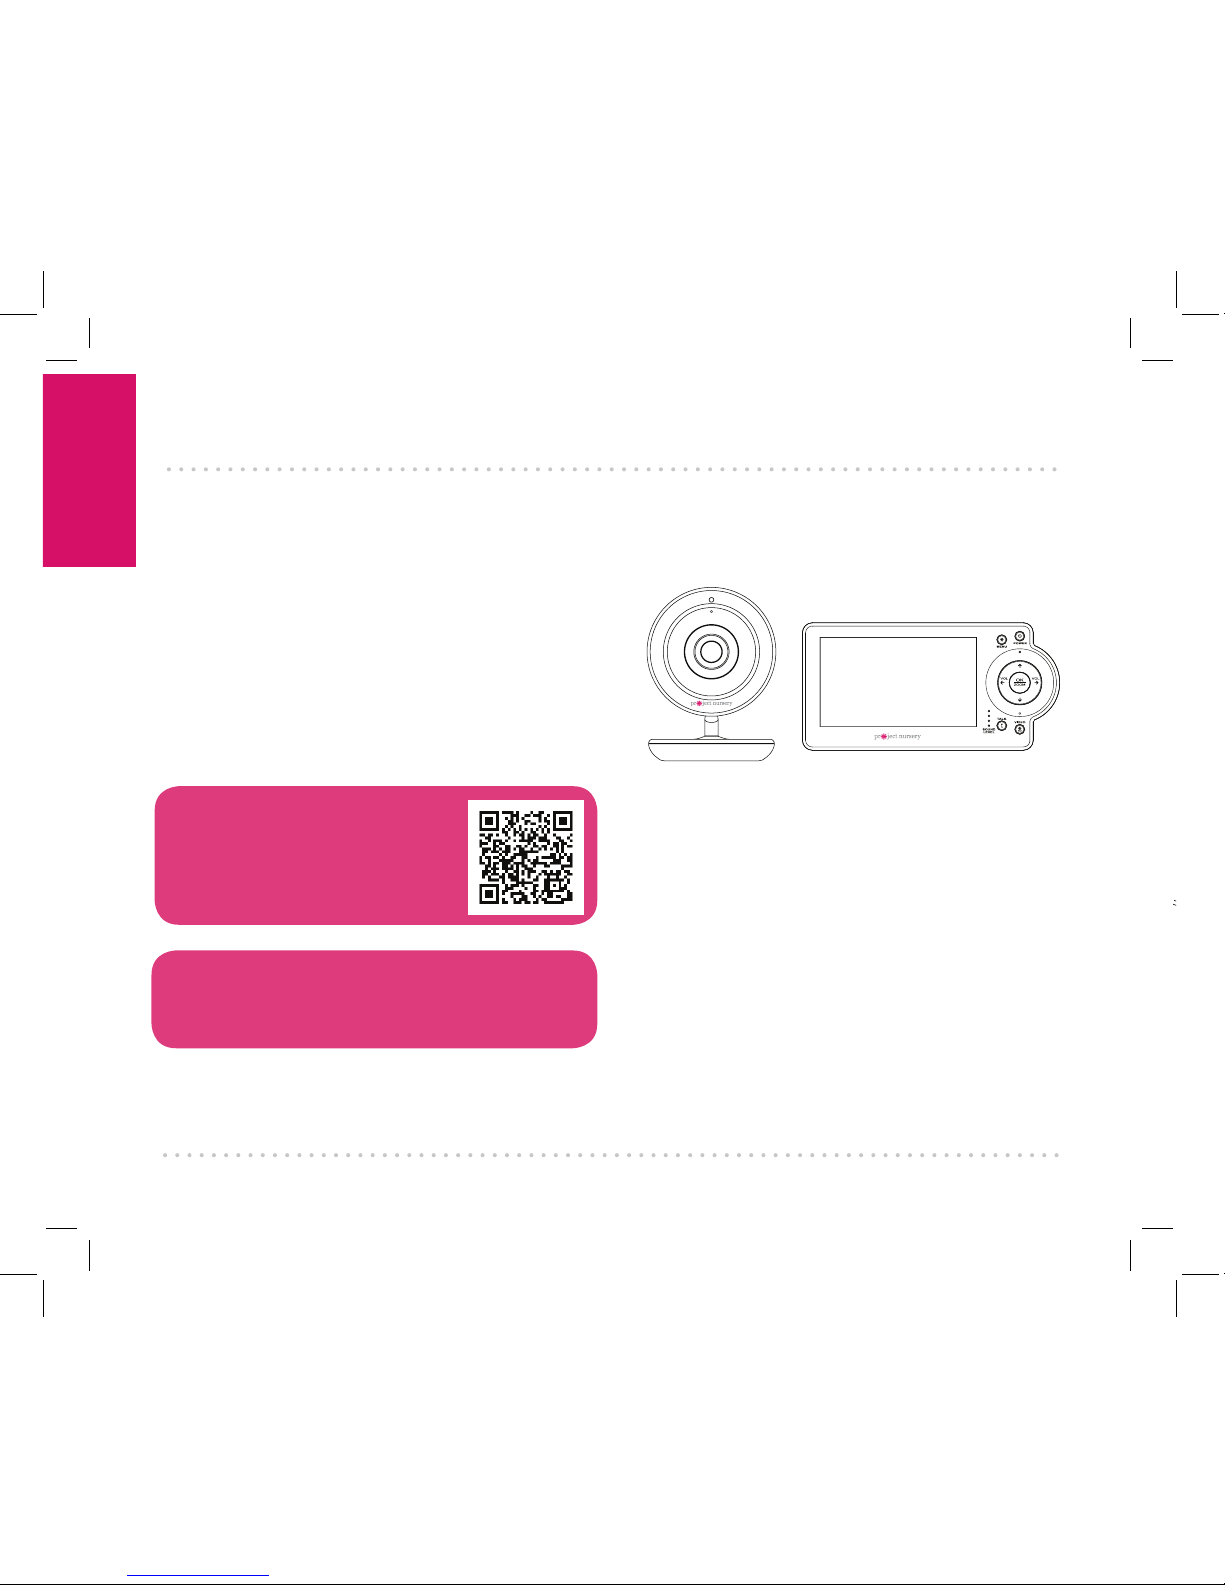
Step 1: Unpack
WELCOME!
This baby monitoring system
makes it simple to keep your
eyes and ears on your little
one! This guide takes you
through the steps to get
started!
See our setup videos
Go to ProjectNursery.com/
Electronics or scan the QR code
here.
Before you start...
Make sure you read the Important Information
sheet included in this package.
Wireless camera
Parent monitor
The accessories:
(2) 10-foot charging cables
(2) power adapters
Getting Started
3
GETTING STARTED
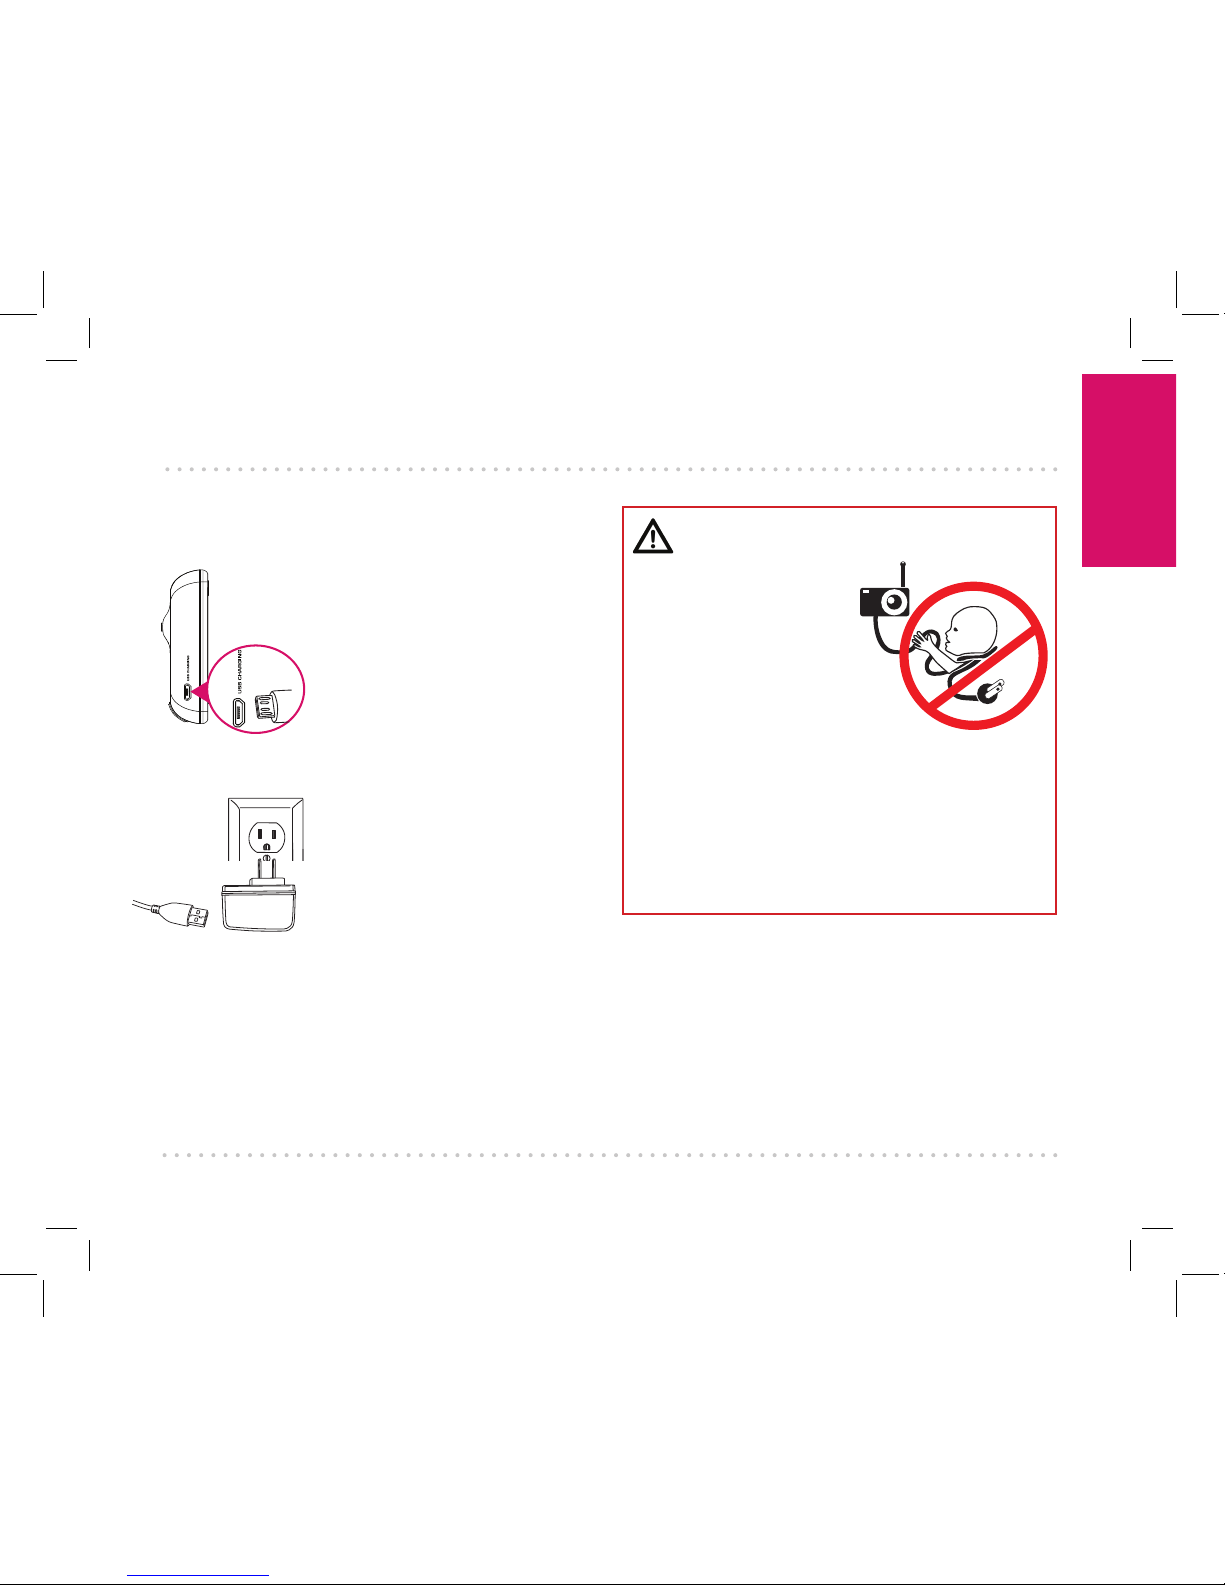
Plug the other end of the
charging cable into one of the
included charging adapters.
Then plug the adapter into an
outlet or surge protector.
Find one of the charging
cables included in this
package.
Plug one end of this cable into
the USB CHARGING jack on
the side of the parent monitor.
Step 2: Charge the monitor
WARNING
Strangulation
Hazard:
Children have
STRANGLED
in cords. Keep
this cord out
of the reach of children (more
than 3ft (0.9m) away). Never
use extension cords with AC
Adapters. Only use the AC
Adapters provided.
Getting Started
4
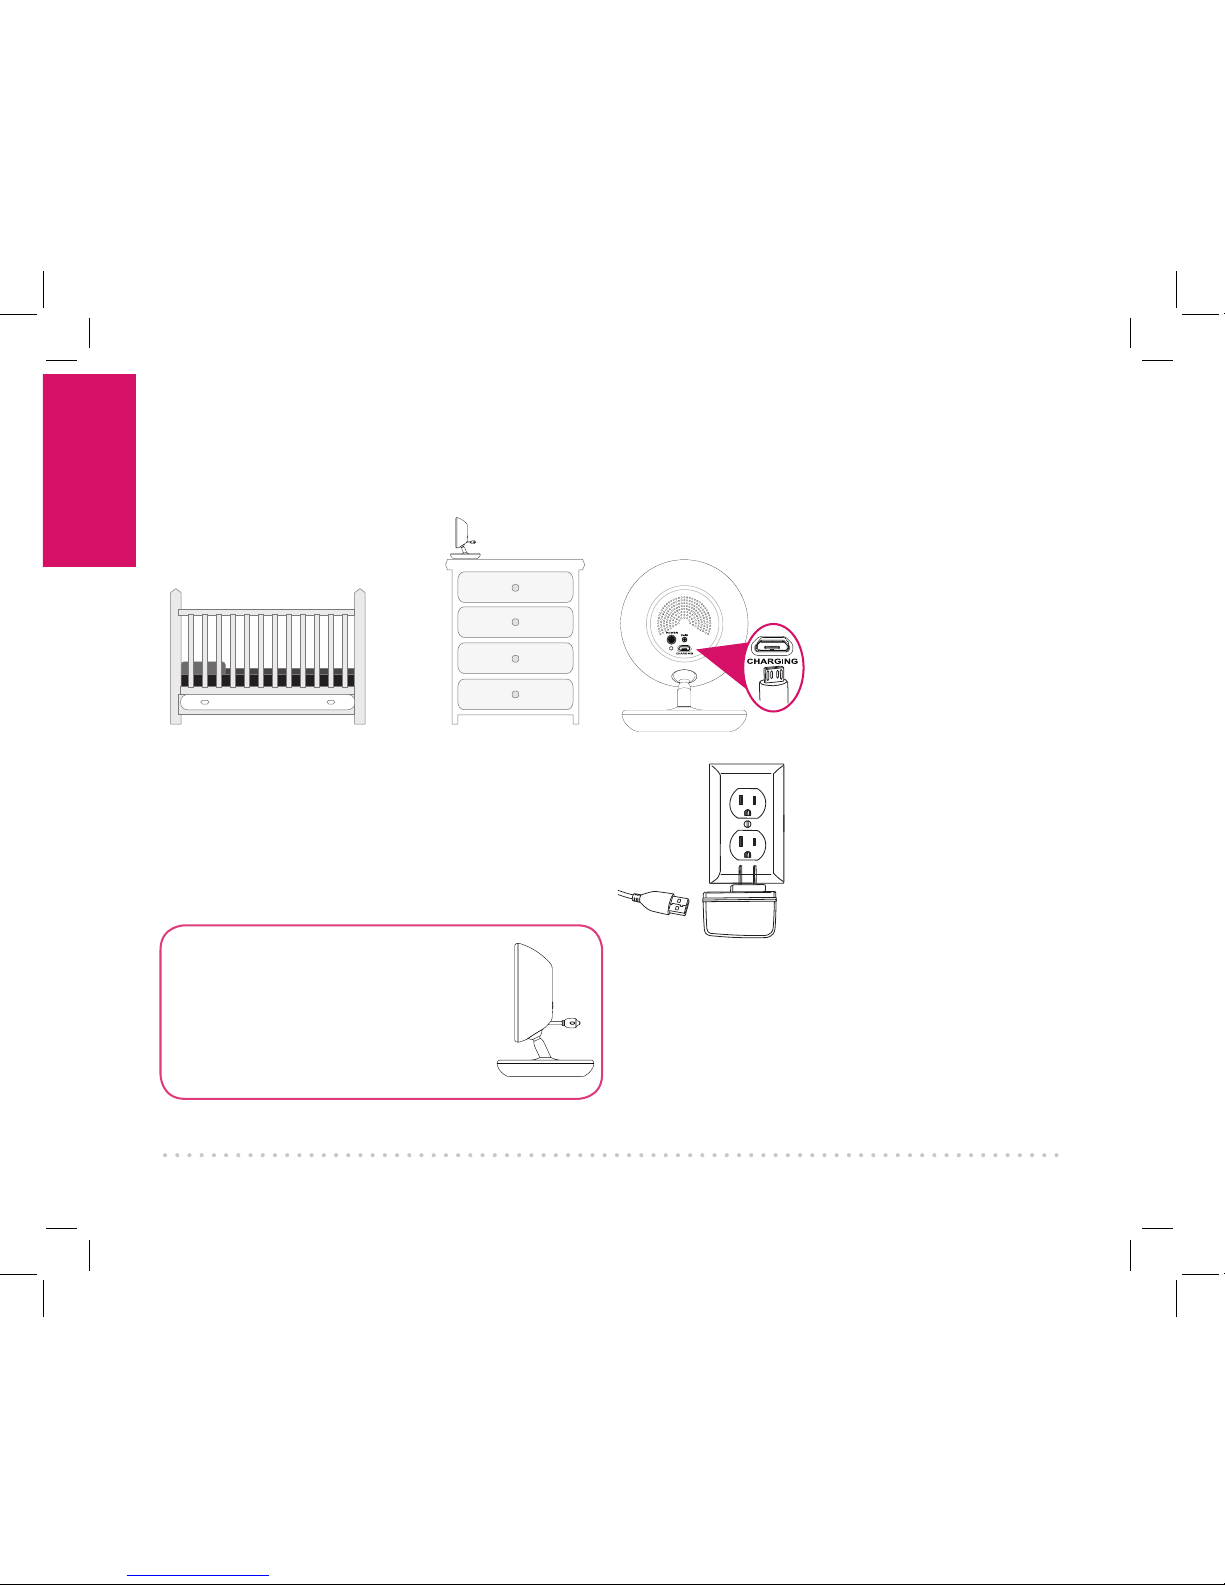
Find the other charging cable(s) included in
this package.
Plug one end into the
CHARGING jack on the
back of the camera(s).
Plug the other end into
a charging adapter. Then
plug the adapter into an
outlet or surge protector.
Step 4: Plug in the camera(s)
Important Note About
Camera Position
Position the camera as shown here,
with the neck slanting away from
the camera face. This gives the
best range of movement.
Find a location for the
camera that gives you the
best view of your baby in his
or her crib.
Place the camera on a flat surface, like a
dresser or shelf, or mount the camera to a wall
using the keyhole slots on its bottom.
IMPORTANT: NEVER place the camera or cords
of any kind inside the crib. NEVER place the
camera or cords within reach of the baby.
Step 3: Position the camera(s)
Getting Started
5
Press and hold the POWER
button on the parent monitor
for three seconds to turn the
monitor on.
Step 6: Turn on the monitor
Congratulations!
Your system is ready to use! The camera(s)
comes pre-paired with your parent monitor
(if it isn’t, see the instructions on page 12 to
pair it). It’s a good idea to go ahead and set
the time and your preferred language on your
parent monitor now, before you start using it.
For information on how to use your new
system, see the next chapter of this owner’s
manual.
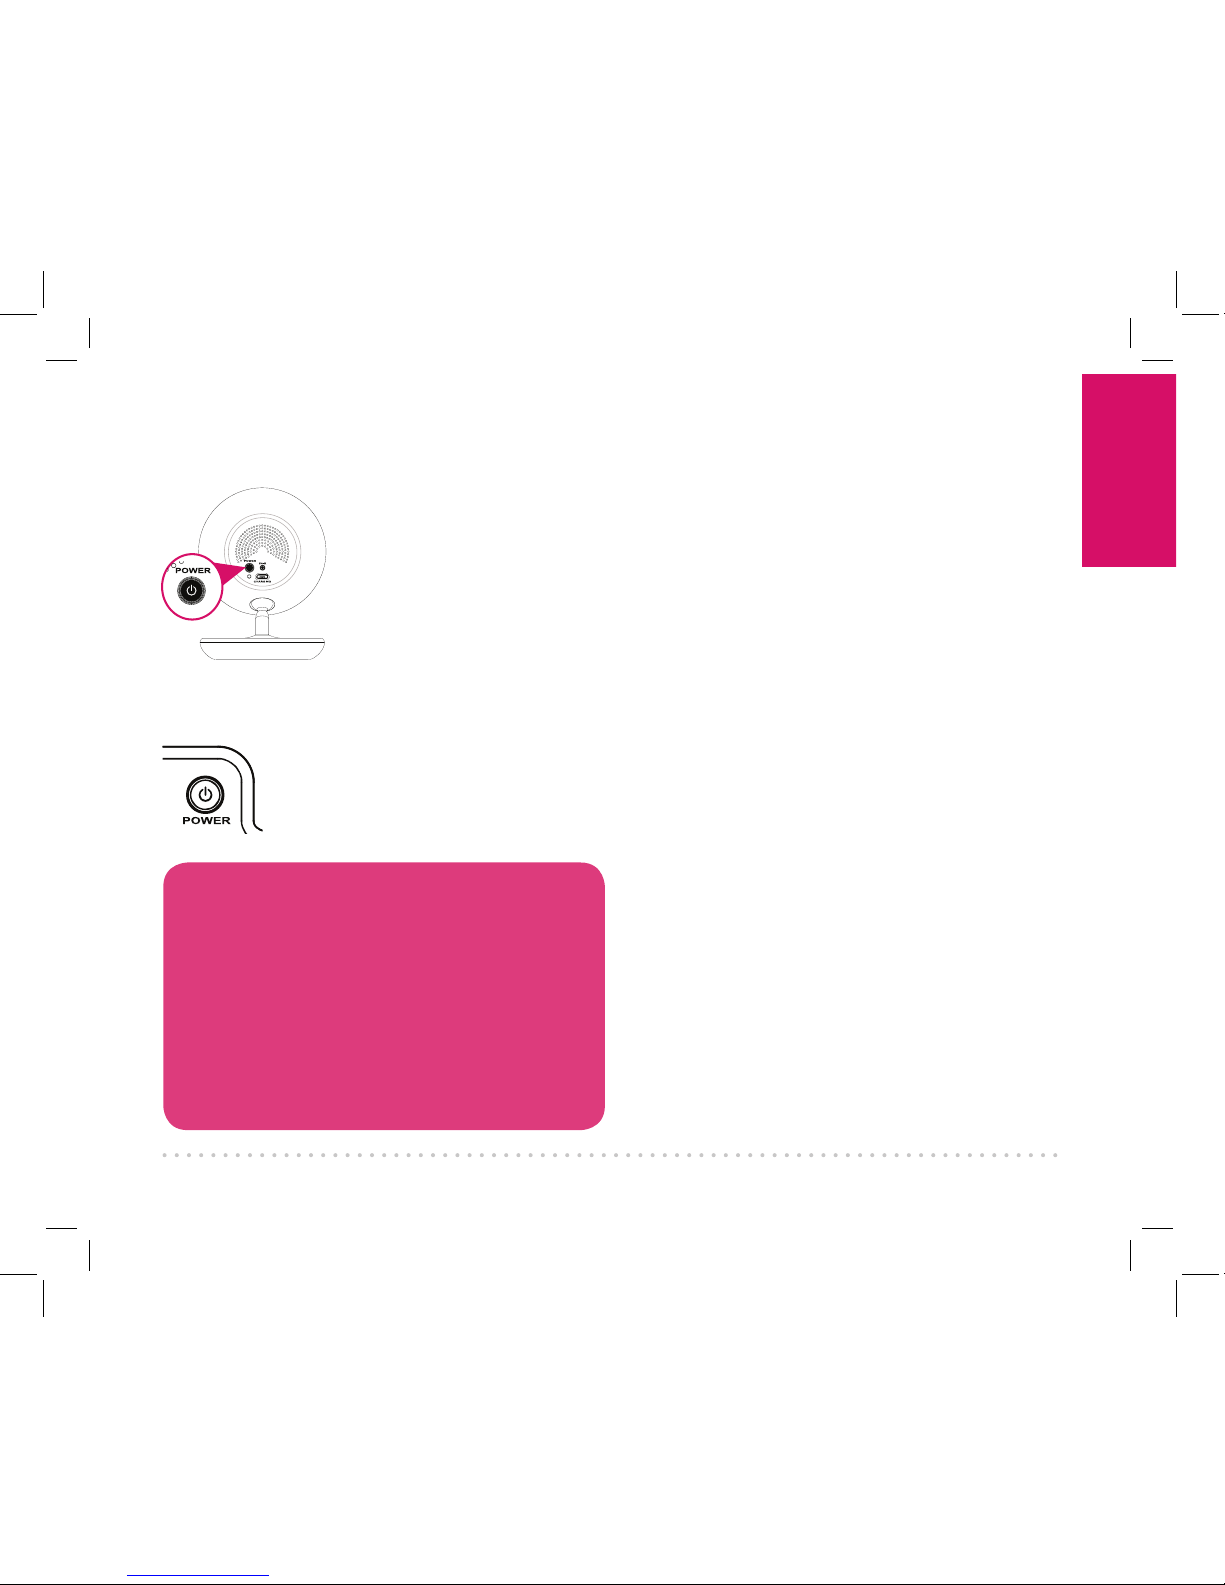
Step 5: Turn on the camera
Press the POWER button on
the back of the camera to
turn the camera on.
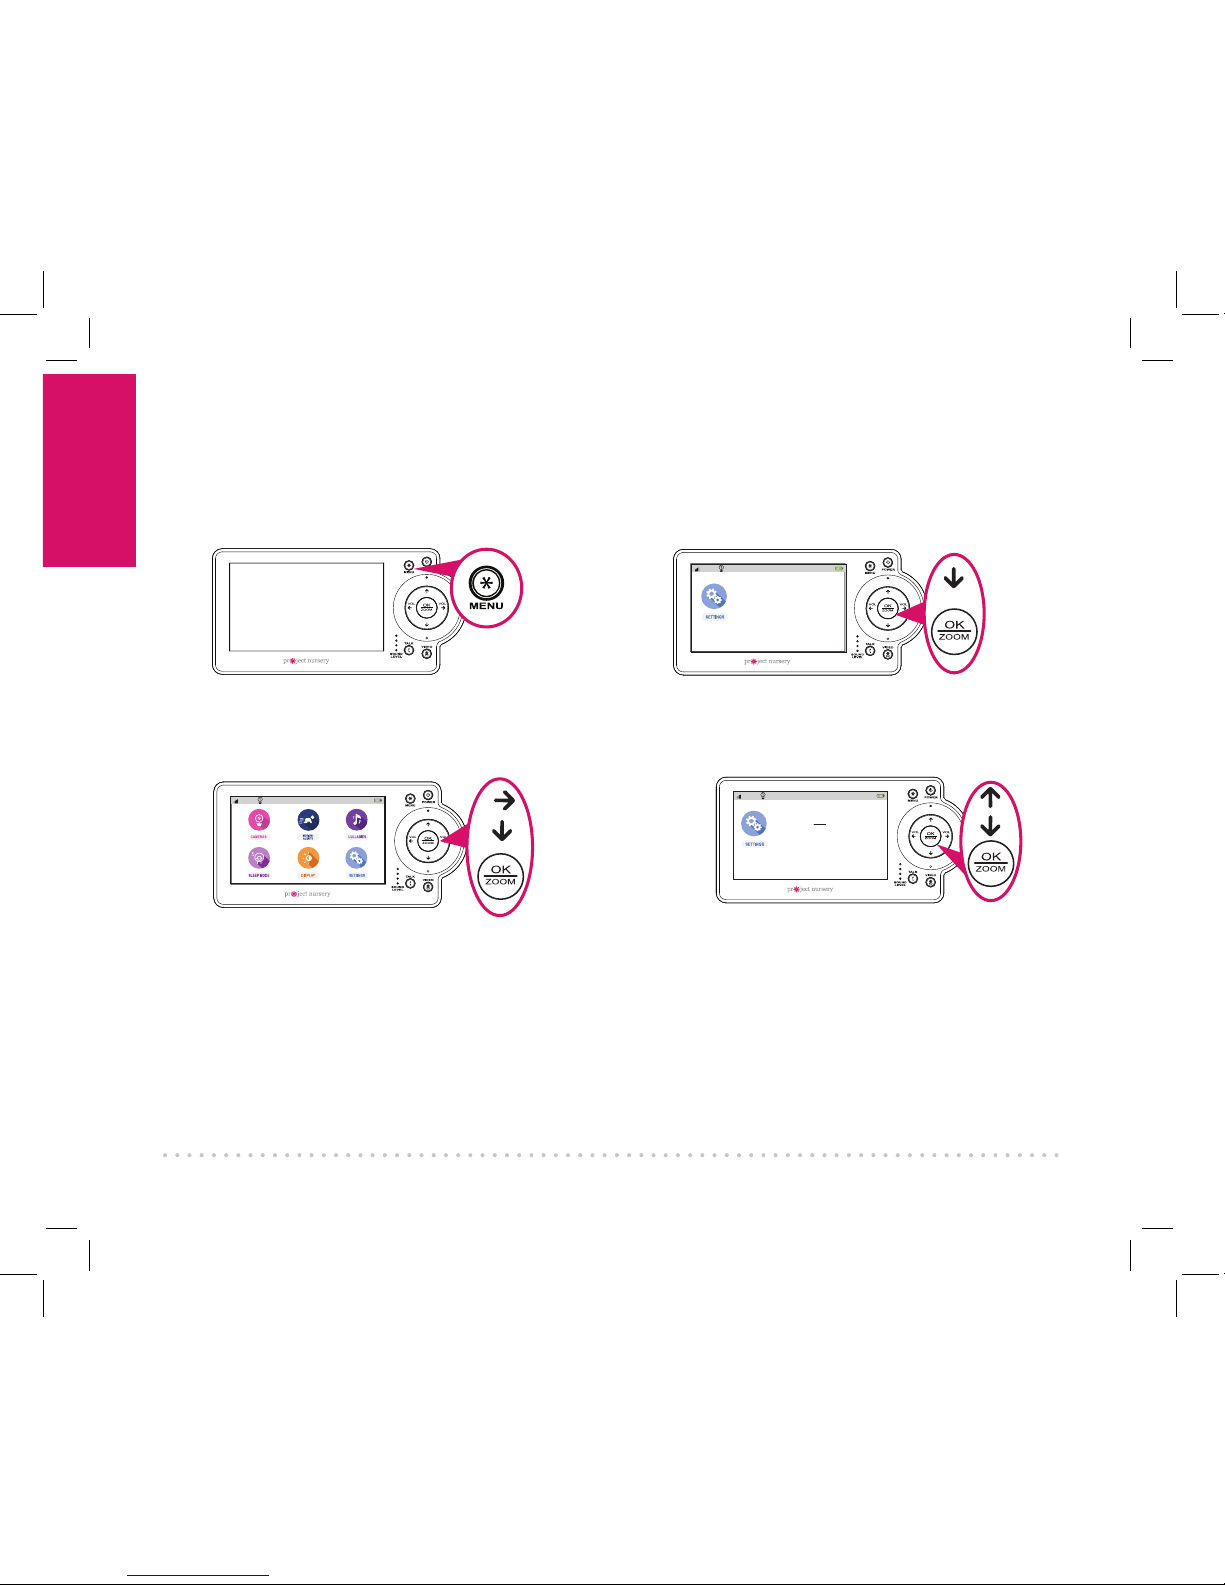
Step 7: Set your preferred
language (optional)
You can change the language of the menus
screens in the Settings menu.
Press the MENU button on the parent
monitor. The menu appears on screen.
1
Use the arrows to highlight SETTINGS. Press
OK/ZOOM to select it. The Settings menu
appears on screen.
2
Press the down arrow to highlight
Language. Press OK/ZOOM to select it.
3
Use the up/down arrow buttons to English,
Français, or Español. Press OK/ZOOM
when you’re finished.
4
Getting Started
6
Use the up/down arrow buttons to set the
hours, minutes, and AM/PM. Press OK/
ZOOM when you’re finished.
4
Step 8: Set the time on the monitor
Use the arrows to highlight SETTINGS. Press
OK/ZOOM to select it. The Settings menu
appears on screen.
Press the down arrow to highlight Time Set.
Press OK/ZOOM to select it.
Press the MENU button on the parent
monitor. The menu appears on screen.
1
2
3
12:00AM
72º
12:00AM
72º
Temperature
Time Set
Language
Factory Reset
Support
Product Information
Temperature
Time Set
Language
Factory Reset
Support
Product Information
Time: 12:00 AM
12:00AM
72º
Tour of the system
7
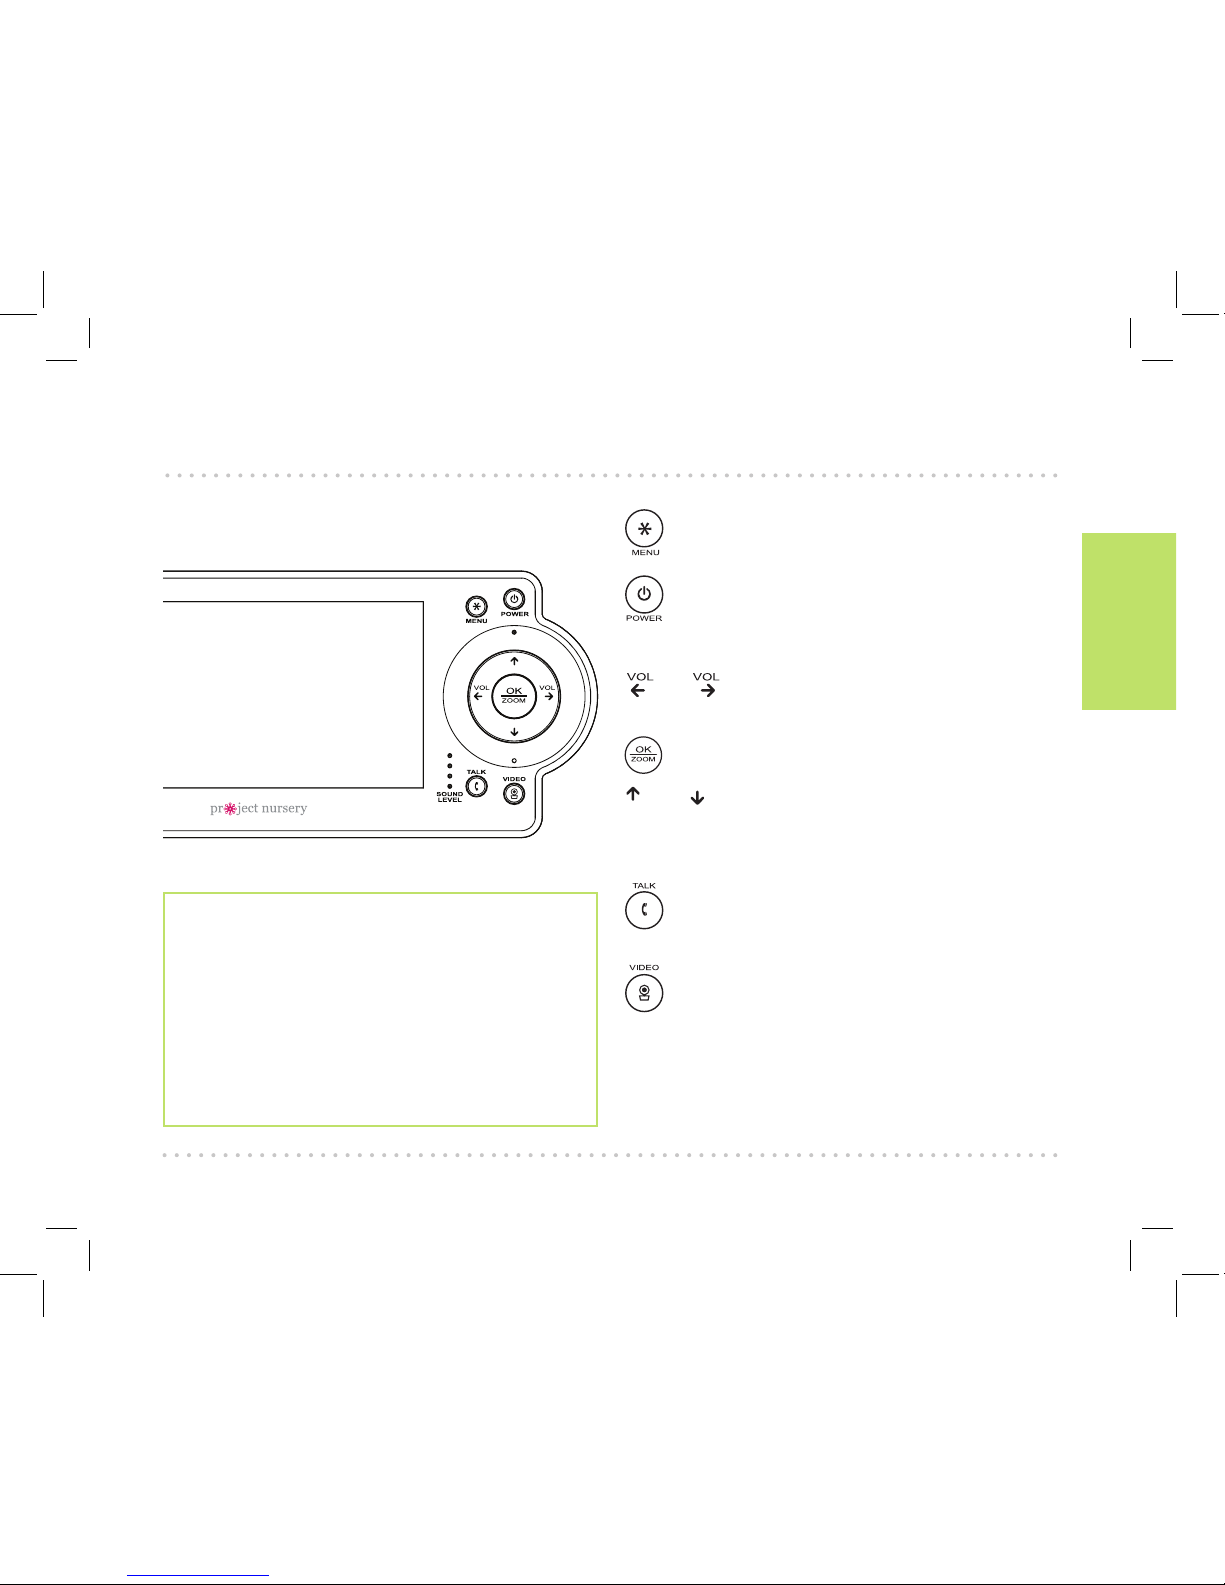
Parent Monitor
accesses the system’s menu screens.
turns the monitor on and off (press and
hold).
and turn the volume down/up. In menu
screens, these navigate left/right.
zooms the camera in/out.
and navigate up/down in menu screens.
SOUND LEVEL indicators show you the level of
sound from your baby’s room.
lets you talk through the camera’s
speaker. Press and hold while talking.
turns the screen on and off. Press and
hold to switch cameras (if you have multiple
cameras).
TOUR OF THE SYSTEM
Watching baby
You can turn the display on and off without
turning the monitor off. You’ll still hear your
baby, but the display and SOUND LEVEL
indicators will be asleep until you awaken
them.
To turn the display on or off: Press the
VIDEO button on the parent monitor.
Tour of the system
8
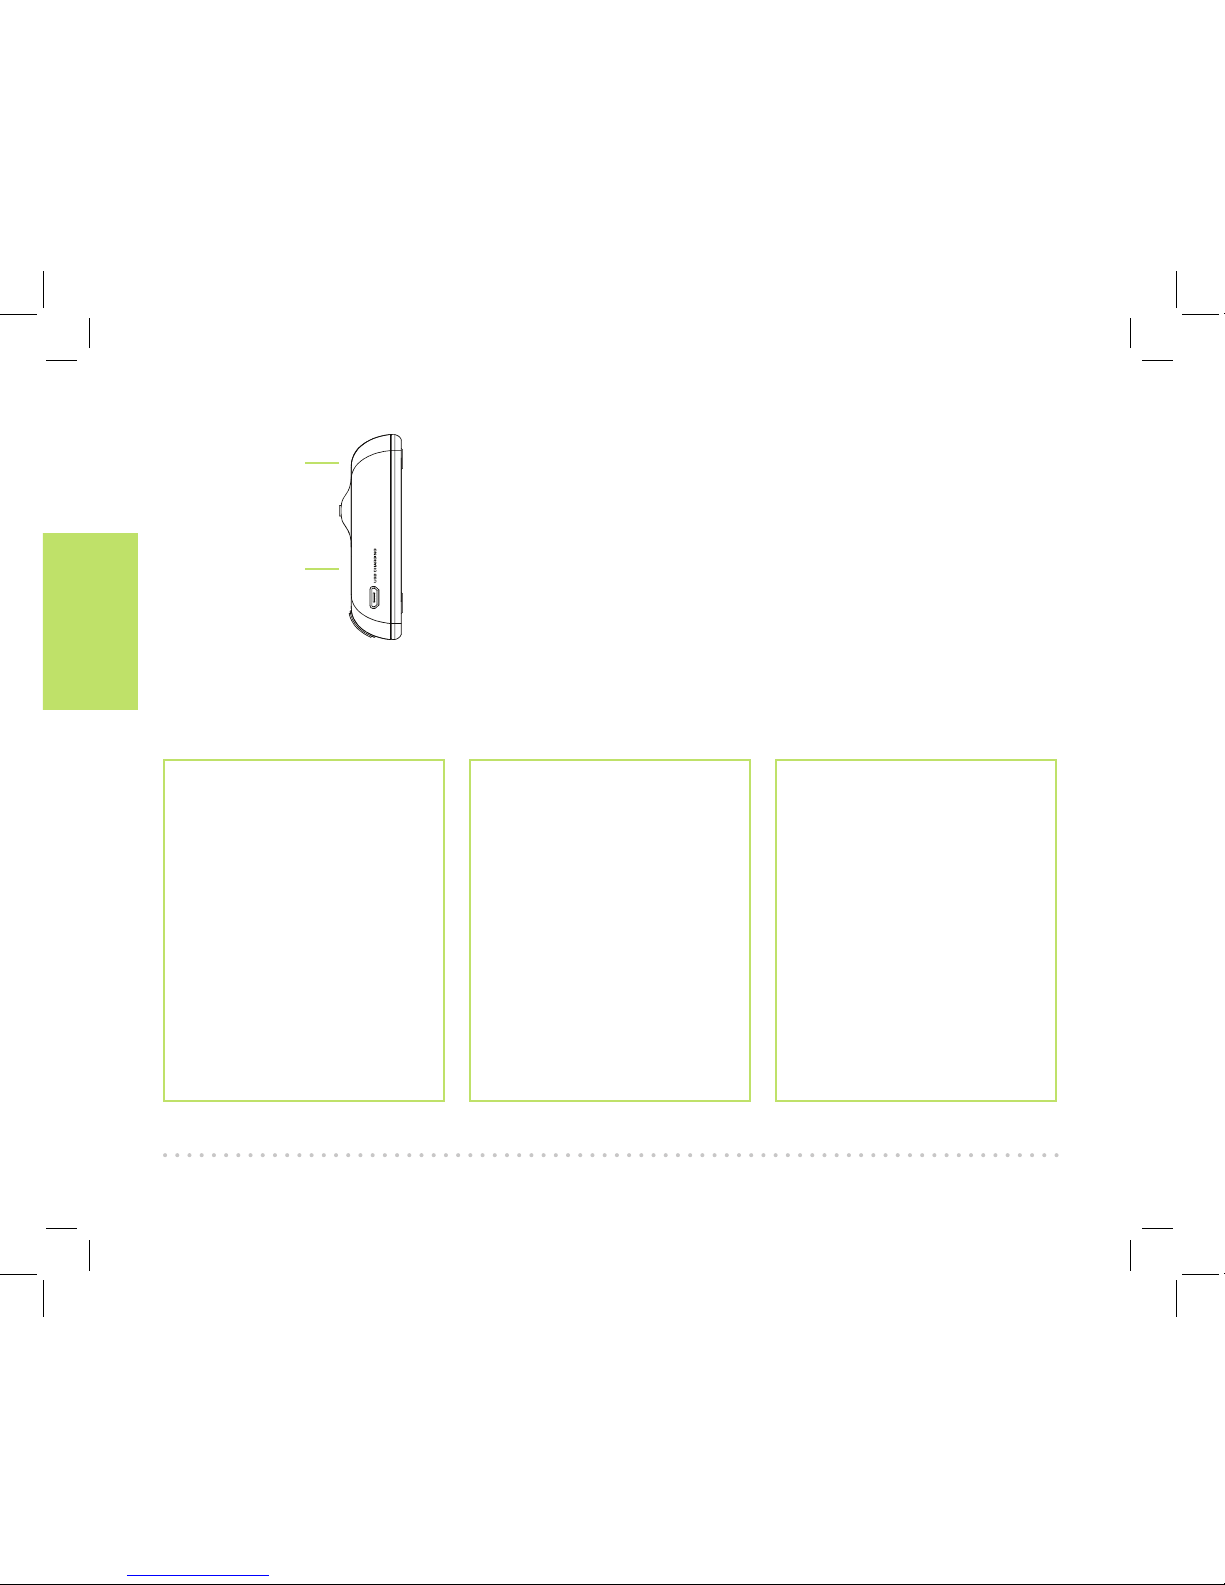
Parent monitor side and back panels
USB CHARGING jack plugs into your charging cable to recharge
or power the parent monitor.
Built-in easel stand lets you stand the unit on a flat surface.
Foldable antenna improves reception from the wireless
camera—extend it to increase range.
Zoom
To zoom the active camera:
Press the OK/ZOOM button
on the parent monitor.
Talking to baby
To talk through the speaker
on the active camera: Press
and hold the TALK button on
the parent monitor.
Talk normally to the parent
monitor while you’re
pressing the TALK button—
your voice will come out on
the camera’s speaker.
Release the TALK button
when you’re done talking.
Built-in easel
stand
Listening to baby
The SOUND LEVEL
indicators on the parent
monitor show you at a
glance the sound level in
your baby’s room when the
screen is on, regardless of
how loud the audio is on the
parent monitor.
To increase or decrease
the volume of the audio
monitor: Press the VOL+ or
VOL– buttons on the parent
monitor.
Foldable
antenna
Tour of the system
9
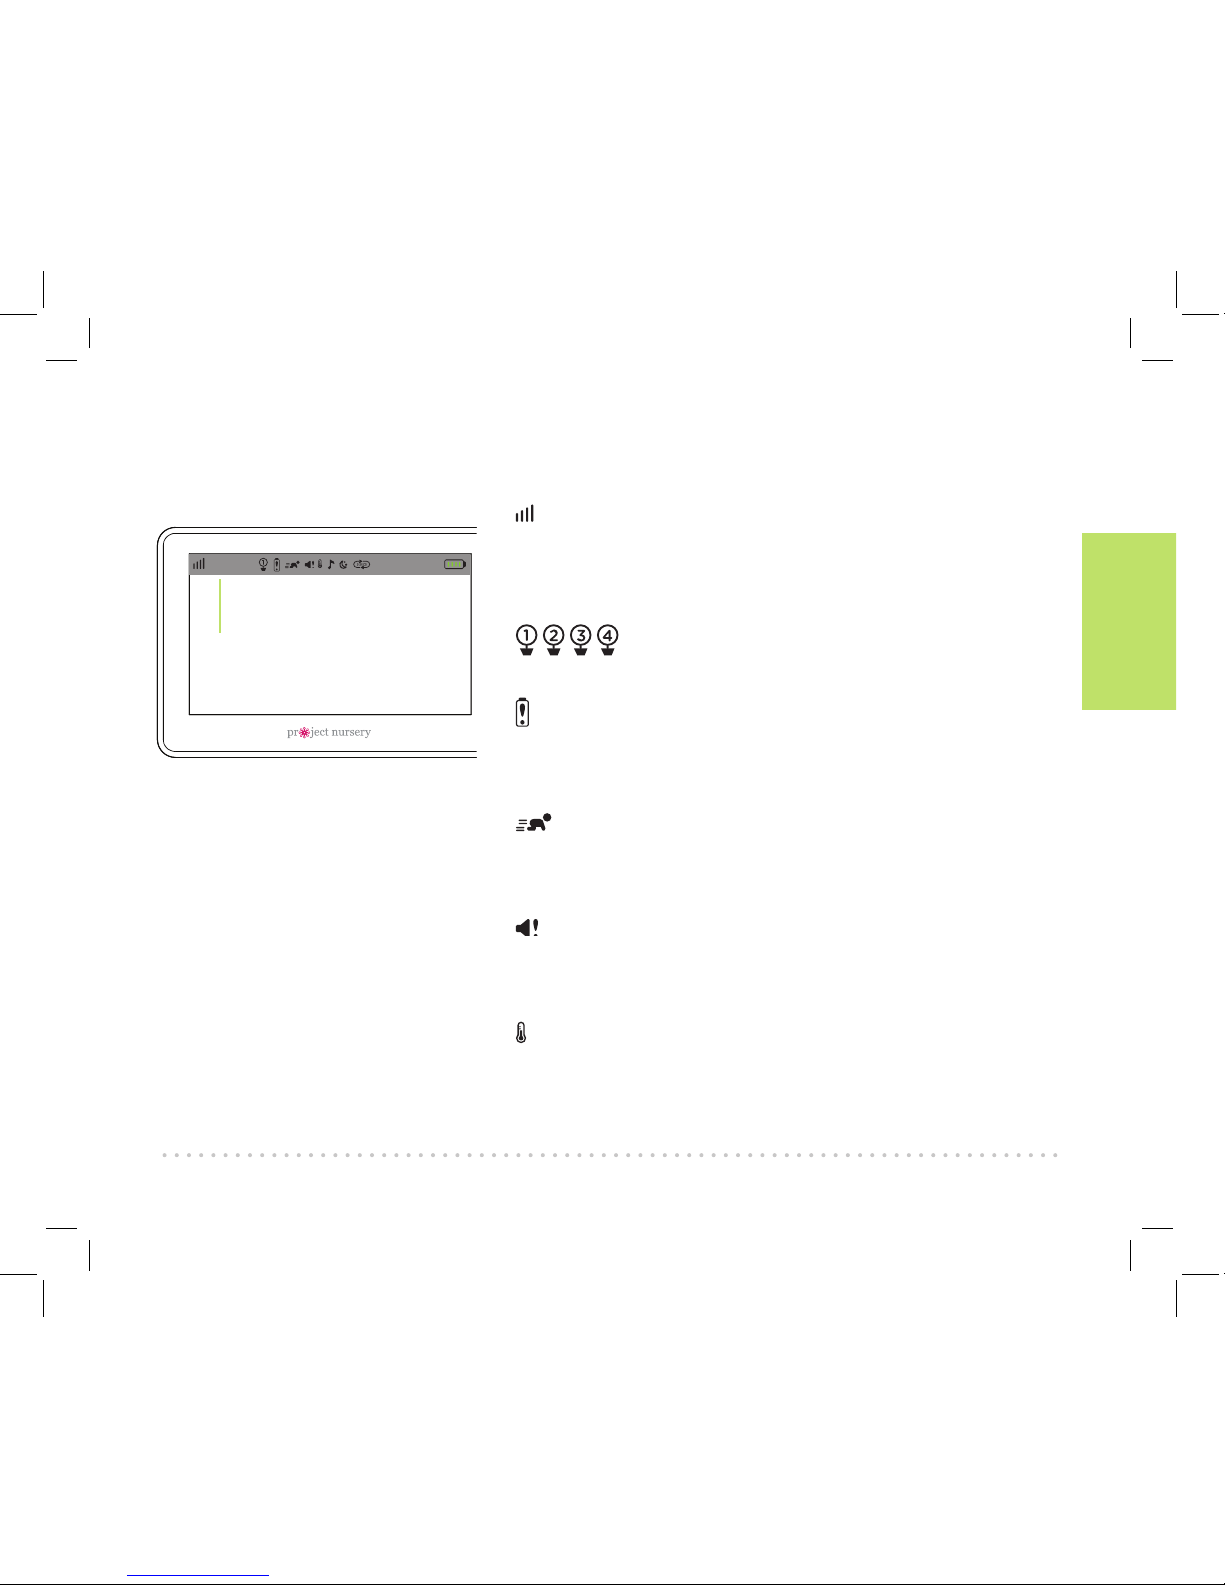
Status Bar Indicators
shows the strength of the current camera’s signal.
Temperature reading shows the temperature in Fahrenheit
at the active camera. If you want to change this to Celsius,
see page 18 for instructions.
shows the camera that the monitor is currently
displaying.
indicates that the Low Battery Noise alert is on. This
means the monitor gives an audio signal when it needs to
be recharged. See page 18 for instructions on turning this
on and off.
indicates that Motion Activated Video Alert is on. This
means the monitor automatically switches on whenever
the camera detects motion. See page 16 for instructions on
turning this on and off.
indicates that Sound Activated Video Alert is on. This
means the monitor automatically switches on whenever
the camera detects sound. See page 17 for instructions on
turning this on and off.
indicates that Temperature Alert is on. This means
the monitor shows an alert message if the temperature
at a camera gets too high or too low. See page 18 for
instructions on setting temperature alerts.
72º
2:35 PM
Temperature
reading
Parent monitor
 Loading...