

Proform 831290823 Owner’s Manual
PRO.FOP.M
Air Walker
N I_ I I_1 IF:, A _ T T I_ T A L B a o Y W o R K O ILl T
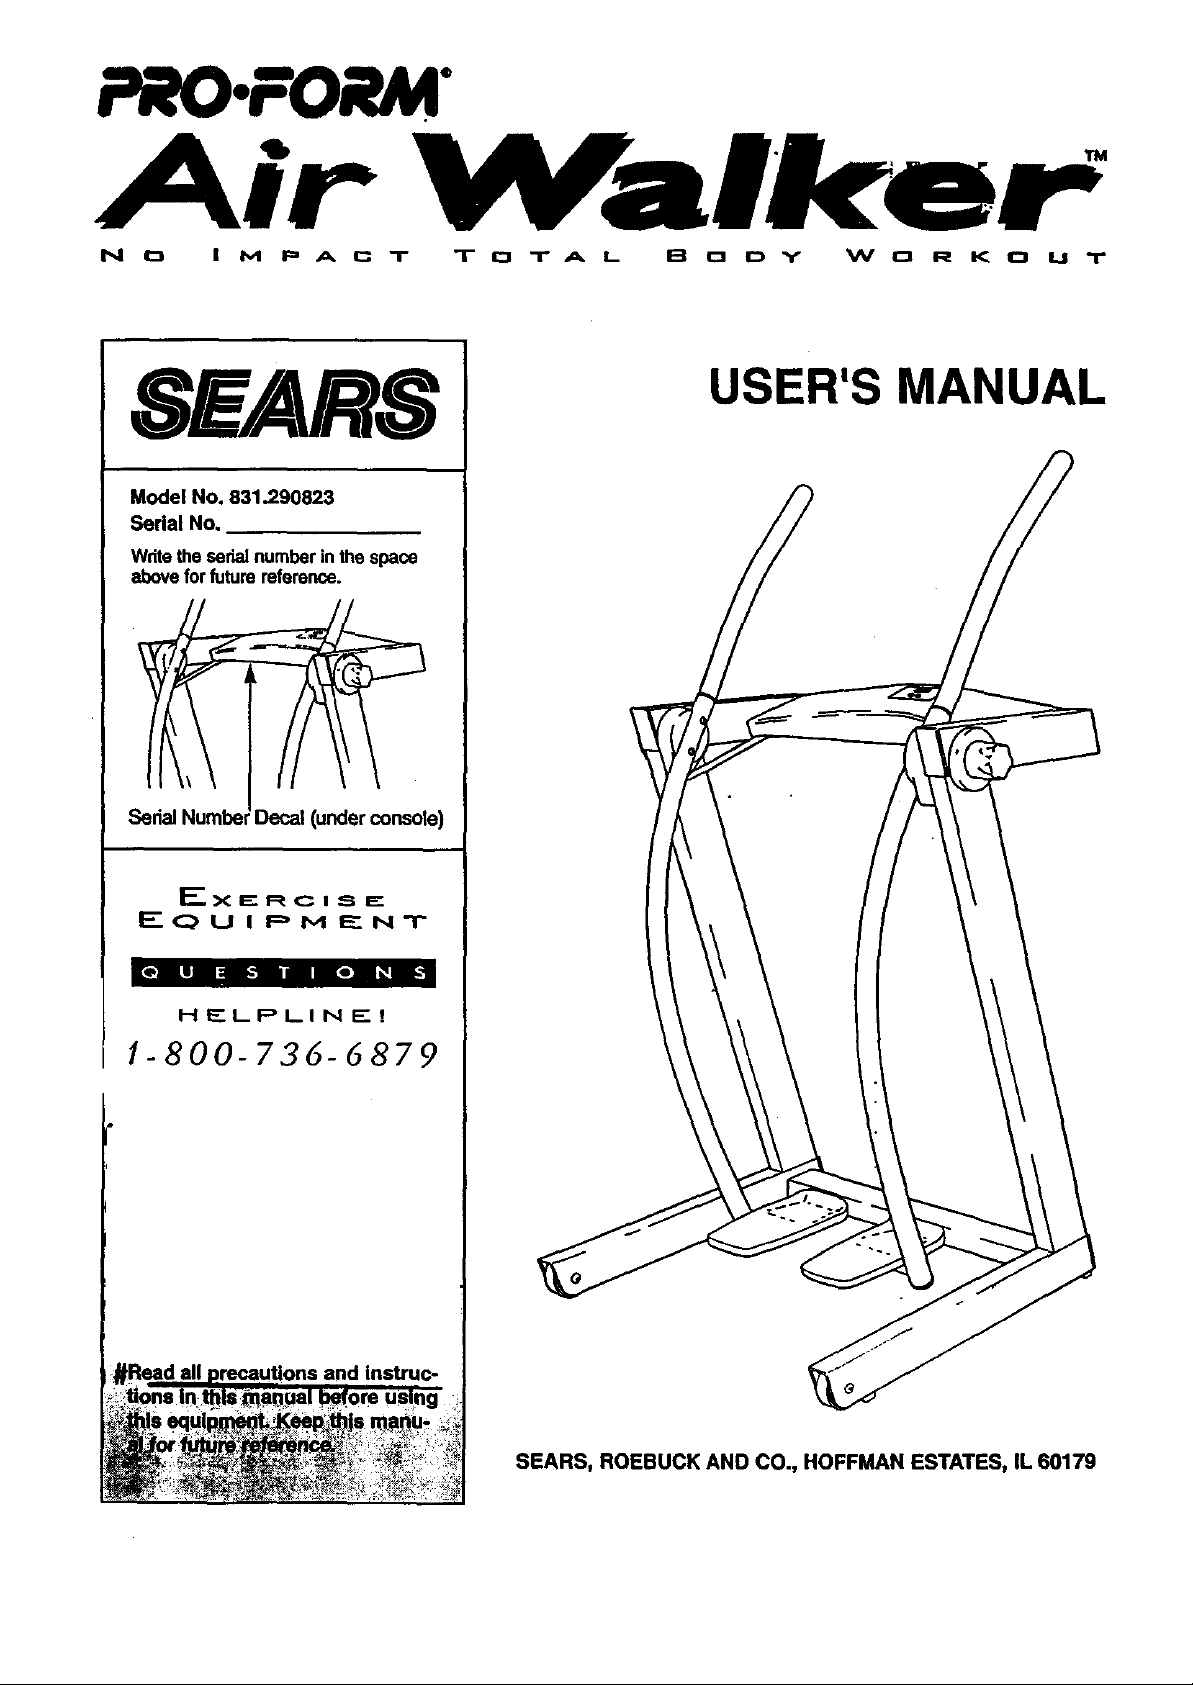
USER'S MANUAL
8E/ 8
Model No. 831.290823
Serial No.
Wdtetheserialnumberinthespace
aboveforfuturereference.
Serial Number Decal(under console)
F-----X I=" R C I _ I_
ECrU I PM ENT
[elln I1_,| n |e| _1
HELPLINE!
1-800-736-6879
andlns_uc-
SEARS, ROEBUCK AND CO., HOFFMAN ESTATES, IL 60179

TABLE OF CONTENTS
IMPORTANT PRECAUTIONS ...................................................... .2
ASSEMBLY ..... , ............................. "" ." . ......... 4
HOW TO USE THE AIR WALKER ... ......................... 7
MAINTENANCE AND TROUBLE-SHOOTING ................... 8
CONDmONING GUIDELINES ................................ 9
PART LIST ....................................................................... ... . 10
EXPLODED DRAWING ................................ , ................................ 11
ORDERING REPLACEMENT PARTS ................................................ Back Cover
FULL 90 DAY WARRANTY ....,.....,. .................................... .... . . . Back Cover
front of this manual,
12, If you feel fain_ dizzy, or short of b_ath While:
• " _feel faint
8. Keep hands and feet away from moving parts, dren away.
: WA_i_ i _0_ _ln.lng _ sgr any exerc se program, consult your physician, This is es_ially
!m_r_f0r,_s _er_,age_of_35 or _qs with pre-ex!sting heal_ pr0blems_Read _1_!_ _, :
__tn_btli_n,_ing,_,_E_p_S_U_s no_resDonsib!!itv for Per_s_aLin[_ry or,prope_d_=i_ge_,,_
• o_ .,_ _ ......... _ _,_ ..........._ :_
• _:_. _, _..... _.... _ ........ _:_ ...... _ _ ...... .... _ _ _
2
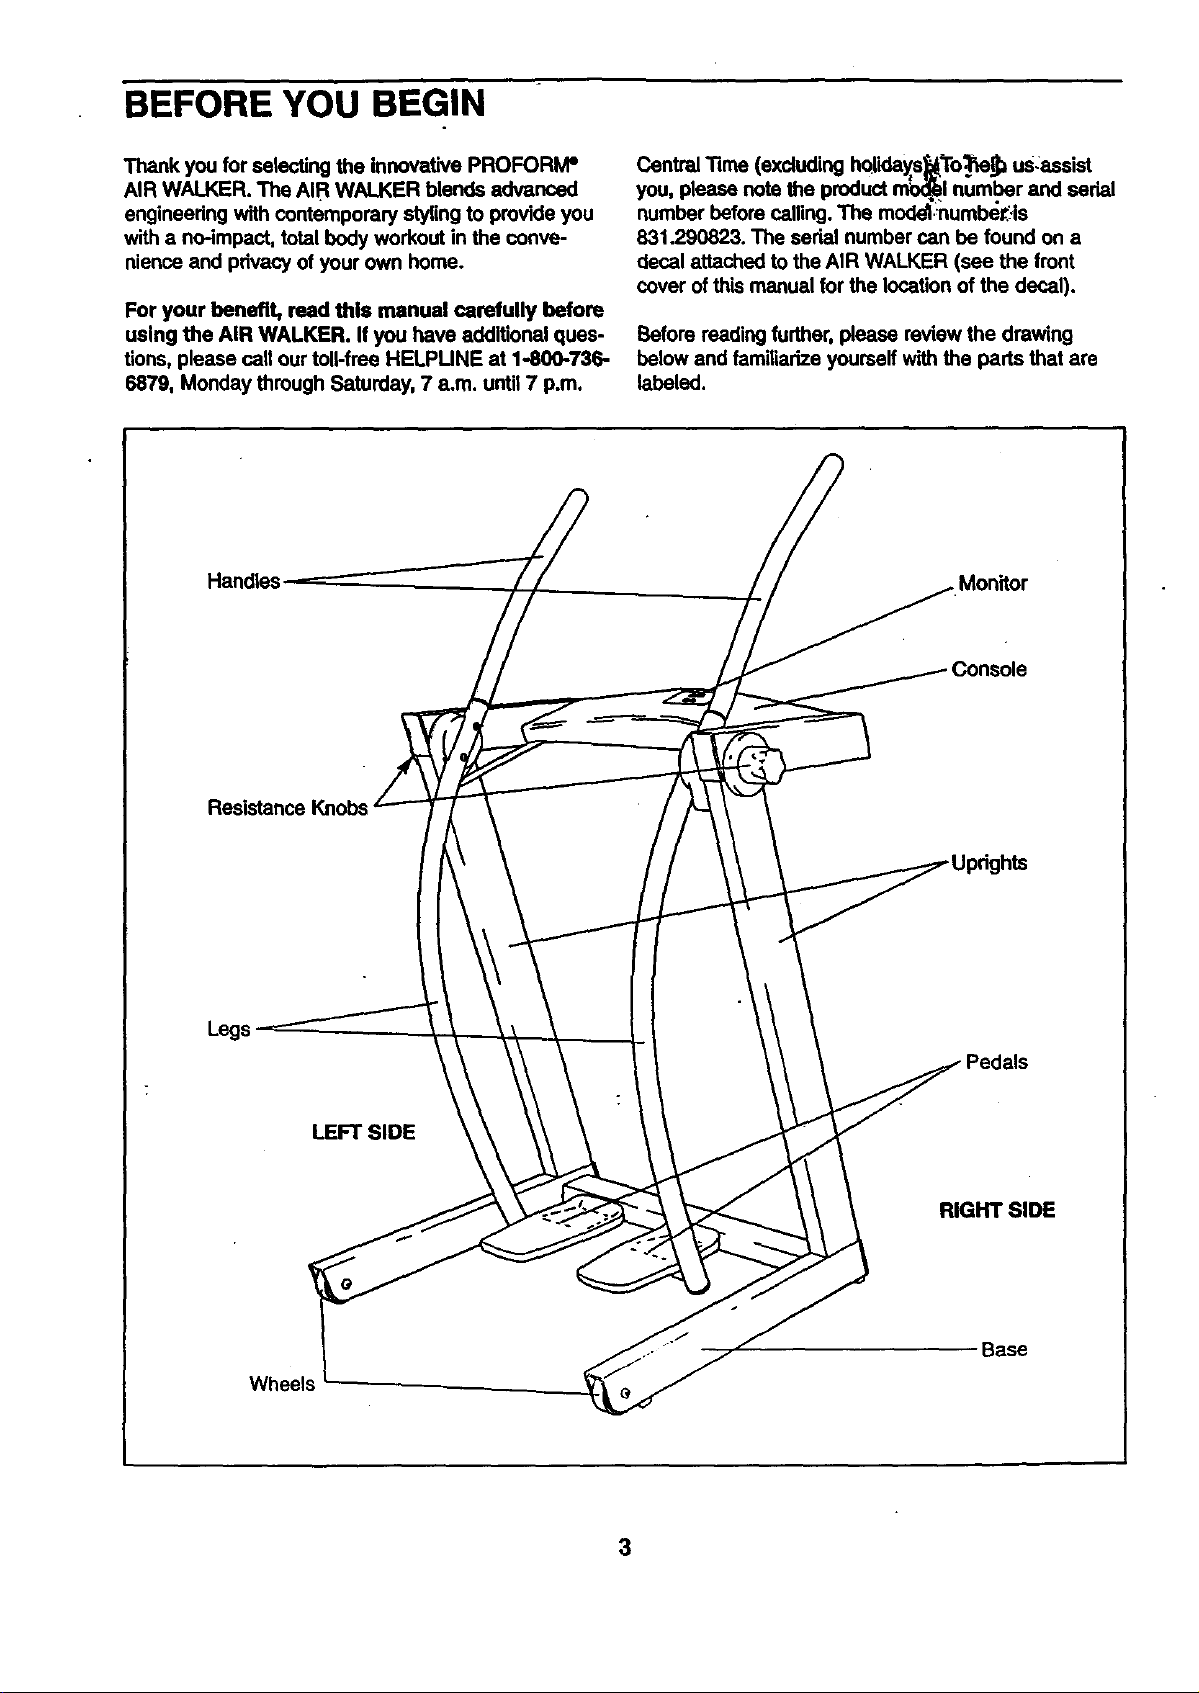
BEFORE YOU BEGIN
Thank you for selecting the Innovative PROFORM"
AIR WALKER. The AIR WALKER blends advanced
engineadng with contemporary stylingto provide you
with a no-impact, total body workout in the conve-
nience and privacy of your own home.
For your benefit, read this manual carefully before
using the AIR WALKER. If you have additional ques-
tions, please call our toll-free HELPUNE at 1-800-736-
6879, Monday through Saturday, 7 a.m. until 7 p.m.
Handles
Central Time (excluding holida_'o_e_ us:aesist
you, please note the product n_l number and serial
number before calling. The moddl_umbe_.is
831.290823. The serial number can be found on a
decal attached to the AIR WALKER (see the front
cover of this manual for the location of the decal).
Before reading further, please review the drawing
below and familiarize yourseff with the parts that are
labeled.
•Monitor
Resistance
Legs
Wheels
LEFT SIDE
RIGHT SIDE
.. " Base
3
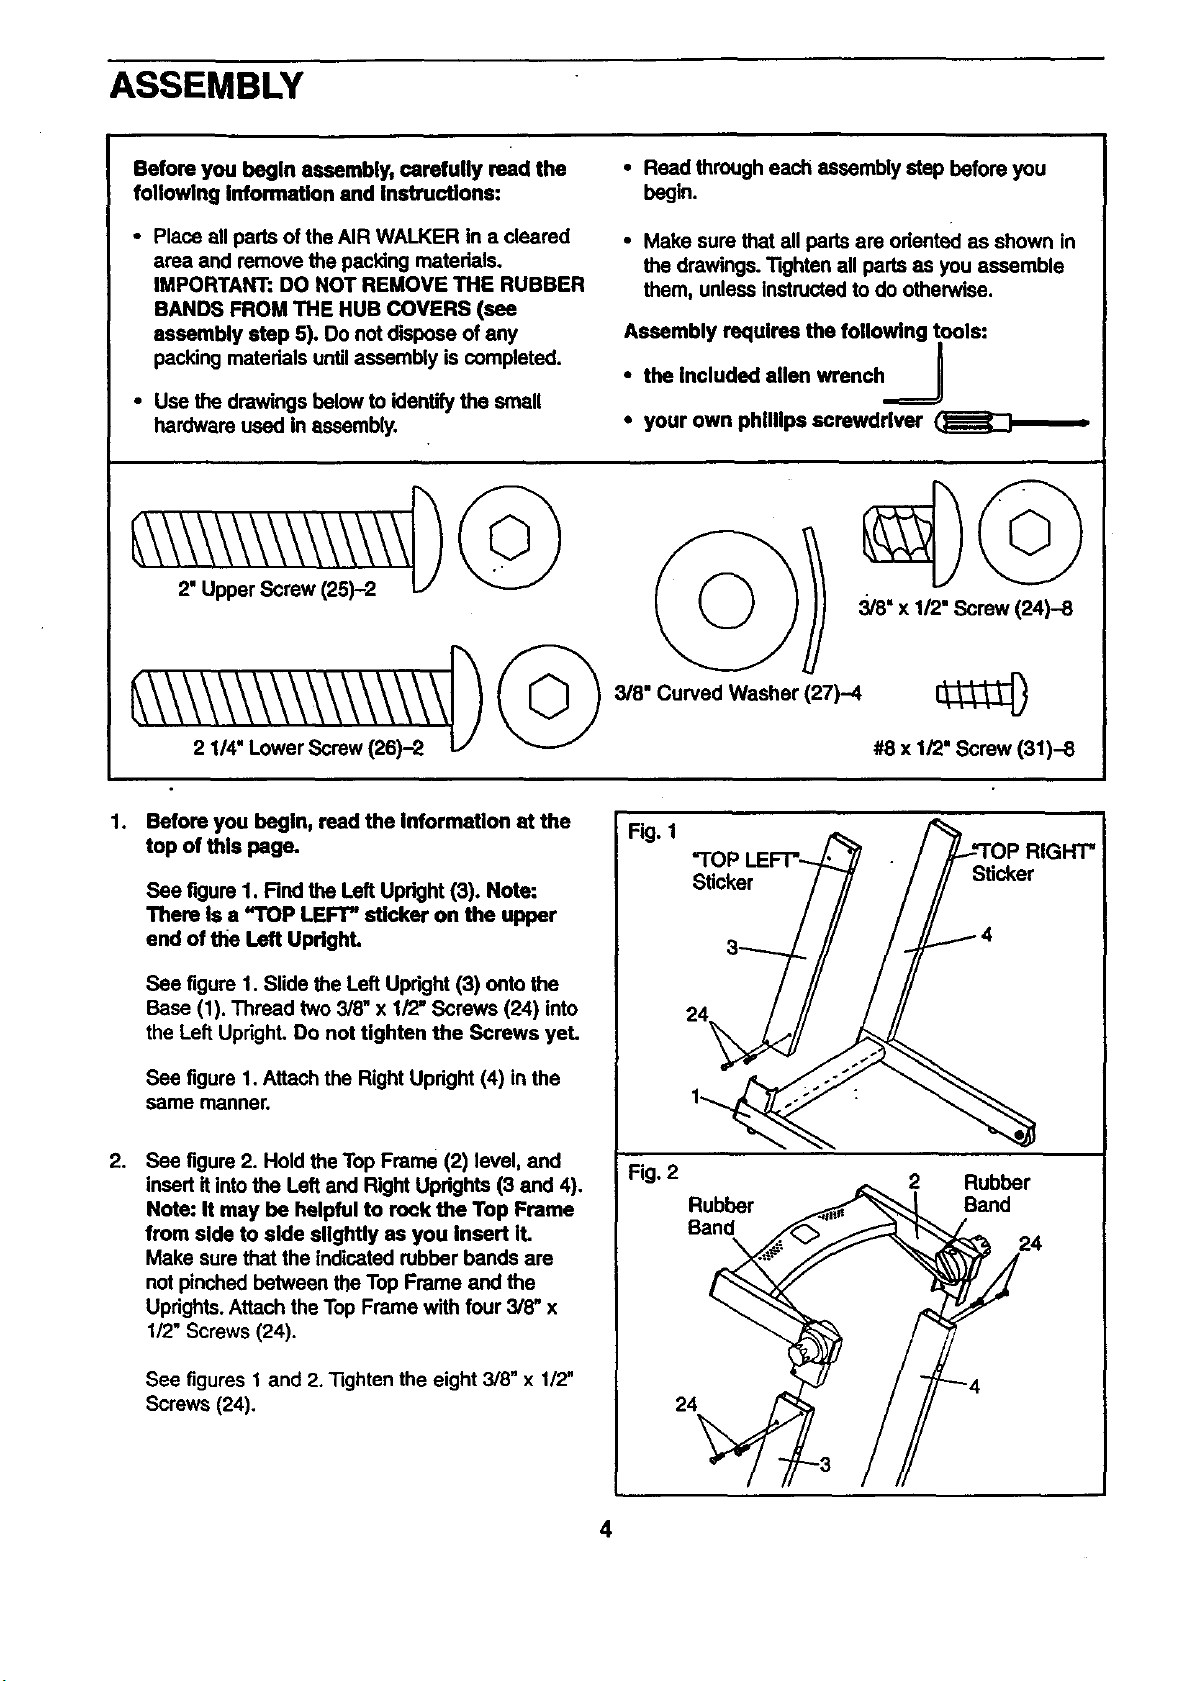
ASSEMBLY
Before you begin assembly, carefully read the
following Information and InstrucUons:
• Place all pads of the AIR WALKER in a cleared
area and remove the packing materials.
IMPORTANT: DO NOT REMOVE THE RUBBER
BANDS FROM THE HUB COVERS (see
assembly step 5). Do not dispose of any
packing matedals until assembly is completed.
• Use the drawings below to identify the small
hardware used in assembly.
• Read through each assembly step before you
begin.
• Make sure that all parts are odented as shown in
the drawings. "lightenall pads as you assemble
them, unless Instructed to do otherwise.
Assembly requires the following tools:
• the Included allen wrench _
/
-=:J
• your own phillips screwdriver (__
@©
3/8" x 1/2" Screw (24)-8
3/8" Curved Washer (27)-4
#8 x 1/2" Screw (31)-8
1,
Before you begin, read the Information at the
top of this page.
See figure 1. Rnd the Left Upright (3). Note:
There is a "TOP LEFT" sticker on the upper
end of the Left UpdghL
See figure 1. Slide the Left Updght (3) onto the
Base (1). Thread two 3/8" x 1/2" Screws (24) into
the Left Upright. Do not tighten the Screws yet.
See figure 1. Attach the Right Updght (4) in the
same manner.
,
See figure 2. Hold the Top Frame (2) level, and
insert itinto the Left and Right Updghts (3 and 4).
Note: It may be helpful to rock the Top Frame
from side to side slightly as you insert IL
Make sure that the indicated rubber bands are
not pinched between the Top Frame and the
Uprights.Attach the Top Frame with four 3/8" x
1/2" Screws (24).
See figures 1 and 2. "Rghtenthe eight 3/'8"x 1/2"
Screws (24).
Fig. 1
Fig, 2
Sticker
24
Rubber
Band
24
RIGHT"
Sticker
2 Rubber
Band
24
4
 Loading...