

Page 1
USB Audio Interface
Standalone digital mixer
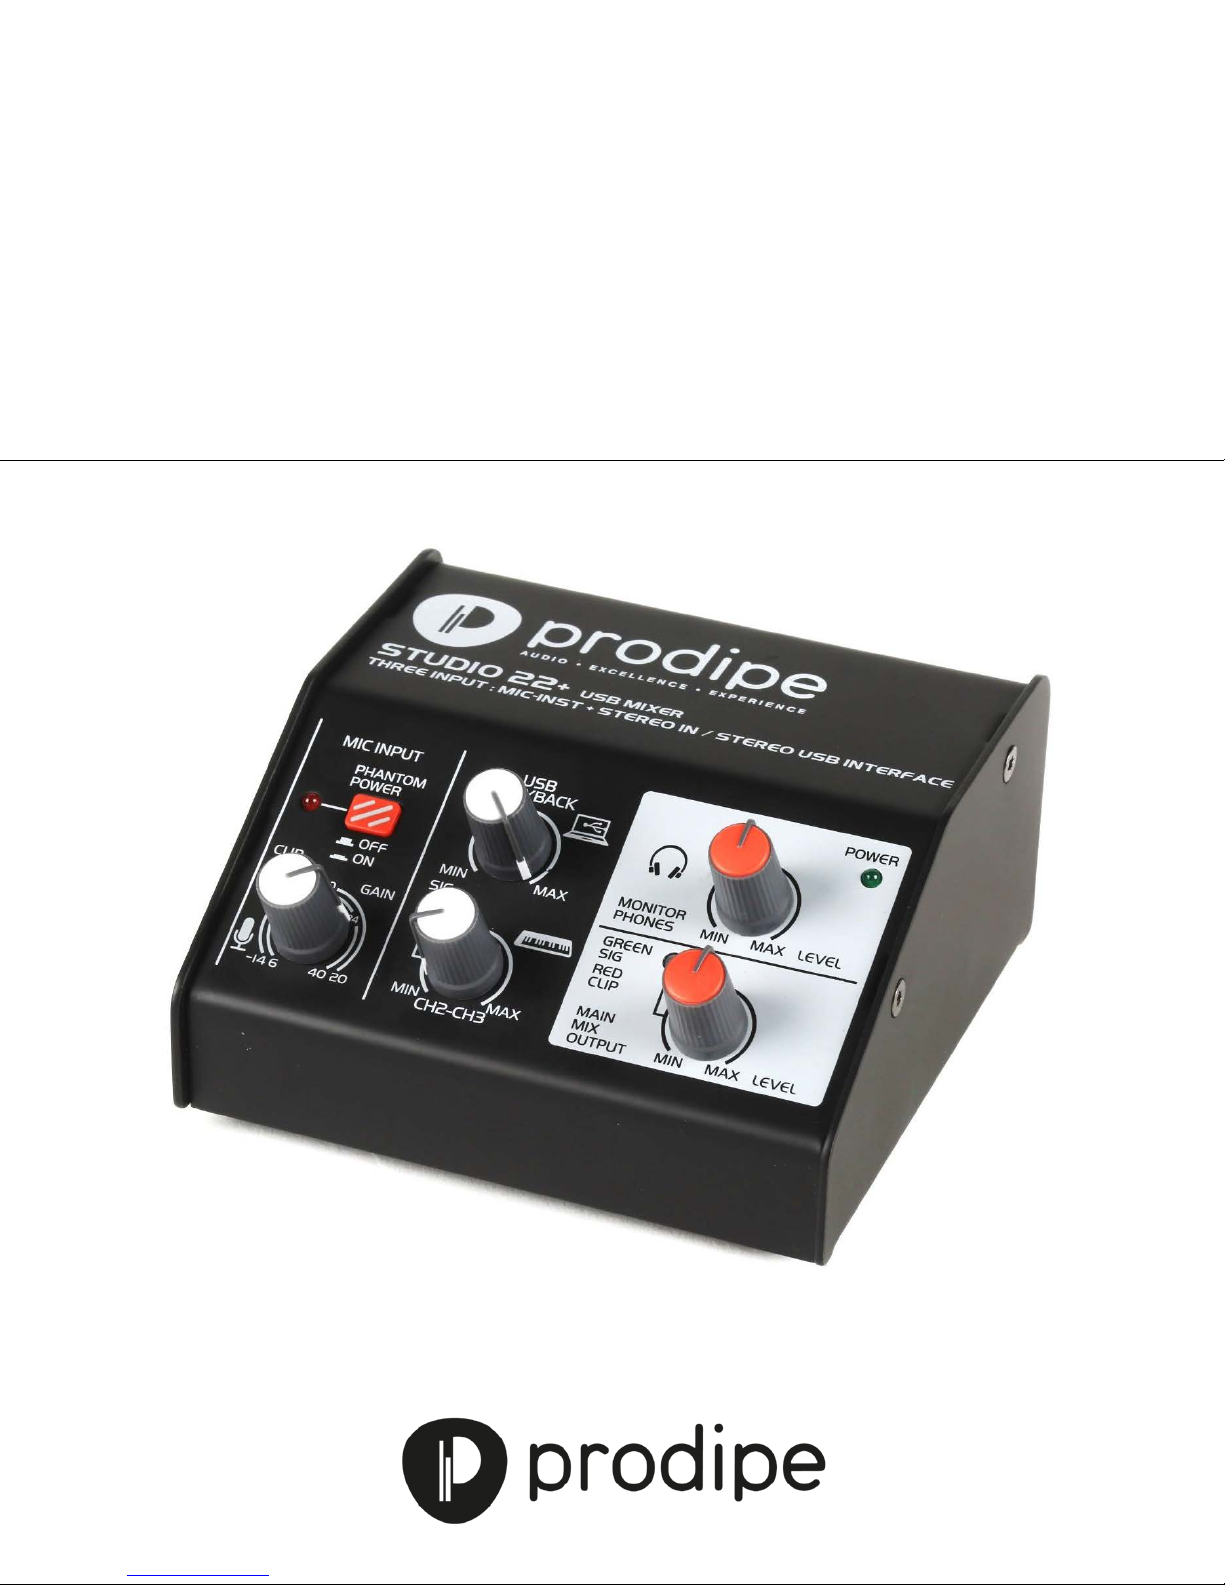
Studio 22+
User Manual
Studio 22+ USB Audio Interface
Page 2
Thank you for purchasing this digital appliance. To ensure perfect operation and security , please read
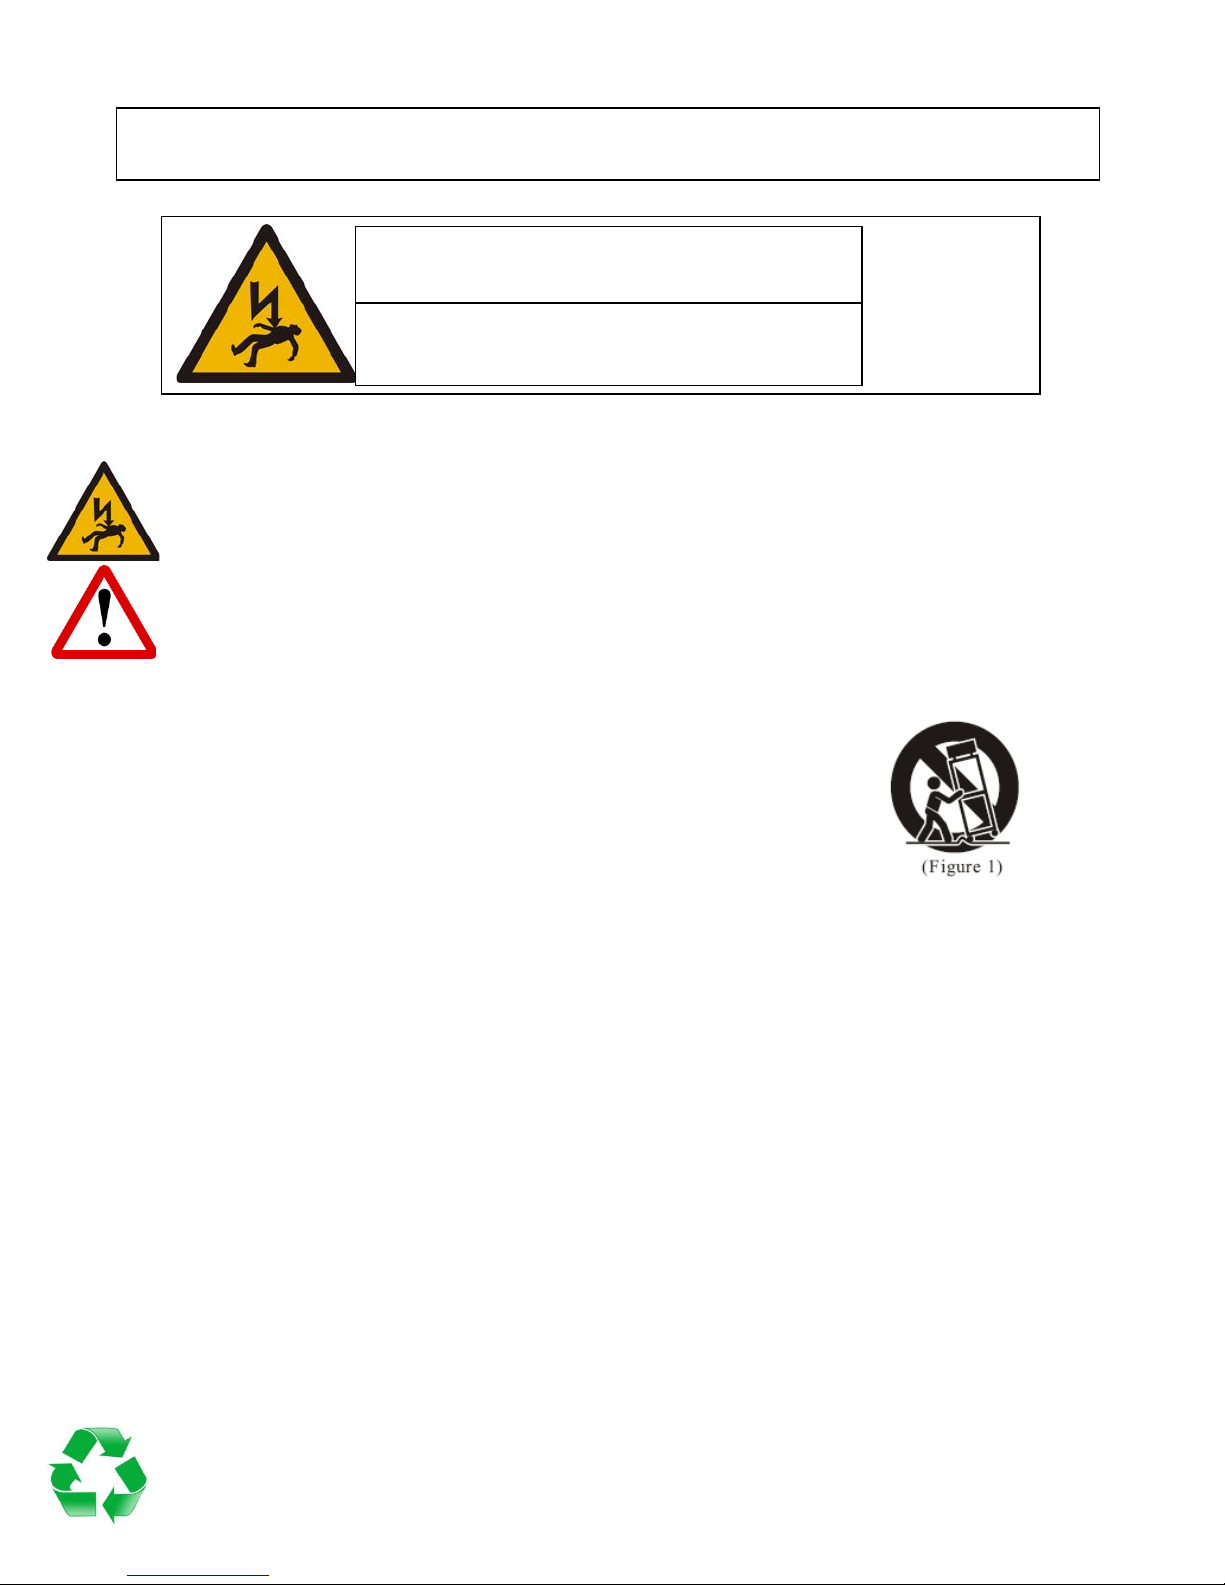
CAUTION
Risk of electric shock
the manual carefully and retain it for future reference. This manual can be downloaded from our site.
Precautions
The lightning flash with the arrowhead symbol in an equil ateral triangle is in tended to alert t he user to the presen ce of
non-insulated “dang erous volt age” inside the appl iance that may be of su fficient magnitude to constitu te a risk of e lectric
shock.
The exclamation m ark within an equ ilateral triangle is intended t o alert the user to t he presence of i mportant operat ing
and maintenance (se r v ic in g) instructions in the l iterature accompanying the product.
Safety Information
Do not open!
Important Instructions
1) Read these instructions.
2) Retain these instructions.
3) Heed all warnings.
4) Follow all instructions.
5) Do not use this appliance near water.
6) Clean only with a dry cloth.
7) Do not block any of the ventilation openings that were installed in accordance with the manufacturer’s
instructions.
8) Do not install near any heat sources such as radiators, heat registers, stoves, or other appliances (including
amplifiers) that produce heat.
9) Do not defeat the safety purpose of the polarized or grounding-type plug. A polarized plug has two blades
with one wider than the other. A grounding type plug has two blades and a third grounding prong. The wide
blade or the third prong is provided for your safety. If the plug provided does not fit into your outlet,
consult an electrician to ensure replacement of the obsolete outlet.
10) Protect the power cord from being walked on or pinched, particularly at plugs, convenience receptacles, and
the point where it exits from the appliance.
11) Only use attachments/accessories specified by the manufacturer.
12) Use only with the cart, stand, tripod, bracket, or table specified by the manufacturer, or sold with the
appliance. If using a cart, be careful when moving the cart/appliance combination to avoid injury from tip over (Figure 1).
13) Unplug this appliance during lightning storms or when unused for long periods of time.
14) Refer all servicing to qualified service personnel. Servicing is required when the appliance has been damaged
in any way, for example, the power-supply cord or plug is damaged, liquid has been spilled or objects have
fallen inside the appliance, the appliance has been exposed to rain or moisture, does not operate normally,
or has been dropped.
WARNING: To reduce the risk of fire or electric shock, do not expose this appliance to rain or moisture.
CAUTION: The appliance sho ul d not b e expo s e d to dr ips o r spla shes of wa t er. O bjec ts fi lled w it h liquids, such as vases , sho u ld
not be placed on the appliance.
This logo indicat es t hat th e pro d uct ca n b e re cycled after it has been used . P le as e do not dis po se o f t he produc t
with your normal household waste. Return t he product to the shop where y ou purchased it or place it i n the
designated recycling container.
Page 3

Contents
1 – Introduction ................................................................... 1
2 – Connections ................................................................... 1
3 – Settings ......................................................................... 2
4 – Audio and USB inputs/outputs ........................................... 3
5 – Configuring the device ..................................................... 4
6 – Technical specifications .................................................... 7
Page 4

1 – Introduction
Thank you for choosing this Prodipe product.
Safety precautions:
To ensure both your safety and the trouble-free operation of this product, please read th e safety
precautions carefully. These are located a t the back of the box.
Important: to reduce the risks of electric shock, do not dismantle this product. For any
maintenance issues, please contact your dealer or a qualified technician.
When you power up your audio system, make sure you always switch your power amp/studio
monitors on last to avoid any wear and tear on you r speakers. When you power down, alwa ys
switch your power amp and studio monitors off first for the same reason.
When you connect the Studio 22+ to a computer via a USB 2.0 port, please follow the
instructions below:
• If either your computer or Studio 22+ freezes, restart the audio program, and if that
doesn’t work, restart the operating system (Windows or Mac). DO NOT di sconnect Studi o
22+ from your computer. If you try to resolve the problem by disconnecting Studio 22+,
you may lose data or your computer may not function properly.
• Always use a USB 2.0 A to B cable (not a USB 3.0 cable).
• Before connecting the Studio 22+ to your computer, make sure that it is not on power
save mode (standby).
2 – Connections
Please follow the procedure below when connecting any device to the Studio 22+ USB audio
interface:
1. Check your audio cables.
2. Lower all the sound levels on the mixing console, including MAIN MIX and MONITOR
PHONES (9) et (11).
3. Check your USB cable (7) and the POWER indicator light (8).
Actual product(s) may differ from illustrations/photographs used
Copyright © 2017 IPE Music/Prodipe
Page 5

3 - Settings
The Studio 22+ is a USB sound card for Mac and PC, but it’s also a standalone digital mixer. If
you connect it via USB to a smartphone charger or to any USB 5V/500mA electrical power source,
the Studio 22+ offers all the features of a compact professional mixing console.
USB Audio Return for Mac or PC
The Studio 22+ features a stereo BUS channel (computer to i n terfac e mi xer). Configu re you r M ac
or PC with Studio 22+ to make this feature operational (see Section 5, Configuring the Device)
High quality mic preamp
The Studio 22+ mic input features phantom power, making it ideal for dynamic, condenser and
studio mi cs. The h ig h qua lity p reamp has b een es peci all y chos en to ensu re tha t studio mic sound
reproduction is as authentic as possible.
Actual product(s) may differ from illustrations/photographs used
Copyright © 2017 IPE Music/Prodipe
Page 6

4 – USB and audio inputs/outputs
1- Inputs
The Studio 22+ features a range of inputs for mics, studio mics, mono instruments, stereo
instruments, electronic drums, etc.
One mono input for instrum ent/mic:
• Balanced XLR combined connector (13) and balanced Jack (14).
• Phantom power with ON/OFF button and LED indicator (1).
• Gain control knob (3).
One stereo line/instrument input:
• Dual 6.35mm Jack socket (balanced/unbalanced) (12).
• Volume knob with LED signal indicator (SIG) (4).
One stereo USB audio port (7):
• Stereo BUS channel (from Mac or PC).
• USB volume knob (2).
Actual product(s) may differ from illustrations/photographs used
Copyright © 2017 IPE Music/Prodipe
Page 7

2- Outputs
One MAIN MIX stereo output:
• Dual Jack socket (balanced/unbalanced) (5).
• MAIN MIX output level knob (11)
• Hi-Z line/instrument impedance button (15).
One Stereo headphone output:
• PHONES stereo Jack socket (6).
• PHONES output level knob (9).
One stereo USB audio port (7):
• Stereo BUS channel (to Mac or PC).
• USB power (USB A to B cable supplied).
5 – Configuring the device
In Mac OS, CoreAudio automatically recognises and selects your sound card. If this doesn’t
happen, go to Applications>Utilities>Audio MIDI Setup. Then select Studio 22+ and make it the
main audio input/output.
In Windows, s etup requi res the Prodi pe ASIO2 dri ver, which i s available to d ownload free on the
Prodipe USB audio Interface Studio 22+ webpage at the address below. Click on ‘Download the
Asio 2 driver’ or on the ‘User Guide’ tab:
http://www.prodipe.com/nos-produits/interfaces-audio/3406-interface-audio-usb-studio-22.html
You can also download the inst ructions for the ASIO2 driver on the Prodipe website.
Actual product(s) may differ from illustrations/photographs used
Copyright © 2017 IPE Music/Prodipe
Page 8

If you want to use the Studio 22+ with CAM software (DAW), go into the preferences/settings of
your CAM program and select the Prodipe ASIO2 driver for Windows and Studio 22+ for Mac OS.
Actual product(s) may differ from illustrations/photographs used
Copyright © 2017 IPE Music/Prodipe
Page 9

The Studio 22+ can also be used as a standalone device i.e. without a computer. You’ll need t o
connect it to a USB power source, such as a smartphone charger (adapter not supplied). With a
USB power source the Studio 22+ becomes a standalone USB mixer. You can use all the mixer
functions except the DAC inputs/outputs.
Electric po wer using the USB A to B cable (supplied) and
smartphone charger adapter (not supplied).
Actual product(s) may differ from illustrations/photographs used
a
Copyright © 2017 IPE Music/Prodipe
Page 10

Input channels
Output channel s
Channel 1
Channels 2 and 3
USB Audio
Main output
Phones output
General features
6 – Technical specifications
Prodipe Studio22+
Mono XLR/Jack (mic/line/instrument)
Dual stereo Jack
USB Playback
Main dual stereo Jack
Stereo phones Jack
Stereo BUS (via USB)
(MIC/LINE/INST)
(LINE)
(MAIN)
Combined balanced/unbalanced XLR/Jack
Gain: -14/+40 dB
Phantom power +48V (with button + LED indictor)
Clip LED indicator: -3dB
Hi-Z line/instrumen t impedance button
Volume control
Balanced/unbalanced dual 6.35mm Jack input
LED indicator (signal)
Volume control
Stereo input/output
USB 2.0 compatible
Sampling frequency: 48kHz (max)
Resolution: 16 bits
USB Type B connector
Balanced/unbalan c ed dual 6.35mm Jack output
LED indicators (Clip-Red + Signal-Green): -3dB
Volume control
Volume control
Actual product(s) may differ from illustrations/photographs used
Power LED (green)
Mac OS compatible (CoreAudio)
Windows compatib le ( P r odipe ASIO 2.0)
USB power (USB A to B cable supplied)
External power supply poss ible: DC 5Volts/500mA
(via USB: USB charger, smartphone charger, etc.)
3 pin XLR connector (IEC 60268 stan da r d) ,
pin 1: ground, pin 2: hot (+), and pin 3: cold (-)
Power consumption: 2.5 Watts (max)
Dimensions: (W x H x D) 109mm x 52mm x104 mm
Weight: 0.5kg
Copyright © 2017 IPE Music/Prodipe
Page 11

_____________________________________________________________
_____________________________________________________________
_____________________________________________________________
_____________________________________________________________
_____________________________________________________________
_____________________________________________________________
_____________________________________________________________
_____________________________________________________________
_____________________________________________________________
_____________________________________________________________
_____________________________________________________________
_____________________________________________________________
_____________________________________________________________
_____________________________________________________________
_____________________________________________________________
Page 12

IPE Music
20, rue Clément ADER
Z.A. Les Gloriets
85340 OLONNE SUR MER
France
www.prodipe.com
 Loading...