

Page 1
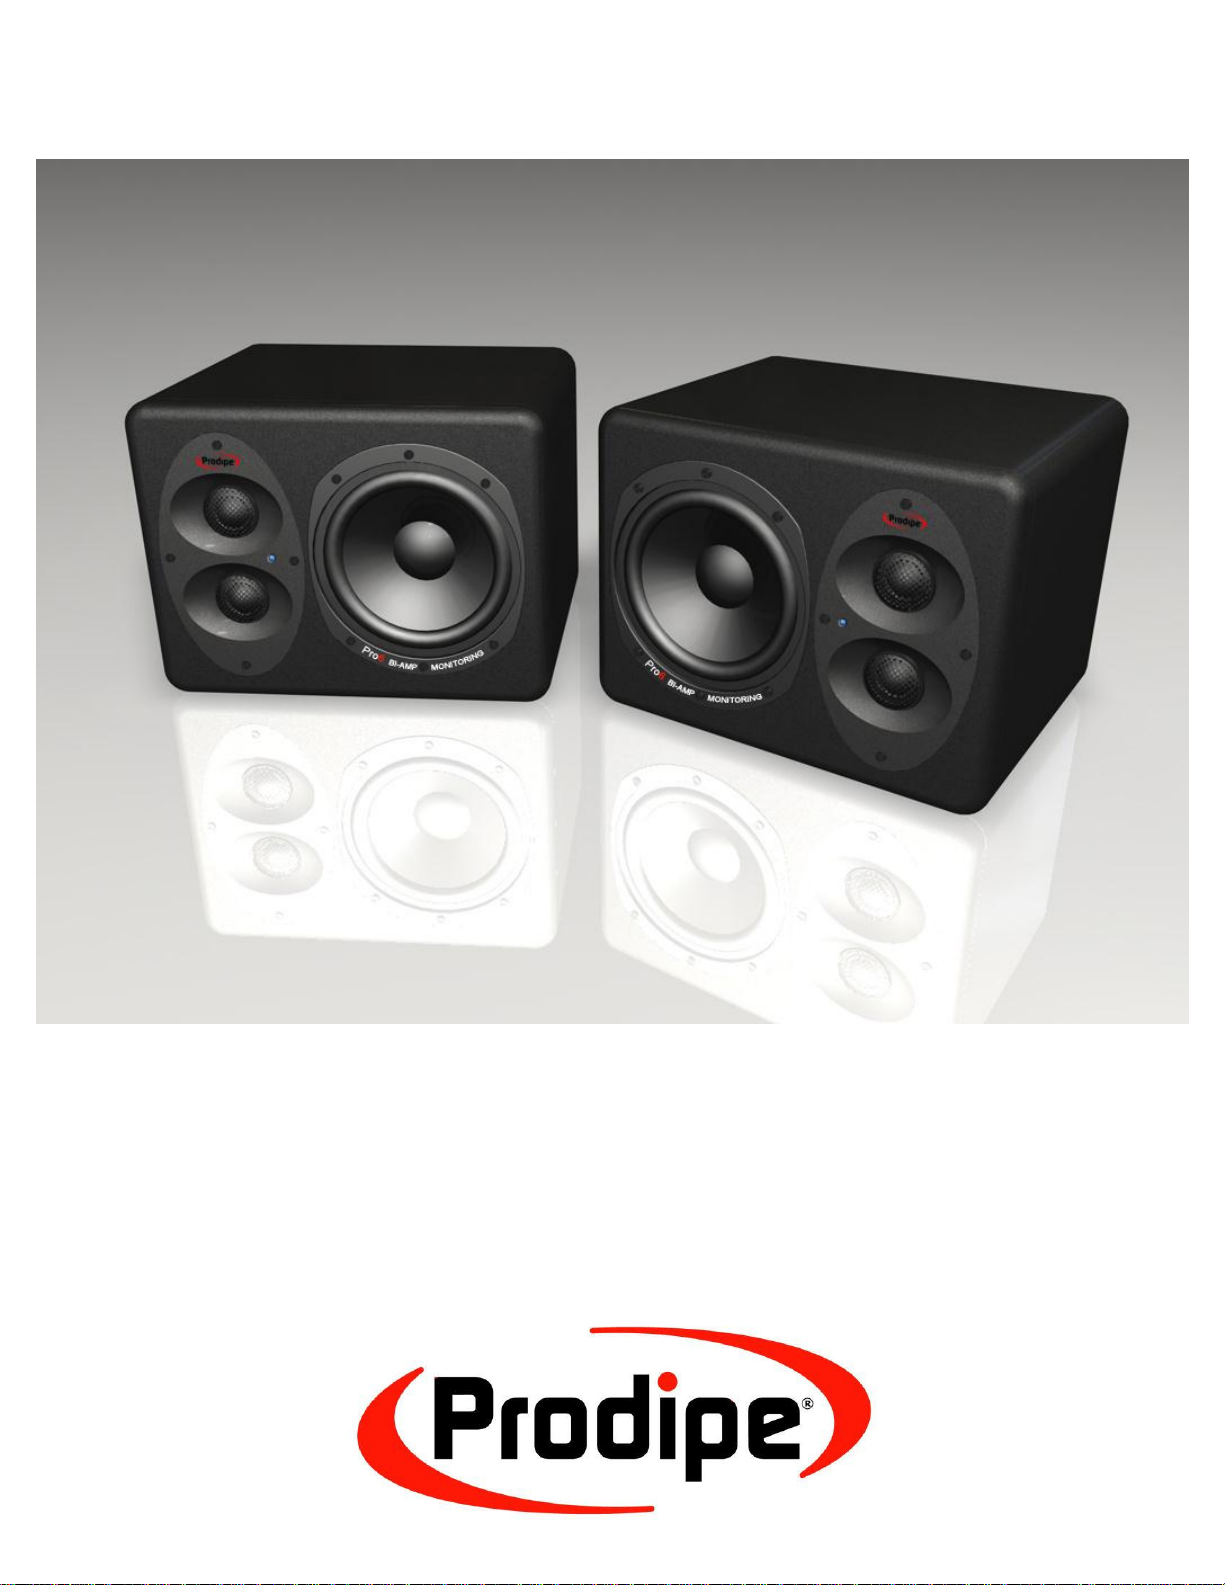
U S E R M A N U A L
S t u d i o M o n i t o r s
Pro6
Page 2
Thank you for purchasing this digital appliance. To ensure perfect operation and security, please read the manual carefully
and retain it for future reference.
This logo indicates that the product can be recycled after it has been used. Please do not dispose of the product with
your normal household waste. Return the product to the shop where you purchased it or place it in the designated
Safety Information
Precautions
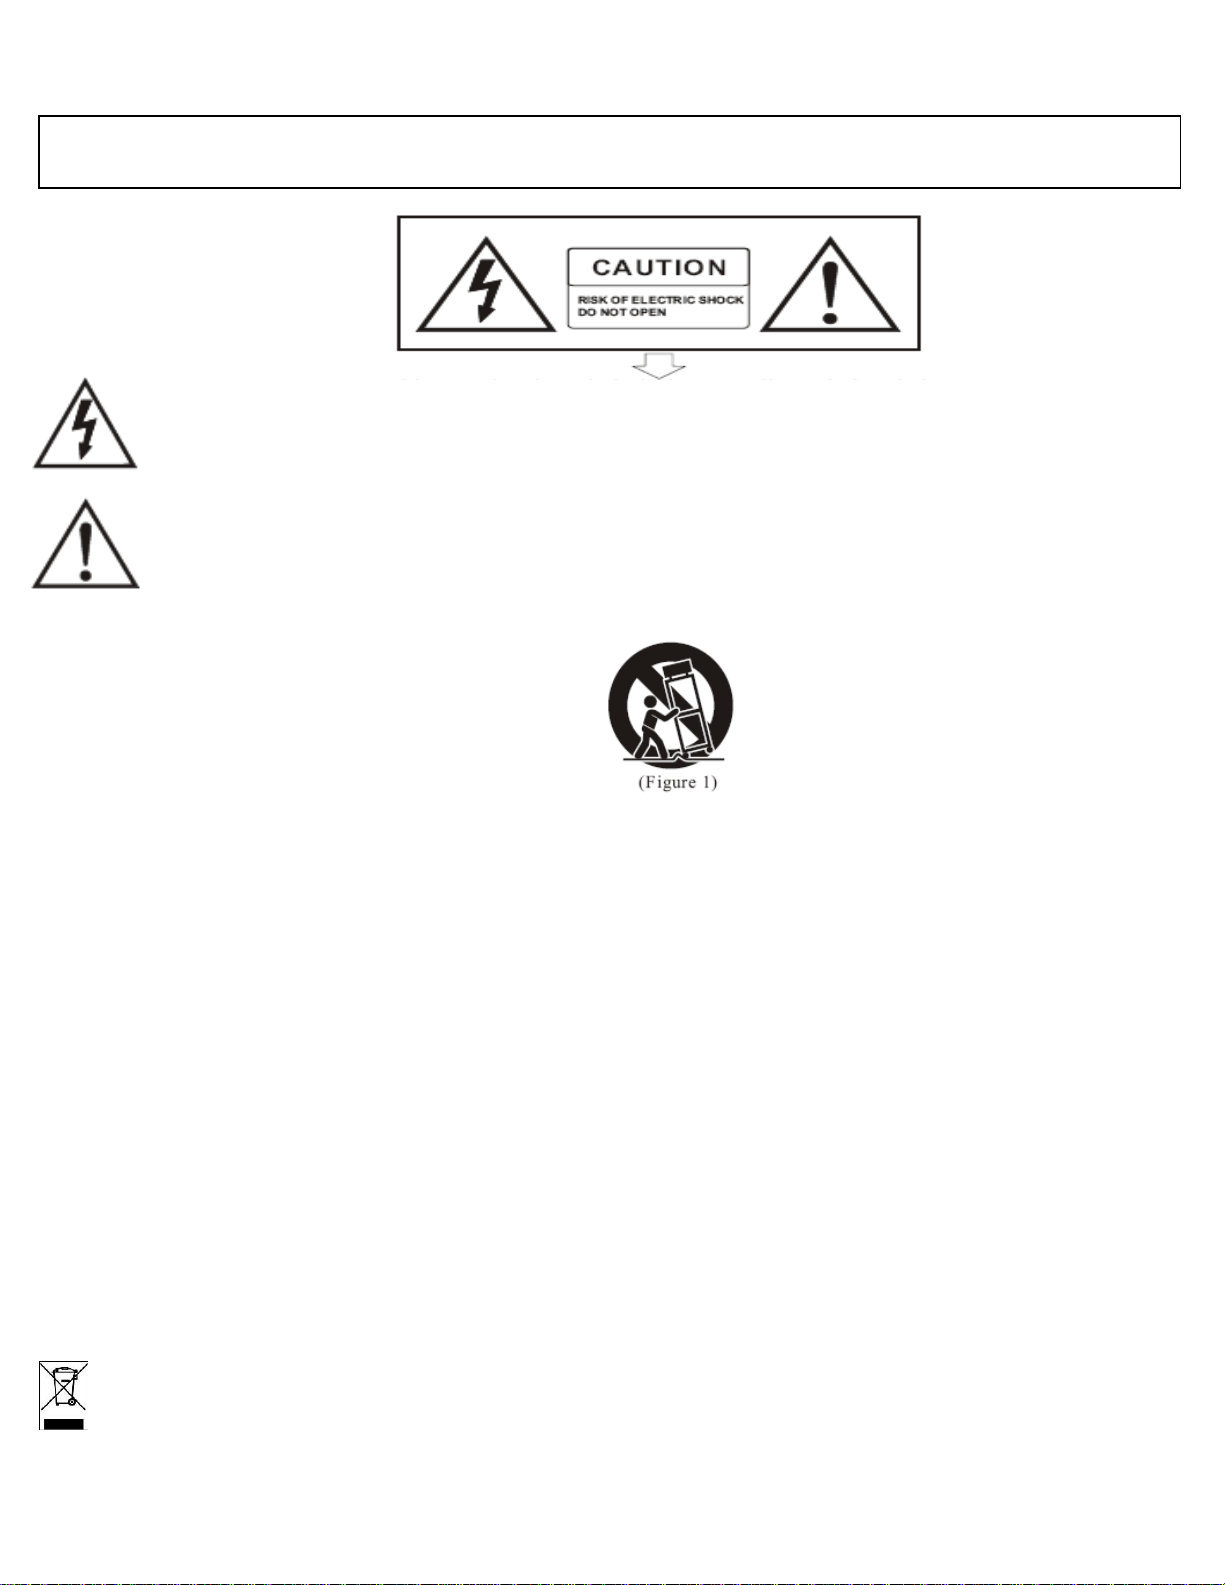
The lightning flash with the arrowhead symbol in an equilateral triangle is intended to alert the user to the
presence of non-insulated “dangerous voltage” inside the appliance that may be of sufficient magnitude to
constitute a risk of electric shock.
The exclamation mark within an equilateral triangle is intended to alert the user to the presence of important
operating and maintenance (servicing) instructions in the literature accompanying the product.
Important Instructions
1) Read these instructions.
2) Retain these instructions.
3) Heed all warnings.
4) Follow all instructions.
5) Do not use this appliance near water.
6) Clean only with a dry cloth.
7) Do not block any of the ventilation openings that were installed in accordance with the manufacturer’s instructions.
8) Do not install near any heat sources such as radiators, heat registers, stoves, or other appliances (including amplifiers)
that produce heat.
9) Do not defeat the safety purpose of the polarized or grounding-type plug. A polarized plug has two blades with one
wider than the other. A grounding type plug has two blades and a third grounding prong. The wide blade or the third
prong is provided for your safety. If the plug provided does not fit into your outlet, consult an electrician to ensure
replacement of the obsolete outlet.
10) Protect the power cord from being walked on or pinched, particularly at plugs, convenience receptacles, and the point
where it exits from the appliance.
11) Only use attachments/accessories specified by the manufacturer.
12) Use only with the cart, stand, tripod, bracket, or table specified by the manufacturer, or sold with the appliance. If
using a cart, be careful when moving the cart/appliance combination to avoid injury from tip-over (Figure 1).
13) Unplug this appliance during lightning storms or when unused for long periods of time.
14) Refer all servicing to qualified service personnel. Servicing is required when the appliance has been damaged in any
way, for example, the power-supply cord or plug is damaged, liquid has been spilled or objects have fallen inside the
appliance, the appliance has been exposed to rain or moisture, does not operate normally, or has been dropped.
WARNING: To reduce the risk of fire or electric shock, do not expose this appliance to rain or moisture.
CAUTION: The appliance should not be exposed to drips or splashes of water. Objects filled with liquids, such as vases, should
not be placed on the appliance.
Page 3

Contents
1 – Introduction ............................................................................................................................1
2 – Connections ............................................................................................................................1
3 – Settings ....................................................................................................................................2
4 – Audio input/output sockets ..............................................................................................3
5 – Speaker Orientation ............................................................................................................3
6 – Specifications .........................................................................................................................4
Page 4
-1-
Pro 6
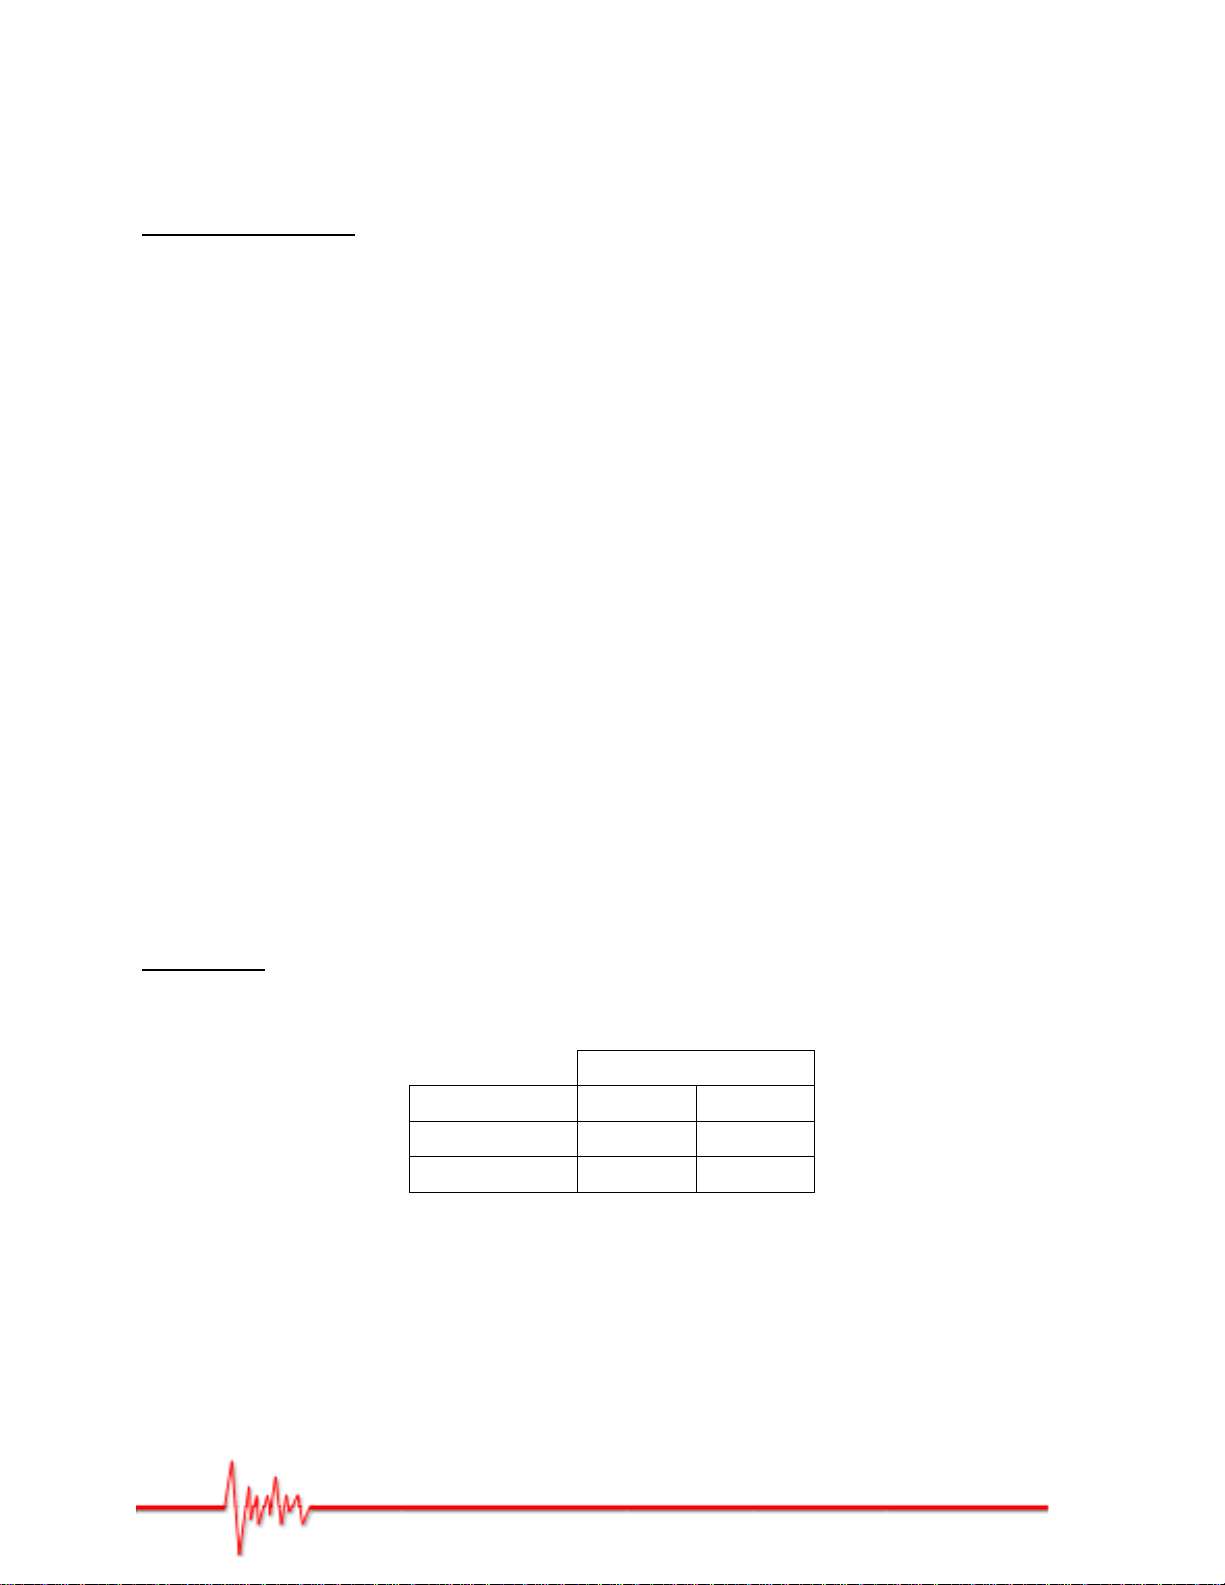
POWER SUPPLY
100V – 120V
220V – 240V
AC SELECT
115V
230V
FUSE
1A
500mA
1 – Introduction
Thank you for choosing this PRODIPE product.
Safety Information
To ensure both your safety and the proper functioning of this product, please take
the time to read the safety instructions on the back cover.
WARNING. To avoid any possibility of electric shock, please do not remove the
back panel of this product. For any repair work please contact either the shop
where you purchased the product or a qualified technician.
Please note that when the volume is turned up high, this equipment can produce
sound levels which may irreparably damage your hearing.
2 – Connections
To ensure that your studio monitors are properly connected, please adhere to the following
steps:
1. Check your audio lead.
2. Switch on the equipment you intend to use with the speakers (console, PC, audio
equipment, etc.).
3. Check the speaker settings and your audio equipment (volume turned down to its
lowest level).
4. Check the voltage , turn the Prodipe speaker POWER switch to ON - the blue LED
should light up.
Note that: when powering off, the Prodipe speakers should be switched off first (switch
to OFF and blue LED goes out).
Important: the choice of voltage via the AC SELECT switch depends on your power
supply. Any change to the voltage should be carried out when the speakers are off (switch
to OFF and speakers unplugged from the power supply).
Figure 1
Actual product(s) may differ from illustrations/photographs used
Copyright © 2012 IPE Music
Page 5
-2-
3 - Settings
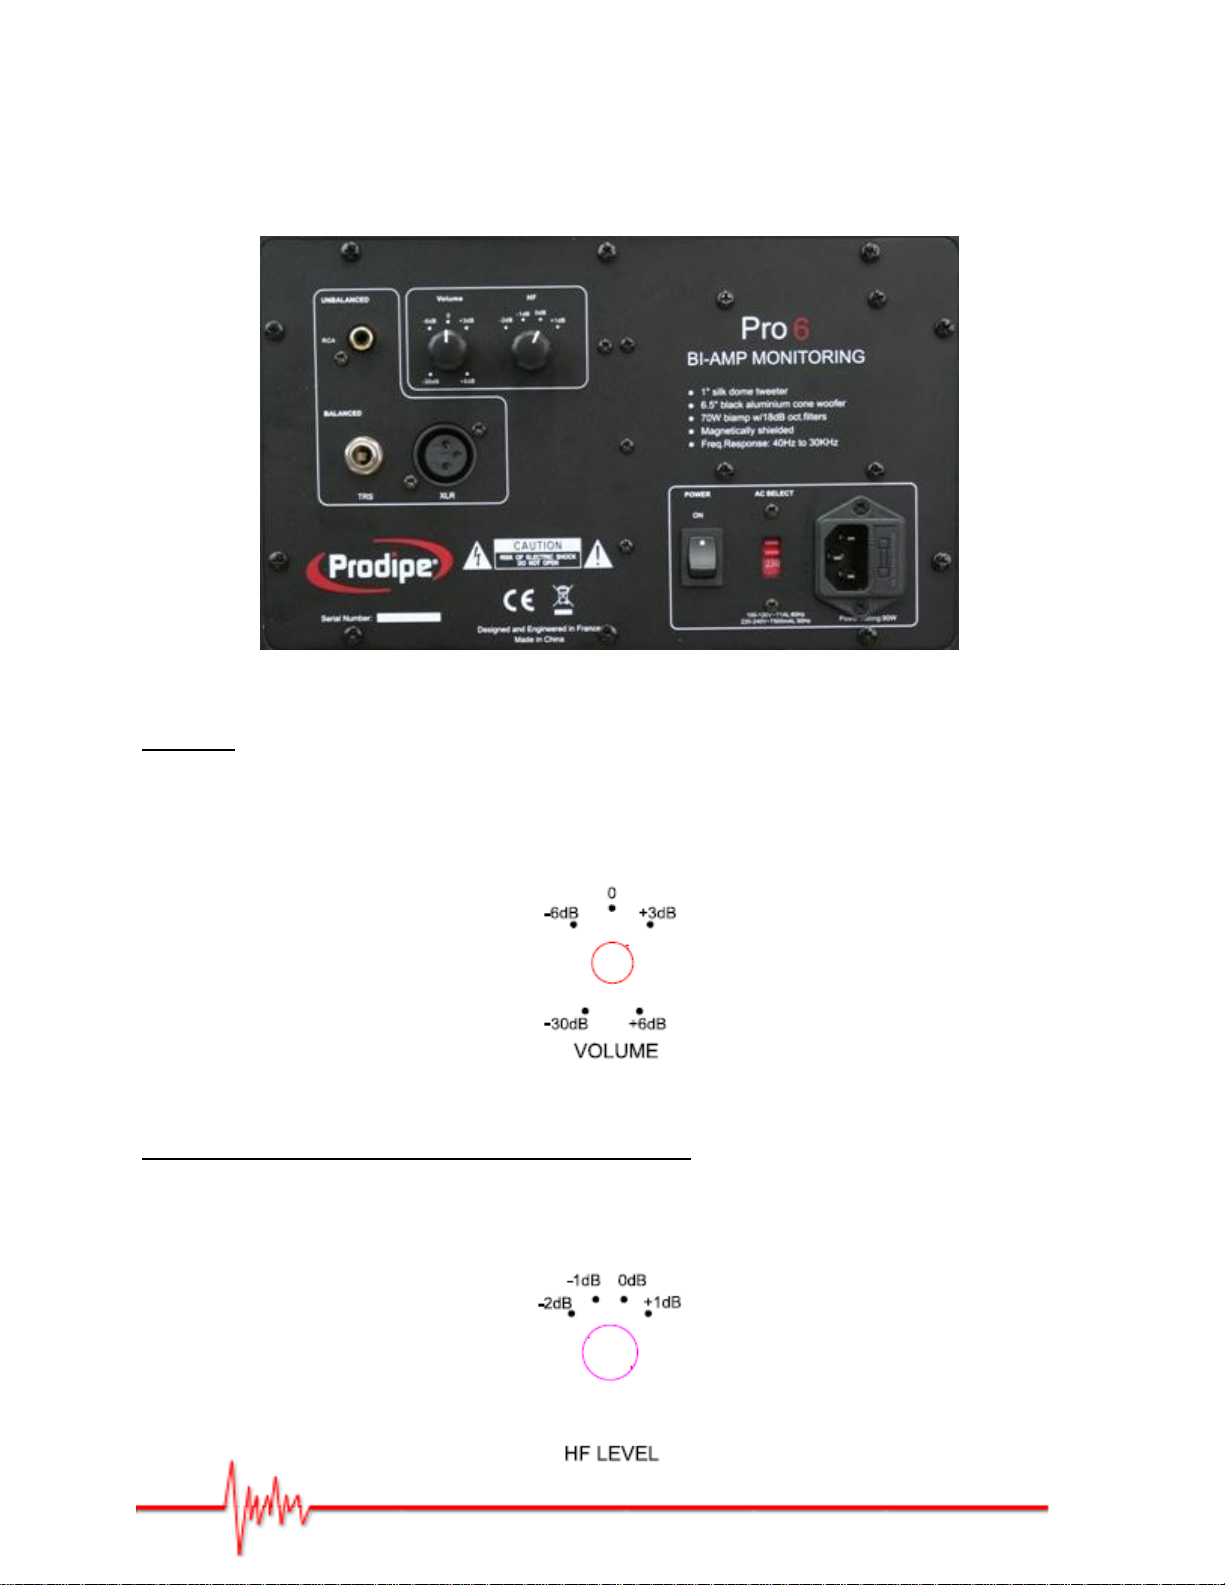
Various settings are available on the back panel of the speakers:
Figure 2 - Back Panel
VOLUME
The gain can be adjusted using the VOLUME control switch on the rear panel of the speakers
(see
Figure 3).
It can be set between -30dB and +6dB.
Figure 3
ADJUSTING THE HIGH FREQUENCIES (HF LEVEL)
The high frequency level can be set using the HF control switch on the rear panel of the
speakers (see Figure 4). The following levels are available: +1dB, 0dB (flat), -1dB, and -2dB
at around 2 kHz.
Actual product(s) may differ from illustrations/photographs used
Copyright © 2012 IPE Music
Page 6
-3-
Optimum listening height
Equilateral
Triangle
Figure 4
4 – Audio input/output sockets
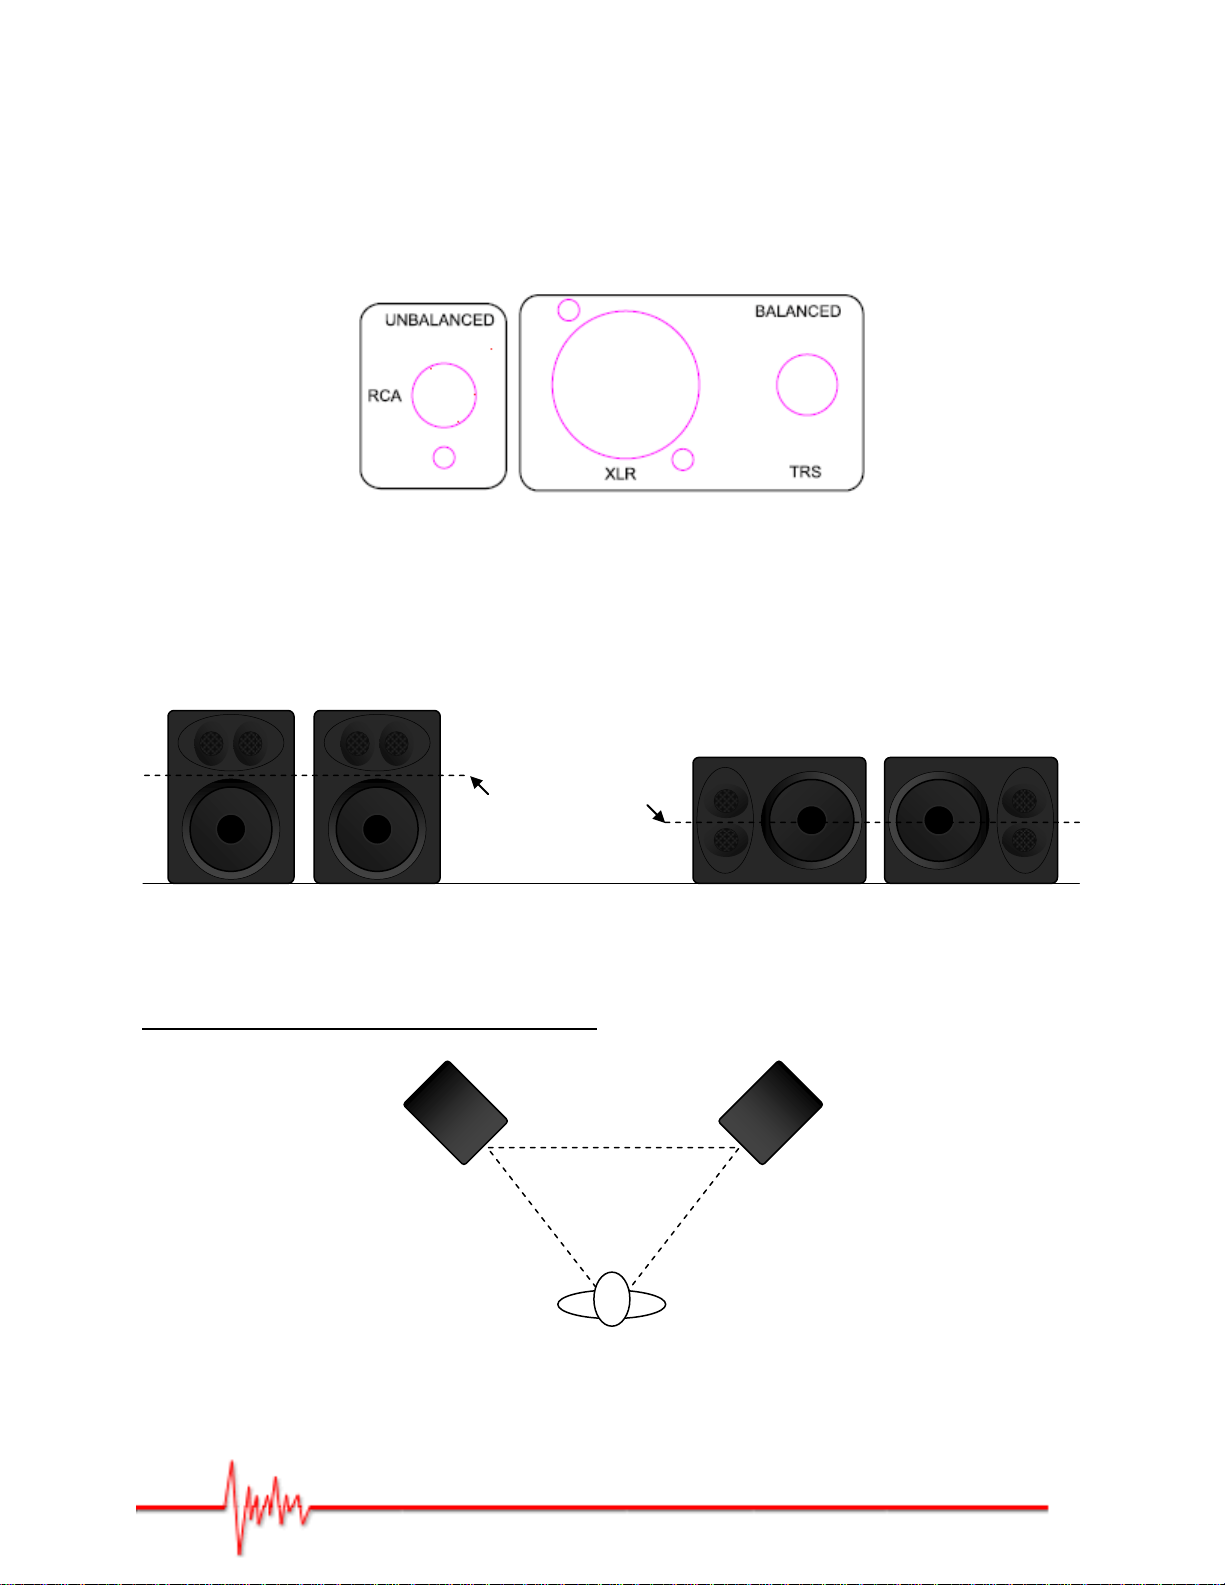
The XLR and TRS sockets are balanced; the RCA is unbalanced.
Figure 5 – TRS, XLR, RCA inputs
5 – Speaker Orientation
The Prodipe studio monitors can be placed upright or prone.
Figure 6
Please note that for optimum sound quality, the speakers should be positioned in such a way
that the tweeters are at the top (upright) or on the outside (prone) as illustrated in Figure 6.
Speaker Orientation for Stereo Listening
Stereo Listening Position
Figure 7
Actual product(s) may differ from illustrations/photographs used
Copyright © 2012 IPE Music
Page 7
-4-
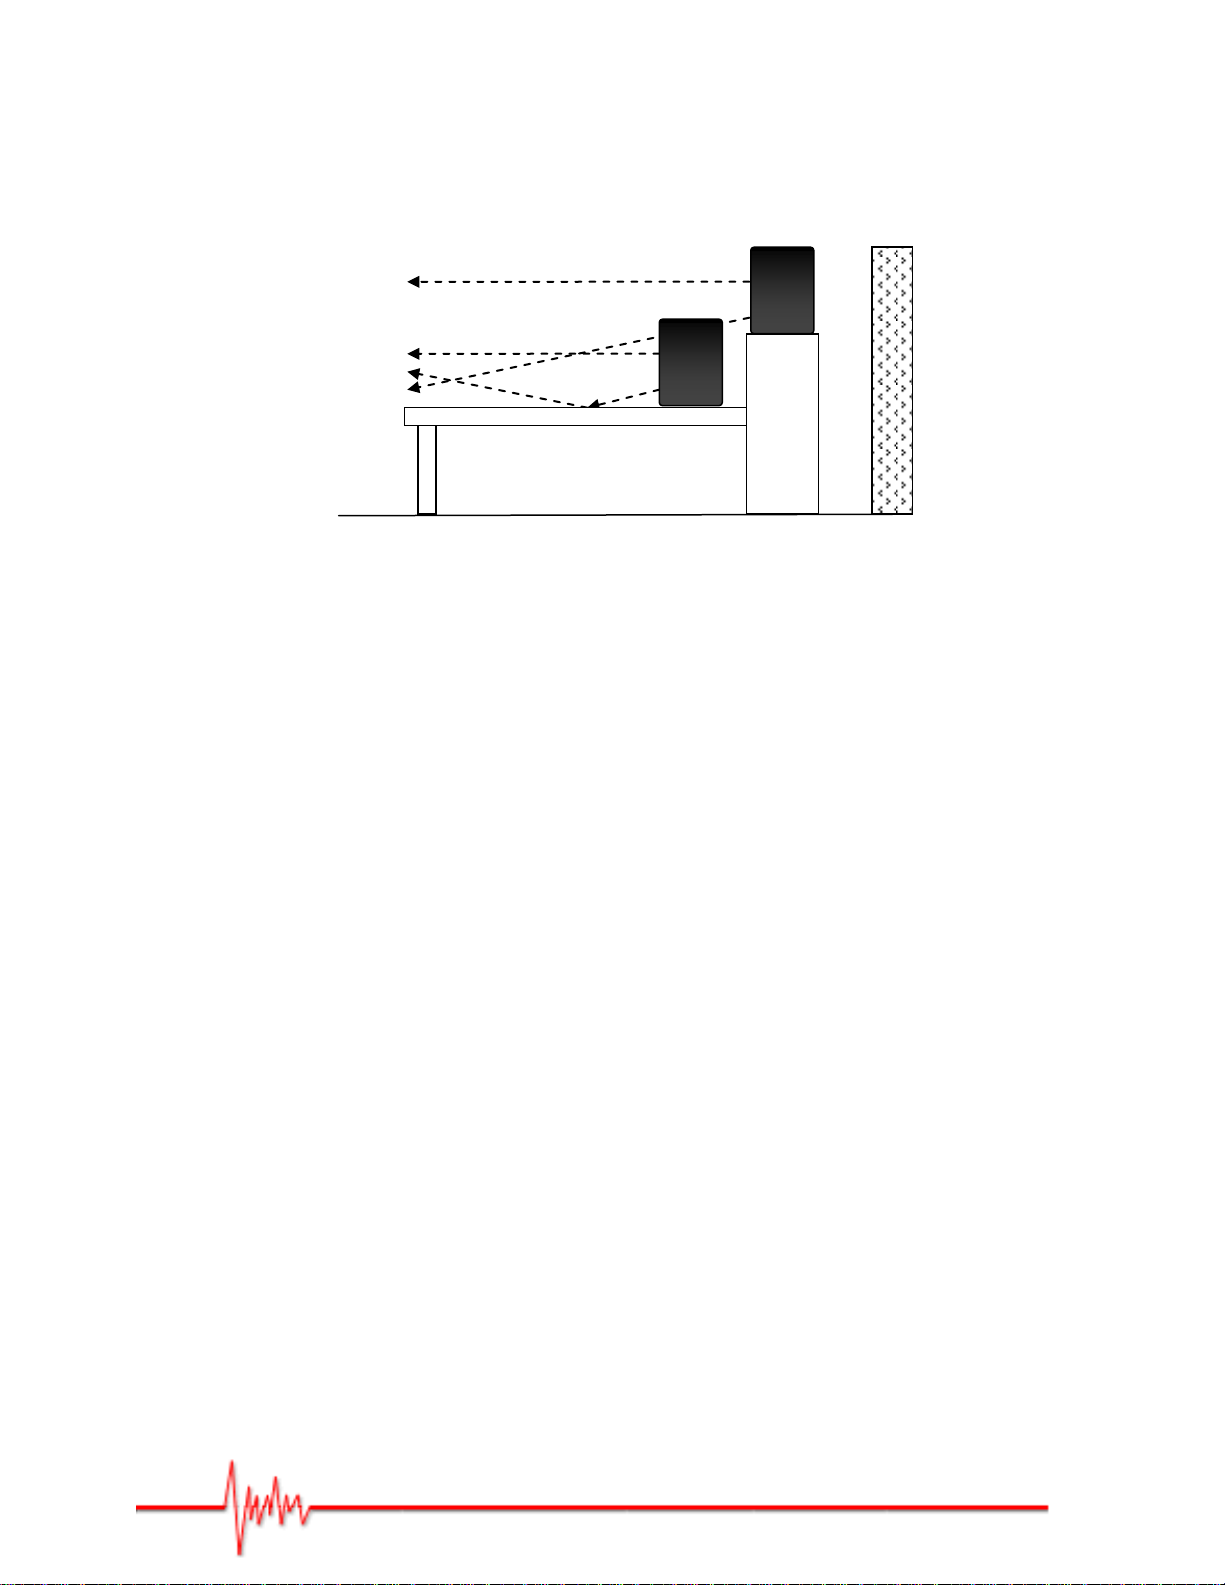
Positioning your speakers correctly in a studio setup is critical to their performance.
Reflection is the most likely acoustic problem you will have to deal with.
As shown in Figure 8, where you place the speakers in relation to a mixer console can
modify the sound wave and hence alter how that sound is perceived.
Reflection
Figure 8
To avoid any deterioration in the low bass signals, the positioning of the speakers has to be
adapted to take into account the bass reflex system. As the Pro6 vent can be found at the
rear of the speaker, it is recommended that you leave a gap of about 80 to 100cm behind
each speaker.
6 - Specifications
2 x 1’’ Silk Dome Tweeter and 6.5’’ Aluminium Cone Woofer
Input: XLR, 1/4’’ TRS, RCA
Switch Controls: Level control, HF adjust
Amplification: 90 watts
Frequency Response: 40Hz-30kHz +/- 2.0dB
Dimensions: 310 x 318 x 411mm
Weight: 9kg
Actual product(s) may differ from illustrations/photographs used
Copyright © 2012 IPE Music
Page 8

IPE Music
20, rue Clément ADER
Z.A. Les Gloriets
85340 OLONNE SUR MER
France
www.prodipe.com
Actual product(s) may differ from illustrations/photographs used
Copyright © 2012 IPE Music
 Loading...