

Page 1

®
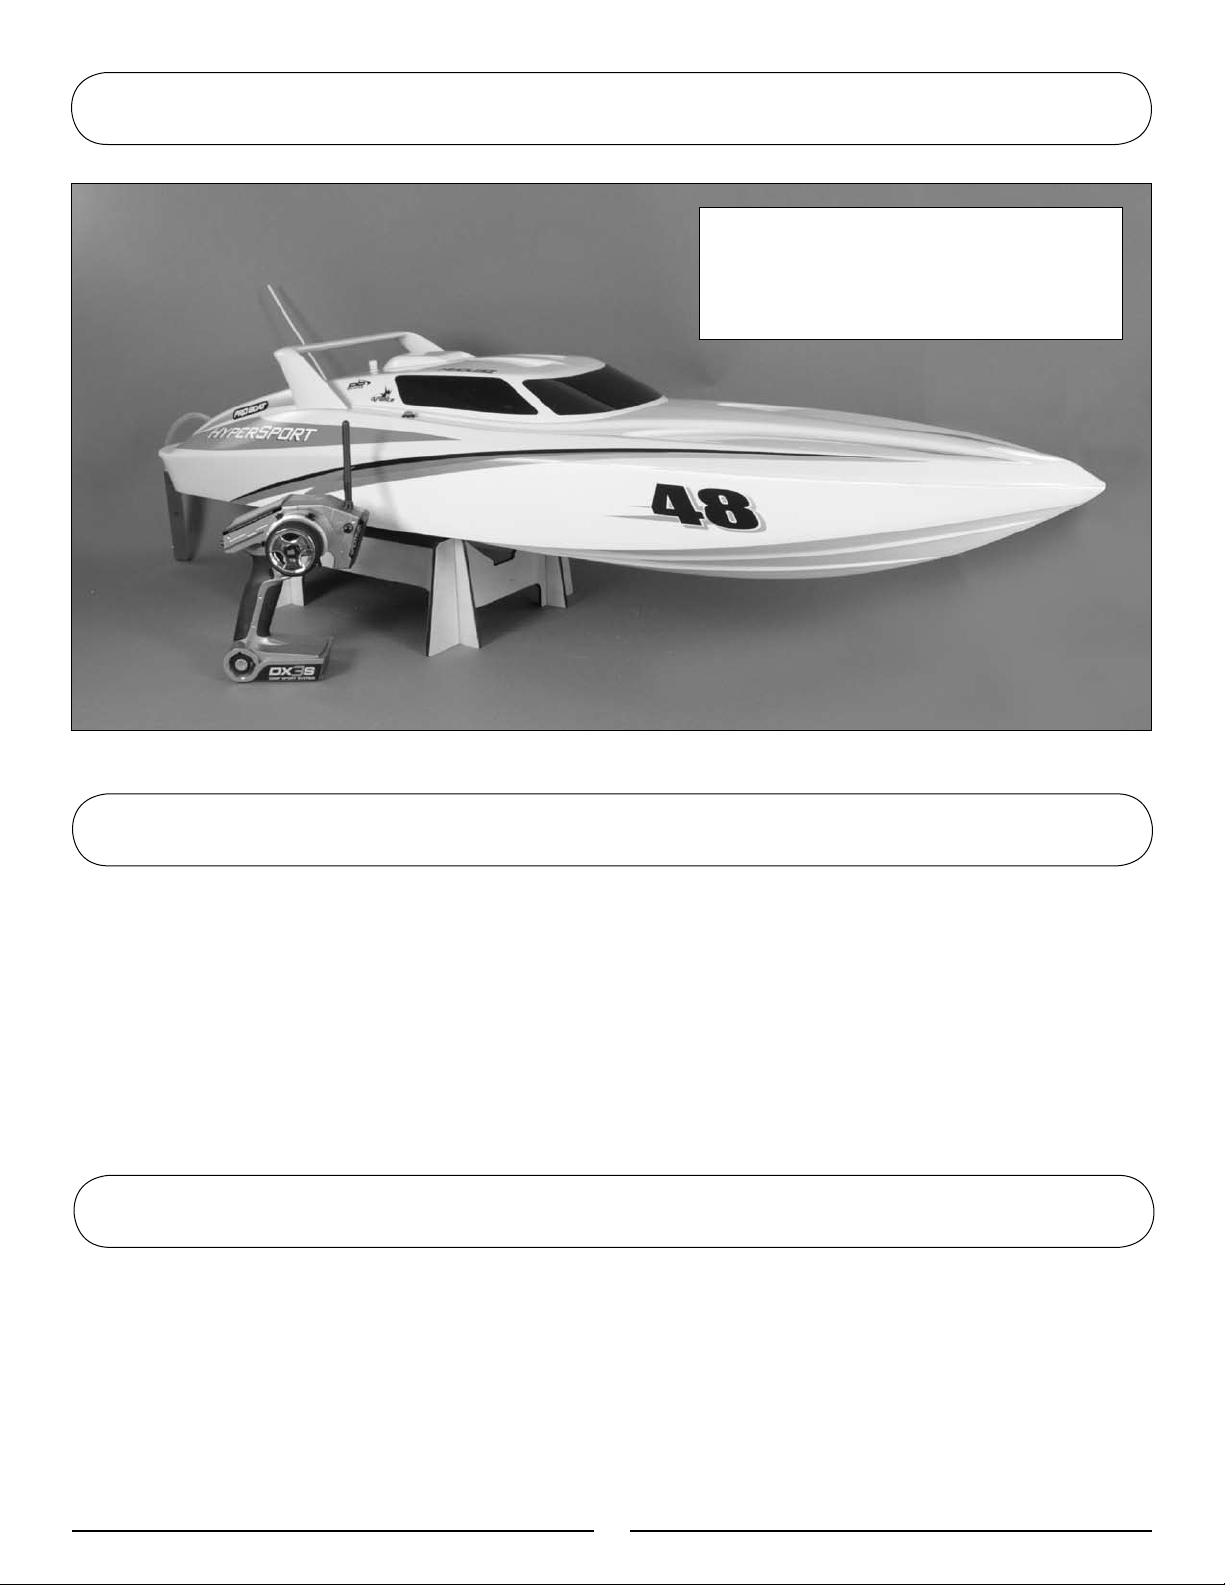
HyperSport™ 48 Gas-Powered
Deep-V Owners Manual
Specifications
Total length ........................................ 51.5 in (1308mm)
Hull length ............................................ 48 in (1219mm)
Beam ................................................. 13.75 in (350mm)
Engine ..............................................Zenoah G26 Marine
Radio System............................... Spektrum DX3S marine
Weight ................................................. 11.8 lb (5.35 kg)
Propeller .................... 2.74 in x 4.2 in Polished Aluminum
www.ProBoatModels.com
The Spektrum trademark is used with permission
of Bachmann Industries, Inc.
Page 2

Introduction
Congratulations on the purchase of your
Pro Boat® HyperSport™ 48 Deep-V. You are
just minutes from one of the most thrilling
experiences the radio control hobby has to offer.
The Pro Boat HyperSport 48 is a professionally
built, ready-to-run Deep-V berglass
composite model. Powered by the potent
Zenoah
race across the water at speeds in excess of
35 mph!
™
G26M engine, you will be able to
Read this owners manual thoroughly. You also
need to read the included Zenoah G26 engine
manual, along with the Spektrum DX3S radio
system manual.
Carefully unpack your HyperSport 48 and
examine the boat and its contents. The box
should contain the HyperSport 48 RTR with
installed radio, a boat stand, and the Spektrum
DX3S radio transmitter. If you are missing
any of these items or notice any damage,
immediately contact the place of purchase.
Table of Contents
Introduction .........................................................................................................2
Table of Contents ................................................................................................. 2
Inspection ........................................................................................................... 3
General Guidelines ............................................................................................... 3
Contents ............................................................................................................. 4
Additional Required Items ..................................................................................... 4
Suggested Field Equipment and Supplies ................................................................. 4
Section 1: Building the Boat Stand .........................................................................5
Section 2: Removing the Canopy ............................................................................ 5
Section 3: Installing the Radio System Batteries ......................................................6
Section 4: Installing the Wing ................................................................................7
Section 5: Propeller Balancing ................................................................................ 7
Section 6: Fueling the Tank ...................................................................................7
Section 7: Range Checking the Spektrum DX3S Radio System ................................... 8
Section 8: Starting the Engine ........................................................................... 8–9
Section 9: Stopping the Engine ..............................................................................9
Section 10: Handling Adjustments ........................................................................ 10
Section 11: Cooling System ................................................................................. 10
Section 12: Troubleshooting Guide........................................................................ 11
Section 13: Hull Care .......................................................................................... 11
Section 14: Maintenance ..................................................................................... 12
Section 15: HyperSport 48 Replacement Parts ....................................................... 13
Section 16: Flex Shaft Lubrication ........................................................................ 14
Section 17: Appendix .......................................................................................... 15
Warranty Information .....................................................................................16–18
Declaration of Confirmity ..................................................................................... 19
22
Page 3

Inspection
Carefully remove the boat and radio
transmitter from the box. Inspect the boat to
make sure no damage is present. If you notice
damage is present, please contact the hobby
shop where you purchased it.
General Guidelines
It is important that you read and follow this
instruction manual, along with the radio
system manual and the engine manual,
before you run this exciting boat. Failure
to read and understand the manual could
result in personal injury, property damage or
permanent damage to your boat. It is also
important to run your boat responsibly. With
proper care and maintenance, you will be able
to proudly enjoy your HyperSport 48 for many
years to come.
When operating the boat, stay clear of people,
full-scale boats, stationary objects and wildlife.
It is preferable to operate the HyperSport 48
in low wake, low wind conditions and in areas
free of people, wildlife and objects.
Conrm that all batteries are new and fully
charged prior to each run and that the failsafe
feature has been set properly in the event of
signal loss (see Spektrum radio manual for
details).
If at any time while operating your model
you sense any abnormal function, end your
operation immediately. Do not operate your
boat again until you are certain the problem
has been corrected. Always stay clear of
the propeller.
3
Page 4
Contents
• Assembled HyperSport™ 48 RTR
• Spektrum DX3S transmitter
• Boat stand
Additional Required Items
Although the HyperSport™ 48 comes fully assembled and ready for action, you will need a few
additional items in order to run your boat. You will need the following:
Evolution Synthetic 2-Cycle Oil, quart (EVOX1001Q) CA or epoxy glue
Flex Shaft Lubrication (PRB0100) Fuel container
Fuel Pump (HAN155) Gasoline (+87 Octane), ethanol-free
8 AA alkaline batteries (4 for the transmitter and 4 for the receiver)
Suggested Field Equipment and Supplies
In addition to the items needed to run the HyperSport 48, we recommend that you carry the
following in your eld box:
Engine Tuning Screwdriver (DYN2775) Clean towels
Extra Propellers (PRB2369) Hex wrench: 2mm, 2.5mm, 4mm
#1 Phillips screwdriver 16mm wrench (2)
8mm wrench Wax
Screw-locking compound
44
Page 5
Section 1: Building the Boat Stand
1. There are 4 plywood boat stand pieces.
The 2 short plywood pieces are the ends
of the boat stand.
2. Secure the 2 long plywood pieces of
the interlocking boat stand to one end of
the short plywood pieces. Repeat with the
remaining short plywood pieces.
3. Secure the stand together where each
piece is joined with epoxy or CA glue
(not included).
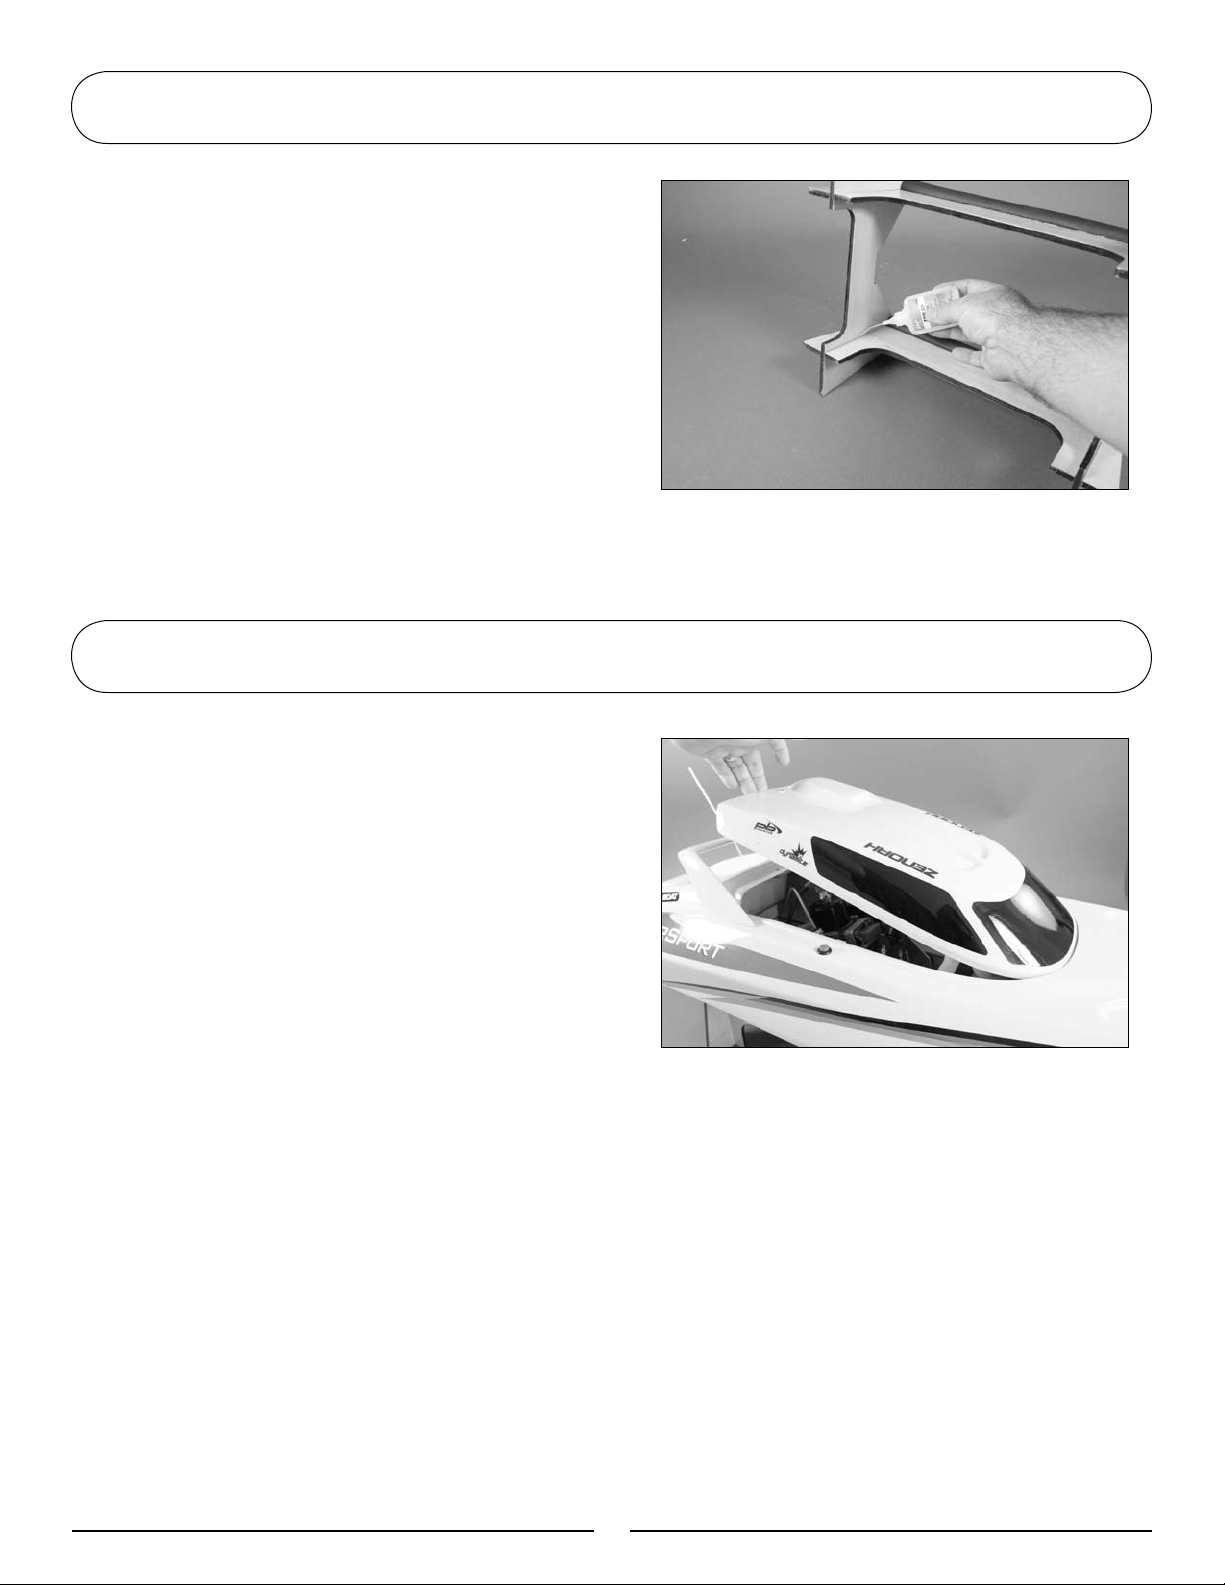
Section 2: Removing the Canopy
Unscrew the knurled hatch-mounting
screw from the rear of the hatch. Lift the
hatch from the rear and pull to the rear.
5
Page 6
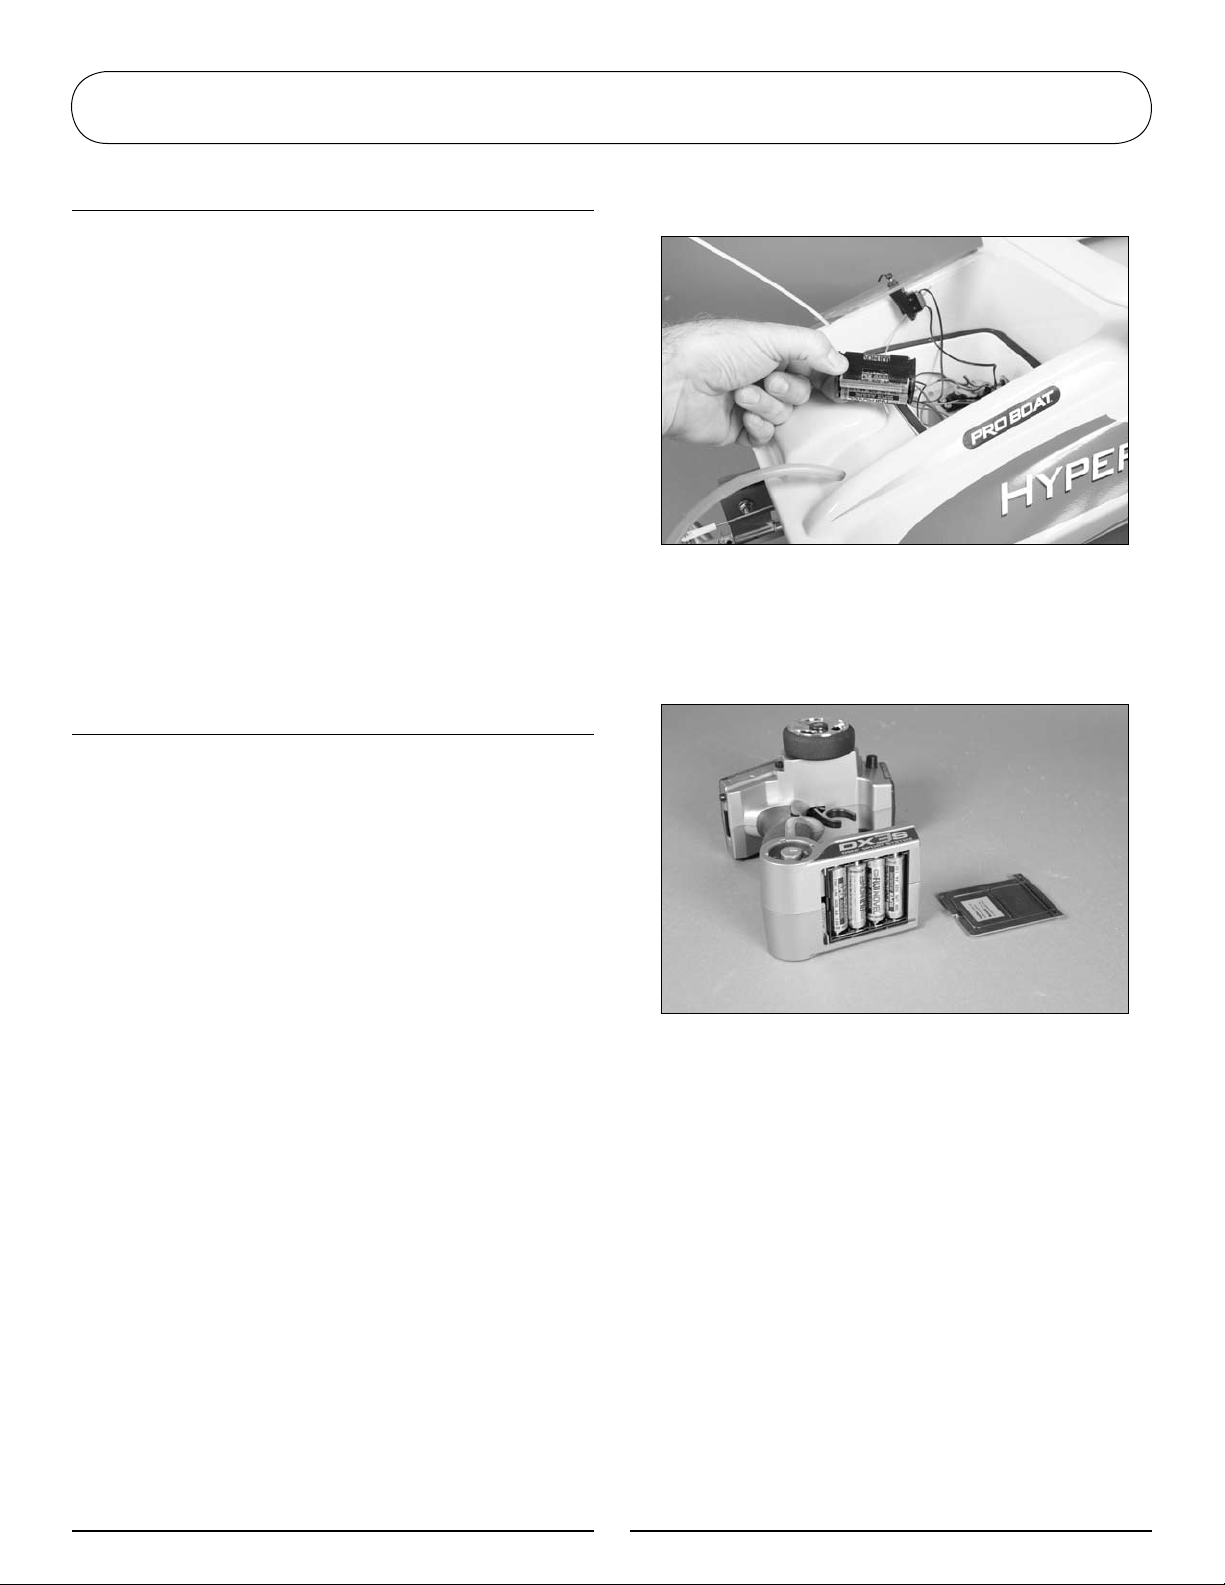
Section 3: Installing the Radio System Batteries
Receiver Batteries
1. Use a 2.5mm hex wrench to remove the
eight 2.5mm hex head screws that secure
the radio box cover.
2. Remove the battery holder and install 4
AA alkaline batteries in the polarity shown
on the battery box.
Note: You may consider
upgrading the receiver battery
to a rechargeable battery
pack. We recommend a
6-volt 1400mAh 3+2 hump
rechargeable battery pack or
equivalent (DYN1445). See
your local Pro Boat dealer.
Transmitter Batteries
1. Remove the transmitter from the box.
3. Wrap the battery pack in foam and
reinstall the radio box cover.
2. Remove the battery cover on the
bottom of the transmitter.
3. Insert 4 AA alkaline batteries into the
battery holder.
Note the proper polarity of
the batteries.
4. Turn on the transmitter and confirm
that the LCD illuminates, indicating proper
installation of fully charged batteries.
5. Turn on the receiver switch and move
the controls. Confirm that all controls
operate in the proper direction and are
controlled by the proper transmitter input.
6. Turn the transmitter and the receiver
switch off. To keep the boat from receiving
stray signals, the transmitter should be
turned on first, followed by the receiver.
Likewise, the receiver should be turned off
first, then the transmitter.
6
Page 7

Section 4: Installing the Wing
1. Install the wing in the direction shown.
2. Use two 10mm nuts to secure the wing
to the hull.
Note: The wing is not intended
to be a handle.
Section 5: Propeller Balancing
For optimum performance, propeller balancing
can add several mph to top speed and reduce
vibration. There are several different propeller
balancing tools available. Read the instructions
that accompany the propeller balancing tool as
removing material from the correct part of the
propeller is crucial. Contact a local hobby retail
store for assistance.
Section 6: Fueling the Tank
Use only Zenoah or Evolution (EVOX1001Q)
2-Cycle Synthetic Oil and premium gasoline
mixed 32:1 to power the HyperSport 48. Fill
the tank completely and secure the fuel cap.
Keep fuel in a moisture-free environment, as
stale fuel will cause the Zenoah G26M engine
to lose performance.
7
Page 8

Section 7: Range Checking the Spektrum DX3S Radio System
Before the rst run of the HyperSport 48, you
should check the radio for proper operation
and to ensure proper control movement of
the rudder and throttle. Also ensure that the
antenna on the boat is extended properly and
that all batteries are in working condition.
The shorter receiver antenna may be left
inside the radio box. Conrm that it does not
interfere with any linkages.
1. With the radio system turned on
(transmitter and receiver) and with the
engine off, walk off 40 to 50 paces from
the HyperSport 48.
2. Have an assistant remain with the boat
to check for proper control movement of
the rudder from your transmitter input.
3. If everything appears to be operating
correctly, start the engine. Place the boat
in the water and run it (at about 1⁄3
throttle) close to the shoreline. If the radio
system is operating properly, you can
begin to run the boat faster and further
away from the shoreline.
Note: It is a good idea to
range check prior to operating
your boat after any repair,
installation of new batteries,
or at the beginning of each
boating session.
Radio Failsafe
The Spektrum DX3S radio system has a builtin failsafe that returns the throttle to neutral
in the event of signal loss. See the radio's
instruction manual for instructions on how to
set the failsafe position.
Section 8: Starting the Engine
Fill the tank with 2-cycle fuel and rmly
tighten the fuel cap.
Note: The Zenoah G26M
carburetor is factory adjusted to
deliver optimum performance.
See the Zenoah Engine manual
for fine-tuning adjustments
and other helpful information
to make your RC boating
experience trouble-free.
Priming the Engine
Press the priming bulb several times until it
becomes lled with fuel. This is not necessary
if the engine has recently been run.
8
Page 9

Section 8: Starting the Engine
Choking the Engine
Close the choke by rotating the small yellow
tubing extension. This is not necessary if the
engine has recently been operated.
Pull-starting the Engine
With an assistant holding the boat to the boat
stand and bracing the engine with one hand,
pull the starting cord briskly several times.
Once the engine res (begins to start),
partially open the choke. Prolonged choking
will ood the engine with fuel until the engine
warms up. See Section 12: Troubleshooting
Guide to correct the ooding condition. It
may be necessary to trim the throttle open
slightly during initial starting. Once the
engine is warmed up (10-20 seconds) open
the choke completely.
Note: Do not allow the boat
to run out of the water for an
extended period of time or
engine overheating will occur.
Section 9: Stopping the Engine
Idle the boat near shore and press the kill
switch located on the hull as shown.
9
Page 10

Section 10: Handling Adjustments
Propeller Trim Angle
You may adjust the propeller strut to add up
or down trim to the propeller by loosening
the propeller strut bolt and sliding the
propeller strut up to increase top-end speed
(but steering response will decrease and
cavitation may occur if excessively adjusted).
Lowering the trim angle will increase handling
performance (but may cause the boat to oversteer and decrease speed).
Section 11: Cooling System
Water-Cooled Cylinder Head and
Muffler Cooling
The exhaust system is cooled after the
cylinder head. See photo for proper cooling
line routing. Do not alter the cooling line
routing method.
Water-Cooled
Cylinder Head
Line from Head
to Rudder
Line from Head
to Muffler
Carburetor
10
Page 11

Section 12: Troubleshooting Guide
Problem Possible Solution
Engine will not start Improper needle setting: see Zenoah Engine Manual; baseline set-
tings are 2 turns out for high-speed, 1 turn out for low-speed
Out of fuel: fill fuel tank
Improper fuel: use fresh Gasoline & Zenoah or Evolution 2-Cycle Oil
(mixed 32 parts gas to 1 part oil)
Bad Spark plug: replace
Flooded engine: remove spark plug, invert boat and operate the pull-
starter to remove fuel
Engine starts, then dies Fuel line blocked or broken: connect or replace fuel line
Reset needles to baseline setting: see Zenoah instructions
Engine starts and runs for Bad fuel: replace
several minutes, then dies Improper needle settings: see Zenoah Engine Manual
Overheated engine: check for clogged or damaged cooling system
Debris in carburetor or filter clunk; disassemble and clean
Section 13: Hull Care
The hull of the HyperSport™ 48 is nished
using the highest quality paints and the
most advanced painting methods available.
The base coat/clear coat technique delivers
an amazing shine that is as durable as it is
beautiful. To keep your HyperSport 48 looking
new, you should apply a wax coating as used
on automotive nishes to prevent oxidation
and to further protect against damage caused
by fuel and other harmful chemicals.
11
Page 12

Section 14: Maintenance
The Pro Boat HyperSport 48 should provide
many hours of exciting high-speed racing fun
with just minor maintenance. Preventative
maintenance is very important. Taking the
time to ensure that all the setscrews and bolts
are tight before each operation of the boat will
prevent many problems.
Before operating the HyperSport 48
Check that all screws and hardware are
securely in place. This is very important, as
the mufer screws may occasionally vibrate
loose during the initial runs.
Check the propeller for damage in the form of
chipping or cracking. If you nd any damage,
replace the propeller, as the damage will effect
the performance of the boat and could also
cause safety concerns.
When refueling, always wipe away any excess
fuel that may have spilled into or on the boat.
After operating the HyperSport 48
Drain all the fuel from the fuel system. Wipe
off any exhaust residue from the boat. If
you operate the HyperSport 48 in salt water,
thoroughly rinse the deck, hull, and all the
metal hardware with fresh water, then dry
them with a clean towel. Flush the cooling
system with fresh water. After cleaning, coat
all metal parts with a silicone spray lubricant.
This will help to prevent corrosion.
Ensure that the radio box and equipment
inside are dry.
Any damage caused by saltwater corrosion or
fuel damage is not covered under warranty.
12
Page 13

Section 15: HyperSport 48 Replacement Parts
In the event that you need to purchase replacement parts for your engine or the HyperSport 48,
please see your local hobby store. You can also purchase them from Horizon Hobby by calling
1-800-338-4639 or shop online @ www.horizonhobby.com
Stock # Description
PRB2663 Throttle Cable
PRB2668 Canopy Mounting Nut
PRB2669 Pushrod Bellow
PRB2680 Ball Linkage Set
PRB2692 Throttle Cable Mount
PRB2674 Propeller Nut
PRB2239 Drain Plug
PRB2355 Vibration Dampener (4)
PRB2356 Stufng Box
PRB2357 Flex Shaft Liner
PRB2358 Servo Tray
PRB2359 Radio Box Cover
PRB2360 Cable Collet
PRB2361 Fuel Tank
PRB2362 Kill Switch
PRB2363 Tank Straps
PRB2364 Flex shaft
PRB2365 Exhaust Port
PRB2366 Prop Shaft Strut
PRB2367 Prop bracket
PRB2368 Drive Dog
PRB2369 Propeller (Aluminum)
PRB2370 Rudder Strut
PRB2371 Rubber Boot (2)
PRB2372 Rudder Pushrod
PRB2373 Rudder Bracket
PRB2374 Rudder Arm
PRB2375 Rudder Shaft
PRB2376 Rudder
PRB2377 Mufer
PRB2378 Prop. Shaft
PRB2379 Rudder Servo Horn (Aluminum)
PRB2380 Screw Set
PRB2381 Motor Mount
PRB2382 Silicone Exhaust Tube
PRB2383 On/Off Switch Mount
13
Page 14

Section 16: Flex Shaft Lubrication
1. Use two 16mm wrenches to loosen the
flex shaft collet.
2. Remove the propeller strut nut and bolt
using a 4mm hex wrench and 8mm box or
open end wrench.
4. Clean all residue off of the flex shaft
with a de-greasing cleaner and wipe dry.
5. Liberally apply marine grease
(PRB0110) to the flex shaft.
3.Slide the flex shaft/prop strut out of the
stuffing box from the rear.
6. Install in reverse order, being sure to
leave a 1–2mm gap between the drive dog
and the rear of the propeller strut.
14
Page 15

Section 17: Appendix
Exhaust
Port
Engine
Cooling
Line
Photo 1
Cooling
Line
Carburetor
Fuel Tank
Kill Switch
Photo 2
Cooling
Line
Drain Plug
Propeller
Rudder
Boat Stand
Hatch
Mounting
Screw
Photo 3
Hull
Hatch
Throttle
Cable
Primer
Button
Carburetor
Photo 4
Spark Plug
Cooling
Line
Pull
Starter
15
Page 16

Warranty Information
Age Recommendation
Age Recommendation: 14 years or over. This
is not a toy. This product is not intended
for use by children without direct adult
supervision.
Warranty Period
Exclusive Warranty- Horizon Hobby, Inc.,
(Horizon) warranties that the Products
purchased (the “Product”) will be free from
defects in materials and workmanship at the
date of purchase by the Purchaser.
Limited Warranty
(a) This warranty is limited to the original
Purchaser (“Purchaser”) and is not
transferable. REPAIR OR REPLACEMENT AS
PROVIDED UNDER THIS WARRANTY IS THE
EXCLUSIVE REMEDY OF THE PURCHASER.
This warranty covers only those Products
purchased from an authorized Horizon dealer.
Third party transactions are not covered by
this warranty. Proof of purchase is required
for warranty claims. Further, Horizon reserves
the right to change or modify this warranty
without notice and disclaims all other
warranties, express or implied.
(b) Limitations- HORIZON MAKES NO
WARRANTY OR REPRESENTATION, EXPRESS
OR IMPLIED, ABOUT NON-INFRINGEMENT,
MERCHANTABILITY OR FITNESS FOR A
PARTICULAR PURPOSE OF THE PRODUCT.
THE PURCHASER ACKNOWLEDGES THAT
THEY ALONE HAVE DETERMINED THAT
THE PRODUCT WILL SUITABLY MEET THE
REQUIREMENTS OF THE PURCHASER’S
INTENDED USE.
(c) Purchaser Remedy- Horizon’s sole
obligation hereunder shall be that Horizon
will, at its option, (i) repair or (ii) replace,
any Product determined by Horizon to be
defective. In the event of a defect, these
are the Purchaser’s exclusive remedies.
Horizon reserves the right to inspect any and
all equipment involved in a warranty claim.
Repair or replacement decisions are at the sole
discretion of Horizon. This warranty does not
cover cosmetic damage or damage due to acts
of God, accident, misuse, abuse, negligence,
commercial use, or modication of or to any
part of the Product.
This warranty does not cover damage due to
improper installation, operation, maintenance,
or attempted repair by anyone other than
Horizon. Return of any goods by Purchaser
must be approved in writing by Horizon before
shipment.
Damage Limits
HORIZON SHALL NOT BE LIABLE FOR
SPECIAL, INDIRECT OR CONSEQUENTIAL
DAMAGES, LOSS OF PROFITS OR
PRODUCTION OR COMMERCIAL LOSS IN
ANY WAY CONNECTED WITH THE PRODUCT,
WHETHER SUCH CLAIM IS BASED IN
CONTRACT, WARRANTY, NEGLIGENCE, OR
STRICT LIABILITY. Further, in no event shall
the liability of Horizon exceed the individual
price of the Product on which liability is
asserted. As Horizon has no control over use,
setup, nal assembly, modication or misuse,
no liability shall be assumed nor accepted for
any resulting damage or injury. By the act of
use, setup or assembly, the user accepts all
resulting liability.
If you as the Purchaser or user are not
prepared to accept the liability associated with
the use of this Product, you are advised to
return this Product immediately in new and
unused condition to the place of purchase.
Law: These Terms are governed by Illinois law
(without regard to conict of law principals).
Safety Precautions
This is a sophisticated hobby Product and
not a toy. It must be operated with caution
and common sense and requires some basic
mechanical ability. Failure to operate this
Product in a safe and responsible manner
could result in injury or damage to the
Product or other property. This Product is
not intended for use by children without
direct adult supervision. The Product manual
contains instructions for safety, operation
and maintenance. It is essential to read and
follow all the instructions and warnings in the
manual, prior to assembly, setup or use, in
order to operate correctly and avoid damage
or injury.
16
Page 17

Warranty Information
Questions, Assistance, and Repairs
Your local hobby store and/or place of
purchase cannot provide warranty support
or repair. Once assembly, setup or use of the
Product has been started, you must contact
Horizon directly. This will enable Horizon to
better answer your questions and service
you in the event that you may need any
assistance. For questions or assistance, please
direct your email to feedback@teamlosi.com,
or call 888.899.LOSI (5674) toll free to speak
to a service technician.
Inspection or Repairs
If this Product needs to be inspected or
repaired, please call for a Return Merchandise
Authorization (RMA). Pack the Product
securely using a shipping carton. Please note
that original boxes may be included, but
are not designed to withstand the rigors of
shipping without additional protection. Ship via
a carrier that provides tracking and insurance
for lost or damaged parcels, as Horizon is
not responsible for merchandise until it
arrives and is accepted at our facility. A
Service Repair Request is available at www.
horizonhobby.com on the “Support” tab. If you
do not have internet access, please include
a letter with your complete name, street
address, email address and phone number
where you can be reached during business
days, your RMA number, a list of the included
items, method of payment for any nonwarranty expenses and a brief summary of
the problem. Your original sales receipt must
also be included for warranty consideration.
Be sure your name, address, and RMA number
are clearly written on the outside of the
shipping carton.
Warranty Inspection and Repairs
To receive warranty service, you must
include your original sales receipt verifying
the proof-of-purchase date. Provided warranty
conditions have been met, your Product will
be repaired or replaced free of charge. Repair
or replacement decisions are at the sole
discretion of Horizon Hobby.
Non-Warranty Repairs
Should your repair not be covered by
warranty the repair will be completed
and payment will be required without
notification or estimate of the expense
unless the expense exceeds 50% of the
retail purchase cost. By submitting the item
for repair you are agreeing to payment of the
repair without notication. Repair estimates
are available upon request. You must include
this request with your repair. Non-warranty
repair estimates will be billed a minimum of
½ hour of labor. In addition you will be billed
for return freight. Please advise us of your
preferred method of payment. Horizon accepts
money orders and cashiers checks, as well
as Visa, MasterCard, American Express, and
Discover cards. If you choose to pay by credit
card, please include your credit card number
and expiration date. Any repair left unpaid or
unclaimed after 90 days will be considered
abandoned and will be disposed of accordingly.
Please note: non-warranty repair is
only available on electronics and model
engines.
United States:
Electronics and engines requiring inspection
or repair should be shipped to the following
address:
Horizon Service Center
4105 Fieldstone Road
Champaign, Illinois 61822
All other Products requiring warranty
inspection or repair should be shipped to the
following address:
Horizon Product Support
4105 Fieldstone Road
Champaign, Illinois 61822
Please call 877-504-0233 or e-mail us at
productsupport@horizonhobby.com with any
questions or concerns regarding this product
or warranty.
17
Page 18

UK DE DK BG SE
FI EE LV LT PL
CZ SK HU RO SI
AT IT ES PT IE
NL LU MT
FR
CY GR
Warranty Information
United Kingdom:
Electronics and engines requiring inspection
or repair should be shipped to the following
address:
Horizon Hobby UK
Units 1-4 Ployters Rd
Staple Tye
Harlow, Essex
CM18 7NS
United Kingdom
Please call +44 (0) 1279 641 097 or e-mail
us at sales@horizonhobby.co.uk with any
questions or concerns regarding this product
or warranty.
Germany:
Electronics and engines requiring inspection
or repair should be shipped to the following
address:
Horizon Technischer Service
Hamburger Strasse 10
25335 Elmshorn
Germany
CE Compliance Information for the
European Union
Instructions for Disposal of WEEE by
Users in the European Union
This product must not be disposed of
with other waste. Instead, it is the user’s
responsibility to dispose of their waste
equipment by handing it over to a designated
collection point for the recycling of waste
electrical and electronic equipment. The
separate collection and recycling of your waste
equipment at the time of disposal will help
to conserve natural resources and ensure
that it is recycled in a manner that protects
human health and the environment. For more
information about where you can drop off your
waste equipment for recycling, please contact
your local city ofce, your household waste
disposal service or where you purchased the
product.
Please call +49 4121 46199 66 or e-mail
us at service@horizonhobby.de with any
questions or concerns regarding this product
or warranty.
FCC Information
This device complies with part 15 of the FCC
rules. Operation is subject to the following
two conditions: (1) This device may not
cause harmful interference, and (2) this
device must accept any interference received,
including interference that may cause
undesired operation.Caution: Changes or
modications not expresslyapproved by the
party responsible for compliance couldvoid
the user’s authority to operate the equipment.
This product contains a radio transmitter with
wireless technology which has been tested
and found to be compliant with the applicable
regulations governing a radio transmitter in
the 2.400GHz to 2.4835GHz frequency range.
The associated regulatory agencies of the
following countries recognize the noted
certications for this product as authorized for
sale and use:
18
Page 19

Declaration of Conformity
(in accordance with ISO/IEC 17050-1)
No. HH20090514
Product(s): PRB Hypersport with
radio
Item Number(s): PRB2350
Equipment class: 2
The objects of declaration described above
are in conformity with the requirements of
the specications listed below, following the
provisions of the European R&TTE directive
1999/5/EC:
EN 300-328 v1.7.1 ERM requirements
for wideband transmission systems operating
in the 2.4 GHz ISM band
EN 301 489-1 v.1.6.1 General EMC
requirements for Radio equipment
EN 301 489-17 v.1.2.1
(in accordance with ISO/IEC 17050-1)
No. HH20090513
Product(s): PRB Hypersport
without radio
Item Number(s): PRB2350
Equipment class: 1
The objects of declaration described above
are in conformity with the requirements of
the specications listed below, following the
provisions of the European R&TTE directive
1999/5/EC:
EN 301 489-1 v.1.6.1 General EMC
requirements
EN 301 489-17 v.1.2.1
Signed for and on behalf of:
Horizon Hobby, Inc.
Champaign, IL USA
May 14, 2009
Steven A. Hall
Vice President
International Operations and Risk Management
Horizon Hobby, Inc.
Signed for and on behalf of:
Horizon Hobby, Inc.
Champaign, IL USA
May 13, 2009
Steven A. Hall
Vice President
International Operations and Risk Management
Horizon Hobby, Inc.
19
Page 20

© 2009, Horizon Hobby, Inc.
®
4105 Fieldstone Road
Champaign, Illinois 61822
USA
(877) 504-0233
www.horizonhobby.com
Printed 05/2009 15244
 Loading...