

Page 1
Specifications
Length: .................................................................................................. 22 in (550mm)
Beam: ...................................................................................................... 9 in (225mm)
Radio: .................................................................................. 2-Stick FM Radio System
Motor: ................................................ 550 Electric Motor w/Internal Cooling Fan
Motor Control: .................... Waterproof Electronic Speed Control w/Reverse
INSTRUCTION MANUAL
Riptide™EP RTR
5469 Riptide rev. 5/20/03 9:14 AM Page 1
Page 2
Thank you for purchasing the Pro Boat™
Riptide™ Ready-To-Run boat. Please
read these instructions carefully before
attempting to operate the boat.
The Riptide comes ready-to-run with an FM
radio system and electronic speed controller
already installed. All assembly is done at
the factory, allowing you to quickly get the
boat running.
Additional Items Needed
You will need to purchase the following
items to get the boat on the water:
• 8 “AA” alkaline batteries for the
radio transmitter
• 7.2V Ni-Cd Battery Pack with
Tamiya Connector (DYN1000)
• Ni-Cd Battery Fast Charger (DYN4010)
Riptide™EP RTR Instruction Manual
1. Carefully remove the boat and radio
transmitter from the box.
2. Inspect the boat. If you notice damage
from shipping, please contact the hobby
shop where you purchased it.
Inspection
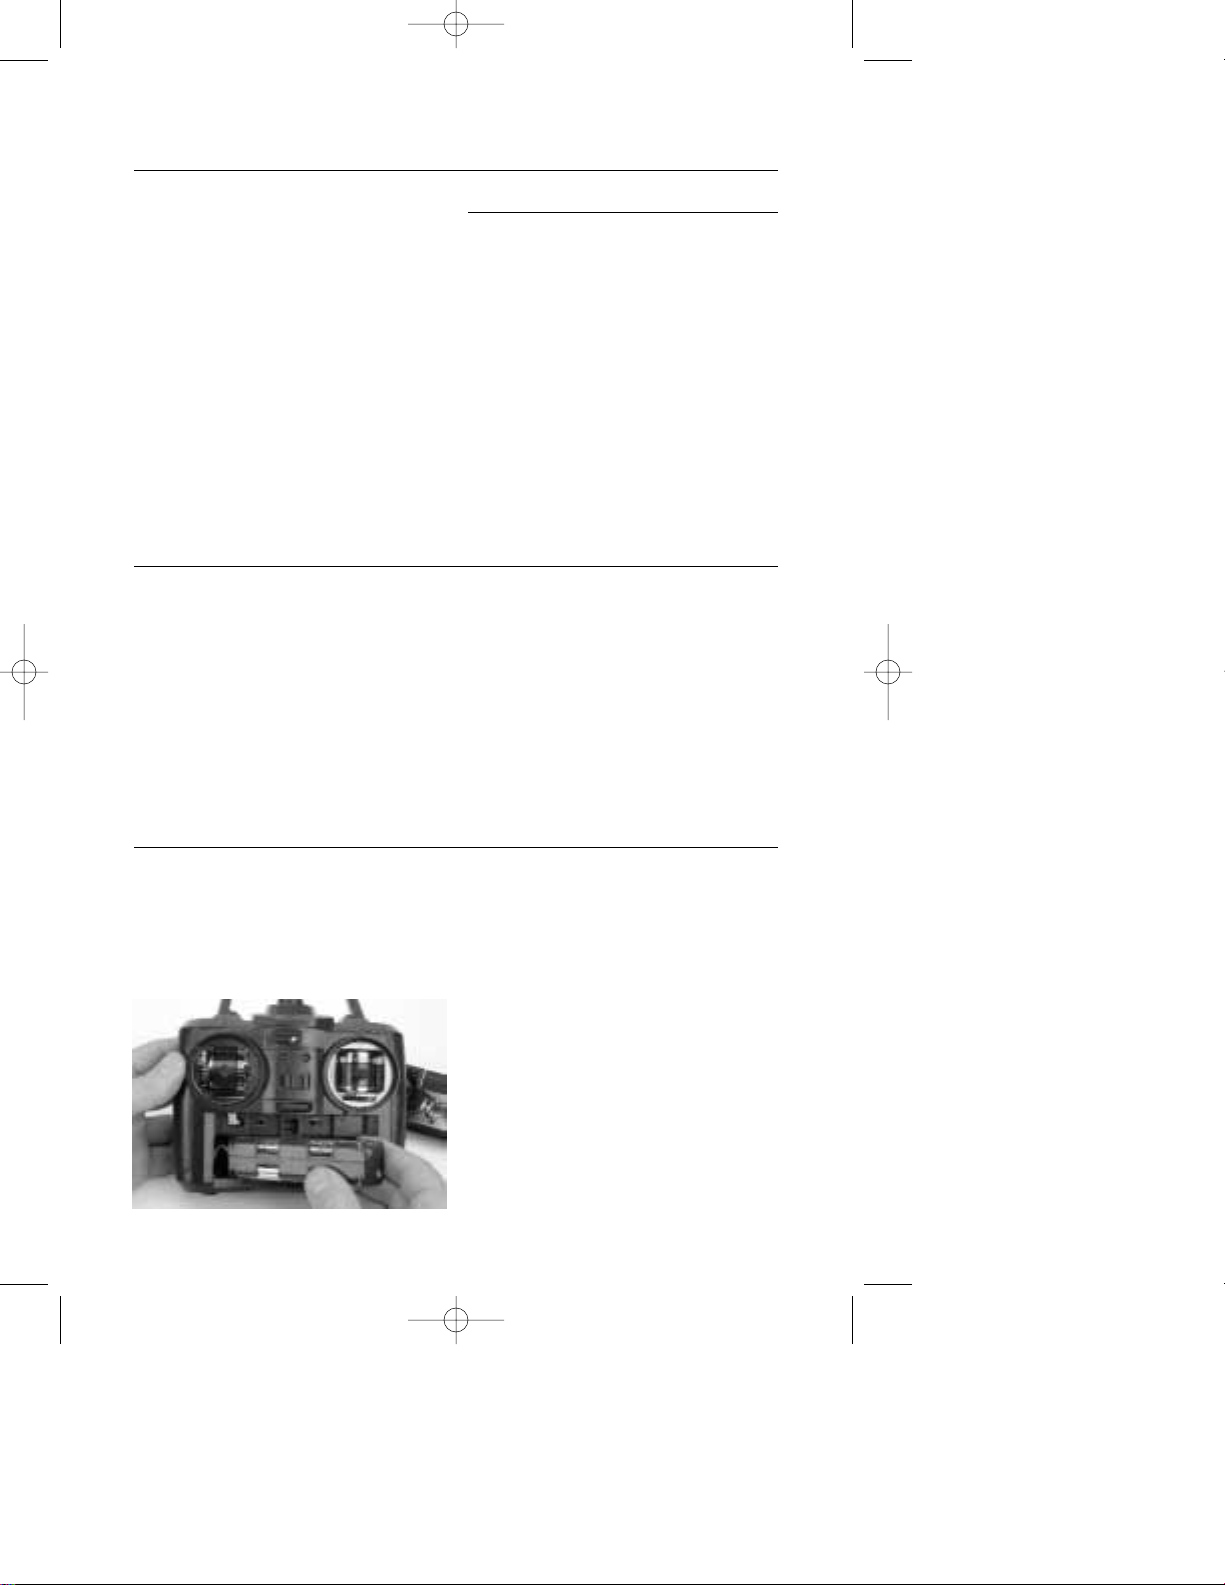
1. Install 8 “AA” alkaline batteries into the
transmitter. Be sure each battery cell is
installed in the proper polarity. The polarity
is marked at each cell’s location inside the
transmitter.
2. Slide the battery cover in place and turn
on the transmitter. The LED will light if the
batteries are in good condition and
installed properly.
3. Turn off the transmitter.
Installation of Transmitter Batteries
5469 Riptide rev. 5/20/03 9:14 AM Page 2
Page 3

1. Carefully lift the deck lid and rotate it to
expose the battery compartment.
2. Install a fully charged 7.2-volt Ni-Cd
battery pack into the hull. (Follow the
instructions included with the fast
charger to ensure a safe charge.)
Secure the battery with mounting straps.
3. Connect the battery plug to the
matching connector on the electronic
speed control.
4. Replace the hatch and pilot.
Installation of the 7.2V Ni-Cd Battery
1. Ensure that the antenna tube is properly
out of the hull. It may be necessary to
slightly pull the antenna tube out to make
certain that the radio range is sufficient.
Do not pull the antenna tube out too
far or the tube will pull out of the
hull completely.
2. Turn on the transmitter then the receiver
and check for correct operation. Move the
right stick on the transmitter left and
right. The rudder should move relative to
the stick movement.
3. With the propeller free from any objects,
give some throttle input to ensure that the
motor is working. If everything appears to
be functioning correctly, you are ready to
run your boat! If any of these functions
are reversed, change the respective
reversing switch position.
Note: If you are transporting the boat,
disconnect the battery from the speed
controller and then turn the radio off
until you are ready to run the boat. Once
ready, simply turn the radio on and plug
the battery into the speed controller,
making sure that the throttle stick is in
the neutral position.
Checking the Radio System
Rudder Reversing Switch
Throttle Reversing Switch
Forward
Left
On/Off
Right
Reverse
5469 Riptide rev. 5/20/03 9:14 AM Page 3
Page 4

© Copyright 2003, Horizon Hobby, Inc.
www.horizonhobby.com
5469
1. Make sure that the radio is on and
the battery is plugged into the speed
controller and motor.
2. Carefully place the boat in the water.
Pilot the boat at slow speeds, staying
close to the shoreline to ensure that you
have good control and that the boat is
functioning correctly.
3. Be certain to avoid all objects in the water.
Once you feel comfortable with the control of the boat, it is safe to go further
from the shore and at faster speeds.
4. If the boat is losing speed, steer the
boat carefully back to shore. It will be
necessary to replace or recharge the
battery before running your boat again.
Testing the Boat in the Water
Before and at the end of each run, make
sure that all screws are tight and that the
propeller is free from any entanglement.
Note: Running the Riptide™in salt water
could cause parts to corrode. Rinse
thoroughly with fresh water after each use.
If you have any questions concerning
the setup or running of the Riptide,
please call the Horizon Service Center
at (877) 504-0233.
Maintenance
PRB2301 Hull: Riptide
PRB2302 Deck Lid: Riptide
PRB2303 Rider: Riptide
PRB2304 Handlebar: Riptide
PRB2305 Motor: Riptide
PRB2306 Motor Mount: Riptide
PRB2307 Dogbone: Riptide
PRB2308 Driveshaft: Riptide
PRB2309 Prop & Hardware: Riptide
PRB2310 Rudder Assembly: Riptide
PRB2311 Transmitter: Riptide
PRB2312 Receiver: Riptide
PRB2313 Servo: Riptide
PRB2314 Waterproof ESC w/Rev: Riptide
PRB2315 Decal: Riptide
Replacement Parts
5469 Riptide rev. 5/20/03 9:14 AM Page 4
 Loading...