

Proaster THCR-12 User Manual

Document number: THCR12-M02
Revised number: Rev. 02
Date : 2014. 04. 03
Manufacture / Sales :
Taehwan Automation Industry Co., Ltd

2
0
1. Product information
(1) About the coffee roaster
(2) Characteristics of the product
2. Safety regulations
(1) General safety
(2)-1 Safety mark
(2)-2 Safety device
3. Installation
(1) Carry
(2) Before you install
(3) Installation
4. Use of the product
(1) General
(2) Structure and manipulation (Components, structure)
(3) Roasting (Roasting level and handling)
5. Cleaning and maintenance
(1) How to clean – Procedure
(2) Maintenance – (Disassembly)
(3) After cleaning the product
(4) Inappropriate maintenance
(5) Solutions to common problems
6. Disposal information
(1) Disposal instructions
7. List of replacement parts
8. Product warranty and A/S
<Reference > Equipment maintenance

3
1
General
-Place your manual somewhere close to the machine for easy access
-Read the manual before you use the product
-Wear appropriate gloves while handling the machine to avoid burns
- Do not try to fix the machine yourself in the event that it fails
- Start and stop the machine only after giving it enough time to heat and cool down
- Do not touch the upper part of the machine due to burn risk.
(1) Coffee roaster
- This coffee roaster is manufactured as an industrial roaster for roasting coffee beans
- This roaster is manufactured for indoor use
(Using the machine outdoors might result in failure to roast due to moisture,
malfunctioning of the machine, and/or other accidents)
- Inappropriate use of the machine (cooking grains, foods, etc.) is prohibited and any
repairing of the machine must be done by the Taehwan headquarters or designated
service centers.
- Carefully review safety regulations before you use the coffee roaster and contact the
designated service center or store if you have any problem during use.
* Warning: Your warranty will not apply for any damage caused by the following:
- Inappropriate use of the product
- Random disassembly including part replacements
- Repairs done by unauthorized personnel
- Use of the wrong power/ gas (use of a different kind of gas from the original one)
(2) Characteristics of the product
-
The product’s dual direct roast/hot air roasting method uses a combination of
radiation and hot air for superb results and even roasting.
-Designed to maximize heat efficiency for quick roasting up to 15 minutes faster,
preserving the unique flavor and aroma of the beans.
- By controlling the damper you can control the volume of the air exhaust and achieve
your specific roasting profile and aroma.
- Strong blower motor allows for fast cool down (as quick as 2~3 min)
- The safety system terminates the gas supply and shuts off the heater if the preset
MAX temperature is exceeded.

4
2
1) Burns and injury
-You may get burned if you touch the main surface, handle, or pipe
- Be cautious as you may suffer injury from the rapid rotation of the bearings and
motor.
2) Fire
- Do not put in any foreign object in the machine
- Do not place any unnecessary flammable material, cloth, paper, or other accessories
in the machine
- Do not open or disassemble the inspection door while machine is in use as this
creates a fire hazard.
3) Electricity and gas
- Avoid touching power with wet hands to prevent electric shock
Be careful to keep power cable and gas hose away from the hot surface
- After use, close the gas valve, switch off the power at the back, and unplug the
power cord.
- Inspect for any gas leakage from connecting parts with soapy water before and after
use
4) Cleaning and general care
-Avoid exposing machine to moisture. Always follow specified directions for cleaning
and care, paying attention to order of steps. Clean the machine regularly to ensure
smooth functioning. (See directions for cleaning and care)
5) Damages
- We will not be responsible for damage caused by the following:
- Inappropriate use
- Damage caused by self disassembly, repair, manipulation
- Use of the wrong voltage or gas pressure
- Breakdown from insufficient cleaning and general care
* We will not be responsible for damages caused as a result of users not complying
with safety regulations
(1) General safety
5
2
(2)-1 Safety mark
(2)-2 Safety device
1) Gear safety cover
2) A gear safety cover is attached for user safety against the rotation of pulley and
bearings between the drum and control box
-Make sure the gear cover is sealed before you use the product
-Fully cool the machine down before you open the cover to perform maintenance
1) Hazardous voltage
This label is to warn of hazardous voltage.
Turn off the power to avoid any electric
shock or burns before using
2) Moving parts
This label is to warn of its moving part. Use
the safety cover to avoid any injury. Always
turn off the power before doing any
Maintenance
3) Burns
This label is to warn of possible burns. Do
not touch its surface as it’s hot
4) Fire hazard
This label is to warn of Fire hazard.
Especially, watch out for short circuit or gas
leakage, and flammable objects near the
product
2
2) Emergency Stop Switch
-This button is used to prevent exposure to heat and electricity in case of
emergency
- Do not stop the drum or blower when the machine is overheated. Doing so may
cause a fire or breakdown
- The drum will keep working after emergency button is pressed
- Do not stop the drum or blower when they are overheated. The machine’s
special design makes fire or breakdown likely if the drum is completely stopped.
3) Overheating protection device
-Once roasting temperature on the product’s temperature display window reaches
the preset temperature, the heat supply is cut off to avoid overheating
-Do not reset the temperature above the originally pre-programmed temperature.
Otherwise, the machine will overheat.
4) Overflowing voltage protection system
- Power shuts off in the event of electrical malfunctions (short circuit, etc.)
5) Fire extinguishing safety device : Consumer safety device prevents overheating
and automatically shuts off gas when power is off
6) Short circuit protection device : Users should contact their own Gas maintenance
company
3
1) Package
- For export machines, first remove nails from the
wooden container and take out slats and
boards. Please recycle packaging materials in
accordance with your country’s regulations.
- Please confirm that the roaster unit, filter
cyclone 2, instruction manual, and tool kit have
been included.
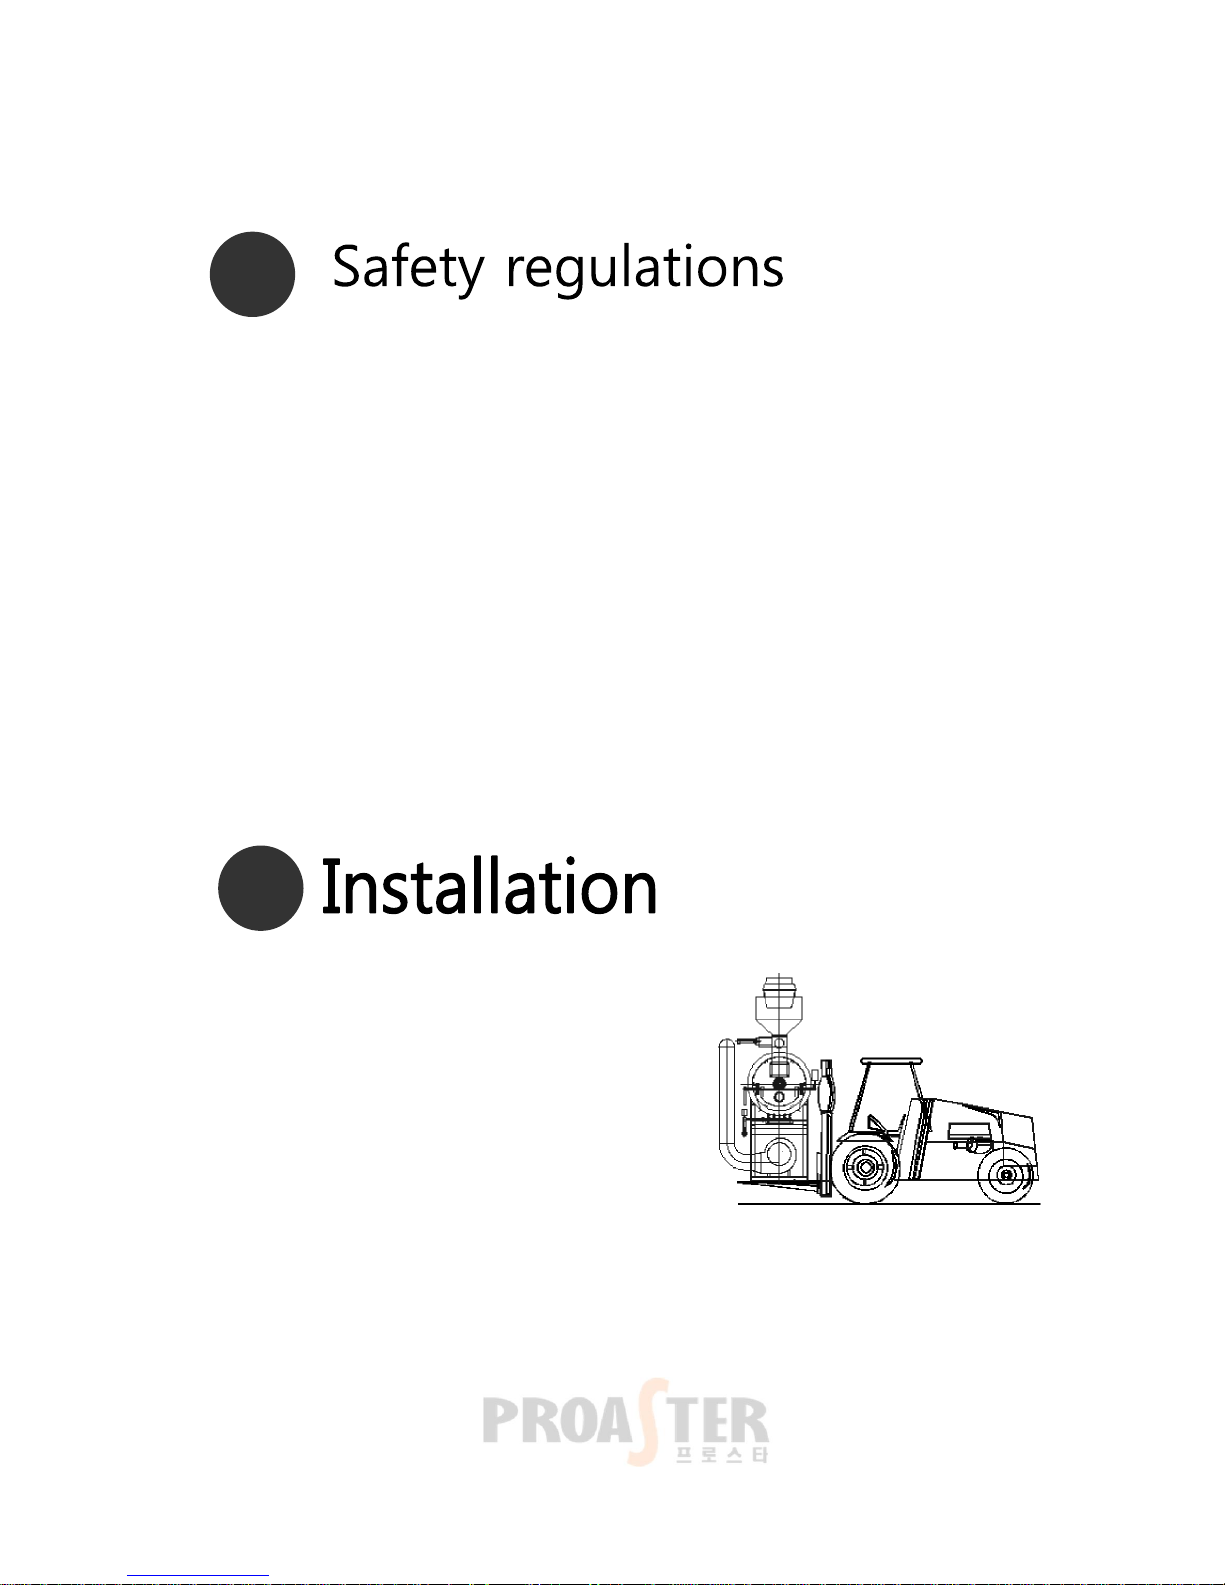
2) How to carry
- Weight: about 500 kg
- Method: use a forklift to transport over level
ground. Be sure to keep a close, firm hold on
the bottom part of the machine.
(1) Carrying the product

1) Installation
-The machine is designed for indoor use. Malfunctions may occur if used
outdoors.
- Level plane
Must be operated at a level plane
-Exhaust: there must be a ventilator, door or window located within 1m radius of
the machine.
-Insufficient ventilation may affect quality and evenness of roasting, and is also a
safety hazard.
-Table: must be able to bear the listed weight. Portable tables should not be used.
Use a table with wheels for convenience when cleaning.
- Exhaust: exhaust impedance (length of vent pipe, environment, etc.) may affect
roasting results
7
3
1) Before you install
1)-1 Electricity code and power
This machine is designed to be connected to a standard wall socket
Install according to your country’s voltage system
1)-2 Gas pressure
The machine was manufactured for low voltage home use. Install according to the
requirements of your gas system. You may use a separate safety device for
preventing gas leaks.
1)-3 Exhaust pipe condition
Make sure the gas pipe does not become bent
If a ventilator is not used, make sure there is a hole in the wall for the gas pipe.
(2) Before you install the product
(3) Installation

8
4
(1) General
1) Those operating the machine should have received training in roasting at the
company headquarters or agency, or otherwise be experienced in roasting.
2) Before operating machine
Check to see that the plug is secure in the wall socket and that the power switch
is ON.
- Do not touch power cord or surface of the machine when it is hot.
- Do not tamper with control box buttons.
- Make sure there is adequate ventilation
- To ensure problem-free roasting, always make sure the waste (grounds)
drawer, ventilator, and cyclone are clean.
-avoid cramped spaces: space of over 1m is necessary for cooling and flame control,
-Misc.: for safety and optimal roasting, do not place the machine any closer than
20cm from a wall or window. Avoid contact with moisture (do not use near a sink,
espresso machine, etc.)
2) External power connection
-Power connection: plug power cord only into wall sockets with correct voltage
-Power requirements are listed on the machine’s label
2)-1 Supply condition
Electric-type model:
AC 230V (1PH) 60Hz 10.6A 2.5kw
Gas pressure: low for home use. Follow proper specifications for gas supply.
Gas pressure varies with region/location. Please contact your local gas supply
company.
2)-2 How to connect
-manufactured for general wall sockets
-Gas connection: inquire about gas supply hook-up at your gas supply company.
Always follow proper procedures when connecting.

9
4
(2) Structure and manipulation – Components
Controls the amount and speed of hot air coming
into the drum
“0” with the least amount air to be come into and “10”
with he most
1) Control the amount of heat inside the drum
2) Discharge used coffee grounds and smoke during
roasting
3) Hold/ discharge aroma during roasting
Equipment to program pre-heat time or roasting
time
The upper number shows the current time and the
one below shows set time
How to set : Press ◀ to move the cursor and ▲ ▼
to increase / decrease numbers
Finalize your setting by pressing MD button
Damper
Timer
Knob
Equipment to control discharge
The rest numbers except the part forced to change
become vague when you press ENT
How to set : Press ◀ to move the cursor and ▲ ▼ to
increase / decrease numbers
Finalize your setting by pressing ENT button
0(Maximum discharge) < 60 (Minimum discharge)
Equipment to control heating power during roasting
Make the gas gage standard and control sensitively
(Gas gage should be the heating standard because the gas
pressures are different according to places and conditions)
Inverter
Ignition Reset
Button
Function of resetting automatic ignition equipment
Press the reset button when the red light is on m which means
that ignition fails because of the air inside of gas pipe.
※ Press reset and ignition button repeatedly until empty air
inside its gas pipe when ignition fails
 Loading...