

Pro8mm Rhonda CAM, Rhonda Deluxe User Manual
The Rhonda CAM & Rhonda Deluxe
User Guide
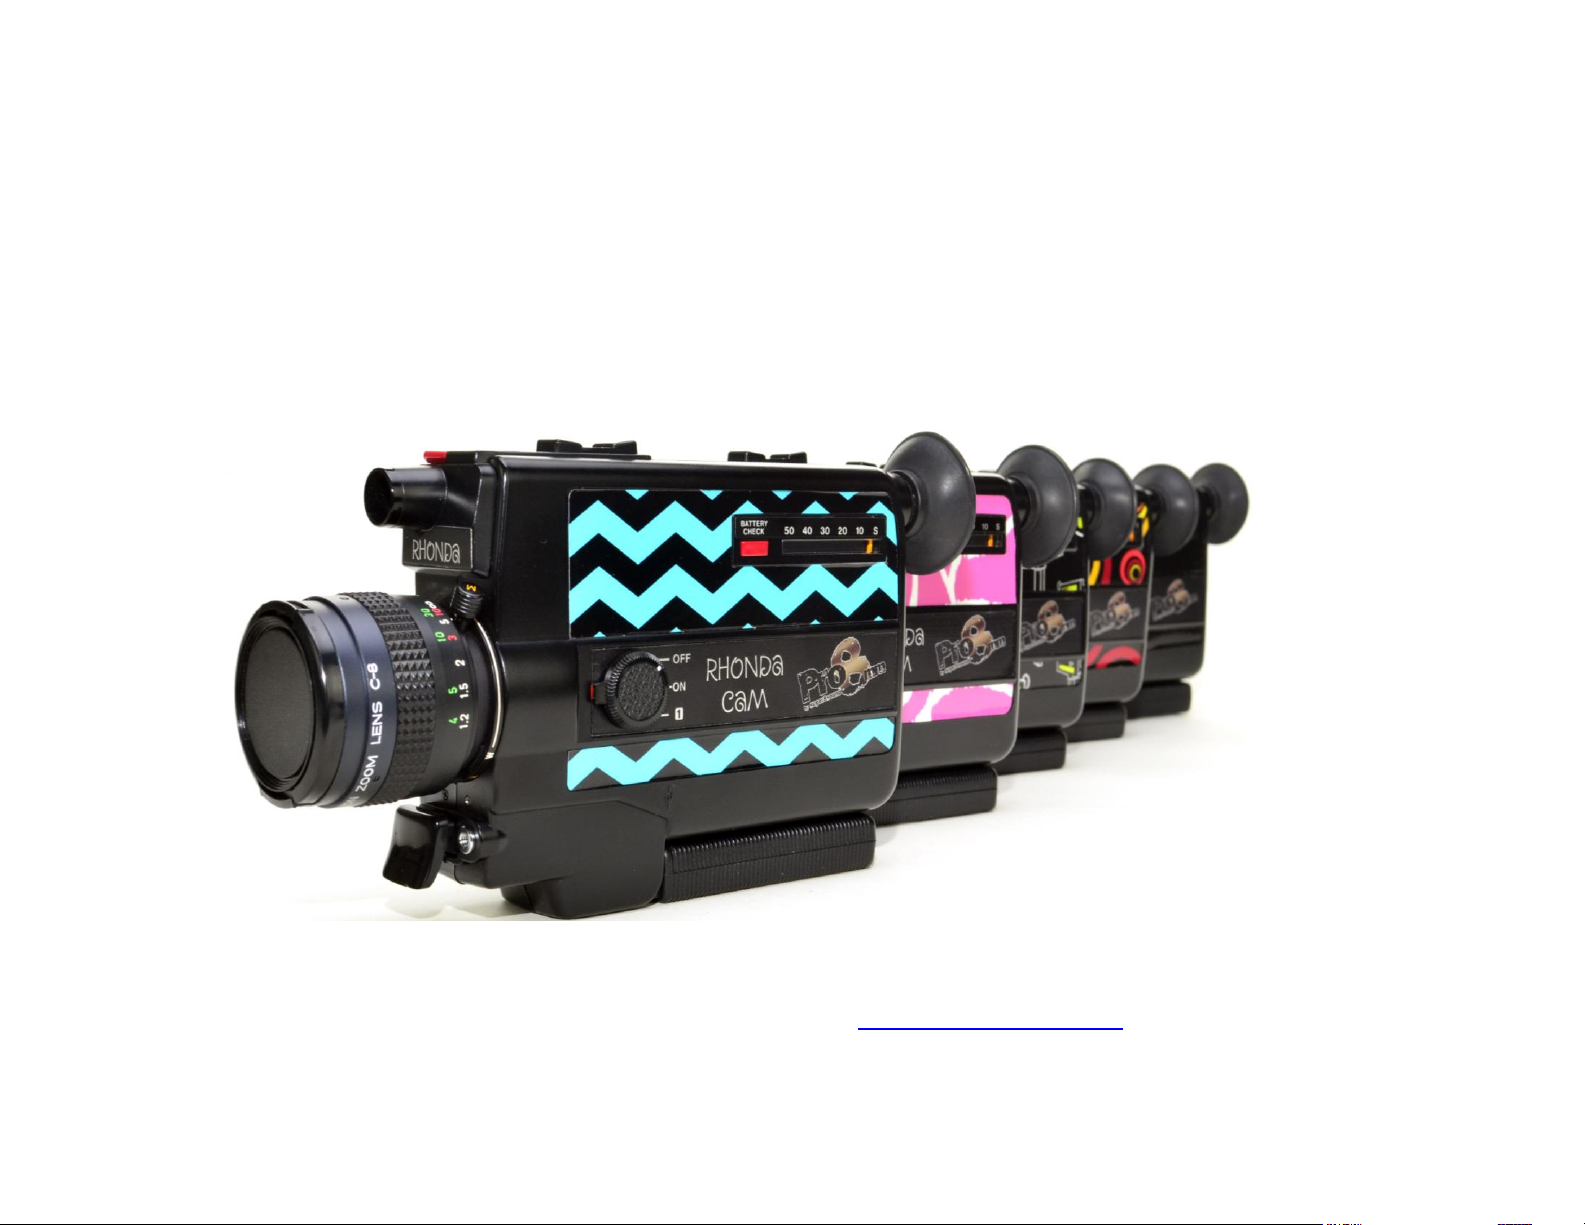
The world’s most petite & personal point-and-shoot Super 8 Camera
Pro8mm – 2805 W. Magnolia Blvd. Burbank, CA 91505
Phone: (818) 848-5522 – email: info@pro8mm.com
Rhonda CAM Features:
Adapted from a Canon 310 XL
18fps filming speed and singe-frame
shooting capabilities
Power/Manual Zoom
Runs on 2 AA batteries
Petite size (7” x 4 ½ ” x 1 ¾ ”)
Light weight body, weighing only ½ a
pound
Auto exposure with a range of ASA
The world’s fastest lens speed of f/1.0 3x
zoom, with macro
Built in Canon 8.5- 25.5mm zoom lens
F1.0 auto controlled aperture, making it
the lowest light film camera on the market
Additional Rhonda CAM Deluxe Features:
Adapted from a Canon 514 XL
9fps filming speed and 18fps filming speed
F stop scale in the viewfinder with the ability to lock a given exposure
Split screen focusing
Locking ring in the diopter
Built in Canon 9-45mm zoom lens
F1.4-32 auto aperture

Order of Operation:
1. Load the Batteries
2. Check the Battery Charge
3. Insert Film
4. Adjust the Eye Piece
5. Check your Filter Settings
6. Focus the Shot
7. Check Exposure Indicator
8. Shoot Something Fun
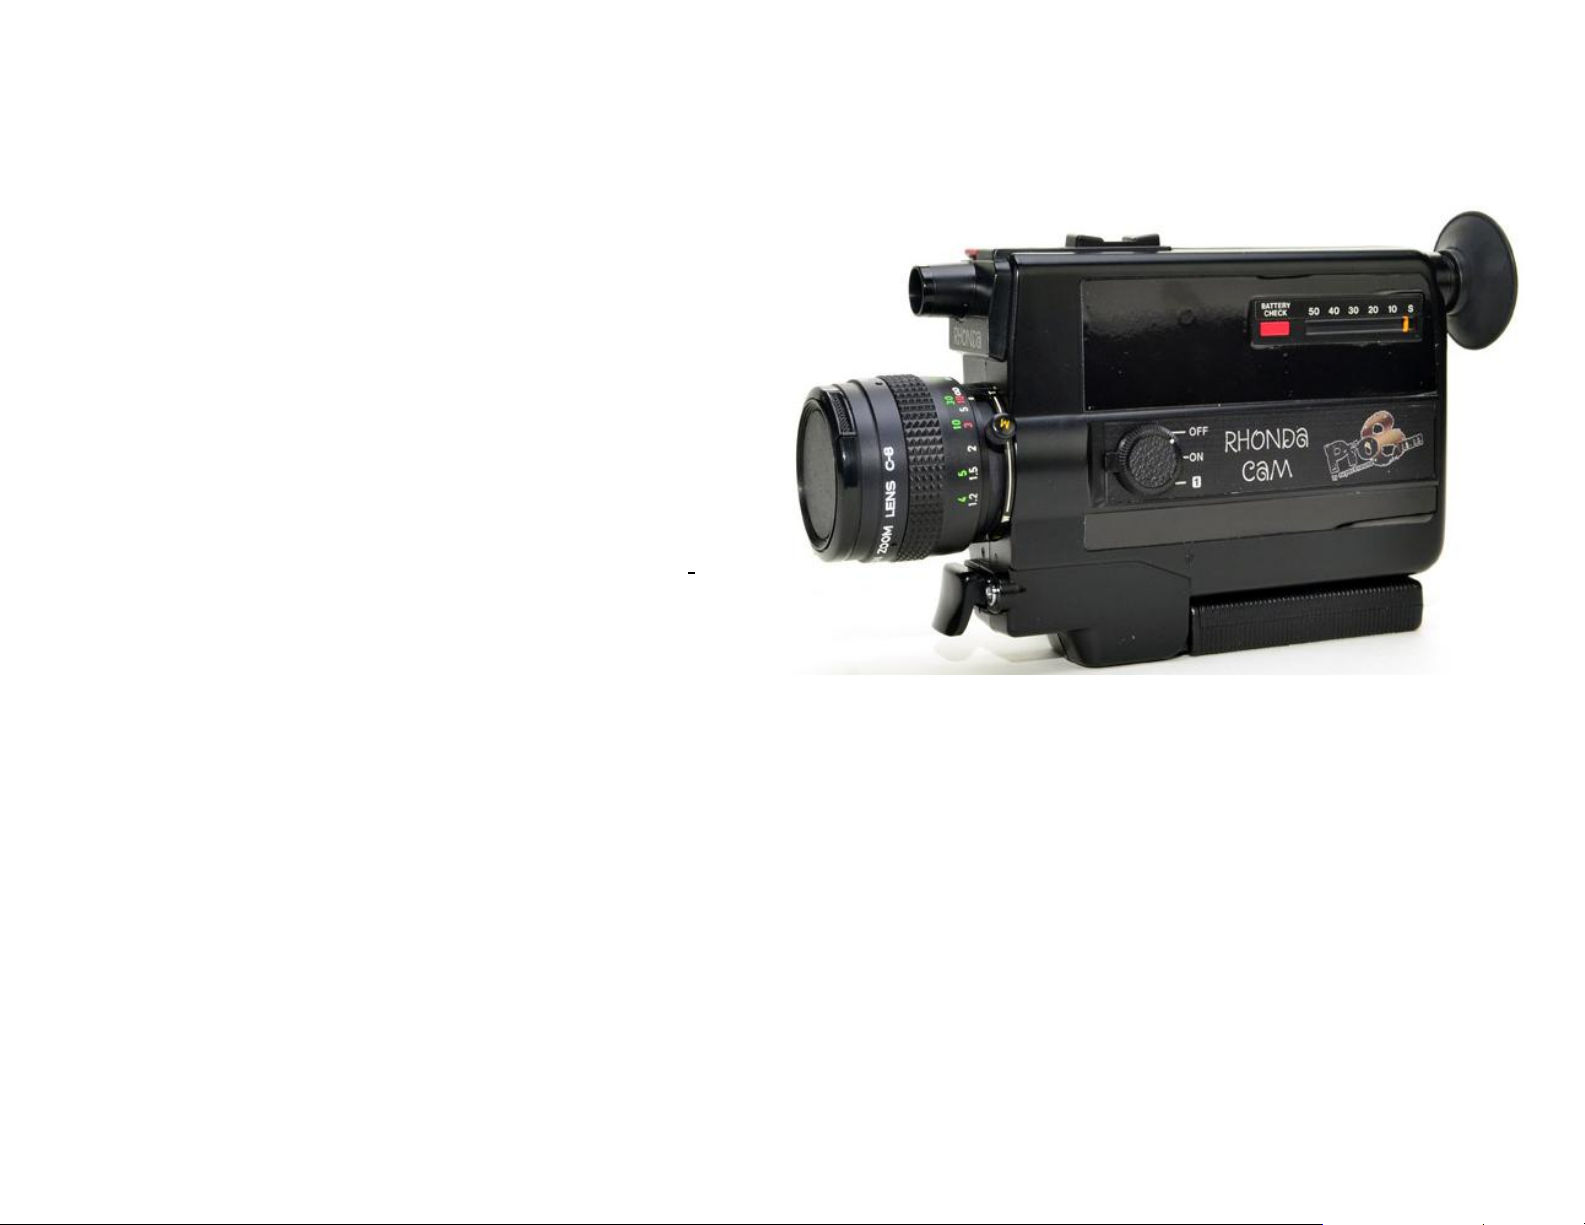
User Guide: The Rhonda CAM
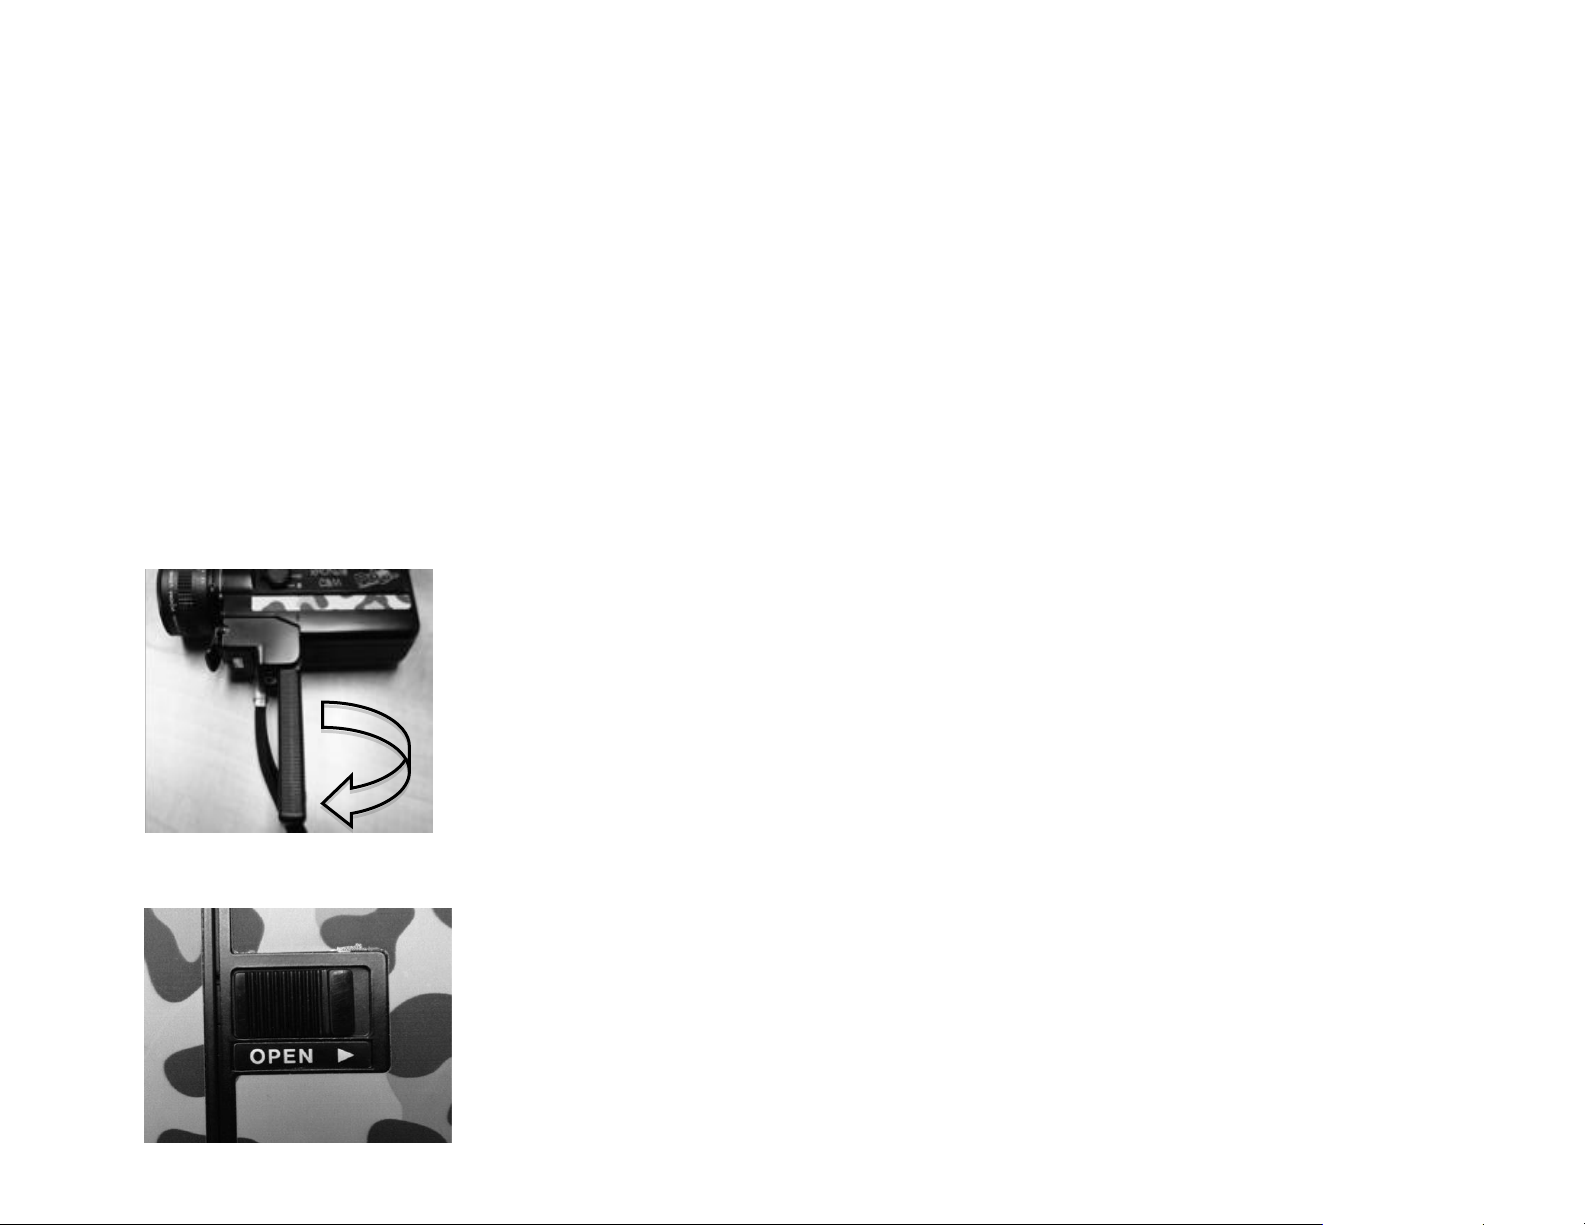
Unfold the Grip
Pull out the grip in the direction indicated by the arrow. To fold it back, push it
in the opposite direction.
Opening and Closing the Film Compartment
To open the film compartment slide the safety lock release in the direction
of the arrow. To close, simply push the cover in and it will snap in place.
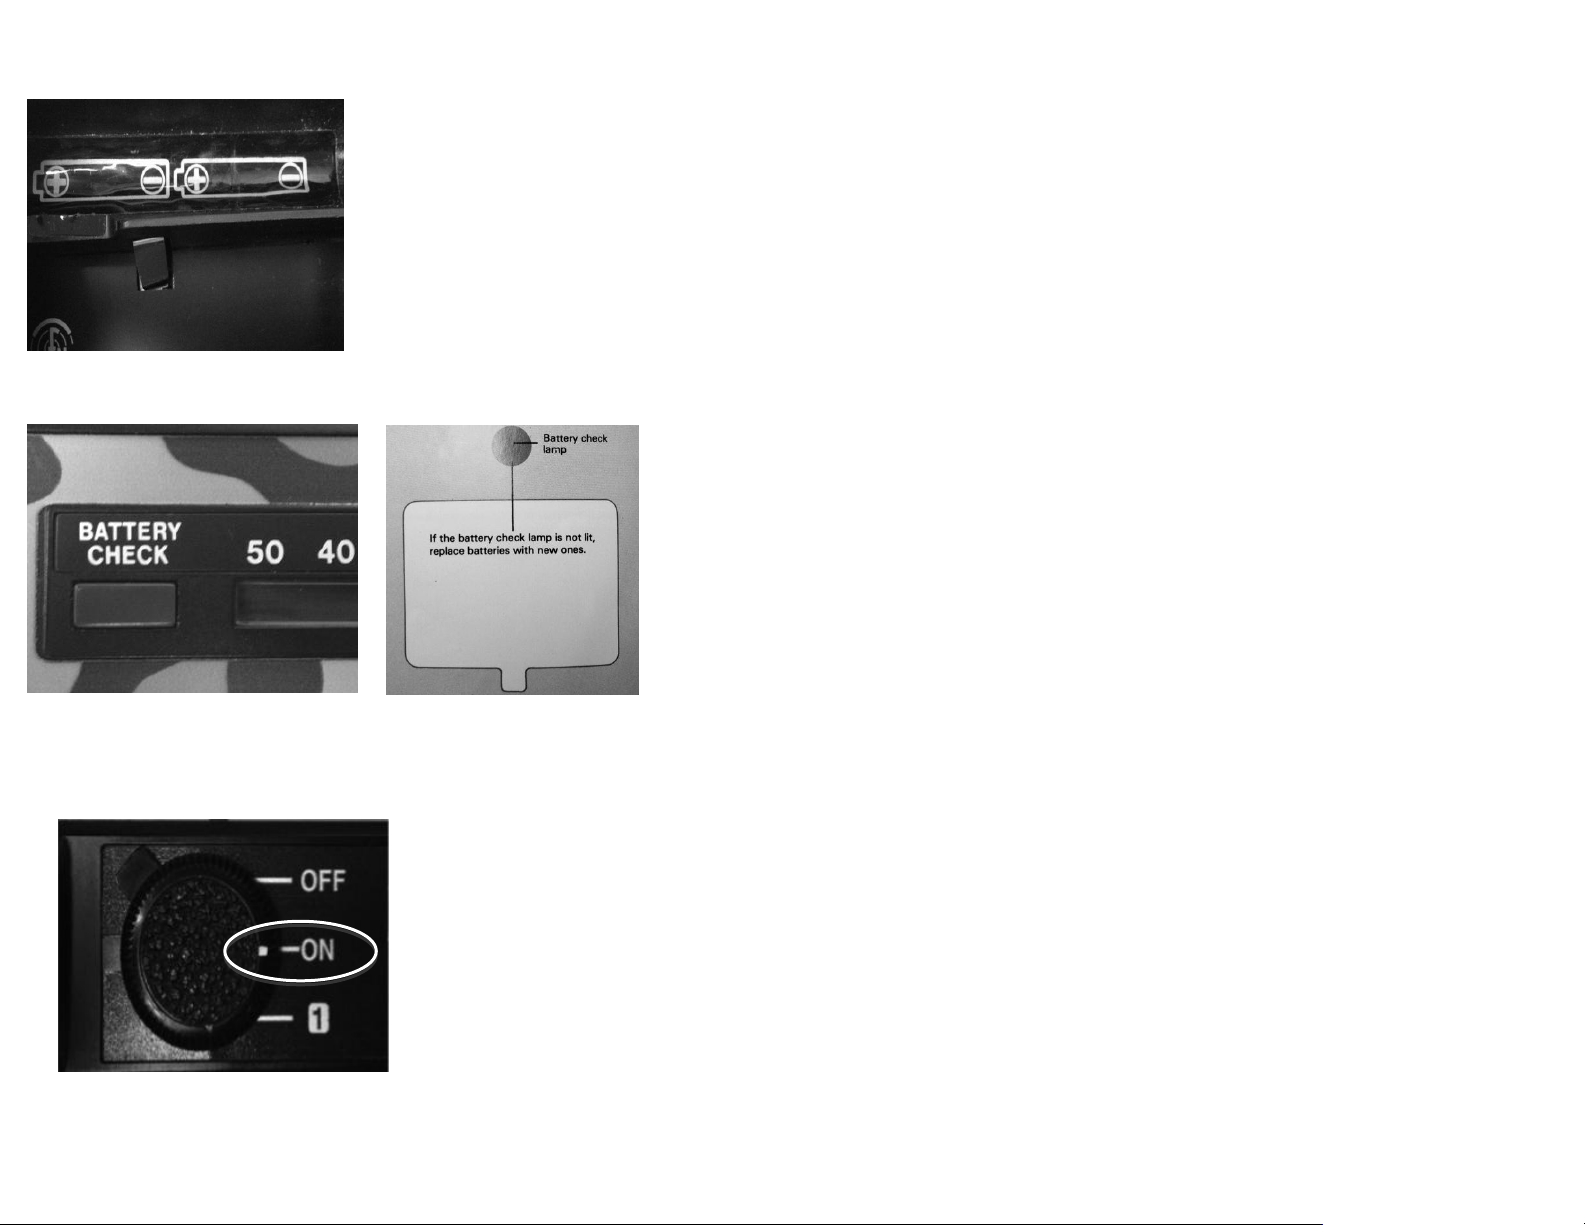
Loading the Batteries
The batteries power the exposure meter, zooming system and film drive. Insert 2
new AA size batteries into the battery compartment. Be sure that the + and ends of each battery are in the proper direction.
*If the camera will not be used for a prolonged period, remove the batteries and
store them in a dry place. Batteries may leak and damage the camera if left
inserted in the camera for a long period of time.
Checking the Batteries
Turn the main switch to “ON. ”Look through the viewfinder
and push the battery check button. If the lamp in the upper
portion of the viewfinder is lit red, voltage is sufficient for
filming. When the lamp is not lit, replace batteries. *While
the camera has been restored, the battery circuit may not
always work. For best results, always start with fresh
batteries.
Turning the Camera ON & OFF
By turning the dial of the main switch to “ON,” all electric circuits are
connected. A red mark is visible to the left of the dial when the power is
“ON.”AT “OFF” all the circuits are disconnected. As a safety measure, neither
the shutter nor the zooming switch can be operated. At “1”, you can shoot
single frame for animation.*When the camera is not in use for a long period of
time, turn the dial to “OFF” in order to conserve the battery energy.
 Loading...