

Page 1
CALLIA
Prism Sound CALLIA audiophile DAC and pre-amplifier
Music playback the way it should be
Visit www.prismsound.com/callia for full product and specification detail
Visit https://www.facebook.com/prismsoundaudiophile/ for the latest news and views
Email: [email protected]
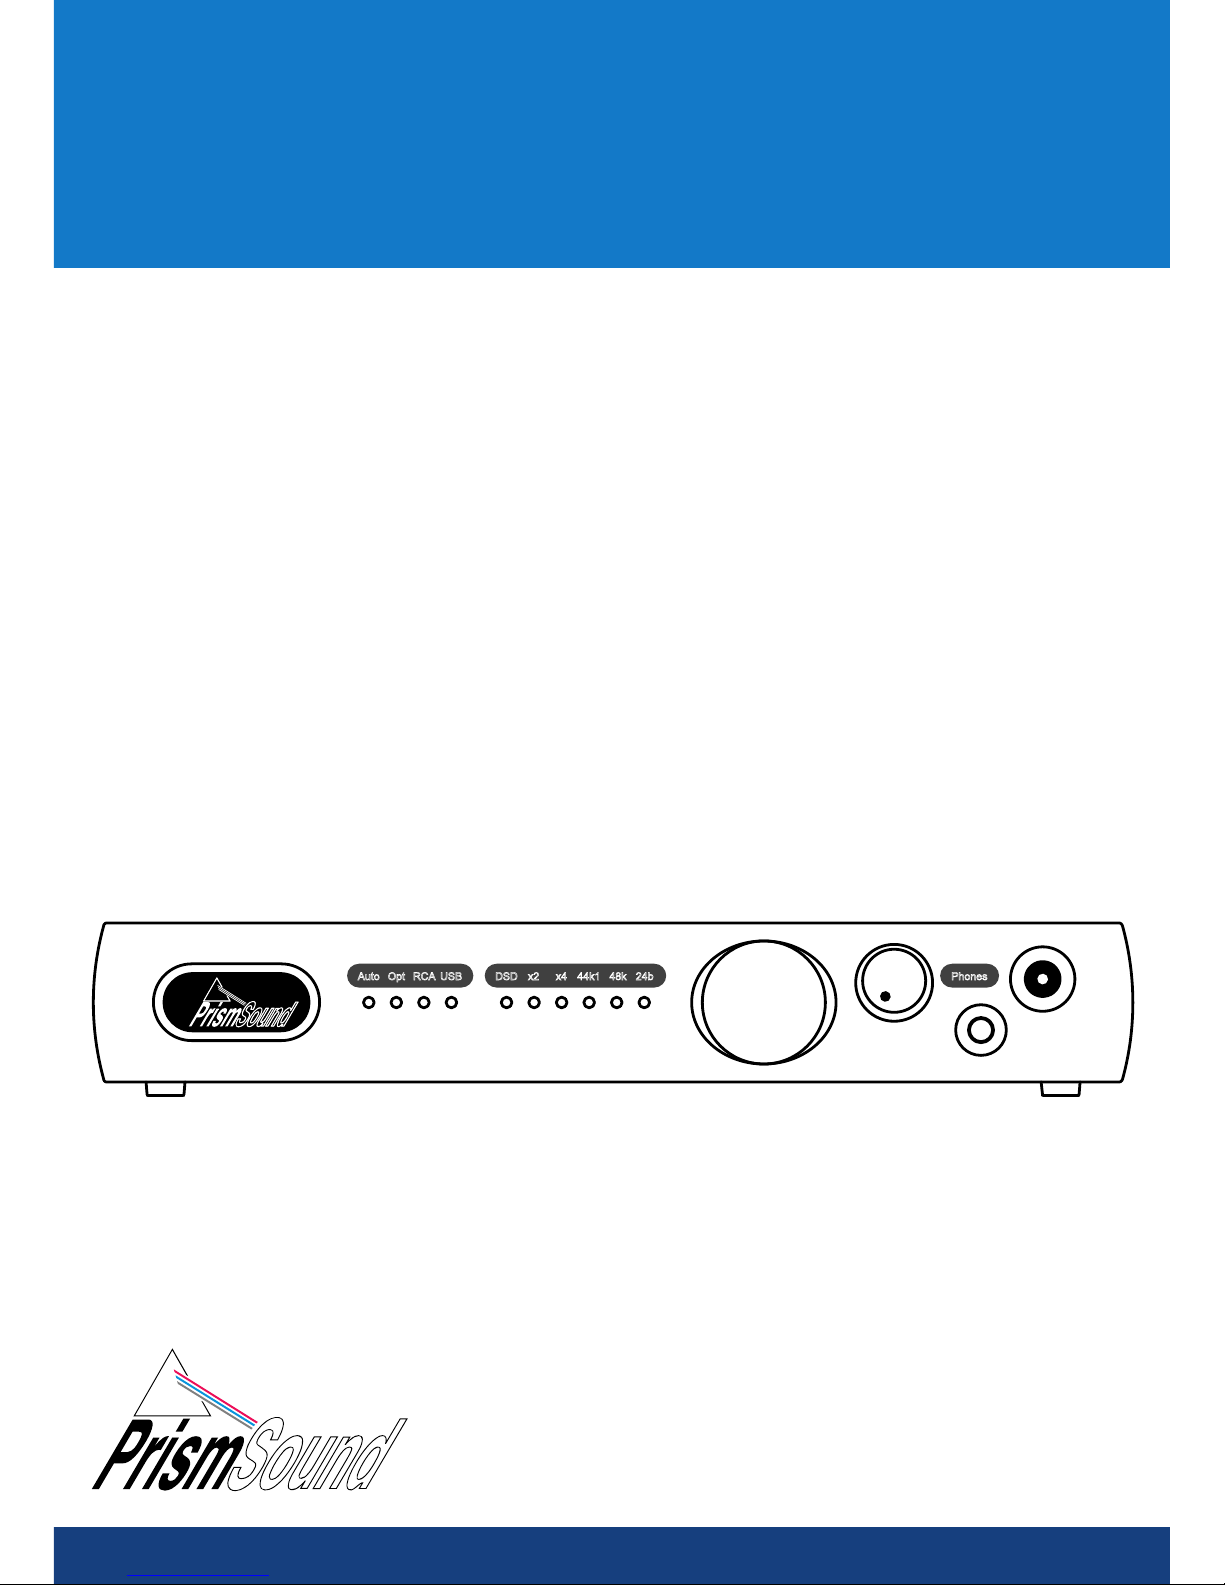
Auto PhonesOpt RCA USB DSD x2 x4 44k1 48k 24b
Quick start guide
Page 2
setup.exe
This brief guide will help you get up and running quickly. For full details of
CALLIA operation and performance, please see the CALLIA Operation Manual
(included in PDF format on the supplied USB drive, and copied to your computer
during software installation).
1. Software installation
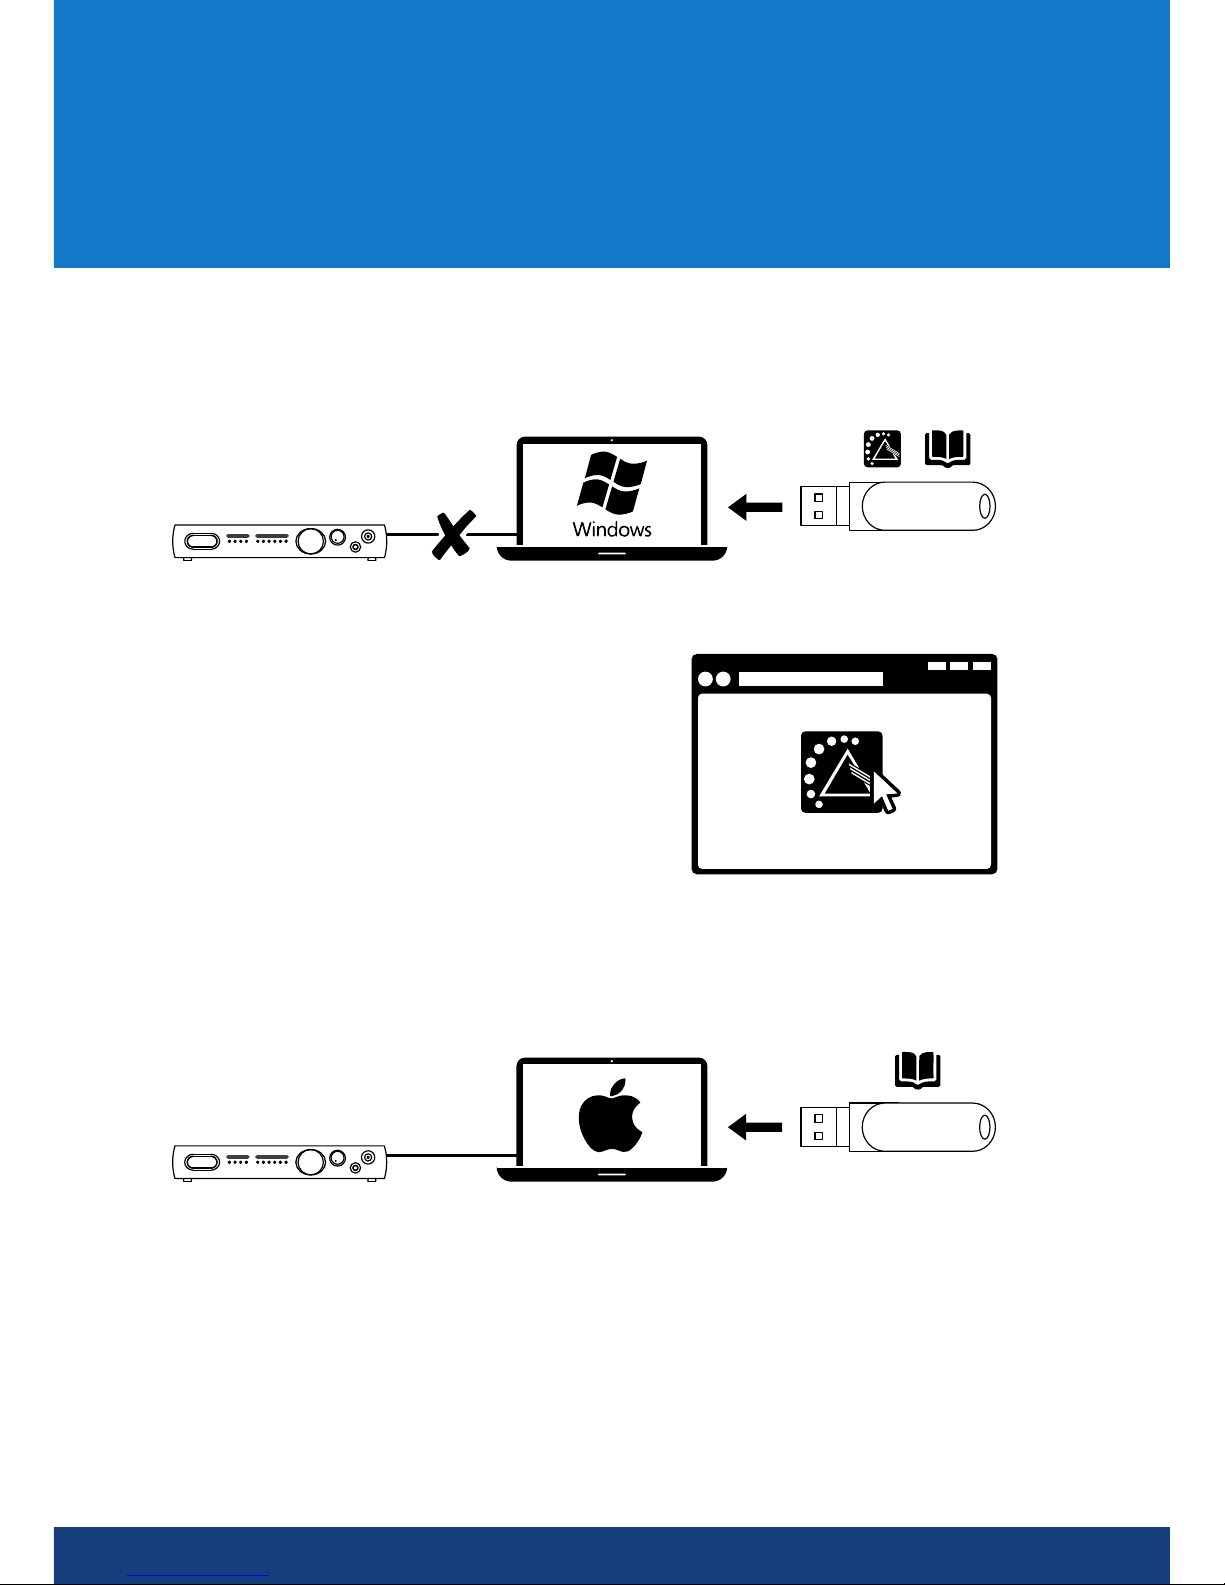
(a) Windows PC
If you are using a Mac computer, ensure that you have OS X 10.5 Leopard, or later. No software
installation is necessary to play from a Mac.
In either case, you need a spare USB 2.0 or USB 3.0 port to connect CALLIA.
If you want to play from a Windows PC, first
ensure that you are running Windows Vista or
later. Do not connect CALLIA to the PC until you
have completed software installation from the
supplied USB drive by running “setup.exe” on the
root of the drive.
(b) Mac
Page 3
3. Source connection and selection
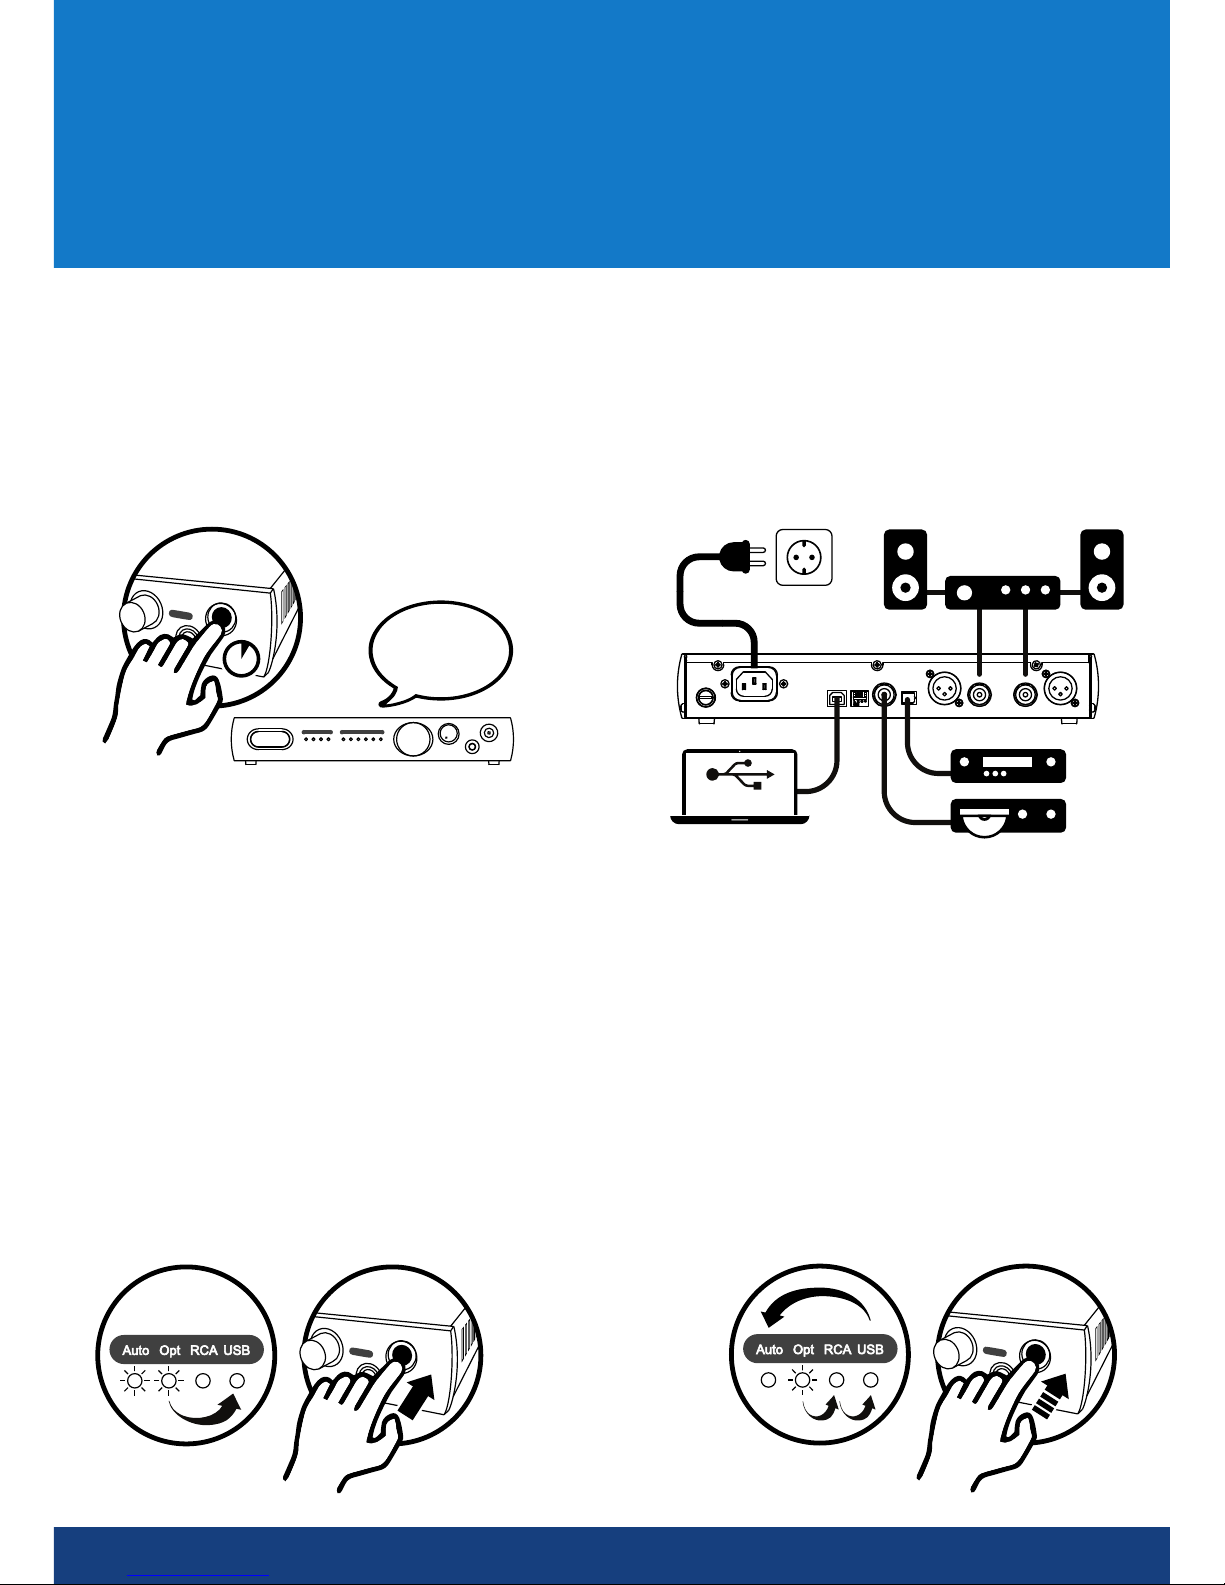
To play from an S/PDIF source, connect it to CALLIA either with a TOSLink optical lead or an RCA
(phono) lead. To play from a host computer, connect it to CALLIA using the USB lead provided.
Unless you are only using headphones, connect CALLIA’s XLR or RCA (phono) line outputs to your
power amplifier with appropriate cables.
CALLIA defaults to an automatic mode of source selection: it automatically selects whichever
source is playing. A brief press of the standby/source button allows manual ‘over-ride’ if more than
one source is playing. Pressing the button a few times in quick succession (to rotate back to the
original source) switches between automatic and manual source selection modes, as indicated by
the ‘AUTO’ LED.
2. Powering up CALLIA
CALLIA accepts mains voltages between 90V and 250V, so no mains voltage selection is required.
On connecting mains power, CALLIA goes straight into operating mode, illuminating its front panel
indicators. If you need to go into standby mode at any time, press and hold the standby/source
button at the right of the front panel; press it again to return to operating mode.
Zzzz
1s
90V - 250V
USB 2.0 / 3.0
Free 3-year extended manufacturer’s warranty offer
Visit www.prismsound.com/audiophileregister to register your CALLIA product. If
registered within 12 months of purchase, the manufacturer’s warranty will be extended
to 36 months from the date of purchase. Your statutory rights are not affected.
Page 4
4. Volume control
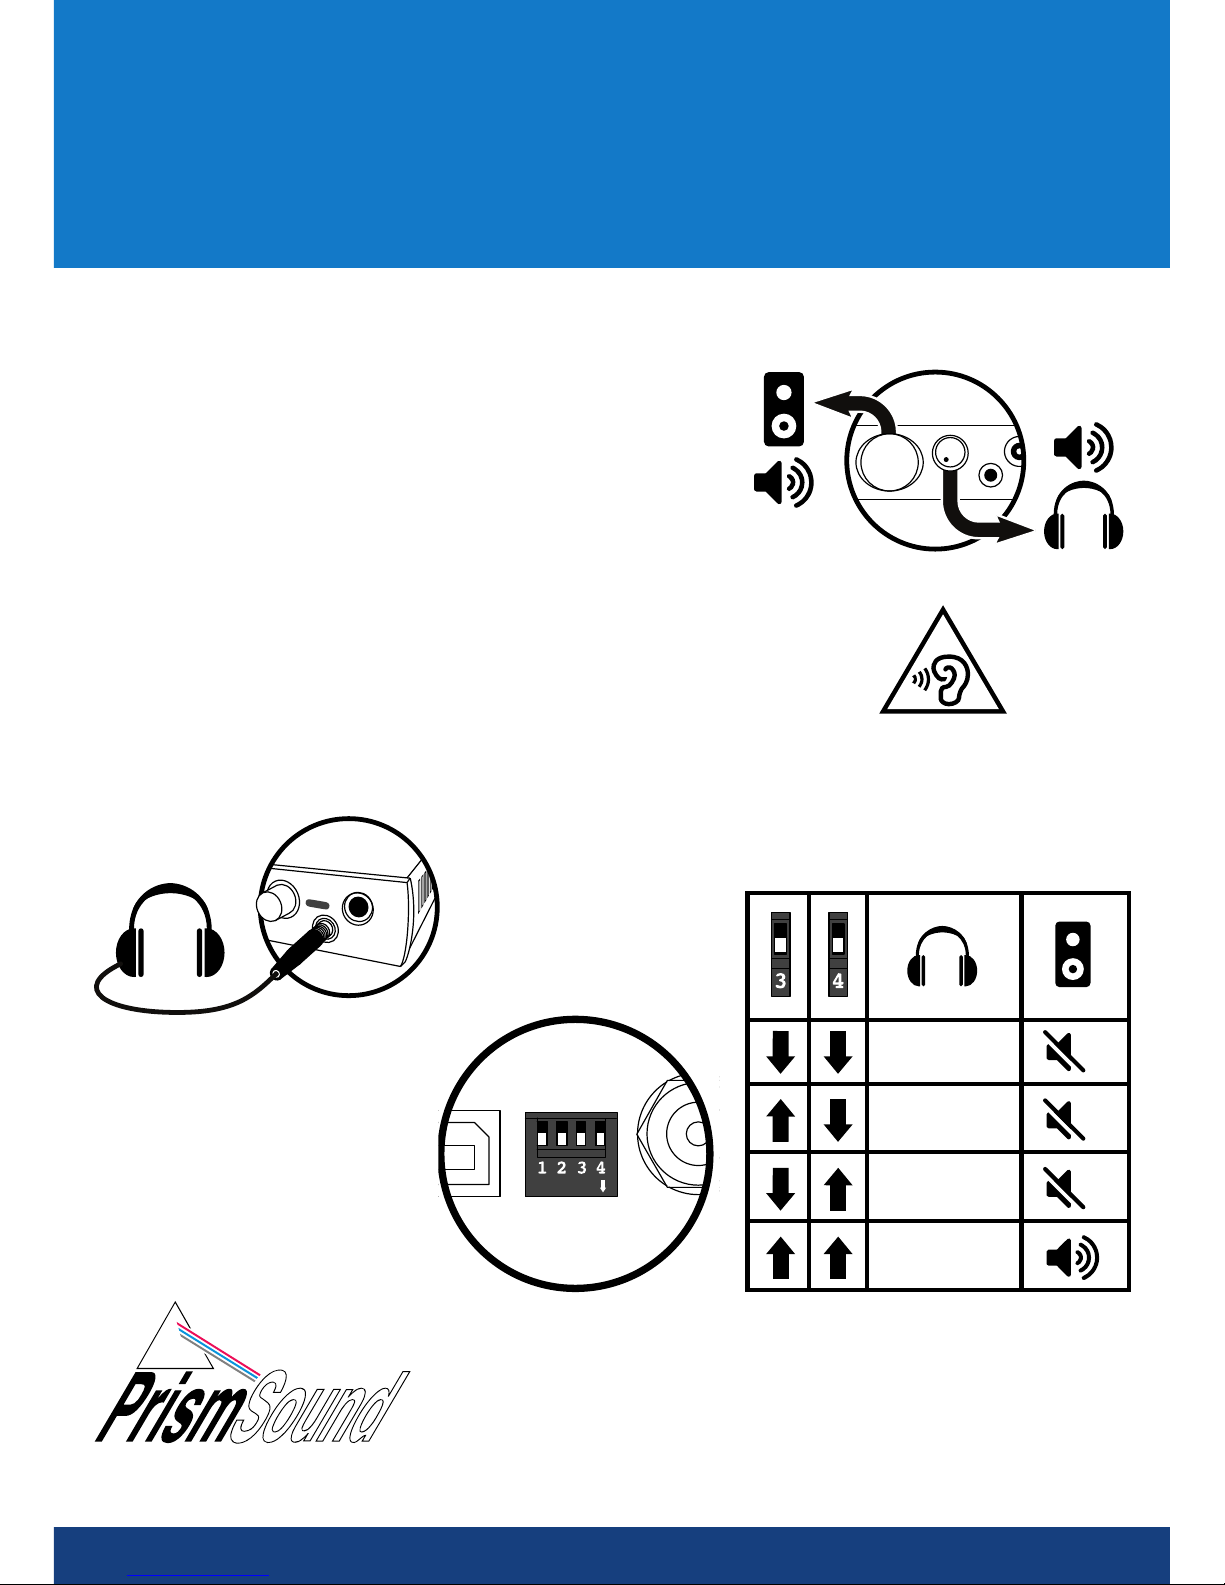
The large knob on the front panel controls the volume
of the line outputs, which is indicated by its halo of
LEDs. The smaller knob controls the headphone
volume. It is possible to disable the line output volume
control with a rear-panel DIP switch. This option is
described in the CALLIA Operation Manual.
The headphone amplifier can be optimised for different
headphone impedances using rear-panel DIP switches
3 & 4. The line output is usually muted on connecting
the headphones, however this can be disabled for the
default impedance setting. See table for details.
32 - 50Ω
>50Ω
<32Ω
32 - 50Ω
DIP ON
To prevent possible hearing
damage, do not listen at high
volume levels for long periods.
 Loading...