

PrintoLUX®-Basic-plus
P
r
in
to
L
UX
®
B
asic
-
P
l
u
s
Einfach besser kennzeichnen.
Quick Reference
English Version

Version 1.0 | Status 24.07.2013 | PrintoLUX®
2

Version 1.0 | Status 24.07.2013| PrintoLUX®
1 Legal notice
Applicable to the following project: PrintoLUX®-Basic-plus
Publisher: PrintoLUX® GmbH
Issue: 24.07.2013
Version: 1.0
Prepared by: Gerald Sattel
Software used: Adobe InDesign
Legal notice
PrintoLUX® GmbH
Dürkheimer Straße 130
D-67227 Frankenthal/Pfalz
Phone: +49 6233 6000-900
Fax: +49 6233 6000-910
kontakt@printolux.com
www.printolux.com
3

Information
Version 1.0 | Status 24.07.2013 | PrintoLUX®
2 Information
CEO
Hermann Oberhollenzer, Dietmar Haubenhofer
German registry of companies
District Court of Ludwigshafen
HRB 61120
Tax number: 15/654/0864/2
Local tax authorities Frankenthal
Copy rights
The content and structure of the operating instructions, manuals, and software are protected by copyright. All rights reserved. Information and/or data (texts, images, graphics,
audio, video, ash, or animations) provided by PrintoLUX® GmbH shall not be translated, copied, used or applied in any form, neither in part or its entirety, without the prior
written permission of PrintoLUX®.
Claims pertaining to hardware and software products described in this manual and brought against PrintoLUX® GmbH must be solely based on the conditions stipulated in the
warranty. Any further claims shall be excluded. In particular, PrintoLUX® cannot be held liable for misprints that may have occurred in the content of this manual.
Trademarks and logos
All trademarks and logos in this documentation are protected by copyright. The use of these trademarks and logos is not permitted without the explicit prior written permission
of PrintoLUX® GmbH.
Microsoft Windows NT, XP, Seven, Excel and Word are registered trademarks of the Microsoft Corporation. Epson is a registered trademark of Seiko Epson Corporation, Inc. All
other trademarks identied herein are registered trademarks of their respective owners.
Subject to change without notice. Errors and omissions excepted.
4

Version 1.0 | Status 24.07.2013| PrintoLUX®
3 Table of Contents
1 Legal notice 3
2 Information 4
3 Table of Contents 5
4 Technical information 6
5 Device description 7
6 Description of the operating panel 8
7 Scope of delivery 9
8 Commissioning 10
9 Description of the functionality 11
10 Installing the printer driver 12
11 Colour prole installation 13
12 Setting the print prole 14
Table of Contents
13 Before printing 17
14 Starting the printing job 18
15 Safety 19
5
Technical information
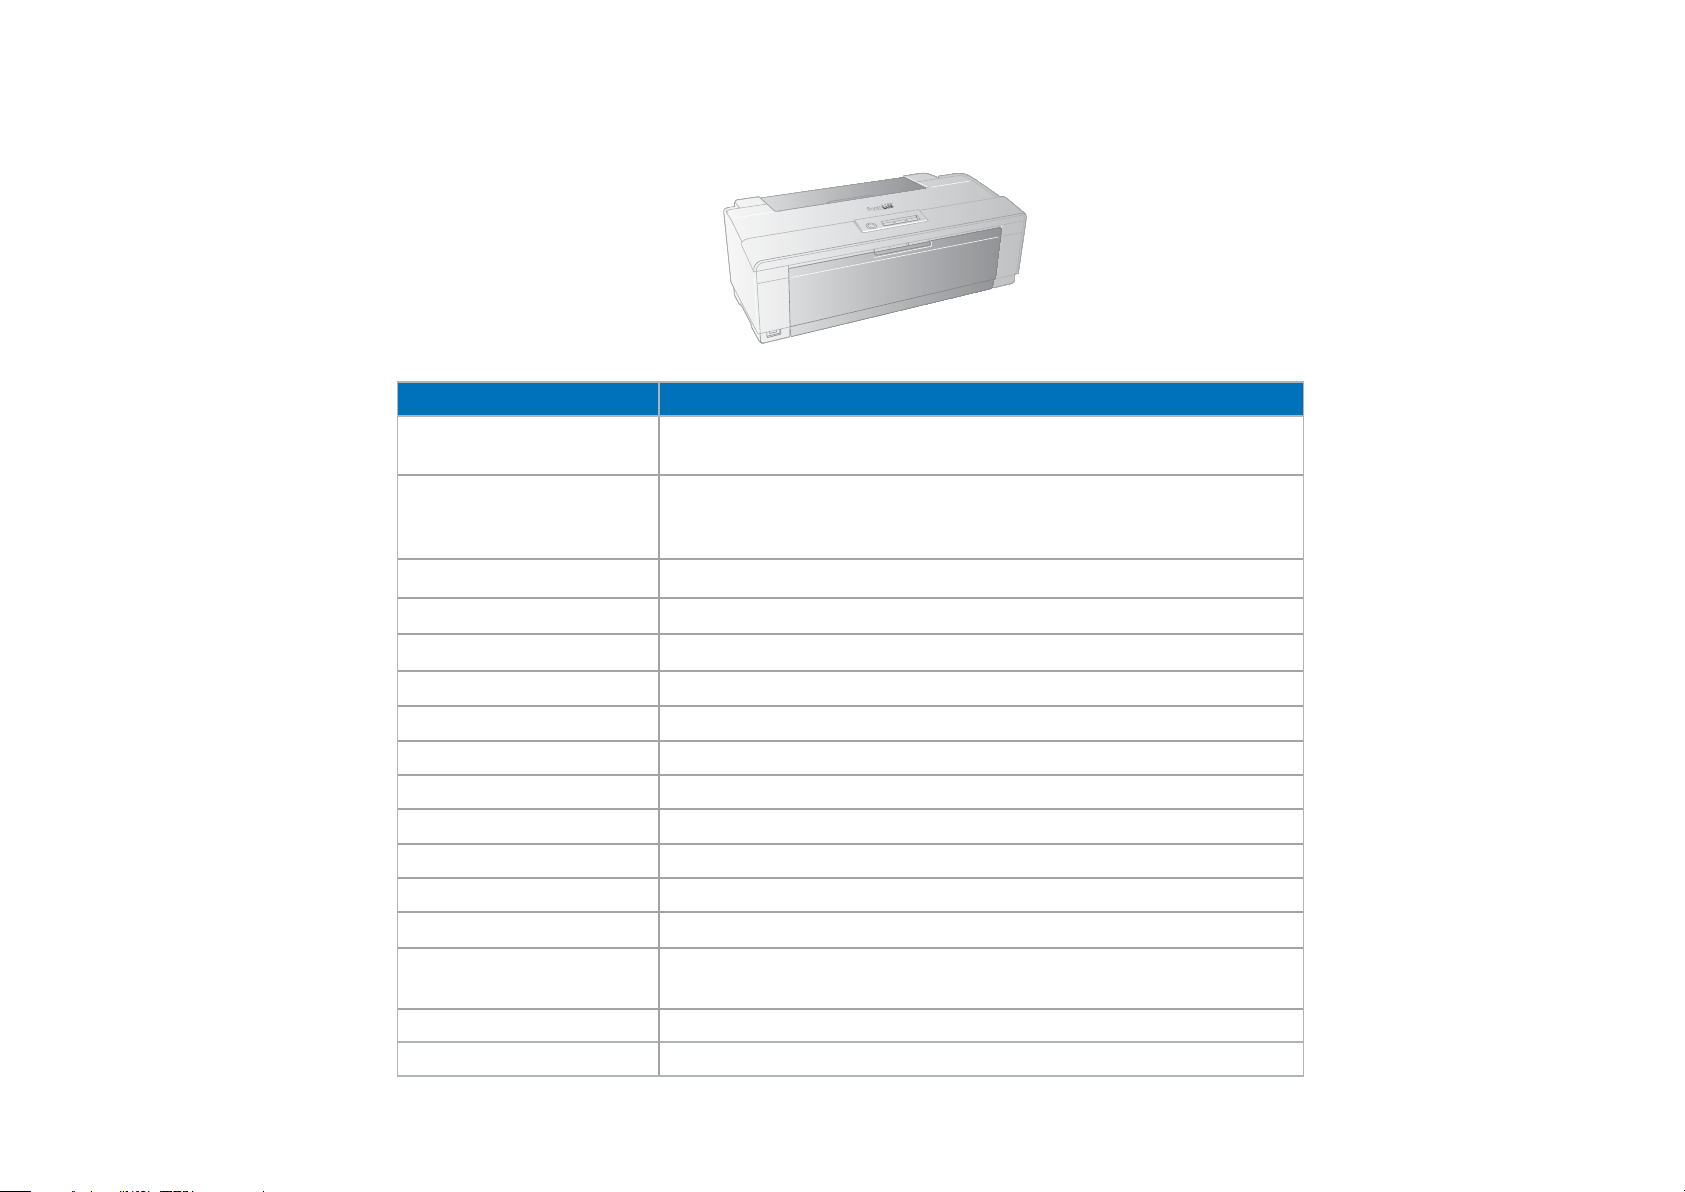
4 Technical information
Information Designation
Model designation
Version 1.0 | Status 24.07.2013 | PrintoLUX®
PrintoLUX®-Basic-plus
Modication of a standard Epson printer
Printing technology
Active printing surface 148 x 250 mm
Print quality Max. 5,760 x 2,880 dpi
Height adjustment Up to max. 1,0 mm in the universal template
Interfaces USB 2.0 (High speed) Type B for PC and Mac connections
Dimensions (W x D x H) 616 x 322 x 214 mm
Weight 16 kg shipping weight
Noise level 45 dB(A) (ISO 7779)
Templates Universal template for materials up to size of 148 x 250 x 1 mm
Compatibility PrintoLUX® colour prole to achieve dened colour
Ink supply 8 cartridges, inexpensive replenishment system with 50ml units
Materials PrintoLUX® certied metals, plastics, adhesive lms, lms
Regulations
Operating systems Macintosh OSX, Windows XP, Windows Vista, Windows NT, Windows 7
Print handling Compatible for serial printing
Piezo ink jet technology, unidirectional and bidirectional, print head with 1440
nozzles (one nozzle each for black, light black, light light black, cyan, light cyan,
magenta, light magenta, yellow)
Conforms to ENERGY STAR Guidelines
EU Guideline 89/336/EEC and 73/23/EEC
6

Version 1.0 | Status 24.07.2013| PrintoLUX®
5 Device description
This section familiarizes you with the components
of the PrintoLUX®-Basic-plus printing system
Presentation and description
Device description
Control panel
Front view
Rear view
USB connection
Power connection
Printer cover
Print head
Template insert / discharge
Print head
7

Description of the operating panel
6 Description of the operating panel
In this section, the operating panel is explained with the display and control elements.
6.1 Control elements
Button Use
Switches the printer on and o.
Activate the button, the power light illuminates or goes o.
Interrupts the printing process. Momentarily press the button.
Moves the printing head to the position of the ink container check and the position of the ink cartridge
replacement. Moves the printing head to the start position.
To eject the template, press and hold the button for 5 secs.
6.2 Display elements
Version 1.0 | Status 24.07.2013 | PrintoLUX®
Display Meaning
ON: The printer is on.
Flashing: The printer receives a print job.
Rell ink.
Clean the printer head.
ON: Print template not in position in the template infeed.
No paper available.
Flashing: Template measurement error.
Series printing.
ON: Ink tray is open.
Ink is lled.
Empty ink cartridge is indicated.
8

Version 1.0 | Status 24.07.2013| PrintoLUX®
7 Scope of delivery
Scope of delivery
0
min
M
10
20
30
90
40
80
50
70
60
c
0
min
100
MAX
150
250
200
0
Universal template
(210 x 380 mm
for materials up to size of
148 x 250 x 1 mm)
Ink cartridges, 8 pieces
(cyan, magenta, yellow, black,
light black, light light black,
light cyan, light magenta)
USB cable
PrintoLUX® heating unit A4
PrintoLUX® CD
(Driver, colour prole, Avery
DesignPro, symbol library,
manuals)
Power cable
PLX pre-treatment
9

Commissioning
Version 1.0 | Status 24.07.2013 | PrintoLUX®
8 Commissioning
8.1 Connect the printer to the power supply
Connect the printer to the power supply. Switch the printer o.
8.2 Connect the USB cable
Plug the data cable into the printer. At this time, do not connect
the PC yet.
8.3 Remove the transport safety plugs
2
To remove the transport safety plugs :
• Open the printer cover
• Press the ink button , the printer head moves to the change position
• Open the cartridge cover
• The cartridge cover is open
Fill plug
2
3
Transport safety plugs
31
1
10
Ink cartridge
• Remove the transport safety plugs from all cartidges
• Close the cartridge cover
• Push the ink button
• Store the transport safety plugs

Version 1.0 | Status 24.07.2013| PrintoLUX®
10
0
20
30
40
50
90
60
70
80
M
min
min
0
100
150
MAX
200
250
c
0
9 Description of the functionality
Templates
With the PrintoLUX®-Basic-plus printing system you print on
materials by overlaying on the printing table. Another option for
positioning is by using templates.
Certied materials
A large selection of dierent, certied materials allows you to
select, individual materials selected for your range of applications.
PLX pre-treatment
The pre-treatment combines three functions: cleaning the
material surface, control of the anti-ow properties of the ink and
it functions as an activator during the curing of the ink.
Description of the functionality
Heat curing ink
s
u
l
P
-
asic
B
®
UX
L
to
in
r
Through polymerisation a strong interlacing with the base
P
materials is created. The ink that has been co-developed by us is
the crucial feature of the ink PrintoLUX ® system.
Heating unit
With the PrintoLUX® heating unit provided by PrintoLUX® the
printed material is treated with the ideal heat curing time and
heat curing temperature.
11

Installing the printer driver
10 Installing the printer driver
Proceed as follows to install the printer software:
1. Switch the computer on, log in if required and wait until the desktop is displayed.
2. Prepare the USB cable: During the course of the installation you will be prompted to connect the USB cable to the PC.
3. Insert the enclosed "PrintoLUX® Installations CD" into your PC.
Version 1.0 | Status 24.07.2013 | PrintoLUX®
12
4. Open the "Print driver" folder.
5. Open the folder with the name of your operating system ["Windows 7" / "Windows Vista" / "Windows XP"].
6. Start the le to be executed "Basic-plus...[32 / 64]bit.exe", depending on your version of operating system (32 or 64 bit).
7. The "Installation" dialogue eld is displayed.
8. Follow the instructions on the screen.
9. Once the message "Installation completed" is displayed, the printer software has been successfully installed.
10. Remove the CD from the CD drive.
11. The installation of the printer software is completed.

Version 1.0 | Status 24.07.2013| PrintoLUX®
11 Colour prole installation
Colour prole installation
Save the colour prole in your operating system:
The respective le "PrintoLUX-Basic-plus-RGB.icc“ can be found on the enclosed
PrintoLUX® CD in the directory "Colour management".
Right click with your mouse on the colour prole "PrintoLUX-Basic-plus-RGB.icc"
and select "Install prole".
Now the le is being stored on the operating system.
Now, dene the colour prole as standard.
Proceed as follows:
Open the Windows Start Menu and select "Printers and Faxes“ (XP) or "Devices and
printers“ (Windows 7).
Select the PrintoLUX®-Basic-plus printer alias "Epson Stylus Photo R2880".
Click with the right mouse button and select "Properties".
Proceed as follows:
1. First activate the registration card "Colour management".
1
2
4
3
7
2. Select the radio button "Manual", then,
3. click on "Add".
4. Select the colour prole "PrintoLUX-Basic-plus-RGB.icc".
5. Dene the colour prole "PrintoLUX-Basic-plus-RGB.icc -> As standard".
6. Click on "Add".
7. Conrm with "OK".
The PrintoLUX® colour prole "PrintoLUX-Basic-plus-RGB.icc" is now dened as a
standard in your printer driver.
6
5
13

Setting the print prole
12 Setting the print prole
Version 1.0 | Status 24.07.2013 | PrintoLUX®
Open the Windows Start Menu and select
"Printers and Faxes“ (XP) or "Devices and
printers“ (Windows 7).
Click on the installed printer with the right
mouse button. Context menu "Printing
Preferences“.
4
1
2
3
12.1 Quality
Click on the list eld "Print Quality“.
From the dropdown list, select the eld
"Quality Options“.
Accept the settings as represented.
Conrm with "OK".
14
The menu "Printing Preferences“ is visible in the original conguration.
The parameters to set are
1. Quality
2. Mode
3. Paper settings
Then save the settings under a unique name (4).

Version 1.0 | Status 24.07.2013| PrintoLUX®
12.2 Mode 12.3 Paper settings
1
2
1. Under "Mode“, activate the radio button
"Custom“.
2. From the associated dropdown list, select
the entry "ICM“.
3
3. Then click on the button "Advanced…“
The submenu "ICM“ opens.
Set the ICM mode to "HOST-ICM“.
Conrm with "OK".
Setting the print prole
Click on the list eld
"Paper Settings -> Source“ and from the
dropdown list, select "Manual - Front“.
Then click on the button "User Dened...“.
1. Accept the parameters as represented:
2
1
3
4
Paper width: "210.0“
Paper length: "380.0“
Dimensional unit: "mm"
2. As paper format name, enter e.g.
"atbed“.
3. Conrm with "Save“ and
4. "OK“
Click on the list eld
"Paper Settings -> Size“.
From the dropdown list, select the name
allocated, here : "atbed“.
15

Setting the print prole
Version 1.0 | Status 24.07.2013 | PrintoLUX®
12.4 Save the print prole
To save the settings, now click on the
button "Save/Del...“.
Enter the name "PrintoLUX“.
Conrm with "Save“.
12.5 Load the print prole
Before printing, the print prole
"PrintoLUX“ can now be loaded from the
list "Select Setting“.
16

Version 1.0 | Status 24.07.2013| PrintoLUX®
13 Before printing
Before printing
Pre-treating materials
Position the workpiece to be printed in the template. Apply the
PLX pre-treatment.
s
u
l
P
-
asic
B
®
UX
L
to
in
r
P
Placing the template
Place the template into the printer on the area indicated with red
arrows.
Start position
s
u
l
P
-
asic
B
®
UX
L
to
in
r
P
Push the template into the template insert. The printer now
automatically aligns the template.
17

Starting the printing job
14 Starting the printing job
Version 1.0 | Status 24.07.2013 | PrintoLUX®
The following examples shows how to print a le using the “Bartender” software.
Start the "Bartender". Using the mouse
click on the marked symbol to open the
template menu.
Here you can adjust the size, amount
and distance of the print medium. For
this use individual tabs.
Format content, then select menu item
"File --> Print“ .
From the list, select "Name:“ the printer
PrintoLUX-Basic-plus alias "Epson Stylus
Photo R2880“.
Then click on the button "Document
Properties“.
From the list, select "Select Setting“ of the
PrintoLUX-Prol.
Conrm the settings with "OK".
Now you can start printing.
18
Subsequently insert the desired text,
symbols or graphic.

Version 1.0 | Status 24.07.2013| PrintoLUX®
15 Safety
Safety
The safety information and notes listed in these brief instructions do not replace the
safety instruction with those of PrintoLUX®. Prior to use observe all instructions, warnings
and precautions in order to secure the safe operation of the printing system and warranty
claims. Do not try to use the printing system in a way that does not meet the proper use.
Observe the safety regulations listed in the manual and the safety data sheets.
Safety data sheets for PrintoLUX® products:
• Safety data sheet - ink
• Safety data sheet - PLX pre-treatment
• Safety data sheet - PLX concentrate
• Safety data sheet - Cleaning
• Safety data sheet - Diluting
• Safety data sheet - Diluting SF
• Safety data sheet - Pre-treatment SF
• Safety data sheet - Pre-treatment ELX
SYMBOL INFORMATION
Warning - danger zone
Warning - electrical power
Warning - re hazardous materials
Warning - hot surface
Warning - irritating substances
GENERAL INFORMATION
General mandatory signs
Read the operating instruction carefully though.
Always use sucient hand protection during tasks.
TASK RELATED INFORMATION
Hand guards
Always wear gloves when lling ink, cleaning and pre-treatment.
Wear heat resistant gloves when removing the material from the
heat unit.
Protective goggles
Wear protective goggles when lling ink, cleaning and
pre-treatment.
Breathing protection
Wear breathing protection when cleaning or pre-treating the
material.
19

Einfach besser kennzeichnen.
PrintoLUX® GmbH
Dürkheimer Straße 130
D-67227 Frankenthal/Pfalz
Phone: +49 6233-6000-900
Fax: +49 6233-6000-910
kontakt@printolux.com
www.printolux.com
 Loading...