

Page 1

15 Discovery Way, Acton, MA 01720
Phone: (978)263-3584, Fax: (978)263-5086
Web Site:
Instructions for Mounting and Operation
www.piacton.com
of Princeton Instruments Model TS-428
250 Watt Tungsten-Halogen Light Source
Ver 2.1
1
Page 2

Description:
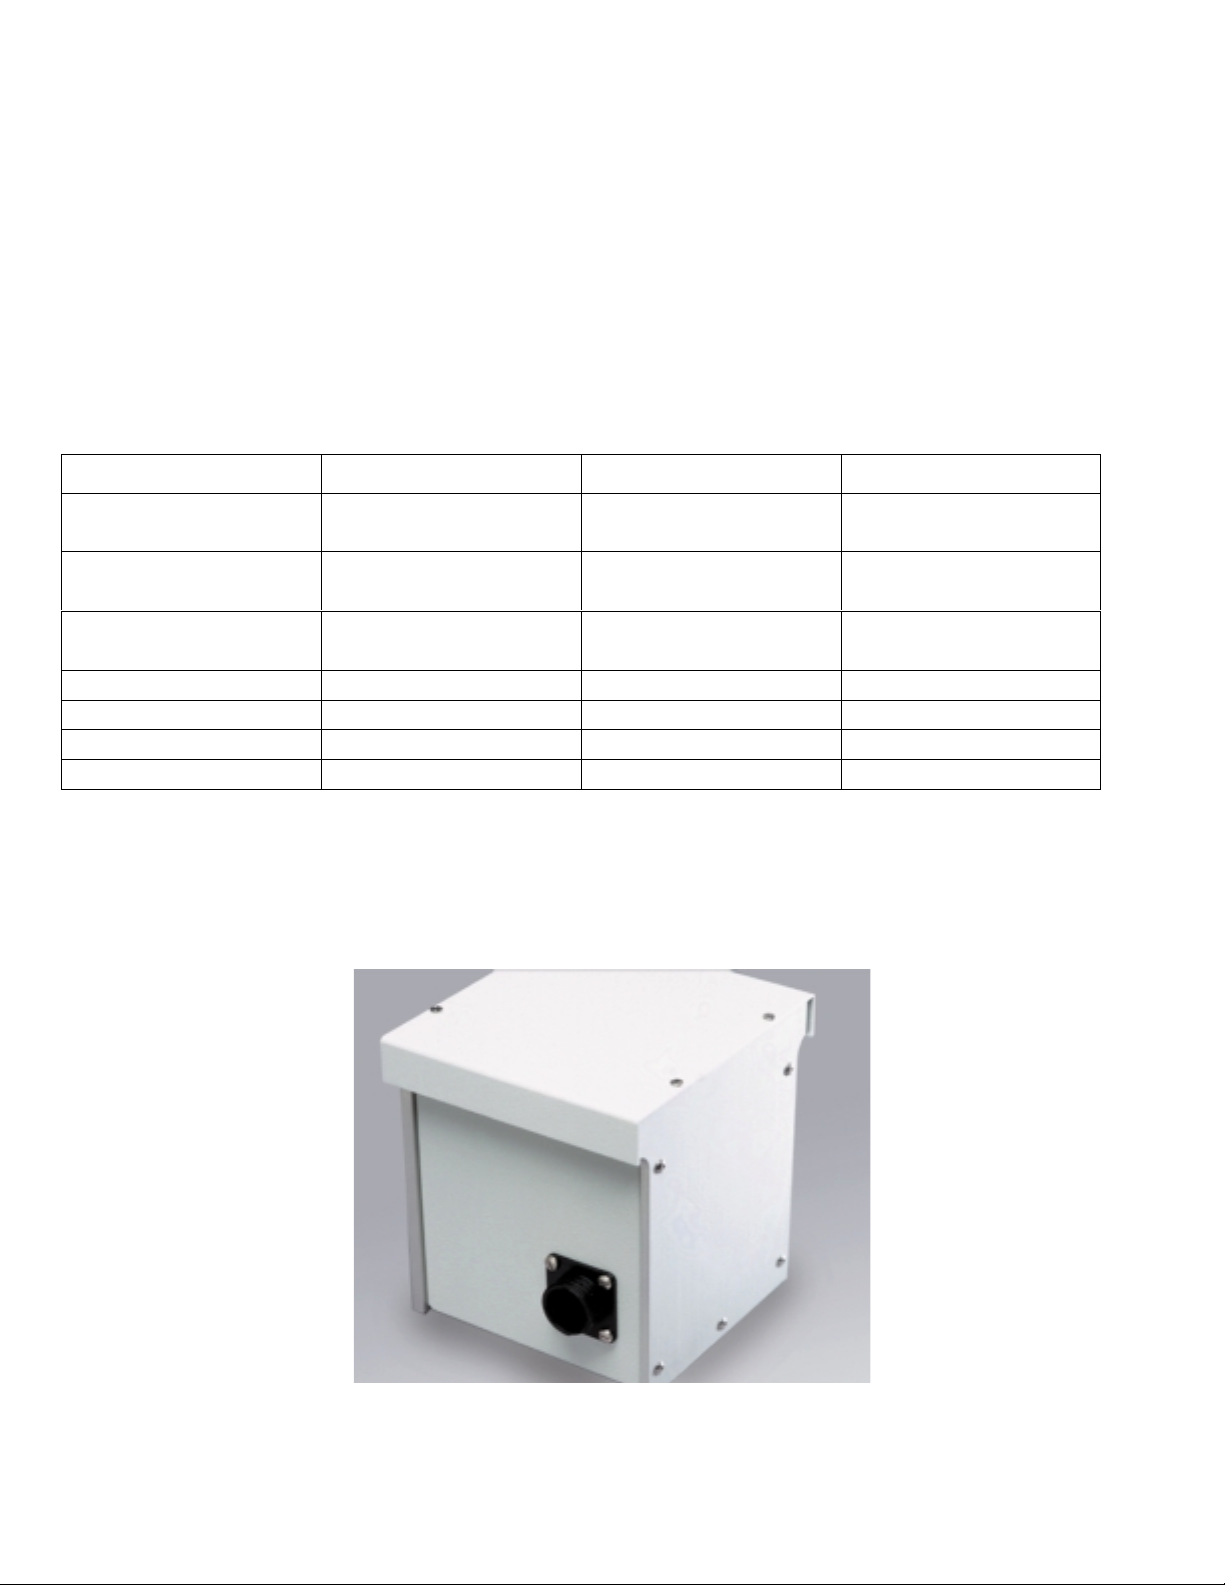
The Princeton Instruments Model TS-428 is a 250 watt tungsten-halogen light source system
designed for use with Acton series spectrometers. It consists of a 250 watt lamp as specified
on the enclosed drawing, a housing with light collection mirror, and power supply with variable
brightness co ntrol (250 watts to approximately 10% of ma ximum). The lamp is factory
installed and aligned prior to shipment. Adjustments are provided on the light collecting mirror
mount in the event that realignment becomes necessary.
2
Page 3
Installation Instructio ns
TS-428 and TS-428-DC
Important: These instructions are valid for TS-428 and TS-428-DC Light Sources bearing
certain serial numbers.
If the digits of the serial number that immediately follow 428 are 261 or greater please use these
instructions. If the digits of the serial number that immediately follow 428 are less than 261
then disregard these instructions.
Your TS-428 or TS-428-DC 2 50 Watt Tungsten / Halogen Light Source is shipped w ith an
installation kit which includes the following parts.
Part Quantity Description
Mounting Screws 3 8-32 X 1¼” Black Alloy 100-120-015
Mounting Screws 2 8-32 X ½” Black Alloy 100-120-010
Shoulder Screws 2 8-32 Attached to spacer 100-107-005
Spacer 1 ¾” 8401-025-66
Spacer 1 ¼” 8401-025-65
Hex Wrench 1 1/16” 700-025-002
Hex Wrench 1 9/64” 700-100-008
There are two variations for the installation of the
assumes the use of either of the two optional Filter Wheel Assemblies
The other set up is designed for using the
TS-428 or TS-428-DC
TS-428 and TS-428-DC
Acton Part No.
. One set up
FA-448
without a filter wheel.
FA-448-2.
and
TS-428 / TS-428-DC
3
Page 4

1)
2)
3)
4)
5)
6)
Light Source Installation (With Filter Wheel)
Be sure that there are no cable connections made to the TS-428 / TS-428-DC Light
Source and that is has had sufficient time to cool.
Insert the three 8-32 x 1 ¼” black alloy screws into the rece ssed holes of the ¼” Spacer as
shown in step one.
Lay the ¼” Spacer against the Filter Wheel and push the screws through the holes
provided in the filter wheel as shown in step 2.
Using the 9/64” Hex Wrench, tighten the Filter Wheel / ¼” Spacer combination onto the
entrance slit of the instrum ent as shown in step 3.
Using the 1/16” Hex Wrench, remove the cover to the TS-428 / TS-428-DC. See step 5.
Align the TS-428 / TS-428-DC’s shoulder screw slots with the shoulder screws that are
attached to the ¼” Spacer. Attach the TS-428 / TS-428-DC. See step 6.
7)
8)
Insert and tighten the two 8-32 X ½” black alloy screws into the mounting holes on the
inside of the TS-428 / TS-428-DC. See step 7.
Replace the cover of the TS-428 / TS-428-DC.
Step 1.
4
Page 5

Step 3.
Step 2.
Tighten these
Remove
Cover Screws
Step 4.
5
Page 6

Step 5.
Tighten ½”
Step 6.
Light Source Installation (No Filter Wheel)
Perform all the above steps e xcept substitute the ¾” Spacer for the Filter Wheel.
¾” Spacer
Mounting
(for serial numbers fo llow i ng 428 th at are le ss than 2 61
ONLY
):
6
Page 7

For proper operation, the lamp hou sing should be mounted to the en trance slit of the
spectrometer. The light collection mirror, located in the lamp housing, is designed to focus
light from the lamp onto the entrance slit of the spectrometer. To mount the lamp housing to
entrance slit, use the following procedure :
1. Locate the two (2) shoulder screws and the two (2) 8-32 cap screws supplie d with the TS-
428. Insert the shoulder screws into the tow bottom outside tapped holes of the entrance
slit of the spectrometer and tighten. These are used to mount the lamp housing.
2. Remove the four (4) slotted screws from the top of the lamp housing, then remove the
cover.
----------------------------------------------------------------------------------------------------Do not touch the lamp (bulb) or the surface of the focusing mirror
-----------------------------------------------------------------------------------------------------
3. Carefully slide the two (2) “key hole” type slo ts of the lamp housing mounting flange
over the shoulder screws in the entrance slit of the spectrometer. Insure that the top tow
holes of the lamp housing mounting flange align properly with the top t ow tapped hole s
of the spectrom eter entrance slit.
4. Insert the two (2) 8-32 cap screws in the top tow holes of the lamp housing mounting
flange and tighten.
5. Replace the lamp housing cover.
6. Remove the (2) shoulder screws from the plastic bag. Insert the (2) shoulder screws in
the (2) tapped holes along the lower edge of the adapter plate.
7. Remove the four (4) slotted screws from the top of the light source, then remove the
cover.
-----------------------------------------------------------------------------------------------------
Do not touch the lamp (bulb) or the surface of the focusing mirror
-----------------------------------------------------------------------------------------------------
8. Carefully slide 2 of the 3 “key hole” type slots in the light source mounting flange over
the 2 shoulder screws in the adapter plate. The light sour ce mounting fl ange has (4)
clearance holes in line near the top edge. Assure that the inner pair of clearance holes in
7
Page 8

the light source mounting f lange align properly with the two tapped holes along the upper
edge of the adapter plate.
9. Insert the (2) 8-32 x ½” cap screws from the plastic bag i n the inner pair of clearance
holes in the light source mounting flange and tighten.
10. Replace the light source cover.
The FA-448 Filter Assembly and Modified Light Source are now ready for use. Refer to the
filter assembly and the light source instructions for operation.
Operation : (All Serial Numbers)
For operation, connect the cable between the lamp housing and powe r supply, then plug in the
power supply. Press the power on/off button on the front of the power supply and adjust
brightness to desired level. To shut off the light source, press the power on/off button.
Note:
The light source may be turned on or off at any of the brightness settings without
damage to the lamp.
8
Page 9

Supplemental Instructions
for TS-428DC
Tungsten-Halogen Light Source
The TS-428DC is a 250 watt tungsten-halogen light source powered by an adjustable
regulated DC power supply. The lamp is rated for 250 watts at 24 volts. Refer to the
TS-428 instructi on manual for mounting the sour ce housing into the Acton monochromator.
Refer to the enclosed OEM instruction manual for operation of the DC power supply and
delete the section in the TS-428 in stru ct ion m anual r eferr i ng to the stan dar d issu e power
supply. Connect the power cable supplied with the TS-428DC between the lamp housing
land the circular connector on the rear panel of the DC power supply. Adjust the current
limit to the maximum on the power supply and use the voltage control of the power supply
to adjust the intensity of the lamp. When the power switch to the DC power supply is turned
on, the fan in the lamp housing will turn on simultaneously.
9
Page 10

THIS DRAWING REMAINS THE PROPERTY OF
PRINCETON INSTRUMENTS AND
CONTAINS PROPRIETARY INFORMATION WHICH
SHALL NOT BE REPRODUCED OR DISCLOSED
WITHOUT WRITTEN AUTHORIZATION.
15 DISCOVERY WAY
ACTON, MA 01720
 Loading...