

Page 1
4411-0118 Rev. A Quick Start Guide—Single Head Controller (CameraLink) Page 1
...SEE the Future
This Quick Start Guide provides instructions for basic setup of
a MegaPlus camera and MegaPlus Central Control Software.
For additional information, please consult the MegaPlus User’s
Manual.
Equipment Required for Setup
User Supplied items:
• PC running: Windows XP, Windows 2000 Pro (SP2) or
Windows NT 4.0 or higher
• Crossover Ethernet cable (for firmware updates)
Interface Option and Accessories:
• CameraLink Framegrabber hardware and software
• CameraLink cable(s)
• Optional: RS-232 serial for camera control only
Princeton Instruments Package Contents:
• Camera Controller
• Software Developers Kit (SDK)
• CD with User’s Manual and MegaPlus Central
Software
• Power Supply
• Camera Head
• Camera Head cable
Hardware Setup
Before proceeding, make sure that your CameraLink
Framegrabber hardware and software are installed
properly.
Caution: Make sure the MegaPlus Camera Controller
power switch is turned to the OFF position before
connecting the cables!
1. Connect the cable from the Camera Head to the camera
port labeled Remote Head on the Camera Controller.
2. If using an EC11000 or an EC16000 Camera Head, connect
the Camera Head to the auxiliary power supply.
3. Connect a CameraLink cable from the CameraLink
connector on the back panel of the Camera Controller to
the Connector of your CameraLink Framegrabber.
4. Connect the Camera Controller to the power supply.
Software Installation
Note: MegaPlus Central Software is used to control camera
through serial commands only. A third party framegrabber
software must be used to capture and display images.
1. Install the MegaPlus Central software by inserting the
MegaPlus software CD into the computer’s CD-ROM
drive. The menu program should start automatically. If
your system does not start the menu, open Windows
Explorer, go to the Install folder on the CD and doubleclick on the “MenuBox.exe” application on the CD.
2. Select the option to Install MegaPlus Central Software
and follow the onscreen instructions. The MegaPlus
Camera Installer will start automatically after the
application files have been installed.
3. Step 1 of the Camera Installer adds an entry for your
MegaPlus camera into the camera list. A descriptive
name for the camera can be added to help identify it.
4. In Step 2, specify your CameraLink interface options.
5. Install the framegrabber application software and
follow the instructions provided by the framegrabber
manufacturer.
Select from the following options:
CameraLink Serial—Select this interface if you will be
using a CameraLink Framegrabber and the CameraLink
serial port, then select the vendor’s DLL from the drop
down list.
COM Port Serial—Select this interface if you will be using
the DB9 connector on the rear panel of the Camera
Controller and a separate RS–232 serial cable to control the
camera. Specify the COM port you are connected to on the
host with the following Connection Parameters:
• 9600 baud
• 1 stop bit
• No flow control
• No parity
• Data bits
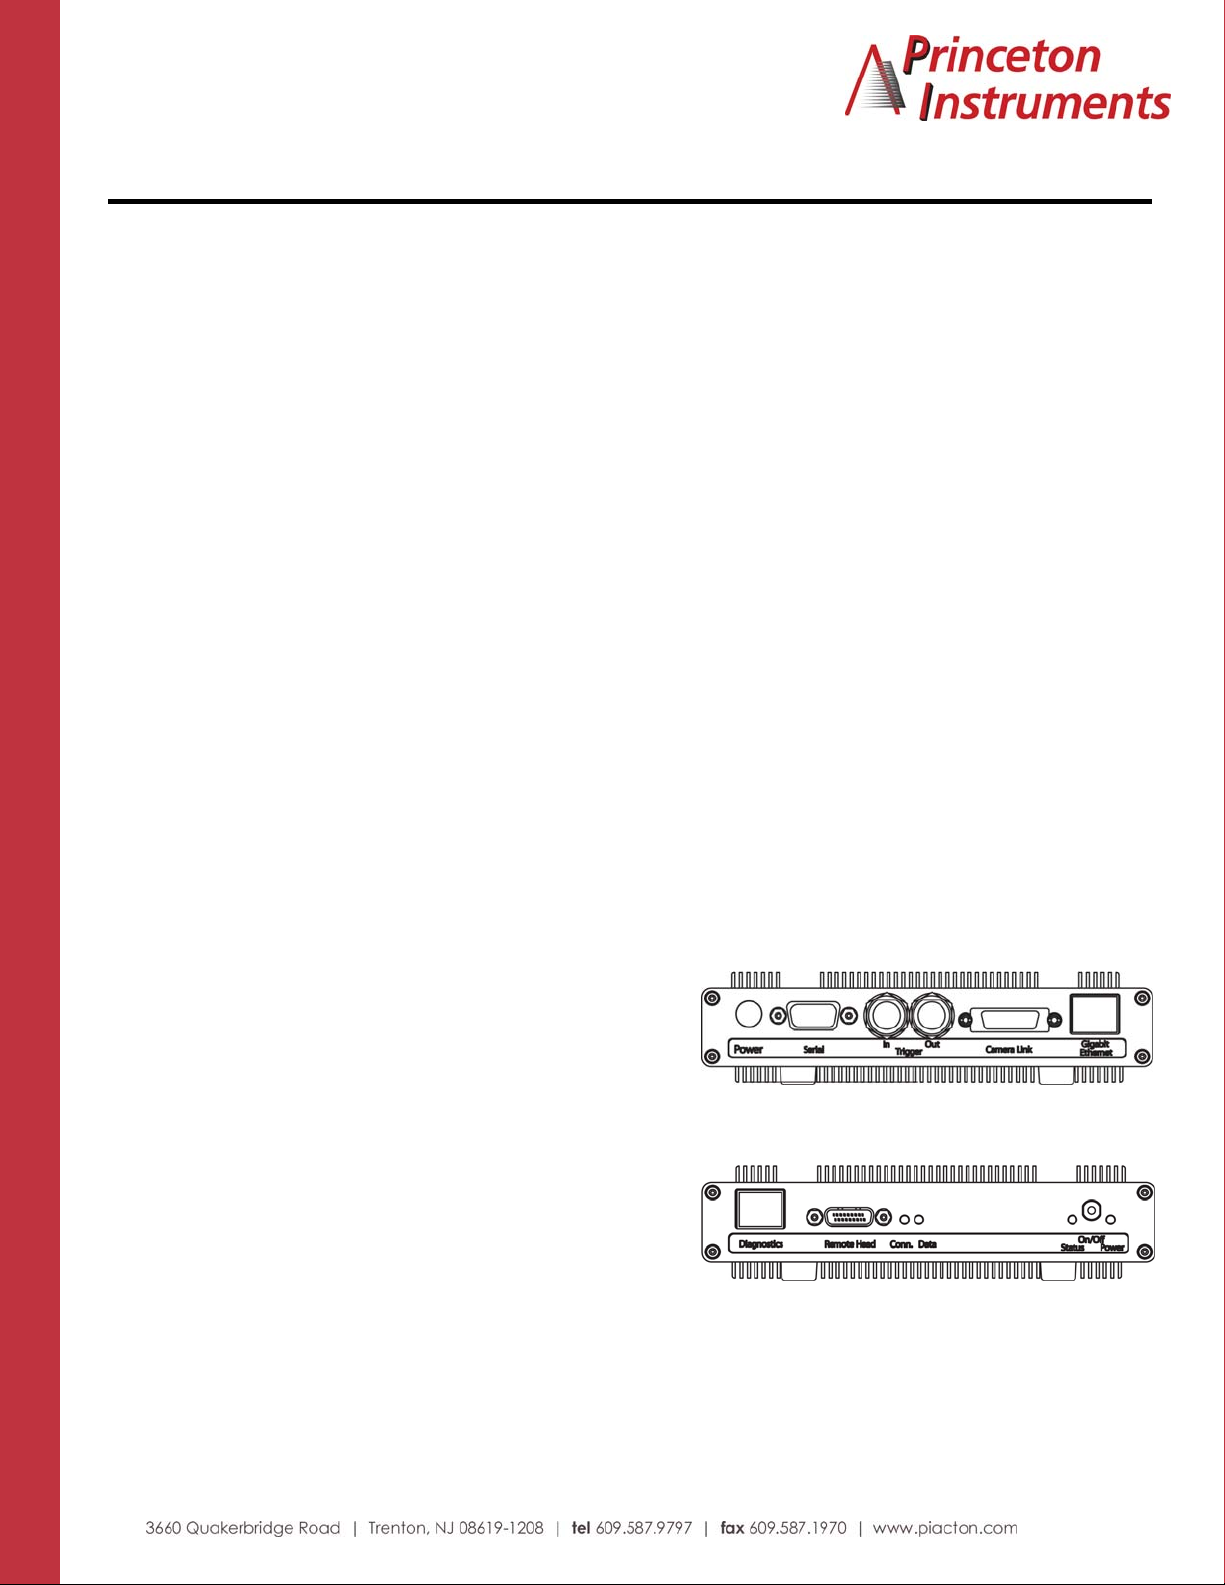
Camera Controller front panel
Camera Controller back panel
Continued on page 2
Page 2

4411-0118 Rev. A Quick Start Guide—Single Head Controller Page 2
Starting the Application
...SEE the Future
Double-click the MegaPlus Central icon to start the program
or, from the Windows Task bar select Start > All Programs >
MegaPlus Central. When MegaPlus Central starts, the software
checks for the presence of a camera or cameras on the
selected communication channel. MegaPlus Central has four
primary panels for system control:
• Console Control—Use this panel to access the
Camera Controller functions: trigger/strobe and
camera configuration.
• Camera Control Console—Displays the name,
resolution and type (mono or color) of the available
cameras.
• Camera Head Control—Use this panel to adjust gain,
integration time, white balance and interface
configuration. Accessed by clicking on the Settings
Button on the Camera Control Console.
• System Status Message—Displays error messages.
Console Control
Camera Control Console
System Status Message
 Loading...