

Prince Castle 296, 297 Service Manual
OPERATING
INSTRUCTIONS
INSTRUCTIONS
Slim-Line Horizontal
Contact Toaster
296 & 297 Series
TABLE OF CONTENTS PAGE
Installation.................................................................... 2
Operation ...................................................................... 2
Adjustments ................................................................. 2
Cleaning ....................................................................... 3
Parts List & Explode View ...................................... 4-6
Troubleshooting & Wiring Diagram ............................ 7
LIMITED WARRANTY
This product is warranted to be free from defects in
material and/or workmanship for a period of two (2) years
from date of original installation, not to exceed 30 months
from date of shipment from our factory. Any part or
component which proves to be faulty in material and/or
workmanship within the warranty period will be replaced
or repaired (at the option of Prince Castle, Inc.) without
cost to the customer for parts or labor
This warranty is subject to the following exceptions/
conditions:
! Service must be performed by an authorized Prince
Castle Service Center.
! Any use of non-genuine Prince Castle spare parts
voids this warranty.
! On site service is covered for one year from date
of installation.
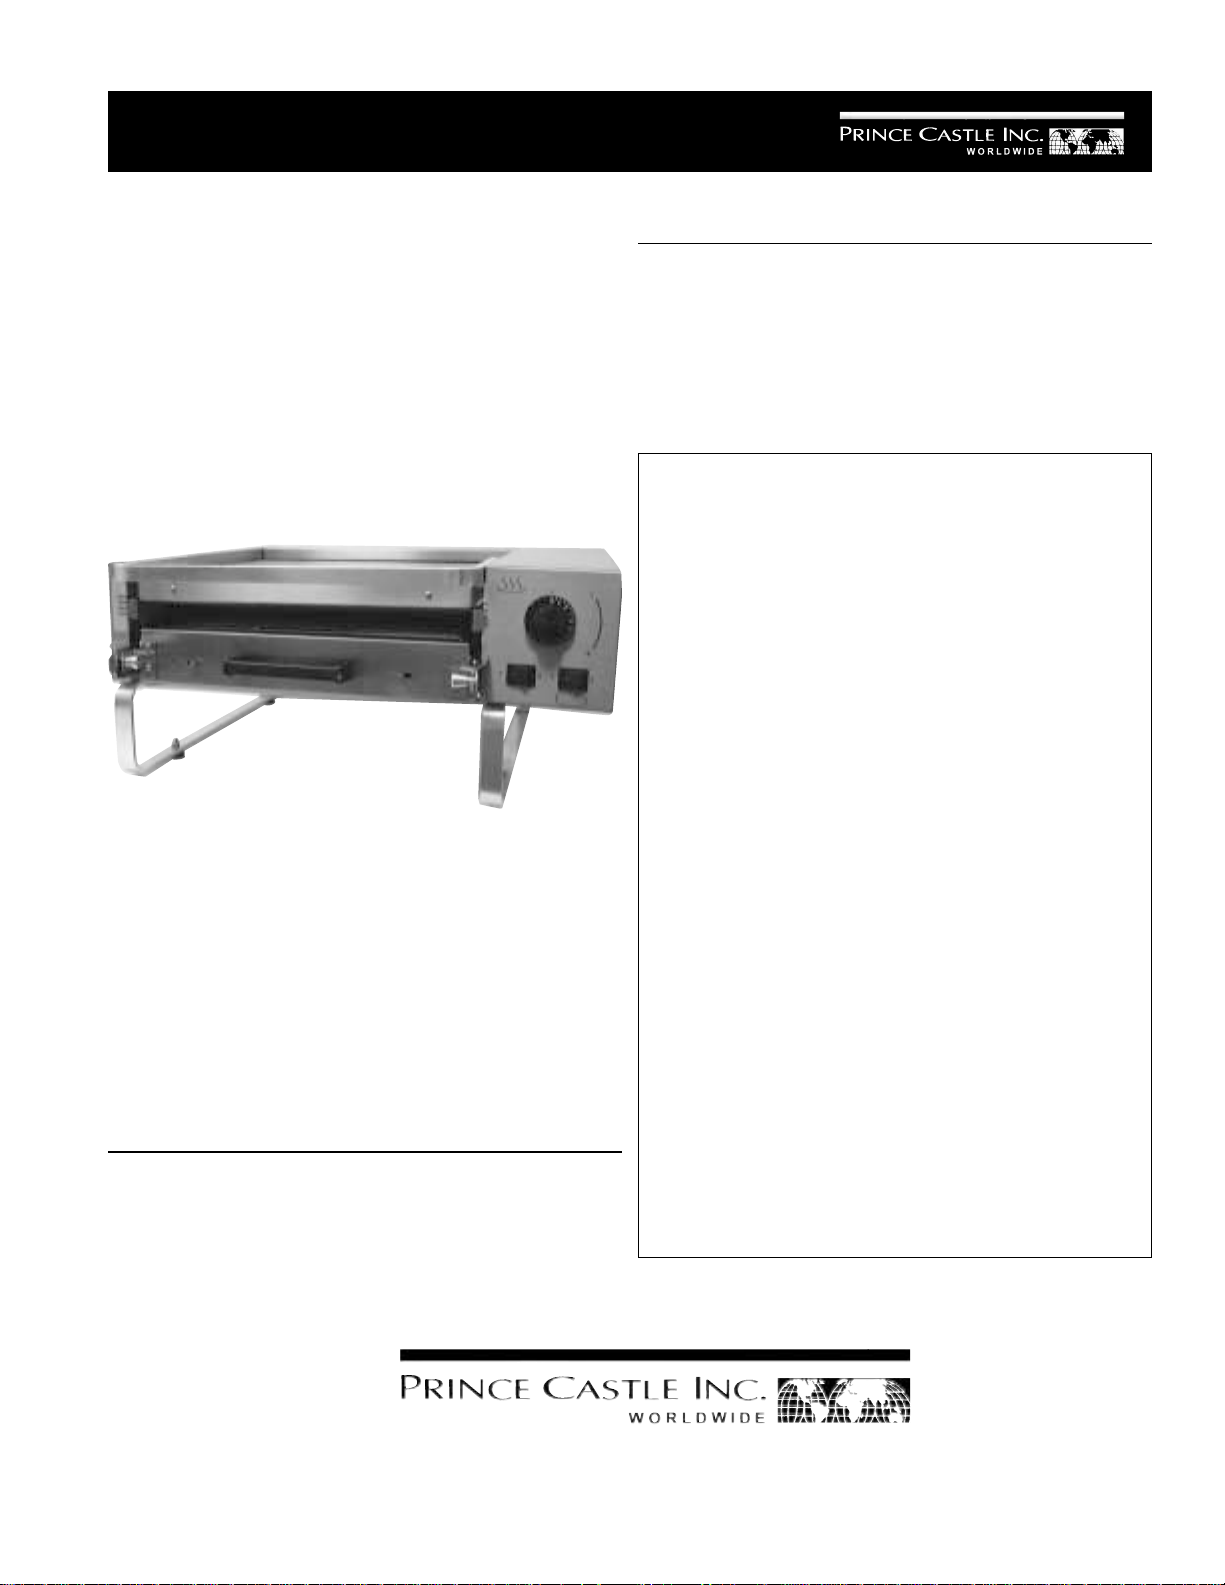
Prince Castle’s 296H Series Slim-Line Bun Toaster
provides perfect contact toasting. With adjustable bun
thickness controls and an adjustable thermostat, the
model 296H toasts up to 1400 buns per hour.
PRODUCT SPECIFICATIONS
Electrical:
Volts Hz Watts KW Amps
115 60 1500 1.5 12.5
220 50/60 1700 1.7 7.73
355 East Kehoe Blvd. ! Carol Stream, IL 60188
Printed in 1999
Prince Castle Inc.
Tel: (630) 462-8800
Toll Free: 1-800-PCASTLE
www.princecastle.com
! All labor shall be performed during regular working
hours. Overtime premium will not be covered.
! Damage caused by carelessness, neglect, and/or
abuse (e.g., using wrong current, dropping, tampering
with or altering electrical components, or improper
cleaning) is not covered by the terms of this warranty.
Equipment damaged in shipment, by fire, flood or an
act of God is not covered.
! Normal adjustments as outlined in this manual are not
covered under warranty.
! Fax: (630) 462-1460
296-500
INSTALLATION
1. After you have removed the toaster from the carton,
inspect the unit for signs of damage. If there is
damage to the unit:
! Notify carrier within 24 hours after delivery.
! Save carton and packing material for inspection
purposes.
! Contact your Prince Castle Dealer for replace
ment or the the Prince Castle Customer Sales
Department at 1-630-462-8800, if purchased
directly.
2. Verify that all parts have been received.
! Horizontal Toaster and conveyor assembly.
! Release Sheets–located in a 14” box.
! Return Chute
3. Place toaster on flat surface. Remove protective
coating.
4. Remove conveyor from guide rails, pulling the two
plungers and sliding the conveyor forward. Remove all
packing materials (nylon tape, foam block and black
rubber packaging spacers) from conveyor and conveyor guides.
5. Re-insert conveyor, making sure the plunger pins butt
up against the rear of the conveyor bracket cut outs.
Loosen the two screws on the plunger bracket if
bracket needs to be adjusted.
2. Place a sample run of product into the front of the
toasting chamber, the side to be toasted is facing up.
3. The toasted product should appear . Inspect for
quality and make any adjustments as necessary.
ADJUSTMENTS
Bun Compression:
The toaster platen can be adjusted to provide the necessary compression needed on various products.
! Turn the two platen adjustment knobs on the bottom
of the toaster clockwise to compensate for use on
thicker bread products. Turn the two platen adjustment knobs counter clockwise for thinner products.
The compression indicators on the front will show “1”
for the thinnest products, “4” for the thickest.
Platen Temperature:
The temperature of the platen can be adjusted to compensate for darker or lighter toasting requirements.
! Turn the thermostat adjustment knob clockwise for
darker toasting. Turn the thermostat adjustment knob
counter clockwise for lighter toasting. See figure 6.
IMPORTANT: Allow 15 minutes for toaster to stabilize
after adjusting the thermostat.
Conveyor and Motor Gears:
Plunger Pin
Conveyor Guide
6. Feed the Teflon sheet through the toasting chamber,
leaving enough sheet to fold over the top. Snap Teflon
sheet holder into position.
7. Install return chute by placing the tabs into the slots
at the rear of the toaster.
8. Plug unit into a grounded receptacle.
The correct motor and conveyor gear ratio will be set
at the factory. Adjustments may be necessary due to
shipment shocks or when replacing either gear or the
motor. To adjust, place toaster on its back, loosen
both set screws at the rear of the conveyor guides
until they do not touch the conveyor slides. Retighten
the left side screw until it touches the conveyor slide.
Retighten the right side screw until it touches the
conveyor slide then tighten an additonal 1/3 turn. Put
locktite in the set screws to hold them in place.
CLEANING
CAUTION: This is not jet-water approved, and
should not be cleaned with a water hose or
jet spray.
CAUTION: Do not immerse in water.
Daily: Teflon sheets, conveyor chain and housing
Monthy:Platen
1. Turn off both the heater and motor switches and
unplug the toaster.
2. Allow platen to cool for 60 minutes before cleaning.
OPERATION
1. Turn the heater switch to the “on” position, the orange
indicator light will illuminate. Allow 30 minutes for the
platen to reach operating temperature.
3. Remove the conveyor assembly bu pulling plungers
inward and pulling conveyor out.
2

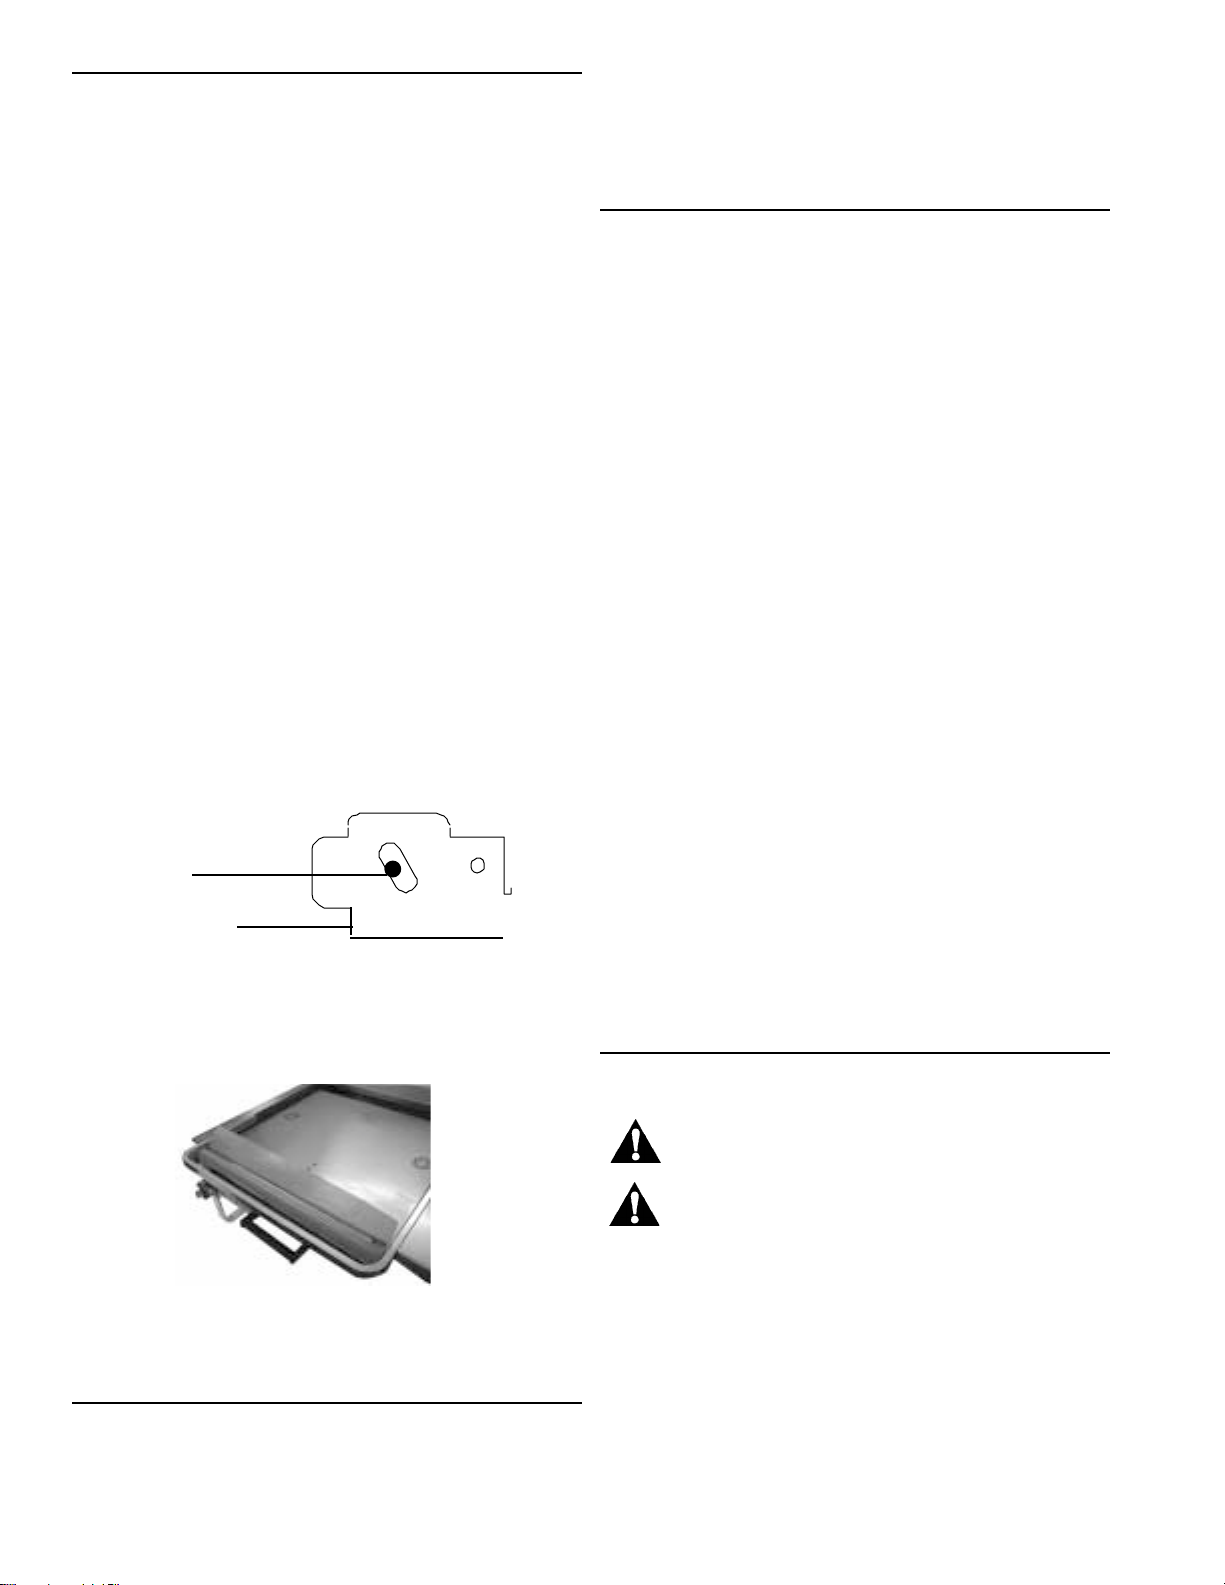
4. Lay the conveyor on a flat surface with the chain
facing up. Rorate chain until open link is showing. Pull
up on the chain until the locking pins can be engaged.
Push in both locking pins. This will allow the chain to
be removed at the open link.
Locking pins
5. Wipe the conveyor with a damp cloth. For the chain,
use a soft bristle brush and soap water.
6.. Remove the release sheet and lay it on a flat surface.
Thoroughly clean both sides with a damp cloth
making sure all carbon build up is removed. Allow to
air dry.
PREVENTIVE MAINTENANCE
(MOTOR)
To extend the life of your motor,have a factory
authorized service technician add 2-3 drops of 3 in 1
oil on a monthly basis.
Oil
Hole
IMPORTANT: Rotate two sheets daily for longer life.
Sheets last 4-6 months based on care and volume of
product toasted.
7. Use a damp cloth to remove any carbon build up on
the platen surface.
IMPORTANT: Do not use sharp objects, scotch brite
pads, scouring pads, or abrasive cleaners on the platen, or
teflon release sheets as it will cause irreparable damage.
3
 Loading...