

Prince Castle 197-FCE Installation Manual
OPERATING
INSTRUCTIONS
INSTRUCTIONS
Slim-Line Vertical
Bun Toaster
Model No. 197-FCE, 297FGB, 297-FCE & 297-FGB
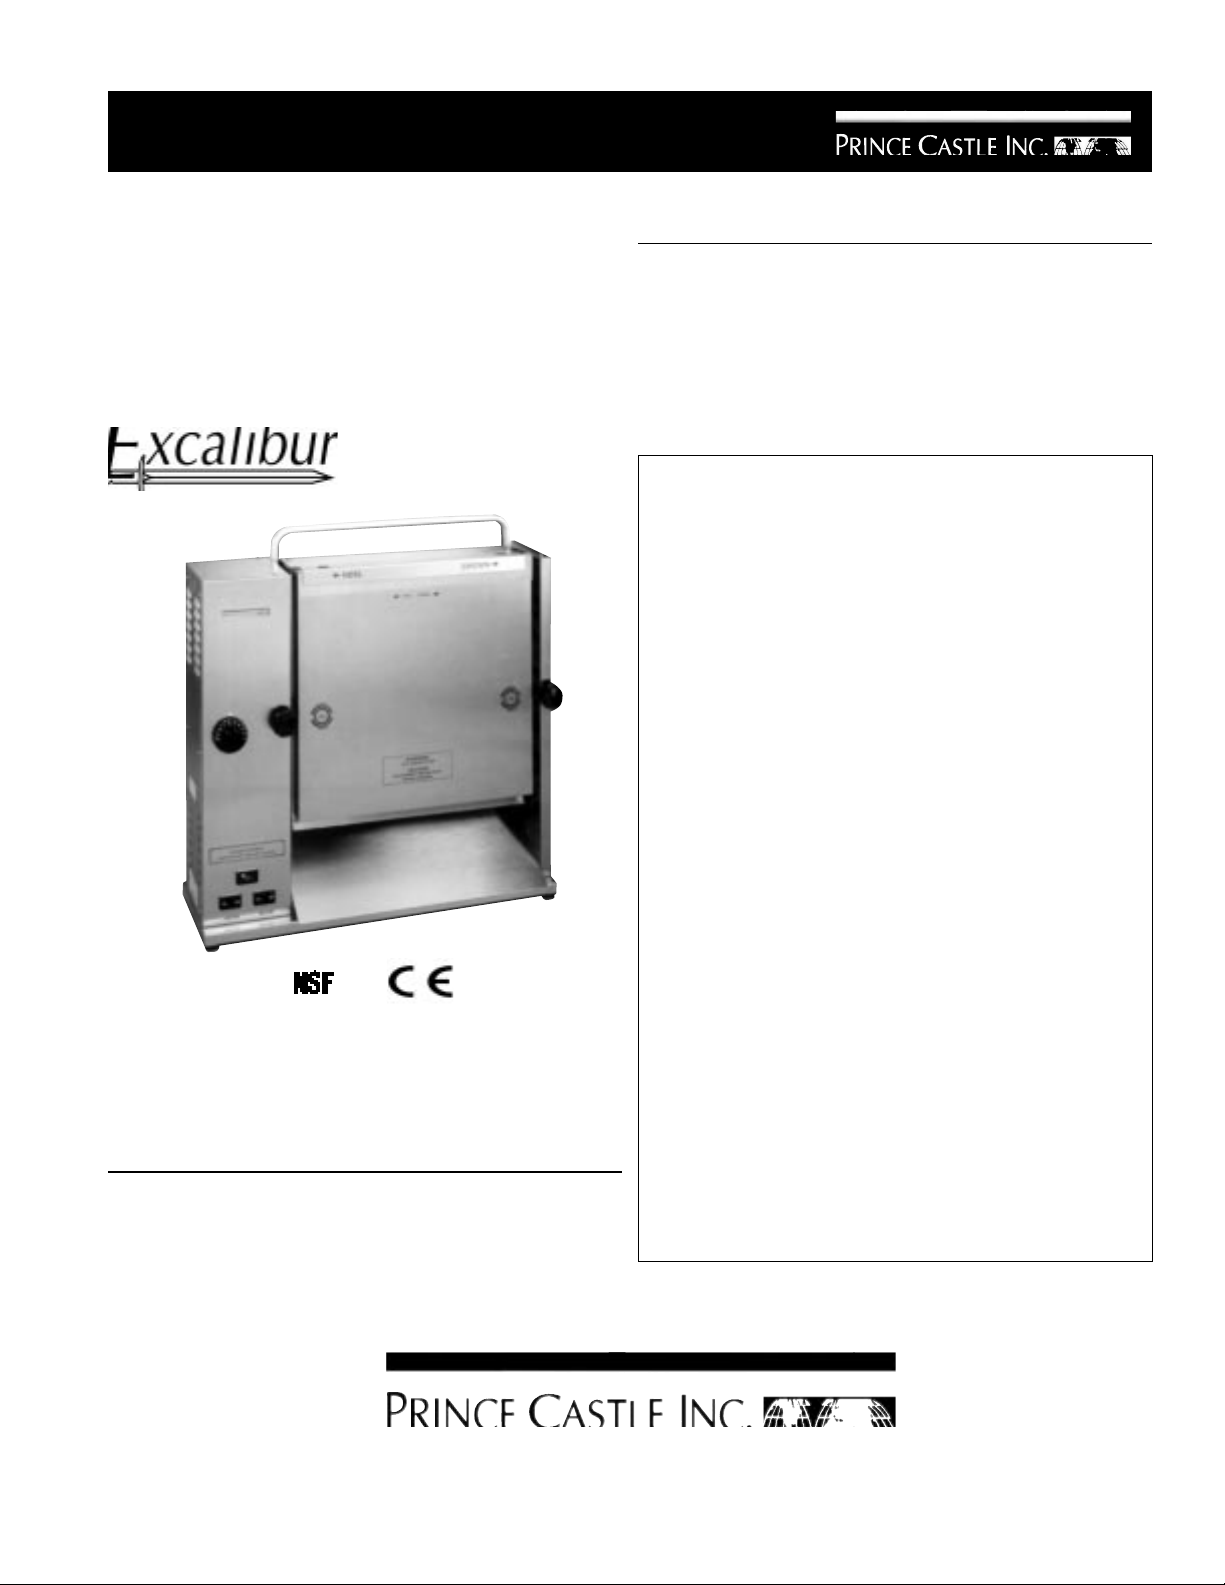
Prince Castle’s 197/297 Series Slim-Line Bun Toaster
provides perfect contact toasting. With adjustable bun
thickness controls and an adjustable thermostat, the
model 197 toasts up to 720 buns per hour and the
model 297 toasts up to 1400 buns per hour.
PRODUCT SPECIFICATIONS
Electrical:
TABLE OF CONTENTS PAGE
Installation.................................................................... 2
Operation...................................................................... 2
Adjustments and Cleaning ...................................... 3-4
Translations (French, German, Spanish, Italian) ....... 5-12
Troubleshooting ......................................................... 13
Parts List............................................................... 13-16
Wiring Diagram .......................................................... 16
LIMITED WARRANTY
This product is warranted to be free from defects in
material and/or workmanship for a period of two (2) years
from date of original installation, not to exceed 30 months
from date of shipment from our factory. Any part or
component which proves to be faulty in material and/or
workmanship within the warranty period will be replaced
or repaired (at the option of Prince Castle, Inc.) without
cost to the customer for parts or labor
This warranty is subject to the following exceptions/
conditions:
l Service must be performed by an authorized Prince
Castle Service Center.
l Any use of non-genuine Prince Castle spare parts
voids this warranty.
l This equipment is portable. Charges for on location
service (e.g. trip charges, milage) are only included
in the provisions of this warranty for a failure which
occurs within 30 days of installation.
l All labor shall be performed during regular working
hours. Overtime premium will not be covered.
l Damage caused by carelessness, neglect, and/or
abuse (e.g., using wrong current, dropping, tampering
with or altering electrical components, or improper
cleaning) is not covered by the terms of this warranty.
Equipment damaged in shipment, by fire, flood or an
act of God is not covered.
l Normal adjustments as outlined in this manual are not
covered under warranty.
Volts Hz Watts KW Amps
230 50 1700 1.7 6.5
355 East Kehoe Blvd. l Carol Stream, IL 60188
Printed in 2001
Prince Castle Inc.
Tel: (630) 462-8800 l Fax: (630) 462-1460
Toll Free: 1-800-PCASTLE
197-529
INSTALLATION
OPERATION
1. After you have removed the toaster from the carton,
inspect the unit for signs of damage. If there is
damage to the unit:
l Notify carrier within 24 hours after delivery.
l Save carton and packing material for inspection
purposes.
l Contact the Prince Castle Customer Sales
Department at 1-800-722-7853 to arrange for a
replacement to be sent.
2. Verify that all parts have been received.
l Slim-Line Bun Toaster and conveyor assembly.
l Line Cord–packed separately from the toaster
and is located at the bottom of the box.
l Release Sheets–located in a 14” box.
l Crumb Tray–taped to the front of the conveyor.
3. Place toaster on flat surface.
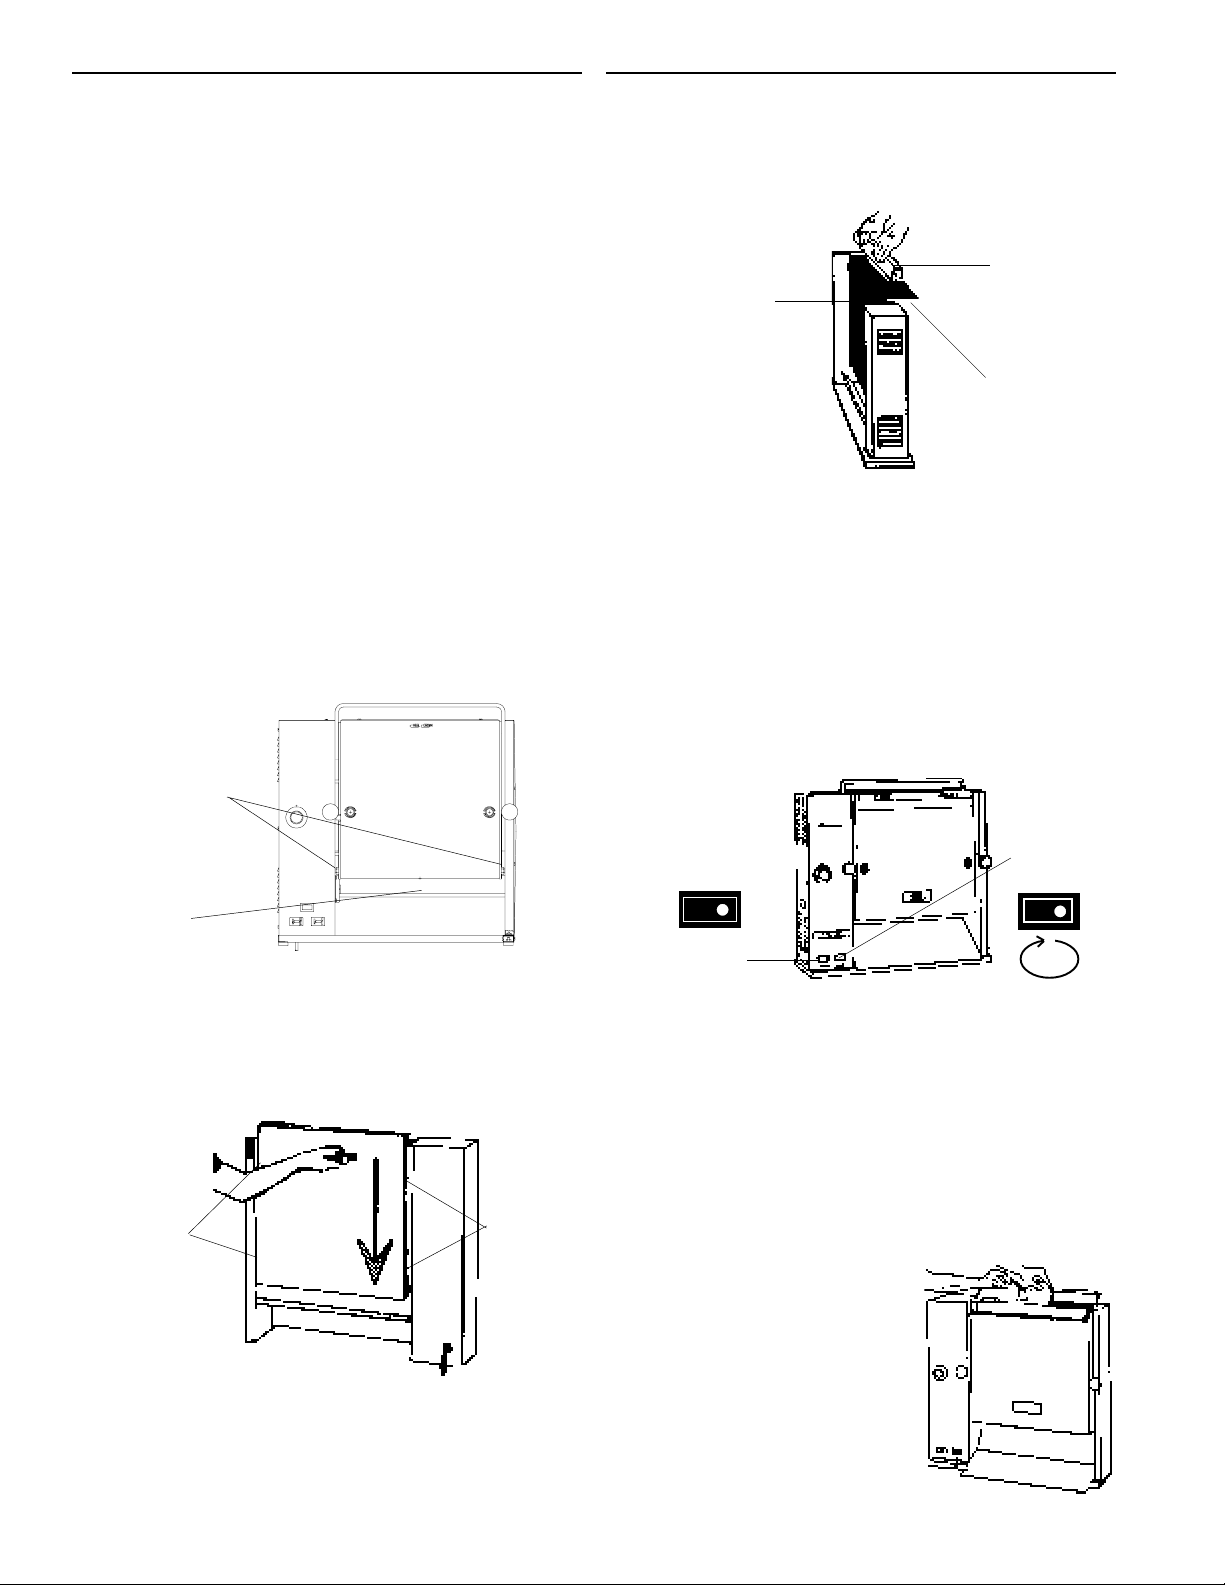
4. Lift conveyor off conveyor guide rails and set aside.
Remove all packing materials (nylon tape, foam block
and black rubber packaging spacers) from conveyor
and conveyor guides. See figure 1.
figure 1
1. Place the release sheet over the top of the platen
housing, making sure to have three inches of overhang. See figure 3.
figure 3
Release
Sheet
Holding
Bracket
3-inch
Overhang
2. Slide the release sheet holding bracket onto the top of
the platen housing to securely hold the release sheet
in place. Match the FRONT of the labeled bracket with
the front of the platen. See figure 3.
3. Hook back end of crumb tray onto the bar located
below the conveyor assembly.
4. Attach conveyor to the toaster. See figure 2.
5. Turn the heater switch to the “On” position. The
orange indicator light will illuminate. Allow 30 minutes
for platen to reach operating temperature. See figure 4.
Conveyor
Guides
Crumb
Tray
5. Attach conveyor to the toaster by sliding the four pins
(conveyor slides) on the conveyor housing into the
four conveyor guides. Lower the conveyor housing
until it is securely in place. See figure 2.
figure 2
Conveyor
Guides
Conveyor
Guides
6. Connect line cord and plug unit into a 230 volt
grounded receptacle.
figure 4
Motor
Switch
1
0
Heater
Switch
1
0
6. Turn the motor switch to the “On” position. The
orange indicator light will illuminate. See figure 4.
Conveyor chain will begin to rotate.
IMPORTANT: To conserve energy when toaster is not in
use, turn the motor switch “Off”.
7. Place a sample run of the product being toasted into
the top of the conveyor housing. The side to be
toasted should face the
platen. See figure 5.
figure 5
8. The toasted product
will be dispensed
Heel
Crown
automatically from the
bottom of the conveyor
assembly. The
toasting cycle is
30-35 seconds on
model 197 and 15-18
seconds on model 297.
2
ADJUSTMENTS
Bun Compression:
The toaster platen can be adjusted to provide the necessary compression needed on various products.
figure 9
End
Housing
T op of the
#10-32 Set Screw
Both Sides
l Turn the two platen adjustment knobs clockwise to
compensate for use on thicker bread products. Turn
the two platen adjustment knobs counter clockwise
for thinner products. See figure 6.
figure 6
Platen
Adjustment
Knobs
Thermostat
Knob
Platen Temperature:
The temperature of the platen can be adjusted to compensate for darker or lighter toasting requirements.
l Turn the thermostat adjustment knob clockwise for
darker toasting. Turn the thermostat adjustment knob
counter clockwise for lighter toasting. See figure 6.
IMPORTANT: Allow 15 minutes for toaster to stabilize
after adjusting the thermostat.
3/32 Hex
Head Key
CLEANING
CAUTION: This is not jet-water approved, and
should not be cleaned with a water hose or
jet spray.
CAUTION: Do not immerse in water.
1. Turn off both the heater and motor switches and
unplug the toaster.
2. Allow platen to cool for 60 minutes before cleaning.
Factory Thermostat Settings:
The 197 Series Toaster thermostat is set at # 7.
The 297 Series Toaster thermostat is set at # 9.
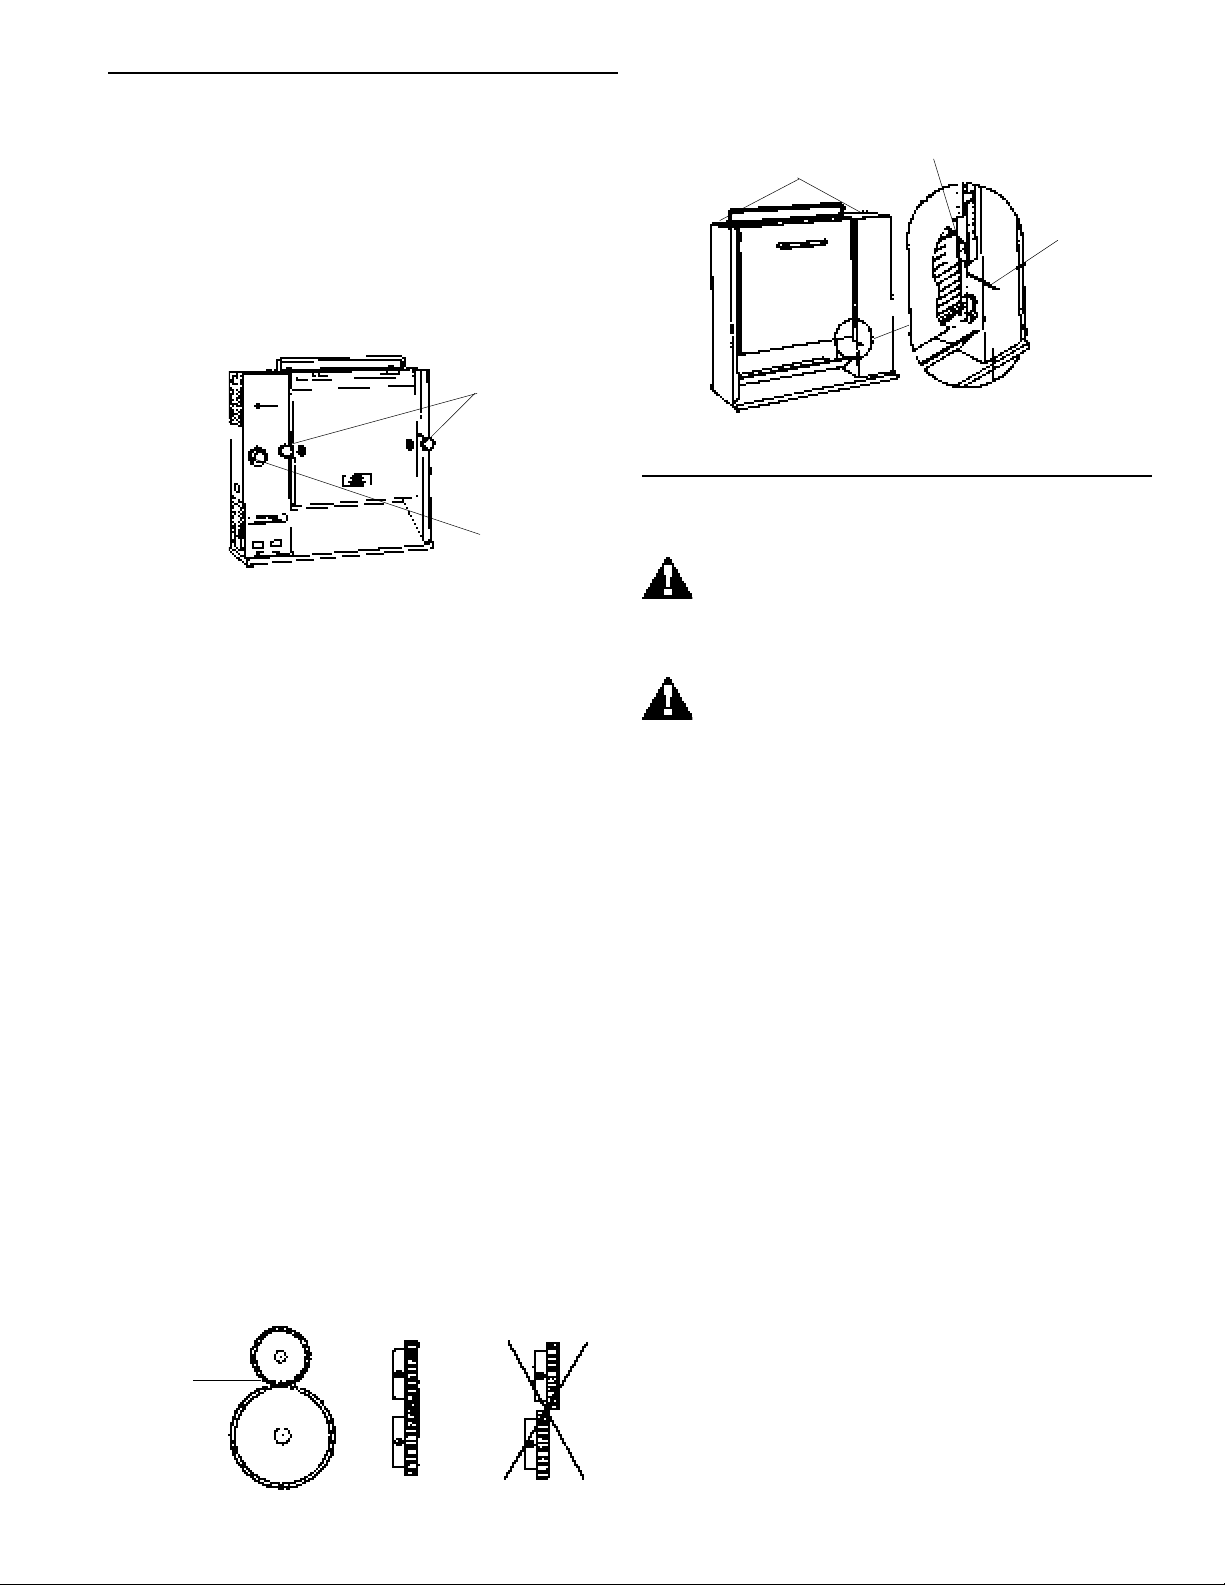
Conveyor and Motor Gears:
The top of the conveyor housing must be even with the
tops of the end housings. There must be a 1/64” clearance between the conveyor and motor gear when aligned
properly.
l To raise the conveyor housing, turn adjustment
screws clockwise using a 3/32 Allen wrench. The
adjustment screws are located on the bottom of both
sides of the conveyor guide. To lower conveyor
housing, turn adjustment screws counter clockwise.
See figures 7 and 8.
figure 7
1/64”
Clearance
Gears
Properly
Mesh
3. Remove the conveyor assembly.
4. Wipe the conveyor with a damp cloth. For the chain
use a soft bristle brush.
5. Remove the release sheet and lay it on a flat surface.
Thoroughly clean both sides with a damp cloth
making sure all carbon build up is removed. Allow to
air dry.
IMPORTANT: Rotate two sheets daily for longer life.
Sheets last 4-6 months based on care and volume of
product toasted.
6. Use a damp cloth to remove any carbon build up on
the platen surface.
IMPORTANT: Do not use sharp objects, scotch brite
pads, scouring pads, or abrasive cleaners on the platen,
or teflon release sheets as it will cause irreparable
damage.
3
 Loading...