

Prince Castle 164-A Parts List
OPERATING
INSTRUCTIONS
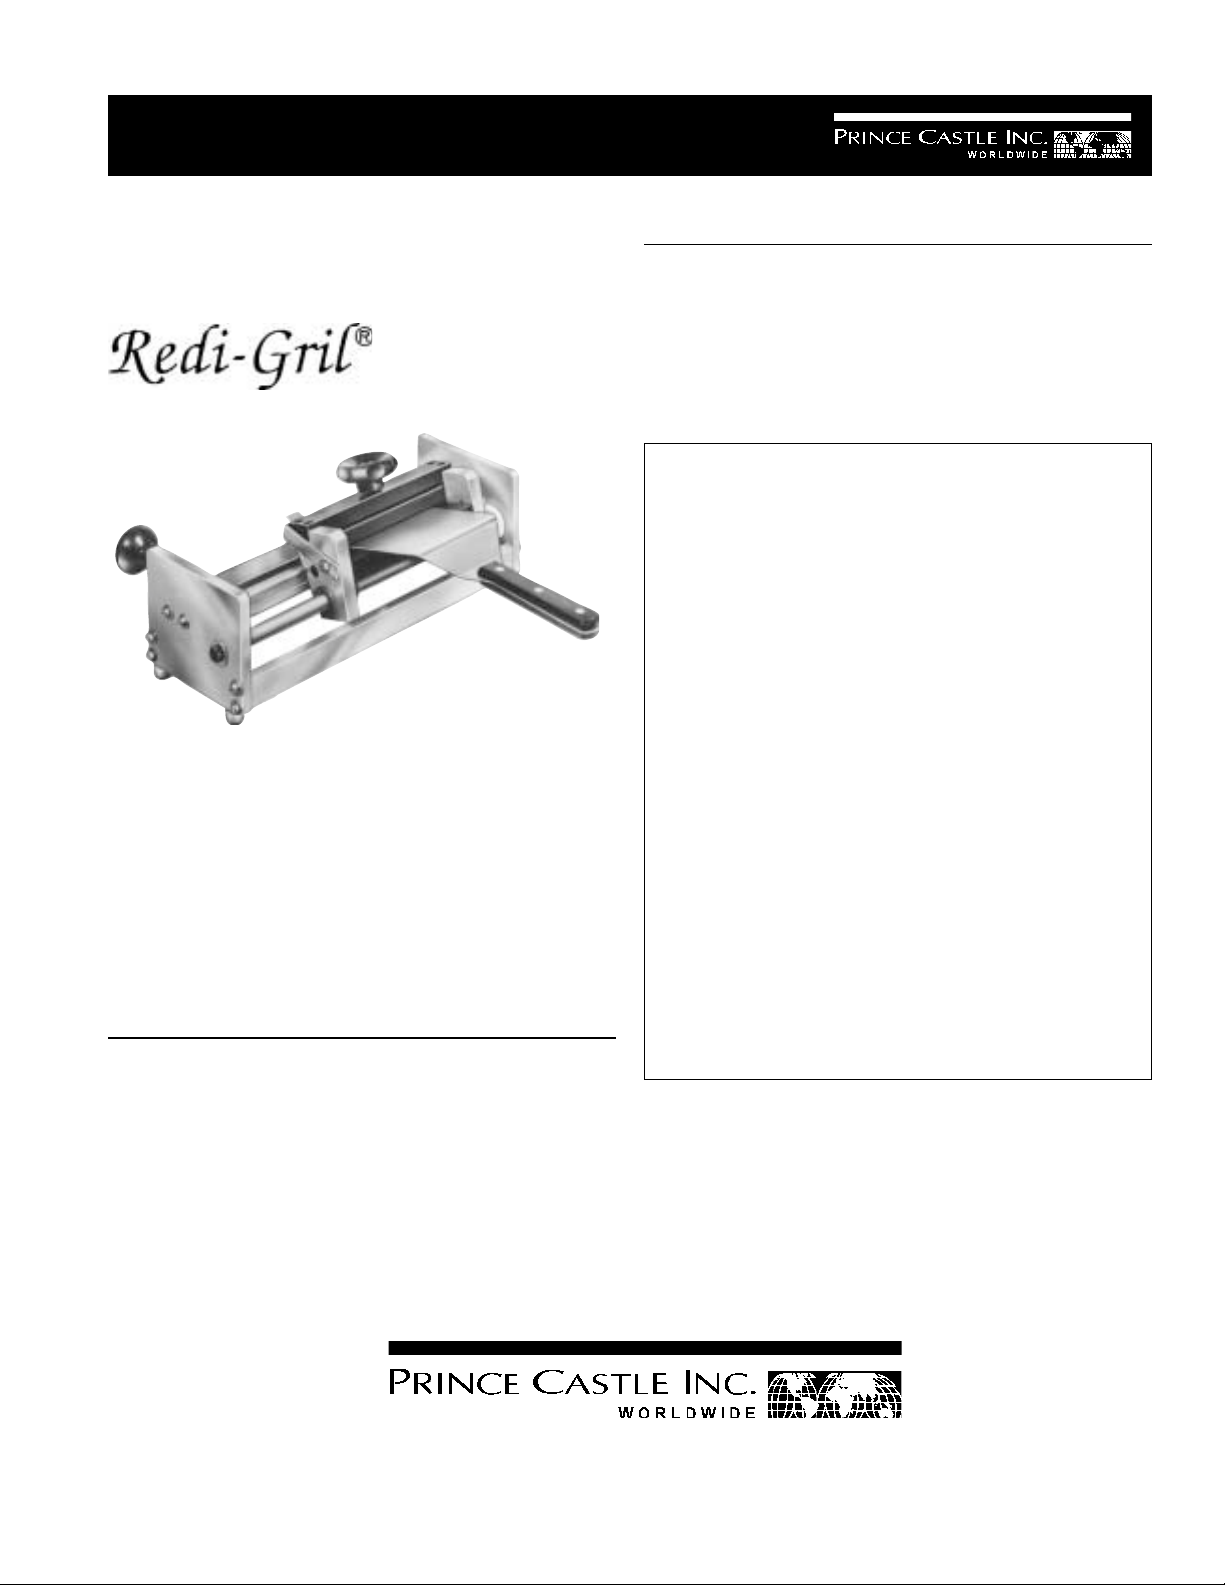
Manual Grill Tool Sharpener
Model No. 164-A
The Prince Castle manual grill tool sharpener gives a
quick sharpened straight edge to scrapers and
spatulas. Sharp spatulas pick up grilled meat
cleanly without tearing the seared surface. Natural
juices are kept in food for more flavor, and a more
appetizing appearance. With precision edges
cleanup is quick and easy without scratching. Plus,
compact size of the manual grill tool sharpener
saves valuable counter space.
SPECIFICATION
TABLE OF CONTENTS PAGE
Installation..................................................................... 2
Operating ....................................................................... 2
Parts List ....................................................................... 3
Troubleshooting ............................................................ 4
Non-scheduled Maintenance ....................................... 4
LIMITED WARRANTY
This product is warranted to be free from defects in
material and/or workmanship for a period of one
year from date of original installation, not to exceed
18 months from date of shipment from our factory.
Any component which proves to be faulty in material
and/or workmanship will be replaced or repaired (at
the option of Prince Castle, Inc.) without cost to the
customer for parts or labor.
This warranty is subject to the following exceptions/
conditions:
l Use of any non-genuine Prince Castle parts
voids this warranty. All genuine Prince Castle
replacement spare parts are warranted for ninety
(90) days from date of purchase.
l Damage caused by carelessness, neglect, and/
or abuse (e.g., dropping, tampering or altering
parts), equipment damaged in shipment, by fire,
flood or an act of God is not covered under this
warranty.
l This unit is portable, charges for on location
service (i.e. trip charges, mileage) are not included in the provisions of the warranty.
164-A Dimensions
Length 17 (43.18 cm)
Width 8 (20.32 cm)
Height 7 (17.78 cm)
Shipping Weight 22lbs. (10 kg.)
355 East Kehoe Blvd. l Carol Stream, IL 60188
Printed in September 1997
Prince Castle Inc.
Tel: (630) 462-8800
Toll Free: 1-800-PCASTLE
l Fax: (630) 462-1460
164-504
INSTALLATION
figure 1) clockwise while holding carriage in the up
position.
1. After you have removed the sharpener from the
carton, inspect the unit for signs of damage. If there
is damage to the unit:
l Notify carrier within 24 hours after delivery.
l Save carton and packing materials for inspection
purposes.
l Contact the Prince Castle Customer Sales
Department at 1-800-722-7853 to arrange for
a replacement to be sent.
2. Verify that all parts have been received.
3. Clean spatulas and scraper blades with soap and
water. Dry thoroughly before sharpening.
4. Assemble knob (item A in figure 1) to back frame of
sharpener.
figure 1
A
C
D
11. Lift gauge bar (item D in figure 1) upward over
detent pin located on the side of the carriage. This
pin holds the gauge bar up.
12. Lower carriage assembly (item B in figure 1) with
tool to rest on the file.
13. While holding carriage knob (item C in figure 1) with
one hand and knob (item A in figure 1) with the
other, slide carriage back and forth on file, applying
moderate pressure. Continue until spatula has
good sharp edge.
14. Remove sharpened tool and burn from back side by
sliding along file.
15. Round corners by using a curve motion against the
edge of the file. Use the bar as a guide.
16. Wash tool, sanitize and dry.
CAUTION: Handle tool carefully to avoid
getting cut.
B
E
IMPORTANT: The knob can be assembled to either
side of back frame depending if operator is left or right
handed.
OPERATION
5. Turn carriage knob (item C in figure 1) counterclockwise to open jaws.
6. Lift carriage assembly (item B in figure 1) by large
knob (item C in figure 1) upward until it stops. Hold
in this position.
8. Press gauge stop bar (item D in figure 1) tab
downward until it makes contact with stop pin (item
E in figure 1).
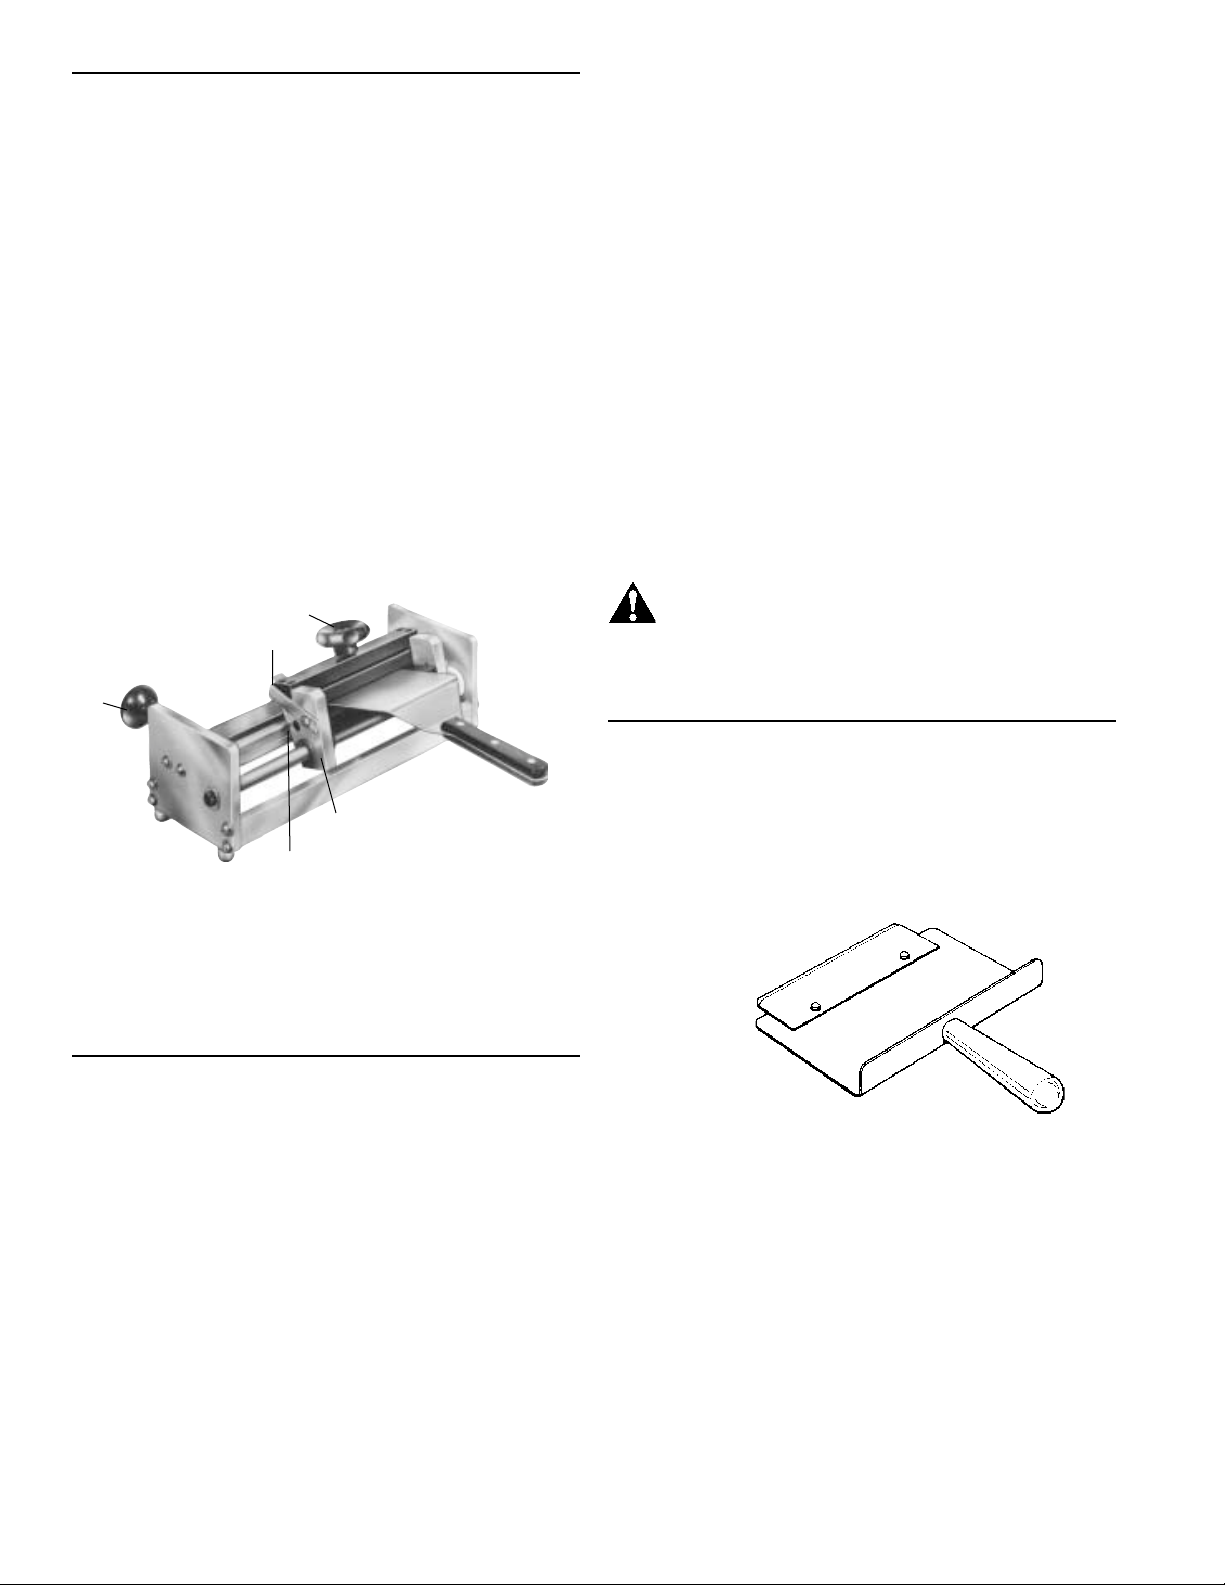
TO SHARPEN REDI-GRIL BLADES
1. Place blade in special holder over pins with beveled
side up. See figure 2.
figure 2
2. Hold blade with fingers and turn holder over.
3. Insert tool in carriage assembly against gauge
stop.
4. Repeat steps three through 13 under operation.
9. Insert meat spatula or grill scraper blade squarely
against gauge stop bar (item D in figure 1).
IMPORTANT: Center spatula in carriage.
10. Tighten jaws by turning carriage knob (item C in
2
 Loading...