

Page 1
OPERATING
INSTRUCTIONS
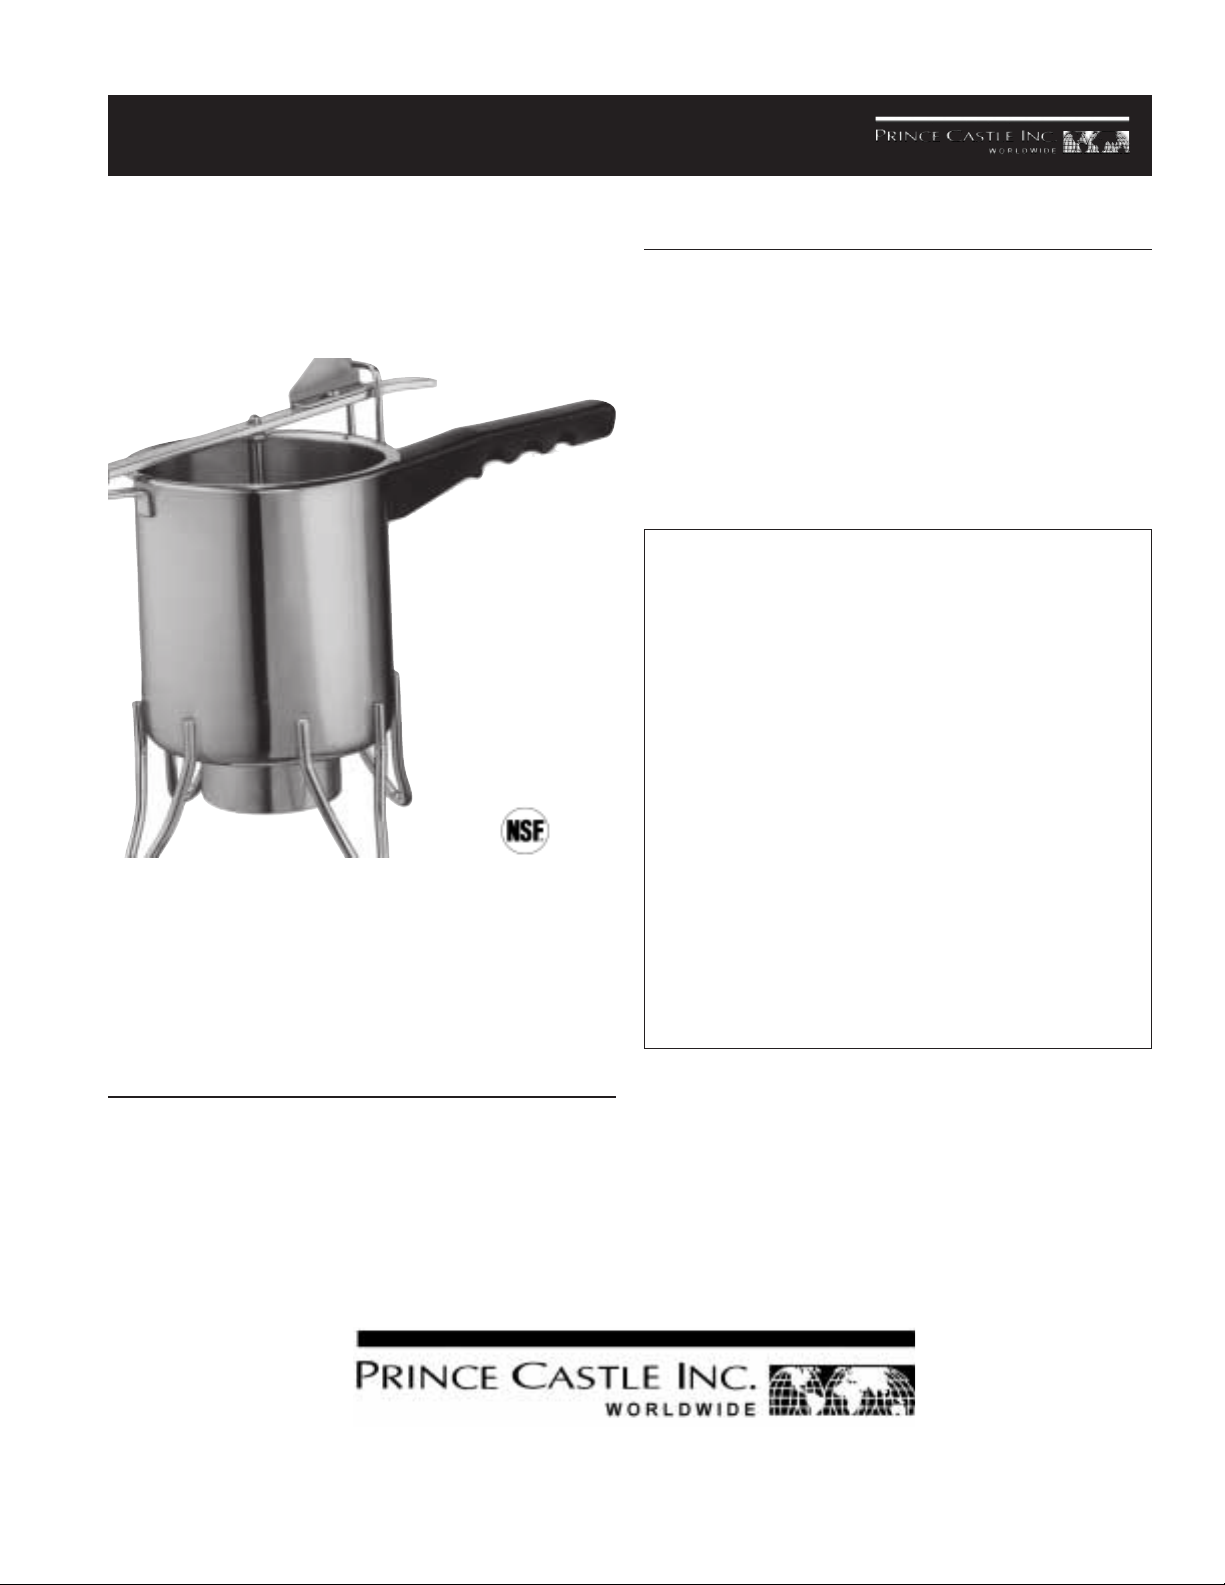
Pancake Batter Dispenser
Model No. 149
TABLE OF CONTENTS PAGE
Installation..................................................................... 2
Operating ....................................................................... 3
Calibration ..................................................................... 2
Cleaning ........................................................................ 3
Maintenance ................................................................. 3
Troubleshooting ............................................................ 4
Parts List....................................................................... 4
LIMITED WARRANTY
This product is warranted to be free from defects in
material and/or workmanship for a period of 12
months from date of original installation.
Any component which proves to be faulty in material
and/or workmanship will be replaced or repaired (at
the option of Prince Castle, Inc.) without cost to the
customer for parts or labor.
This warranty is subject to the following exceptions/
conditions:
The Prince Castle Pancake Batter Dispenser allows you
to prepare pancakes to your specifications. Choose
either a 3, 4, 5 or 6-inch diameter by simply adjusting a
screw or rotating the slide block. Every pancake you
make will be uniform in size and appealing to your
customers. The model 149 helps you save money by
maximizing your production and minimizing waste.
SPECIFICATION
Dimensions
Capacity 48 oz. (1.36 kg)
Height 10-1/2 (26.67 cm)
Diameter 5-1/2 (13.97 cm)
Handle 6 (15.24 cm)
Shipping Weight 6lbs. (2.72 kg.)
l This equipment is portable; charges for on-loca-
tion service (e.g., trip charges, mileage) are not
included in provisions of this warranty.
l Damage caused by carelessness, neglect, and/
or abuse (e.g., dropping, tampering or altering
parts), equipment damaged in shipment, by fire,
flood or an act of God is not covered under this
warranty.
Printed in 1999
Prince Castle Inc.
355 East Kehoe Blvd. l Carol Stream, IL 60188
Tel: (630) 462-8800
Toll Free: 1-800-PCASTLE
l Fax: (630) 462-1460
149-502
Page 2
INSTALLATION
1. After you have removed the dispenser from the
carton, inspect the unit for signs of damage. If there
is damage to the unit:
l Notify carrier within 24 hours after delivery.
l Save carton and packing materials for inspection
purposes.
l Contact the Prince Castle Customer Sales
Department at 1-800-722-7853 to arrange for
a replacement to be sent.
2. Verify that all parts have been received.
3. Wash and sanitize all parts before using.
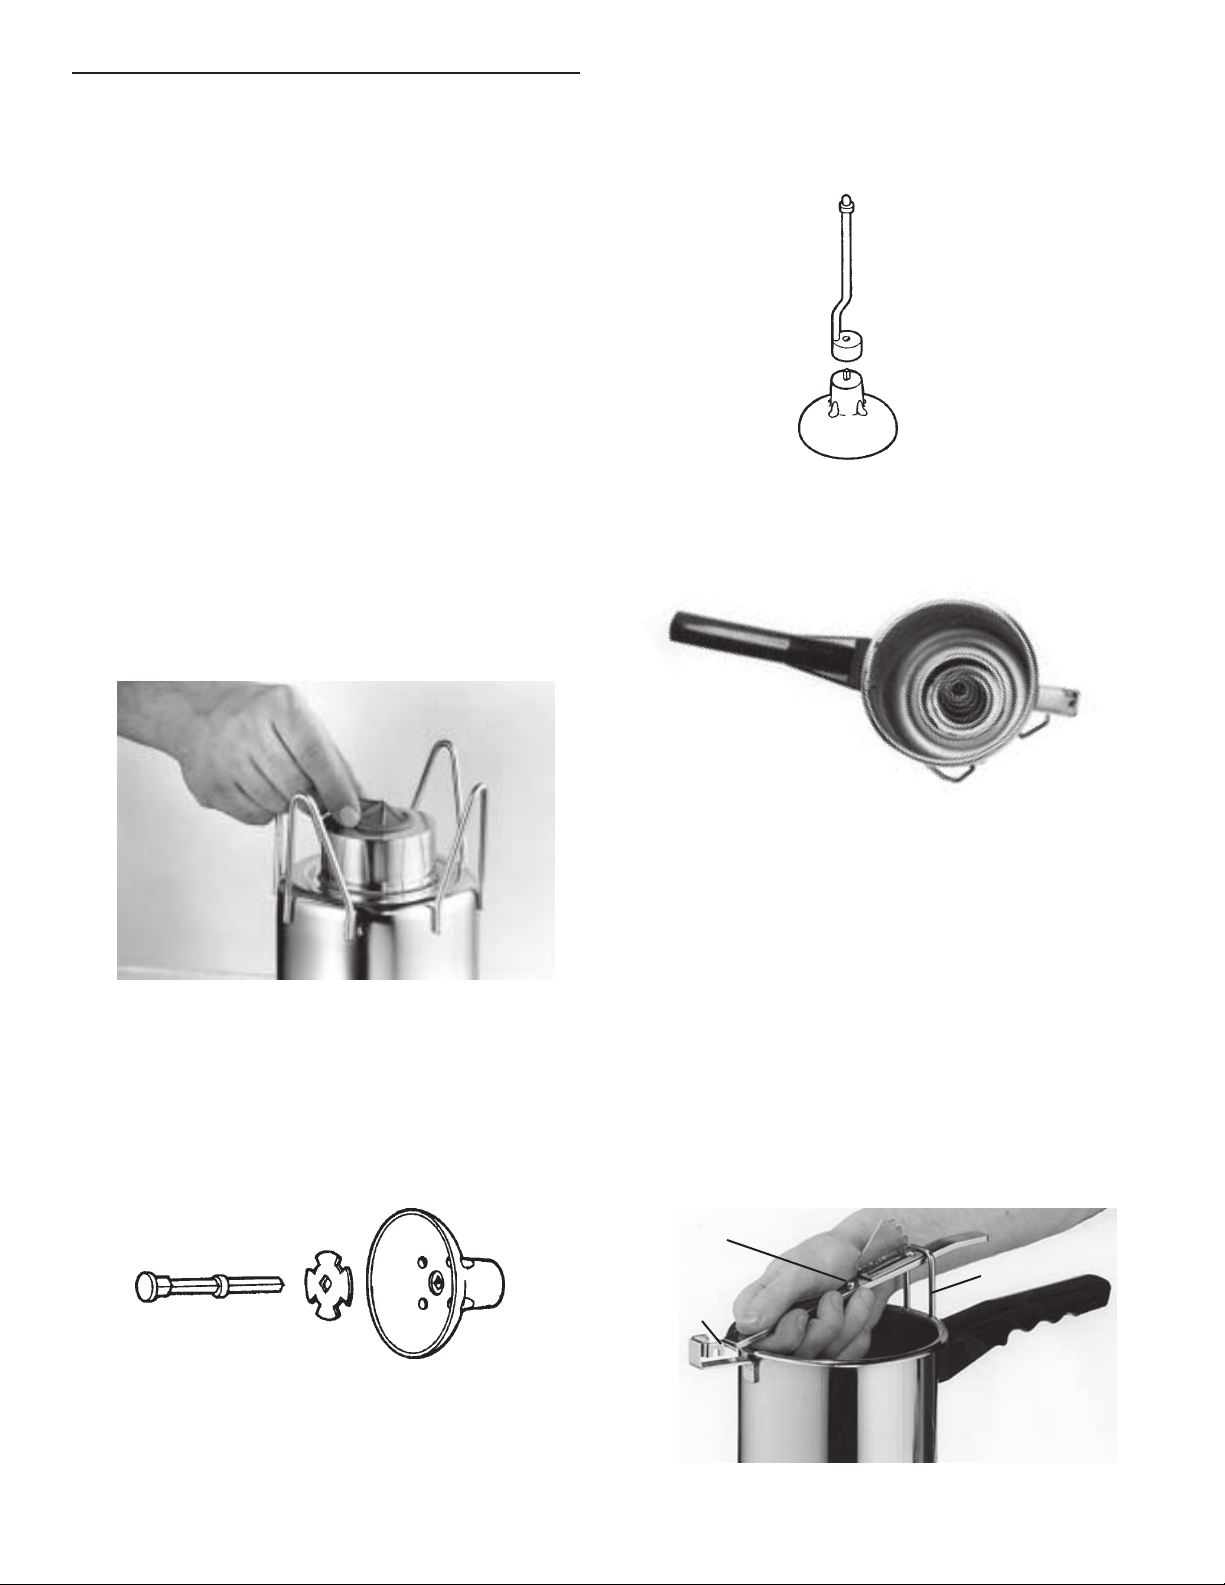
6. Assemble plunger rod to plunger by inserting tip of
retainer into hole at bottom of plunger rod. See
figure 3.
figure 3
4. To install diffuser, bend it between thumb and
forefinger so it is bent into an oval shape over the
middle finger. Work the crease in the diffuser
around the metal rim of the opening located in the
bottom of the container. See figure 1.
figure 1
IMPORTANT: The diffuser should extend downward
when viewed from operating position.
5. Assemble flapper valve to the plunger using flapper
valve retainer. See figure 2.
7. Place spring into cylinder with the narrow end
facing up. See figure 4.
figure 4
8. Place plunger rod and plunger on top of the spring.
IMPORTANT: Be sure plastic flapper valve retainer is
in center of spring hole.
IMPORTANT: Stop bracket must be in complete
forward position to assemble.
9. Assemble the activating lever through the lever stop
(Item A). Guide the plunger rod into center hole
(Item B). Push down against the springing action
of the plunger, then guide the ends of the lever into
the slots (Item C) at the rim of the container.
See figure 5.
figure 2
RETAINER
FLAPPER
VALVE
PLUNGER
IMPORTANT: Press flapper valve retainer into plunger
as far as it will go to insure a tight fit between flapper
valve and the plunger. Flapper valve should cover holes
in plunger.
figure 5
B
A
C
2
Page 3

OPERATION
Use setting #1 for 3 inch silver dollar pancakes
Use setting #2 for 4 inch pancakes.
1. Fill dispenser to approximately 1-1/2 in. from the top.
2. The dispenser must be primed before each days use.
Hold dispenser over a bowl. Press actuating lever at
least two times to fill lower chamber with batter.
3. Gently place dispenser on grill using dispenser legs
as a positioning guide. Depress actuating lever with
a smooth, even pressure. Depressing actuating lever
too quickly will create uneven portions. See figure 6.
figure 6
4. Lift dispenser from grill and repeat Step 3 for next
pancake. Do not slide dispenser on grill surface.
CAUTION: Do not leave dispenser on grill
when not in use. Heat from grill will dry out
the batter and cause the dispenser to clog.
Use setting #3 for 5 inch pancakes.
Move adjustment block completely forward beyond
#3 for 6 inch pancakes. See figure 8.
figure 8
If a pancake size not mentioned here is desired,
reverse the stop bracket and use the angled side to
fine tune the amount dispensed.
CLEANING
To clean dispenser, remove batter from container, fill
with warm water and press actuating lever a few times,
pumping water through the dispenser. Disassemble all
parts and wash thoroughly.
IMPORTANT: Do not assemble dispenser at night.
This will allow rubber parts to regain original shape and
dry out. Store rubber parts at room temperature. Do
not refrigerate.
CALIBRATION
The dispenser can be adjusted to produce various sized
pancakes. To adjust the stop bracket, loosen screw
and slide adjustment to proper location.
See figure 7.
figure 7
PREVENTIVE MAINTENANCE
1. Disassemble and clean dispenser daily.
2. Alternate all rubber parts every other day. Allow one
set to dry out while the other is in use.
3. Inspect all rubber parts for wear daily. If cracking or
wear is evident, replace parts immediately.
3
Page 4

TROUBLESHOOTING CHART
PROBLEM PROBABLE CAUSE REMEDY
Will not dispense. Dispenser clogged. Disassemble and clean.
Improper assembly. Disassemble and reassemble properly.
Rubber parts worn out. Replace rubber parts.
Container opening out of round. Replace container.
Plunger distorted. Replace plunger.
Batter too thick. Use thinner batter.
Pancake not round. Depressing actuating lever too fast. Depress lever slower.
Diffuser defective. Replace diffuser.
Dispenser drips. Diffuser defective. Replace diffuser.
Batter too thin. Use thicker batter.
EXPLODED VIEW
PARTS LIST
ITEM PART NO. DESCRIPTION
1 149-17 Actuating Lever
2 149-11 Adjustable Stop Bracket Kit
3 76-212 #8-32 x 1/4 Slotted Pan Head Screw,
Stainless Steel w/Nylon Insert
4 142-42S Plunger Rod
5 142-30S Plunger (Blue) (Pkg. of 2)
6 142-19S Flapper Valve (Pkg. of 6)
7 101-58 Retainer
8 142-17S Spring (Pkg. of 2)
9 142-16S Single Hole Diffuser (Blue) (Pkg. of 3)
10 142-2 Container
11 101-9 Handle with Screw
4
 Loading...