

Page 1
OPERATING
INSTRUCTIONS
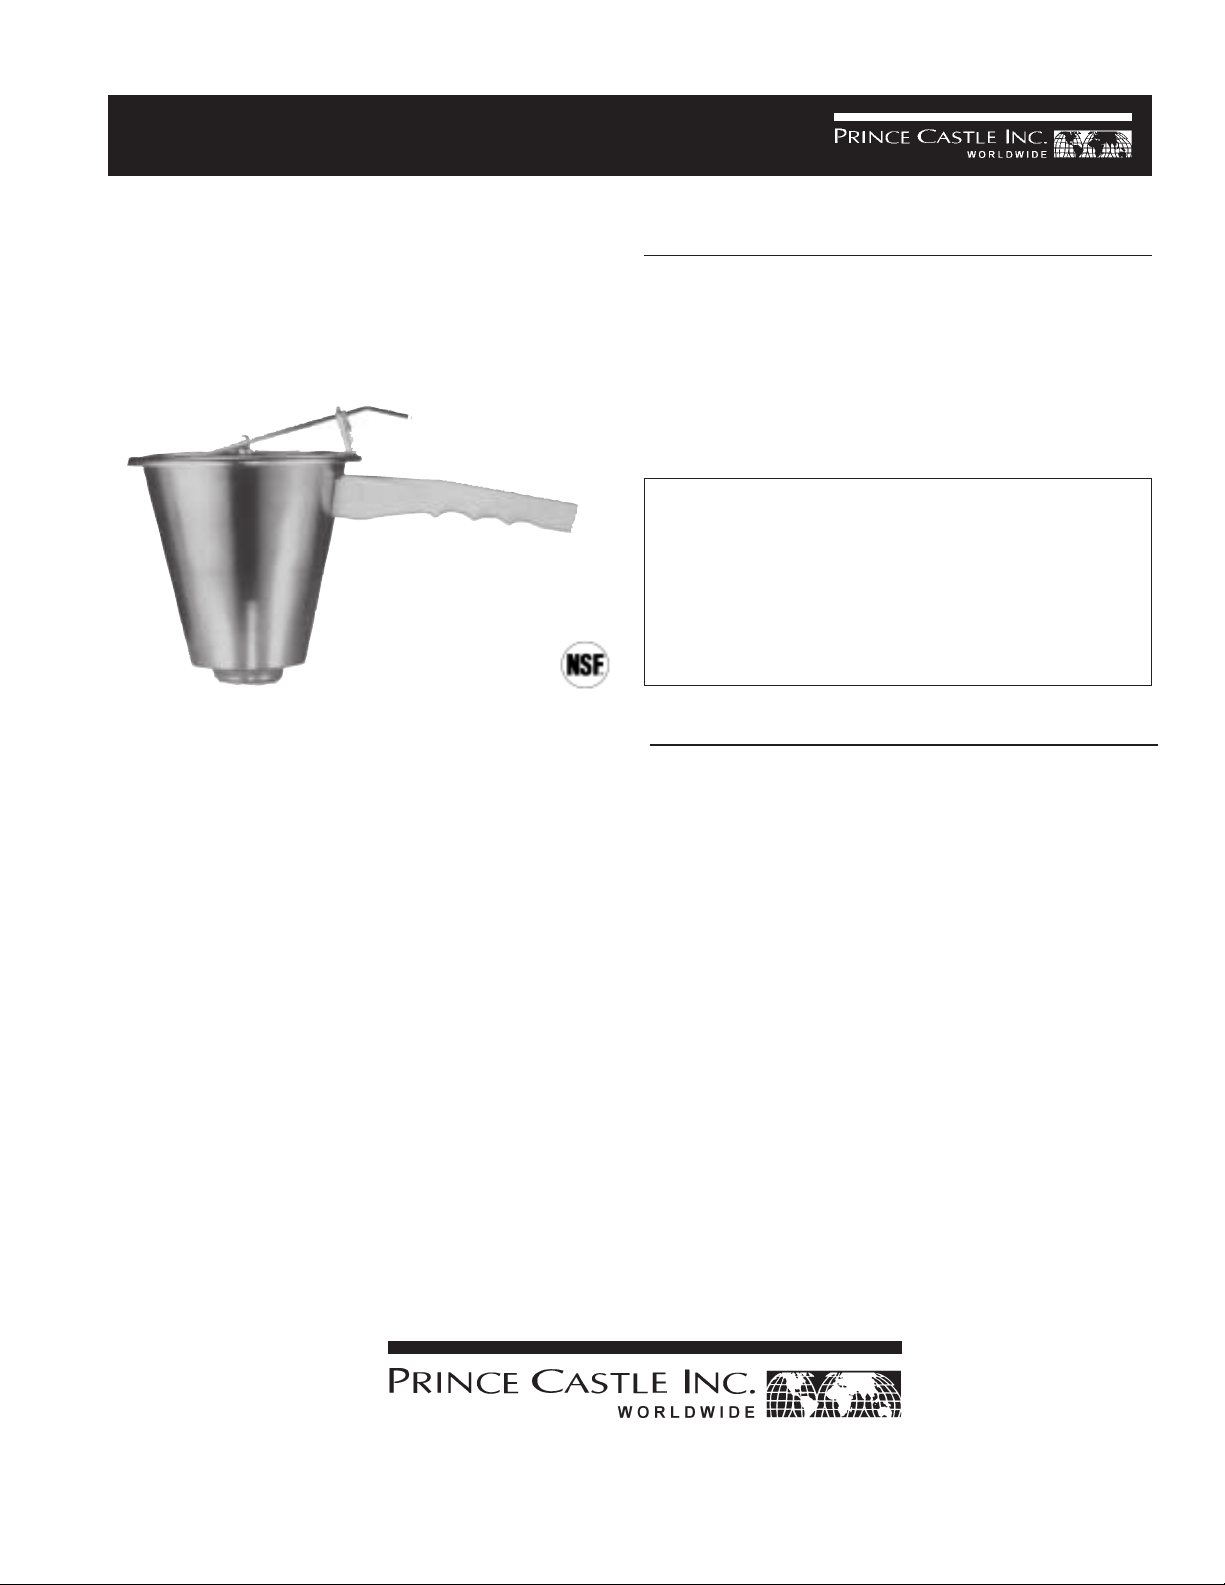
Mustard Dispenser
Model No. 141-D
& 141-DL (w/legs)
The Prince Castle Mustard Dispenser is portion
control at its finest. A simple five-hole diffuser
dispenses mustard evenly, while handle makes
holding dispenser comfortable. Built from stainlesssteel and food-approved rubber, the Mustard Dispenser is virtually indestructible. Simple parts make
assembly and cleaning as easy as 1-2-3.
TABLE OF CONTENTS PAGE
Installation..................................................................... 2
Operating ....................................................................... 2
Cleaning ........................................................................ 2
Proper Maintenance ..................................................... 3
Parts List................................................................ 3 & 4
LIMITED WARRANTY
This product is warranted to be free from defects in
material and/or workmanship for a period of one
year from the date of original installation. Any
component which proves to be faulty during the
warranty period will be replaced without cost to the
customer.
SPECIFICATION
141-D Dimensions
Handle 6 (15.22 cm)
Diameter 7 (17.78 cm)
Height 61/2 (16.51 cm)
Shipping Weight 21/2lbs. (1.13 kg.)
Printed in 1999
Prince Castle Inc.
355 East Kehoe Blvd. l Carol Stream, IL 60188
Tel: (630) 462-8800
Toll Free: 1-800-PCASTLE
l Fax: (630) 462-1460
141-517
Page 2
INSTALLATION
6. Assemble cylinder, spring and piston assembly.
See figure 2.
1. After you have removed the mixer from the carton,
inspect the unit for signs of damage. If there is
damage to the unit:
l Notify carrier within 24 hours after delivery.
l Save carton and packing materials for inspection
purposes.
l Contact your Prince Castle Dealer for replace-
ment or the the Prince Castle Customer Sales
Department at 1-800-722-7853 if purchased
directly.
2. Verify that all parts have been received.
3. Wash all parts before using.
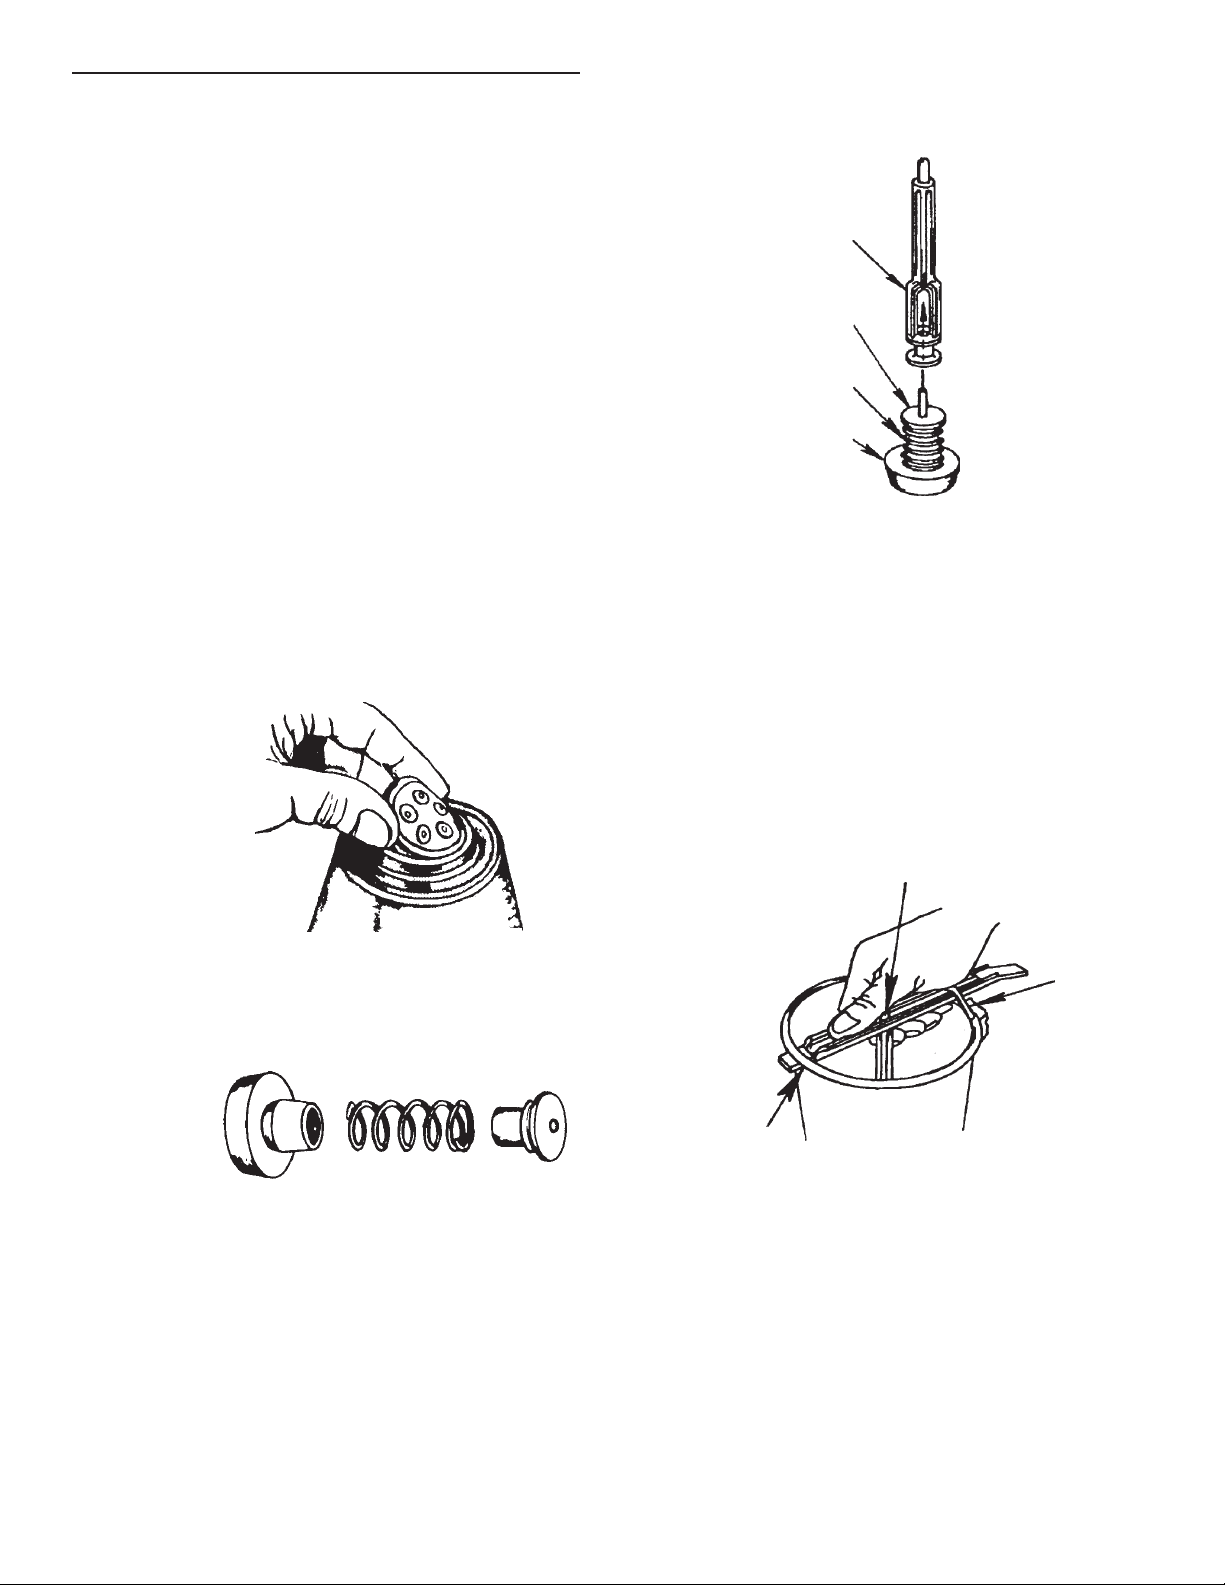
4. Moisten the diffuser in water. Bend the diffuser
between thumb and forefinger so it bends into an
oval shape over the middle finger. Work the crease
in the edge of diffuser little by little around the
metal rim of the opening in bottom of container.
See figure 1.
figure 1
figure 3
PLUNGER ROD
PISTON ASSEMBLY
SPRING
CYLINDER
7. Assemble plunger rod to the piston by pressing the
rod into the piston pin. See figure 3.
8. Insert assembly into shell. Make sure cylinder,
spring and piston are nested over diffuser.
9. Make sure there is a tray or towel under dispenser.
(Do to consistency, mustard may drip.)
10. Fill dispenser.
5. Place dispenser without legs in Prep Pan, or
dispenser with legs on a flat surface.
figure 2
CYLINDER
SPRING ASSEMBLY
11. Assemble the activating lever (item A) through the
lever stop. Guide the plunger rod (item B) into the
B
figure 4
A
C
2
Page 3

center hole. Push down against the springing
action of the piston, and guide the end of the lever
into the TEE slot of the container. See figure 4.
2. Rotate rubber diffuser daily. Allow one diffuser to
dry out while using another one. This helps diffuser
maintain its shape for proper dispensing.
OPERATION
1. The dispenser must be primed after filling. Hold
lever down to force air out of cylinder. Shake
dispenser side to side or swirl (or both) to remove
air trapped around spring and cylinder area due to
thickness of mustard.
2. Pump dispenser a number of times to prime. If
dispenser is not working properly alternate pumping
and shaking.
IMPORTANT: If dispenser is not primed air in the
piston, cylinder and diffuser area will cause improper
operation
3. Depressing the actuating lever one time will deliver
approximately 1/28 oz. of mustard.
CLEANING
1. Remove mustard from container.
3. To check if diffuser is working properly, assemble
without any mustard. Turn the dispenser upside-
figure 5
Diffuser feels firm
CORRECT
No space for diffuser to
move
down, press down on the center of the diffuser.
There should not be any movement between the
diffuser and the center of the plastic cylinder. See
figure 5.
2. Fill with warm water and press actuating lever
several times to pump water through dispenser.
3. Disassemble all parts and wash thoroughly.
TROUBLESHOOTING
1. Use mustard which is at room temperature.
figure 6
Diffuser feels soft
INCORRECT
Space allows diffuser
to move against end
of cylinder.
Dispenser will
not work.
4. If there is movement between the diffuser and the
plastic cylinder, or if diffuser is soft, it should be
replaced. See figure 6.
3
Page 4

MUSTARD DISPENSER 141-D EXPLODED VIEW
7
8
2
1
6
5
4
3
PARTS LIST
ITEM PART NO. DESCRIPTION
1 101-108 Shell Assembly (141-D)
101-114 Shell Assembly (141-DL)
2 141-32 Replacement Handle Kit
3 141-4YS Yellow Diffuser (Pakage of 3)
4 141-2 Cylinder
5 141-5 Piston Return Spring
6 141-51 Piston
7 101-107 Plunger Rod
8 141-61 Actuating Lever (Metal)
4
 Loading...