

Primrose CAN0025 Assembly Manual
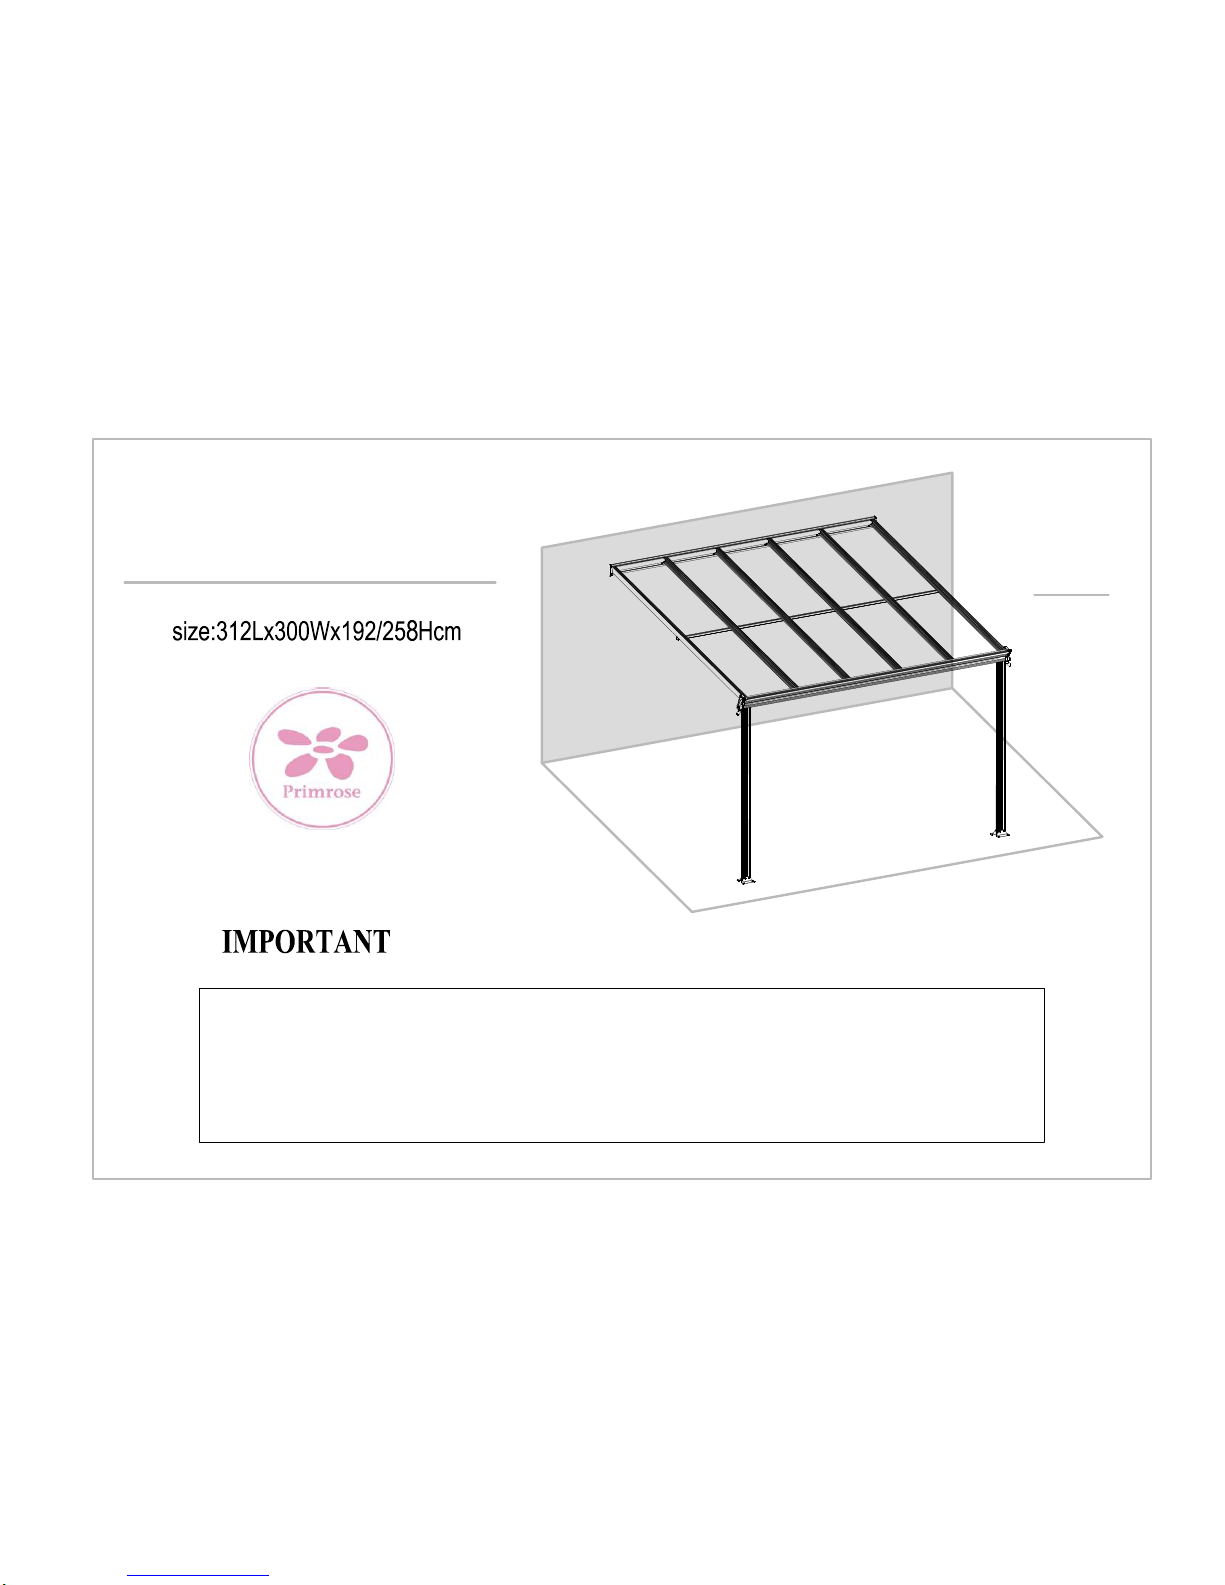
Veranda - Garden Canopy
Assembly Manual
CAN0025
You must read these instructions carefully before you start to assemble this veranda. Please
ensure that all parts are present in the carton box and that it is the correct type and quantity as
mentioned in the list and illustrated in every page accordingly. Please carry out the steps in the
orde
r set out in these instru
ctions. Do
not fully tighten fixings
in the Ver
anda - Garden Canop
y until
c
omp
le
ting the assembly of the po
lyca
rb
onate panels. Keep this in
struc
tio
n booklet in a safe place
for future reference.
●
We strongly recommend the use of work gloves during assembly.
●
Always wear shoes and safety goggles when working with extruded aluminium.
●
Dispose of all packaging materials and plastic bags safely - keep out of reach
of children and babies to avoid risk of suffocation.
●
Keep children away from the assembly area.
●
The Veranda - Garden Canopy must be positioned and fixed on a flat level surface.
●
Do not attempt to assemble the Veranda - Garden Canopy in windy or wet conditions.
●
Do not position your Veranda - Garden Canopy in an area exposed to excessive wind
●
Do not touch overhead power cables with the aluminium profiles.
●
Ensure there are no hidden pipes or cables in the ground before inserting the pegs.
●
Do not lean against or push the Veranda - Garden Canopy during construction.
●
Do not attempt to assemble this Veranda - Garden Canopy if you are under the
influence of drugs or alcohol, tired or if you are prone to dizzy
spells.
●
When using a step ladder or power tools, ensure that you follow the
manufacturer's safety advice.
●
Hot items such as recently used grills, blowtorches, etc must not be
stored in the Veranda - Garden Canopy.
● This is a multi-part assembly; Allow at least 200 minutes for assembly.
● When selecting an assembly site, choose a sunny and level position
away from overhanging trees.
● Surface of the assembly site needs to be level.
● If you are fixing your Veranda - Garden Canopy directly to a solid concrete
foundation, use the pre-drilled holes in the metal base supplied.
● All component parts should be checked and laid out close at hand.
● Keep all small parts (screws, fixings etc) in a bowl so they do not get lost.
●
When cleaning your Veranda - Garden Canopy, use soft cloth or sponge
and mild household detergent solution. Rinse with lukewarm or cold clean water.
●
Do NOT use acetone, abrasive cleaners or other special detergents to clean the
cle
ar p
anels
.
●
Do NOT scrub with brushes or abrasive materials as it can cause damage to
the surface.
●
Keep roof clear of snow and leaves.
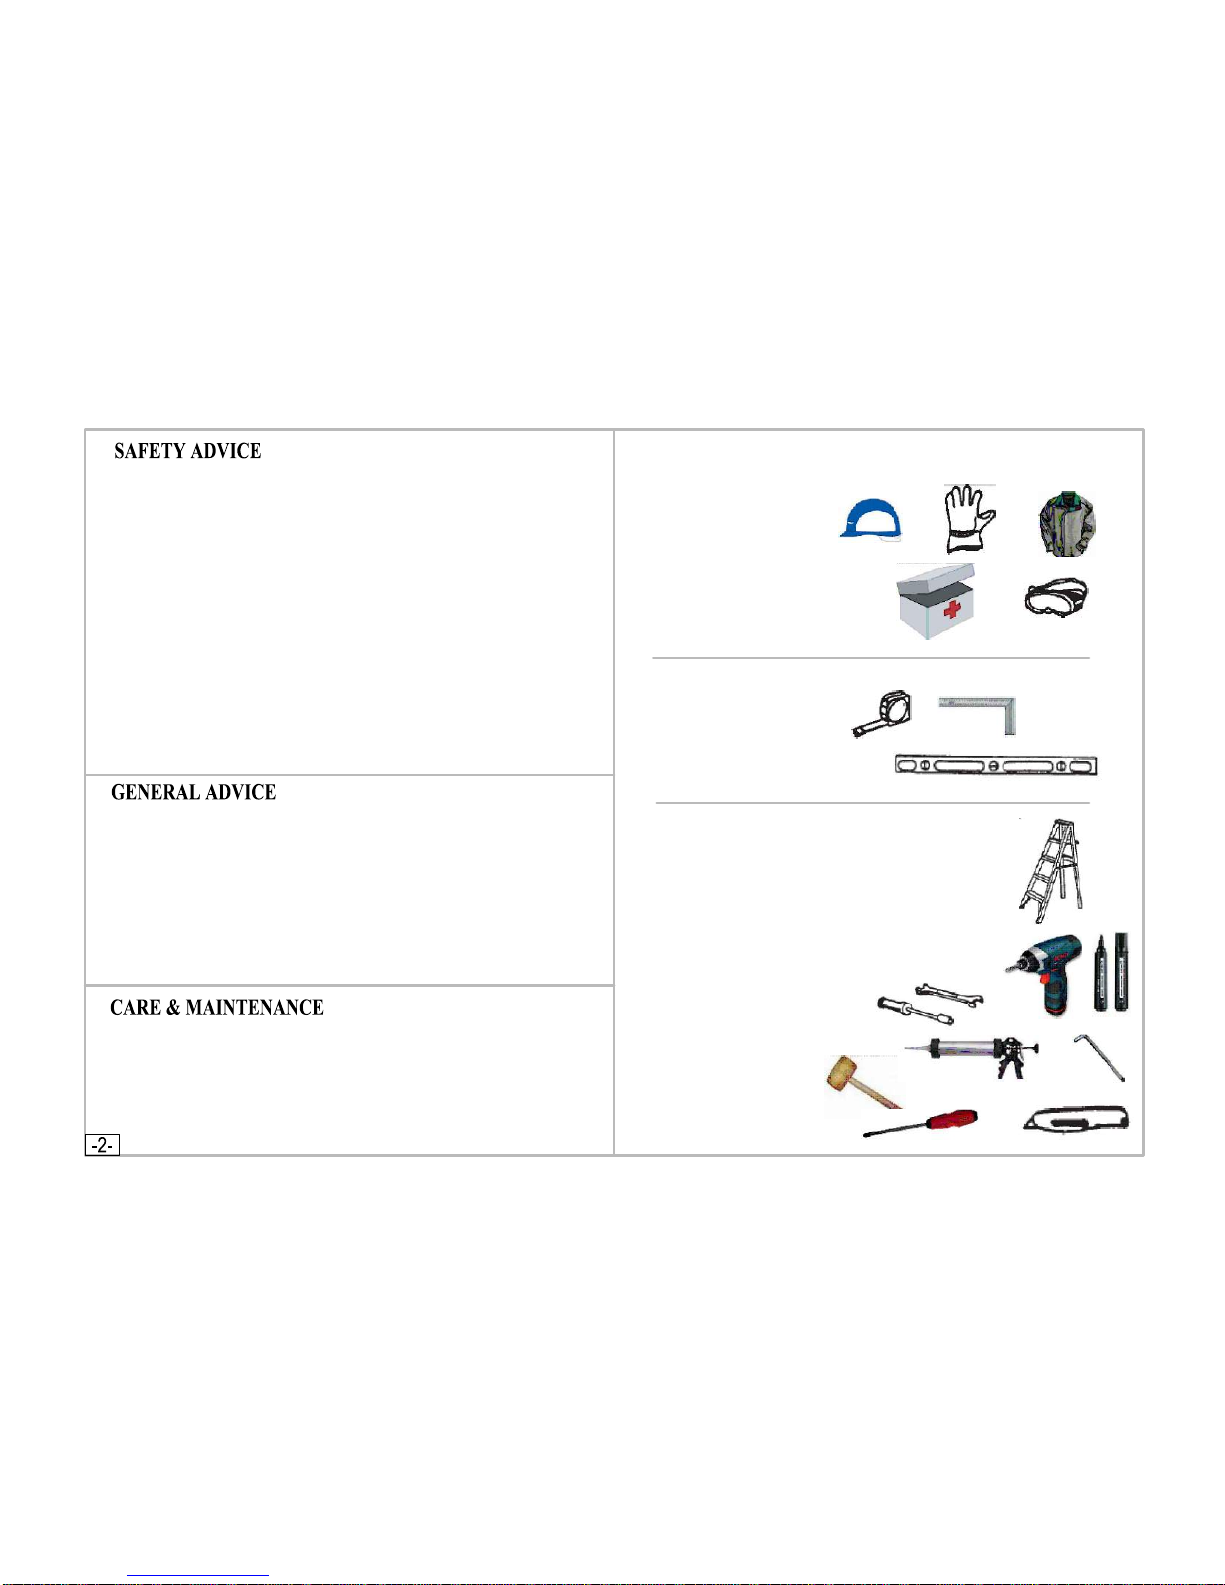
Tools &
Equipment Requ
ired
Protective Equipment
1.Helmet
2.Glove
3.Long Sleeve Cotton Overalls
4.Emergency First Aid
5.Eye Shield
Measure(metric):
1.The Tape(5 m)
2.Angle Square
3.Level Meter
Installation Tool:
1.Triangle Stairs≈1.5m Height
2.Spanner 10mm(Ratchet Wrench is better)
3.Spanner 14mm(Install the expansion screw)
4.Hexagon wrench 5mm
5.Electric scr
ewdriver+5m
m Hexagon wrench(suggest
)
6.Wooden Mallet
7.Marking Pe
n
8.Si
licon
9.Percussion bit(8mmand 10mm)
10.Knife
11.Phillip
s screw
driver
Silicone
● Make sure to choose a suitable location to install the Veranda - Garden Canopy
● 3 People required: One for measuring and taking marks to
ensure the installation dimensions, the second person is
responsible for the installation and the third should assist
and assure safety.
● Firstly, make sure the wall is strong enough for installation.
A brick concrete
structure is
the best choice.
● High power electric tools are required. Please ensure that it
is fully functioning and follow
the manufacturer’s safety
guidelines thoroughly.
● Be careful when using blunt tool such as hammers.
● Wear long sleeve cotton overalls, gloves and helmet during
installation and always wear
safety goggles when using
power tools.
● Do NOT look up above chin height when working under
Veran
da - Garden Canopy as loose screws may drop and
cause damage to eyes or lead to suffocation if it falls into mouth.
● Do NOT climb onto the frame of the Veranda - Garden Canopy
or stan
d on its roof.
● If you sustain any injuries use a first-aid kit to stop bleeding.
● In case of serious injuries, please call the emergency services
or travel to your n
earest medical center immediately.
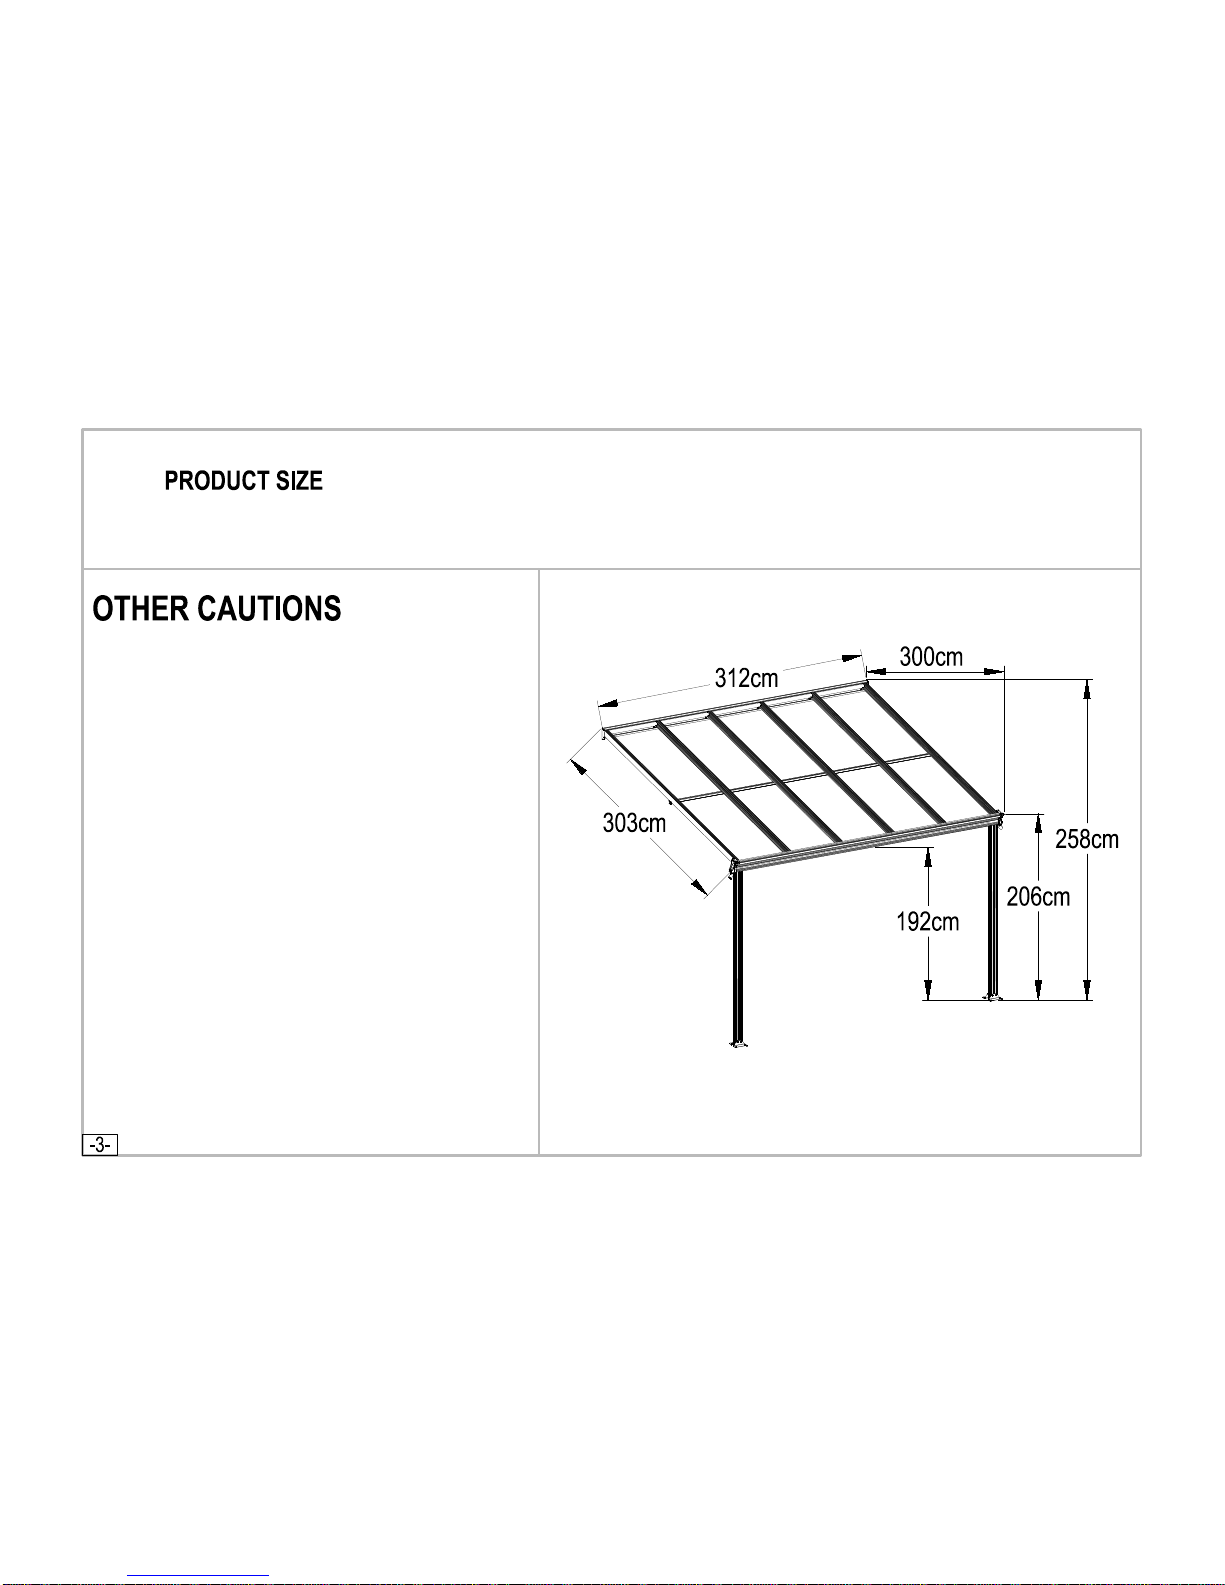
2968mm
2968mm
46
18
Insta
llation Diagram of Aluminium Frames
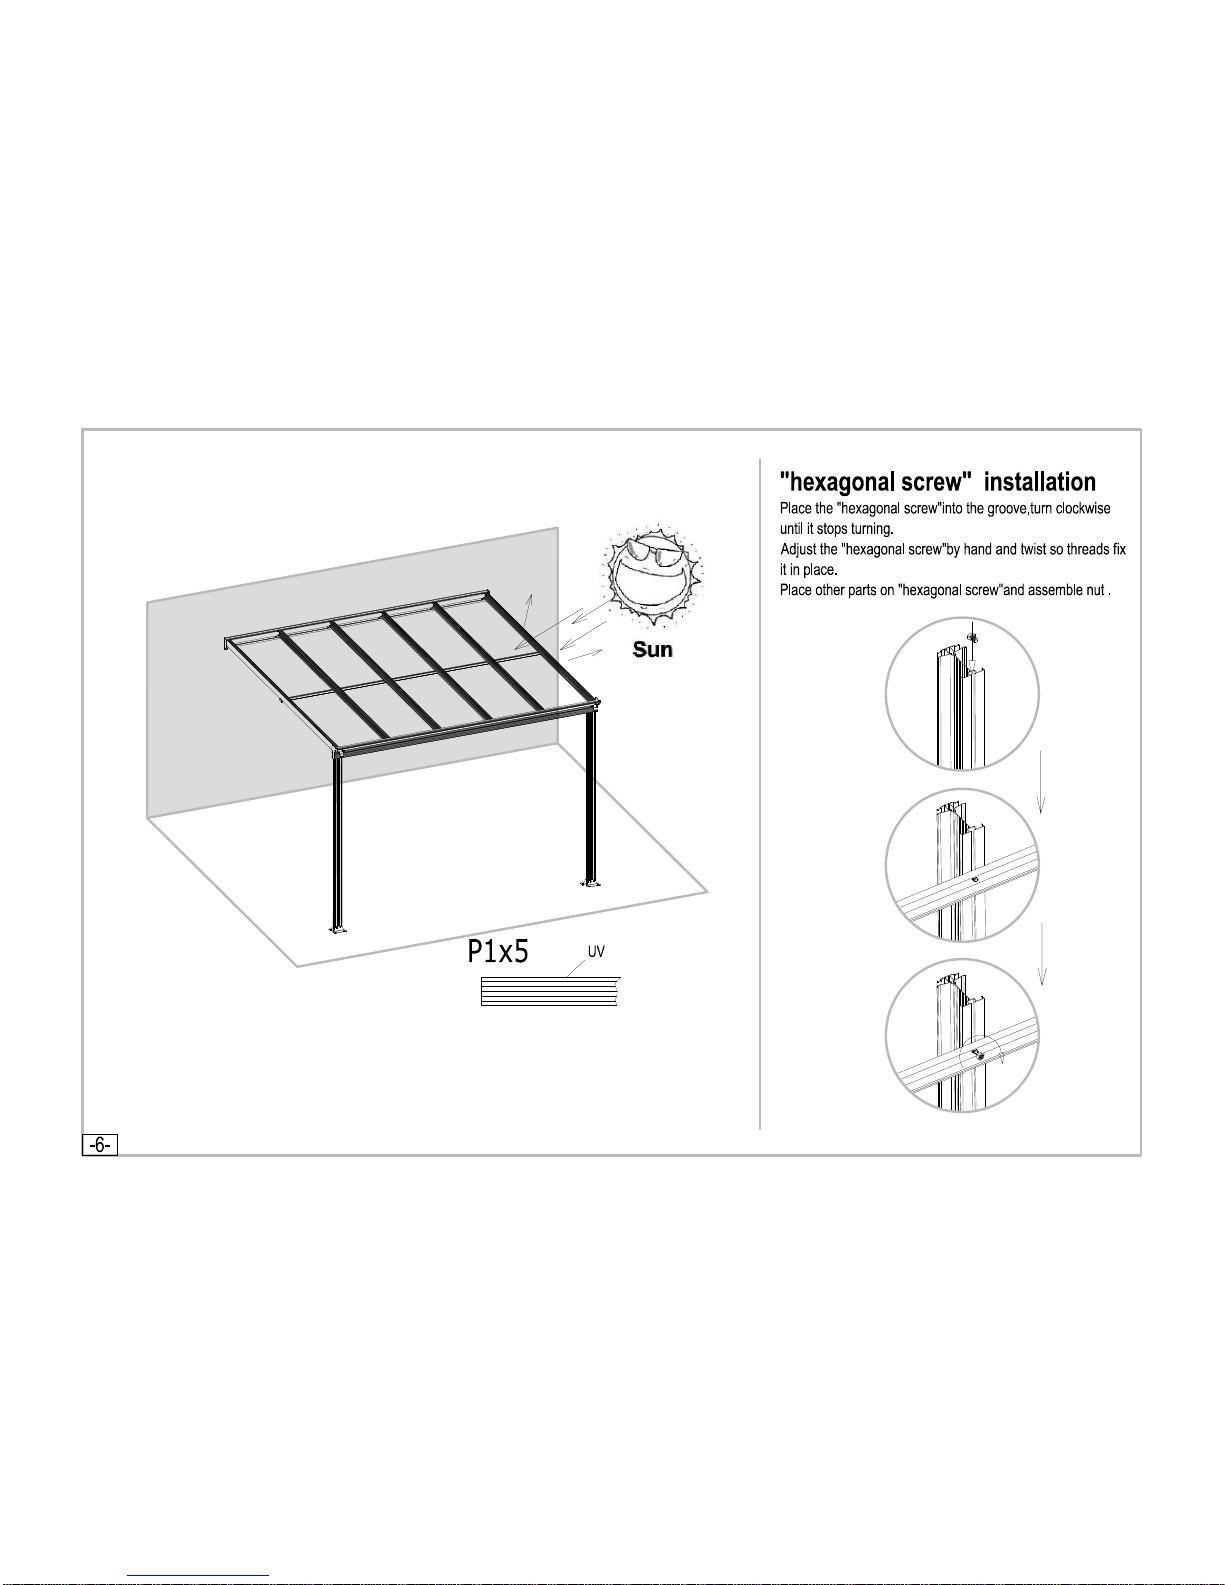
Summary Statement for Polycarbonate Panel
● Ensure the white film side is facing towards the sun as it is UV protected.
 Loading...