

Page 1
Assembly Instructions
Note
Prevue Pet Products, Inc
Model # 247
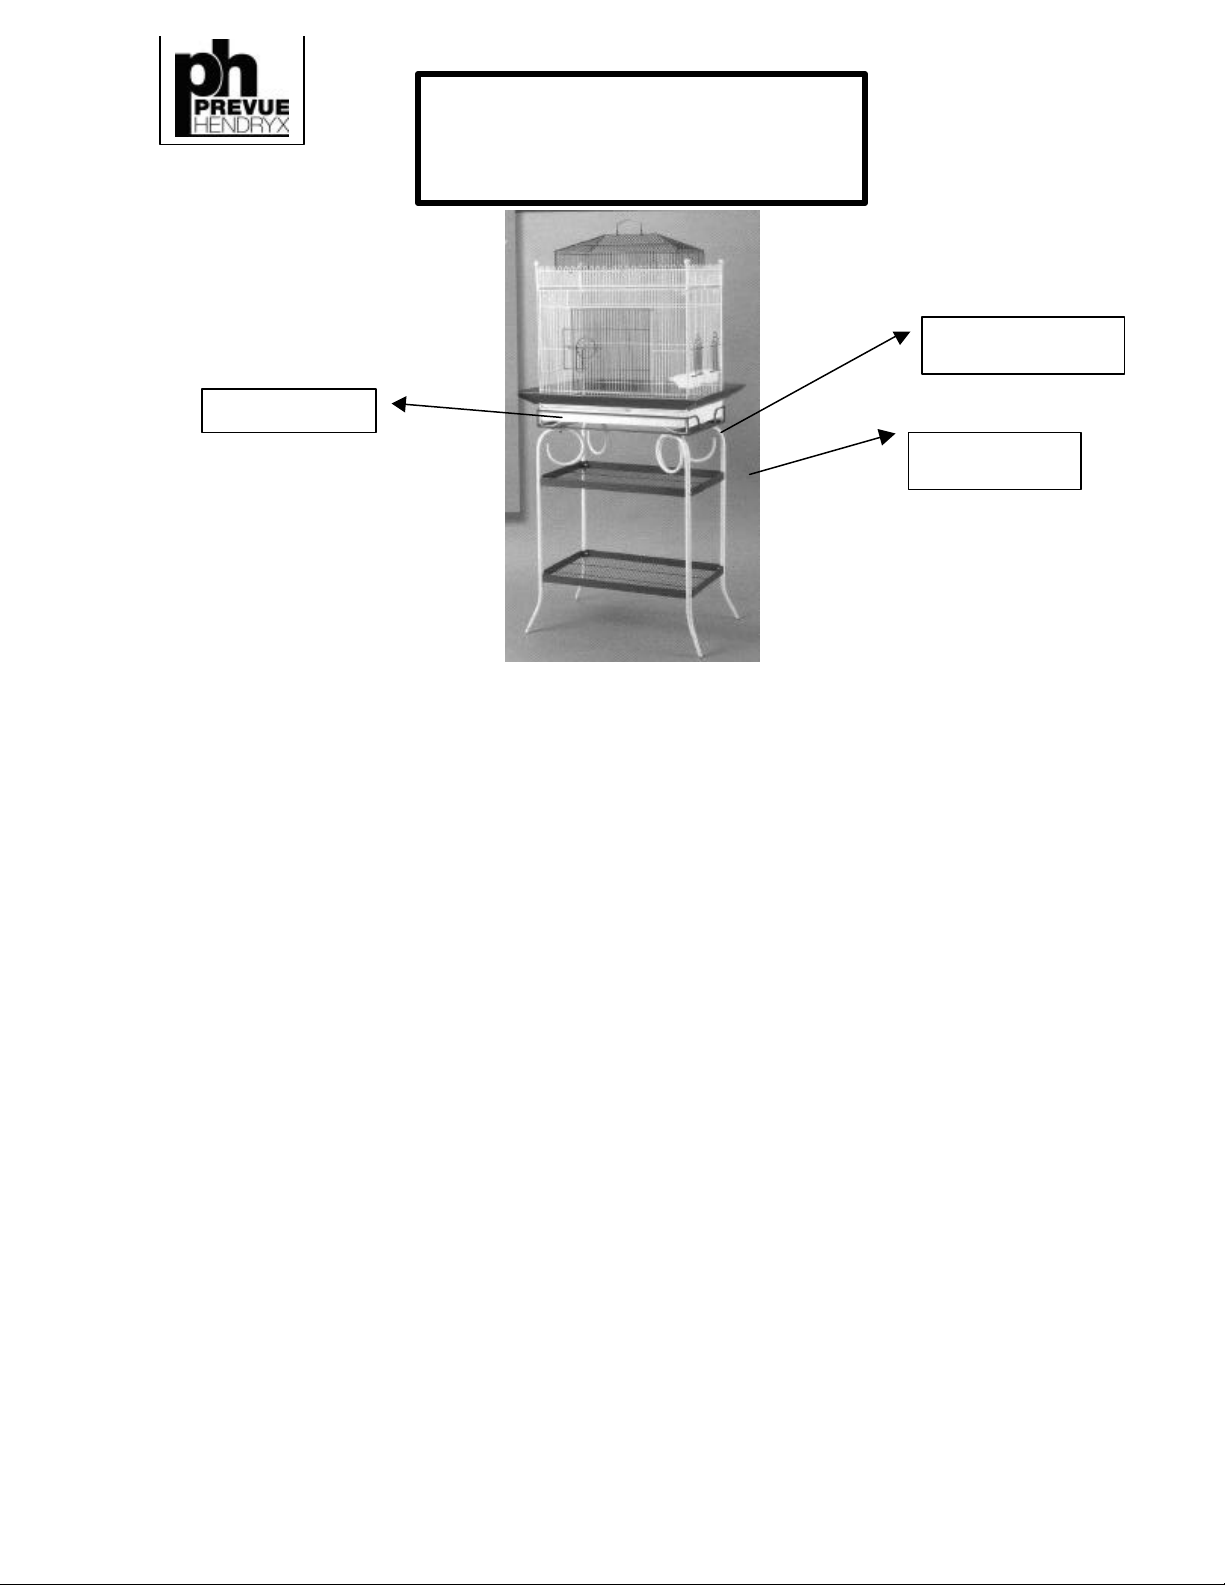
- curl alignment
Stand basket
Stand shelves
Congratulations on your purchase of the Model 247 Cockatiel Cage. Please check the following
contents prior to assembly.
2 Roof sections 1 tray basket for stand
4 tubular legs for stand 1 grille floor
2 stand shelves 1 cage tray
12 sets screws with nuts 2 support bars
4 cage body pieces 1 wood perch
4 seed guard pieces 2 cups
Should you find that you are missing any of the above pieces, please contact our customer
service directly at 800-243-3624 and the part will be promptly sent.
Step 1 – the cage stand
Attach 1 leg to bottom shelve with screws & nuts, with the nut to the inside. Attach all 4 legs to
the shelf with the curls of the tubular stand to the inside on the top portion, and the holes in the
tu bing are on the topside (to attach the stand basket).
Attach the legs to the top shelf with the remaining screws and nuts. Tighten all bolts.
Insert the cage basket by inserting the pins in the basket bottom into the holes in the top of the
cage stand. This will have a snug fit. Screw into the stand on all 4 sides.
Page 2

Step 2 – the cage (model 247 cont.)
Place the left side of the cage (short side without seed cup doors) inside the cage basket; be sure
the track is facing inward and downward. Attach the back panel of the cage by inserting the
male plastic clip into the female receptor. Repeat with right side and front of cage, making sure
the all 8 clips are in the male/female locked position.
Insert the 2 bottom support bars into the bottom o f the cage by placing the wire end resting on
the back of the cage and the claw end to the front of the cage over the support bar on the cage
front. Space the two bars evenly in the cage bottom.
Insert the bottom grille by sliding into top track.
Insert the bottom tray by sliding into the bottom track.
Insert cups and perch.
Attach cage top by taking the large top section and placing it above the cage wire and gently
apply pressure to the cage body to insert the roof mesh under the bent wire clips. Be sure that all
four clips have the roof mesh under them and this is secure.
Use the same method to secure the domed roof section to the white outside roof.
Step 3 – the seed guard
Use one short guard and one long guard, attach these two pieces to gether to form a “V”. Insert
this into one end and side of the cage just above the base of the cage. The guard fits slightly
inside and under the first set of cage wire.
Connect the second end of the guard and fit the connector together. Finish by inserting the final
side of the guard and connect both sides of the guard with the connectors. In order for this to
provide the proper fit and do its job properly, it may take some adjusting.
Your cage should now be ready for your pet bird. Be sure to include lots of toys and change
them out often to keep your pet content.
For additional information on the products from Prevue Pet Products, please contact us at one of
the following:
Prevue Pet Products 312-243-3624 (inside IL)
224 N. Maplewood Ave. 800-243-3624 (outside IL)
Chicago, IL 60612 312-243-4224 Fax
E-mail: [email protected]
WWW.prevuepet.com
Thank you for your purchase.
The Folks at Prevue
 Loading...