


1. Important safety instructions ………………….…………………...
2. Accessories ……………………………………………………………
3. View of main unit …………………….……………….......................
4. Device connections ……………………….…………......................
5. Cautions on battery charging ………….…………………………..
6. Getting started ………………………………………………………..
7. Bluetooth Function …………………………………………………..
8. FM Function …………………………………………………………...
9. TMC Function ……………………………………………………….
10. Device Settings……………………………...………………………...
11. Initialization and Software Activation …………………................
12. Navigation...........……………………………………………………...
13. Map Screen……………………………………………………………..
14. More Menu ……………………………………………………………...
15. Settings…………………………………………………………………
16. Troubleshooting ………………………………………………………
17. PC Connection…………………………………………………………
1
2
2
3
4
5
6
8
8
8
9
10
13
14
14
15
16
Contents
CAUTION
1. To reduce the risk of electric shock, do not remove the cover (or back). No
user-serviceable parts inside. Refer servicing to qualified service personnel.
2. The manufacturer should not hold responsibility for the damage caused by any
substitutions and modifications of the product without authorization from the
manufacturer or authorized unit
.
WARNING
The device should not be exposed to dripping or splashing and no objects filled with
liquids should be placed on the device.
Important Safety
Instructions
The exclamation point within an equil ateral triangle is intended to alert the
user to the presence of important operating and maintenance (servicing)
instructions in the literature accompanying the appliance.
EN
EN – 1
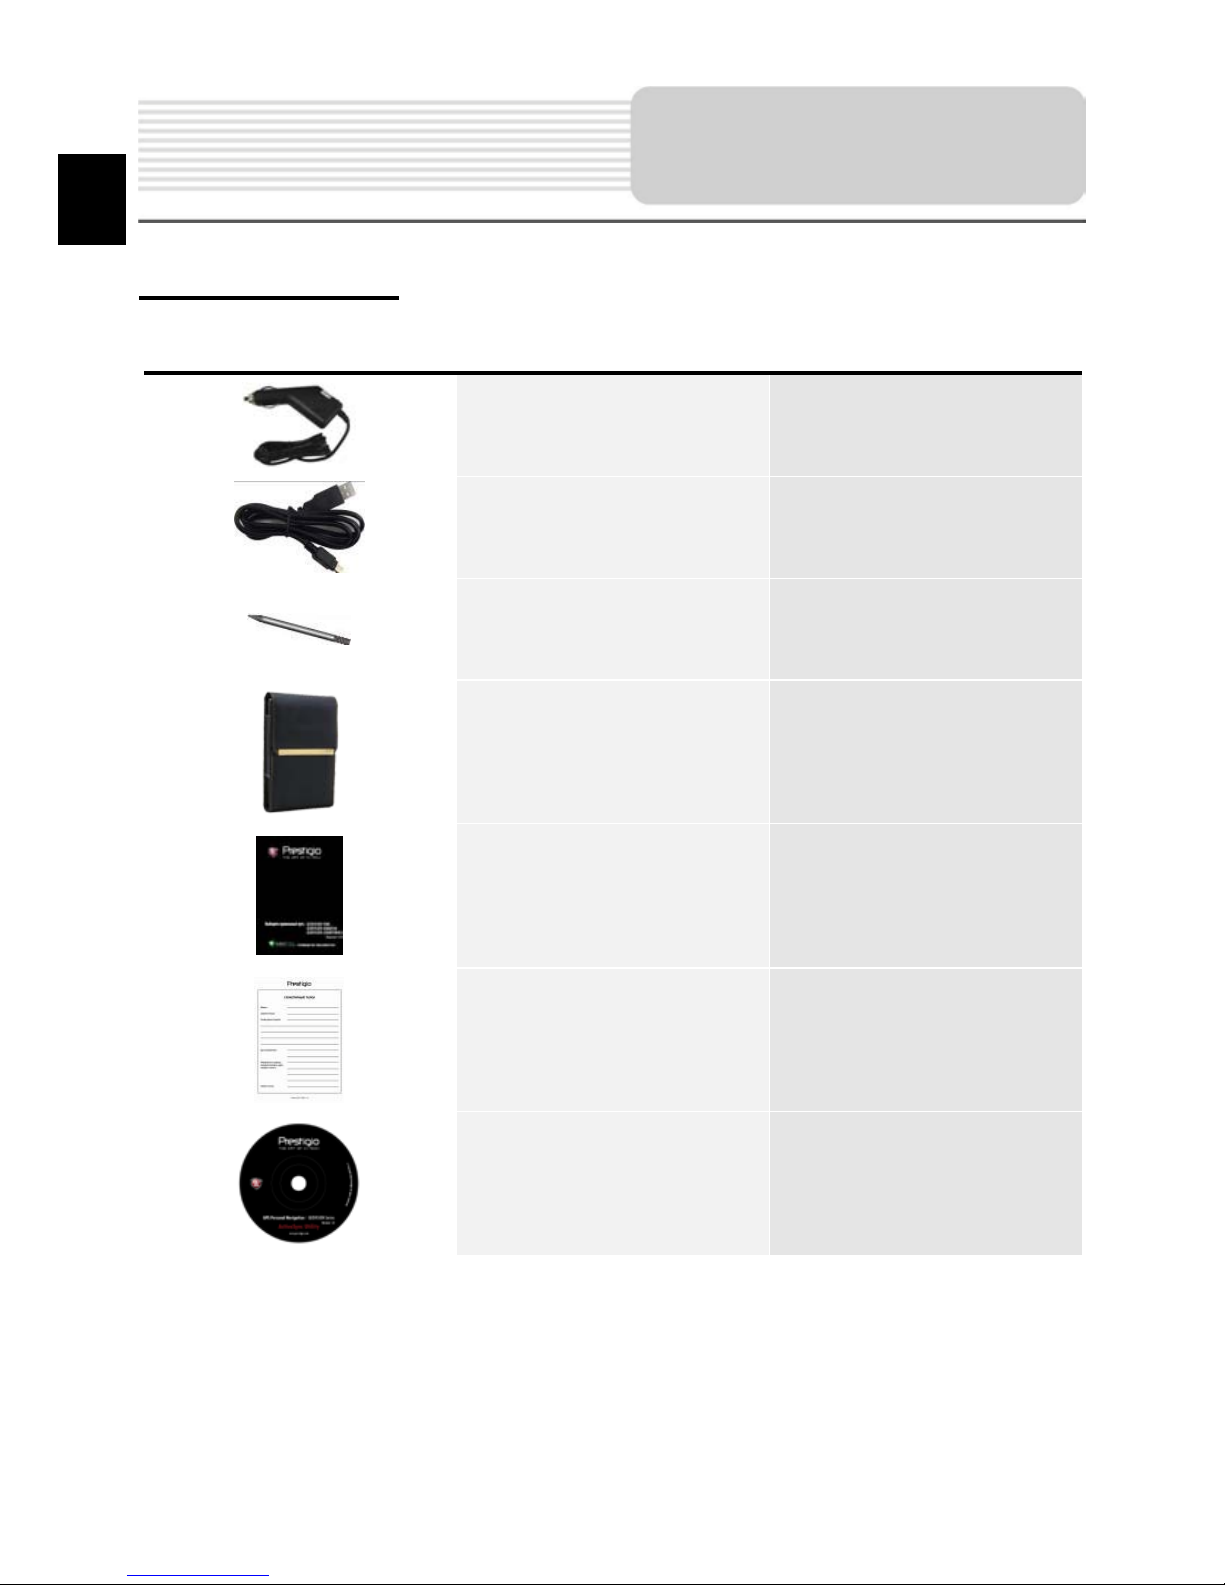
Accessories List
ITEM NAME QTY
Car Charger 1
USB Cable 1
Stylus Pen 1
Stylish Carry Case
(GV5500BT only)
1
User Manual 1
Warranty Card
Driver/Document CD 1
Accessories
1
EN
EN - 2

Front and Side View
1. LCD Touch Screen
Tap the screen with touch pen or finger to select menu commands or to enter
information.
2. Battery Status Indicator
The indicator glows in bright green colour when battery is fully charged and in red
color when charging.
3. Earphone Jack
Connects to earphones or headsets.
4. MicroSD Slot
Receiving microSD memory card for data access or memory expansion.
5. USB Port
Connection to USB Cable for data access or battery charging
6. Microphone
Records sound.
View of Main Unit
1
4
3
5
6
2
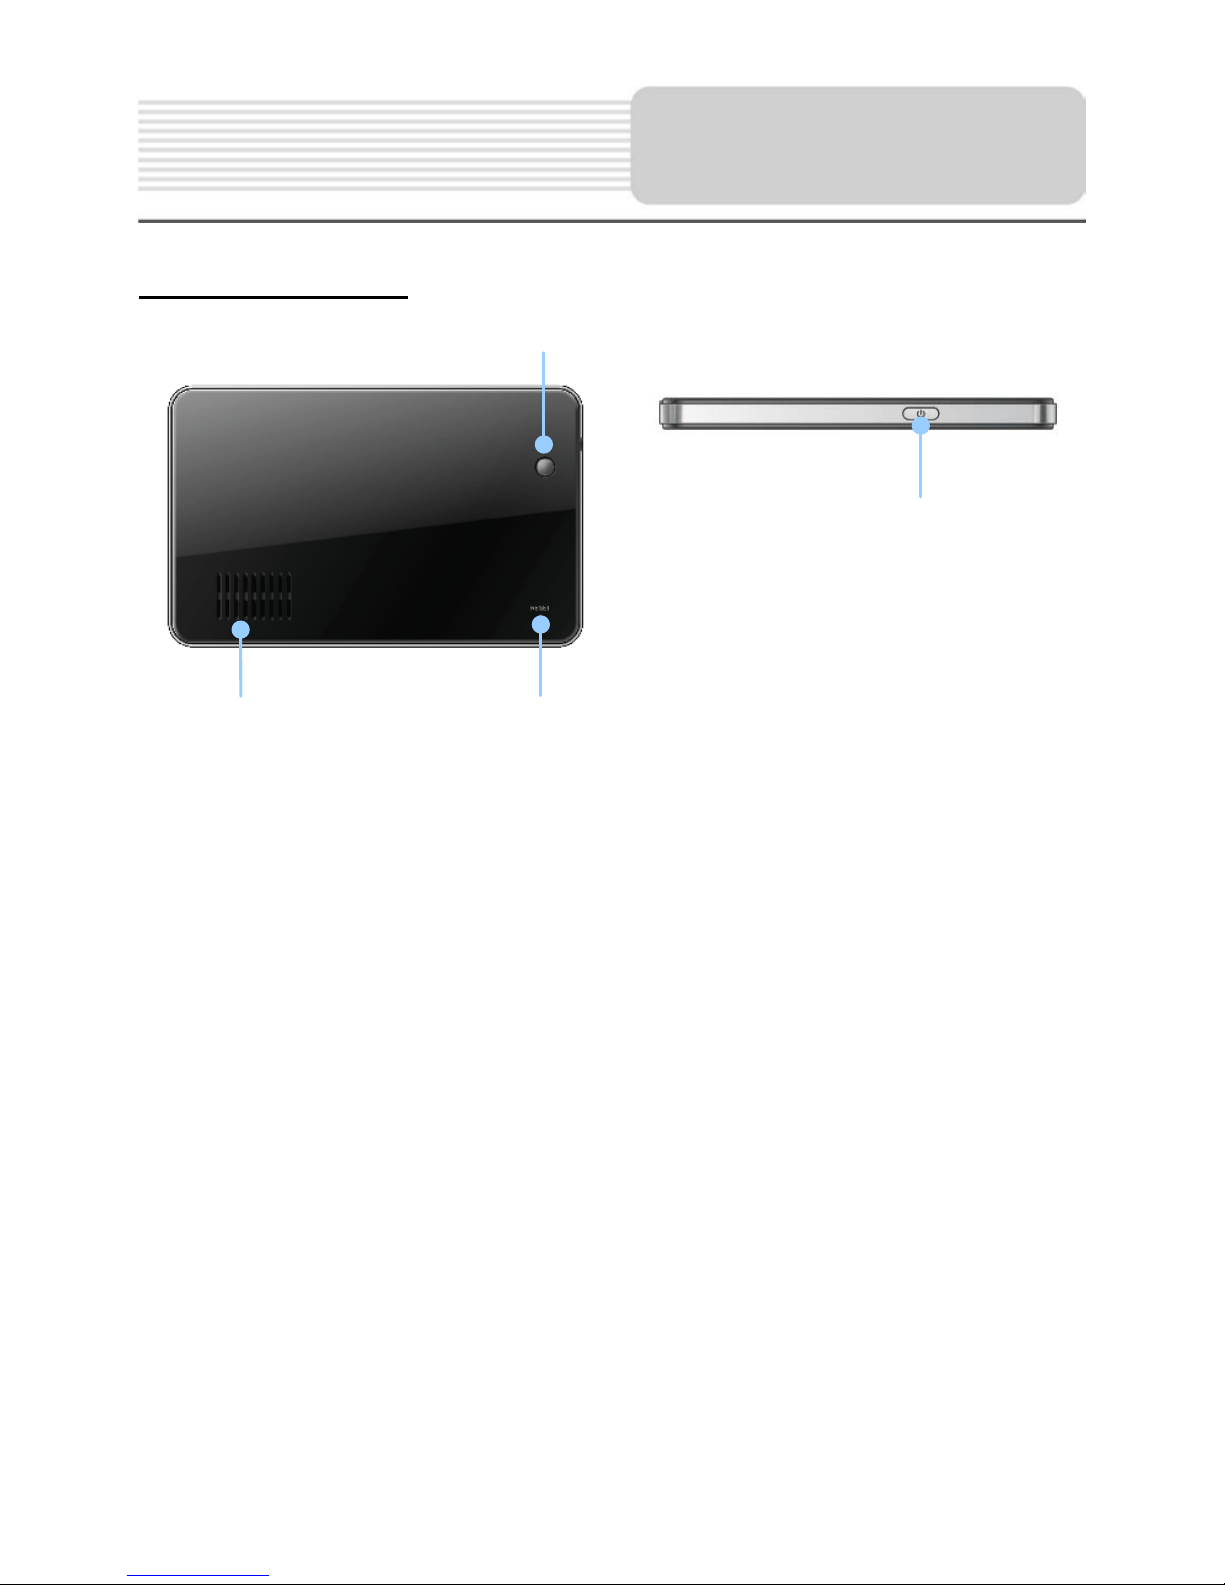
Rear and Top View
1. Speaker
Emits sound, voice or music.
2. Reset Button
Press to reboot the device.
3. Light Sensor
Adjust the brightness of touch screen
4. Power Button
Press to power the device ON/OFF.
View of Main Unit
1
4
2
3
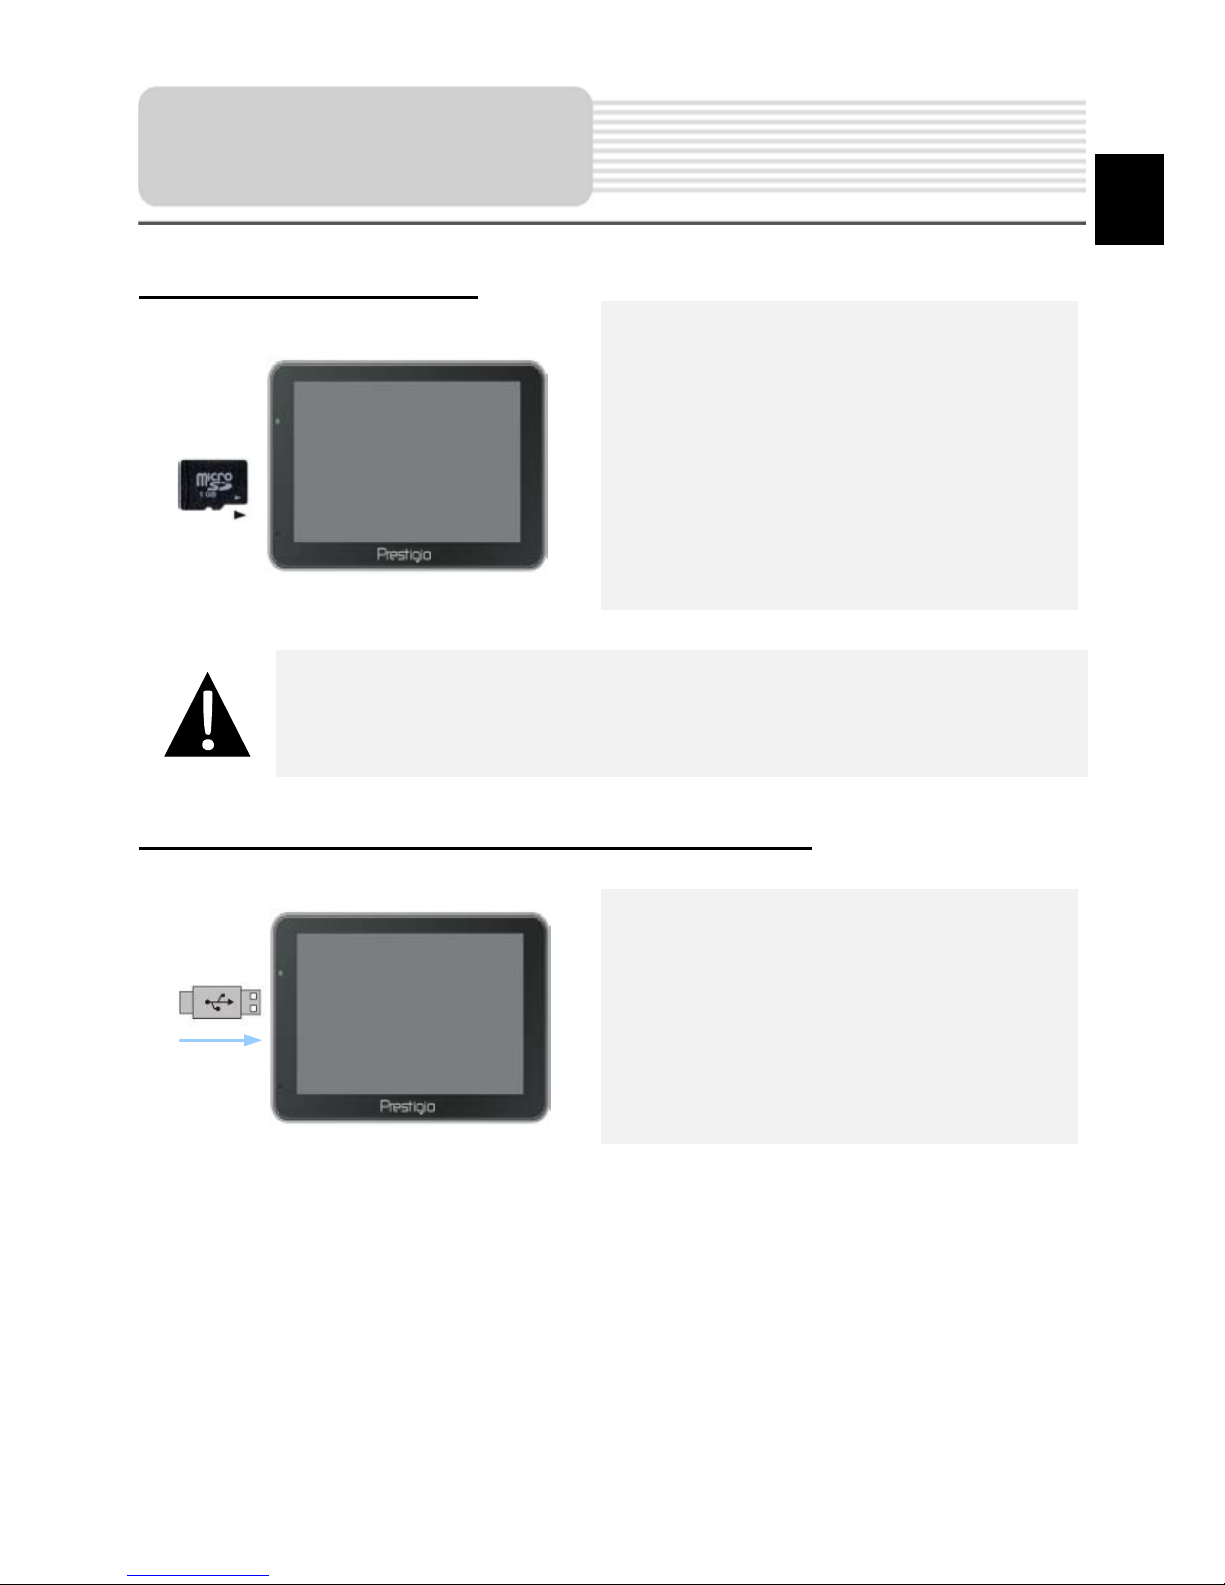
Inserting microSD Card
To insert a microSD card, place the
connector towards the device and the
card label towards the front side of
the device.
To remove a microSD card, gently
press the edge of the card to release
the safety lock and pull the card out
of the slot.
NOTE:
Please always make sure that no application is accessing the microSD
card before extraction.
Connecting to External USB Device (Charging)
Insert the USB connector into the
appropriate USB port.
Insert the other USB connector into
the USB port on PC to start charging.
Device Connections
EN
EN - 3

Connecting to Car Charger
Insert the USB connector into the
appropriate USB port.
Insert car charger connector into
vehicle 12V accessory/cigarette
socket to start charging.
NOTE:
Please connect the car charger to vehicle 12V accessory/c i garette
socket after the vehicle engine is started to protect the device from
sudden surges in current.
Device Connections
EN
EN -4

About Rechargeable Battery
The device is equipped with a built-in rechargeable battery. Plea se fully charge the
battery (f or at least 5 hours) before initi al use. The battery status indicator glows in red
colour when charging and turns bright green colour when charging is complete. Charging
time is approximately 4 hours.
Working conditions and precautions for the rechargeable battery
Devices with new batteri es should be full y charged before i niti al use.
It is not necessary to start charging the device before the battery is fully
discharged.
Caut ions on Battery
Charging
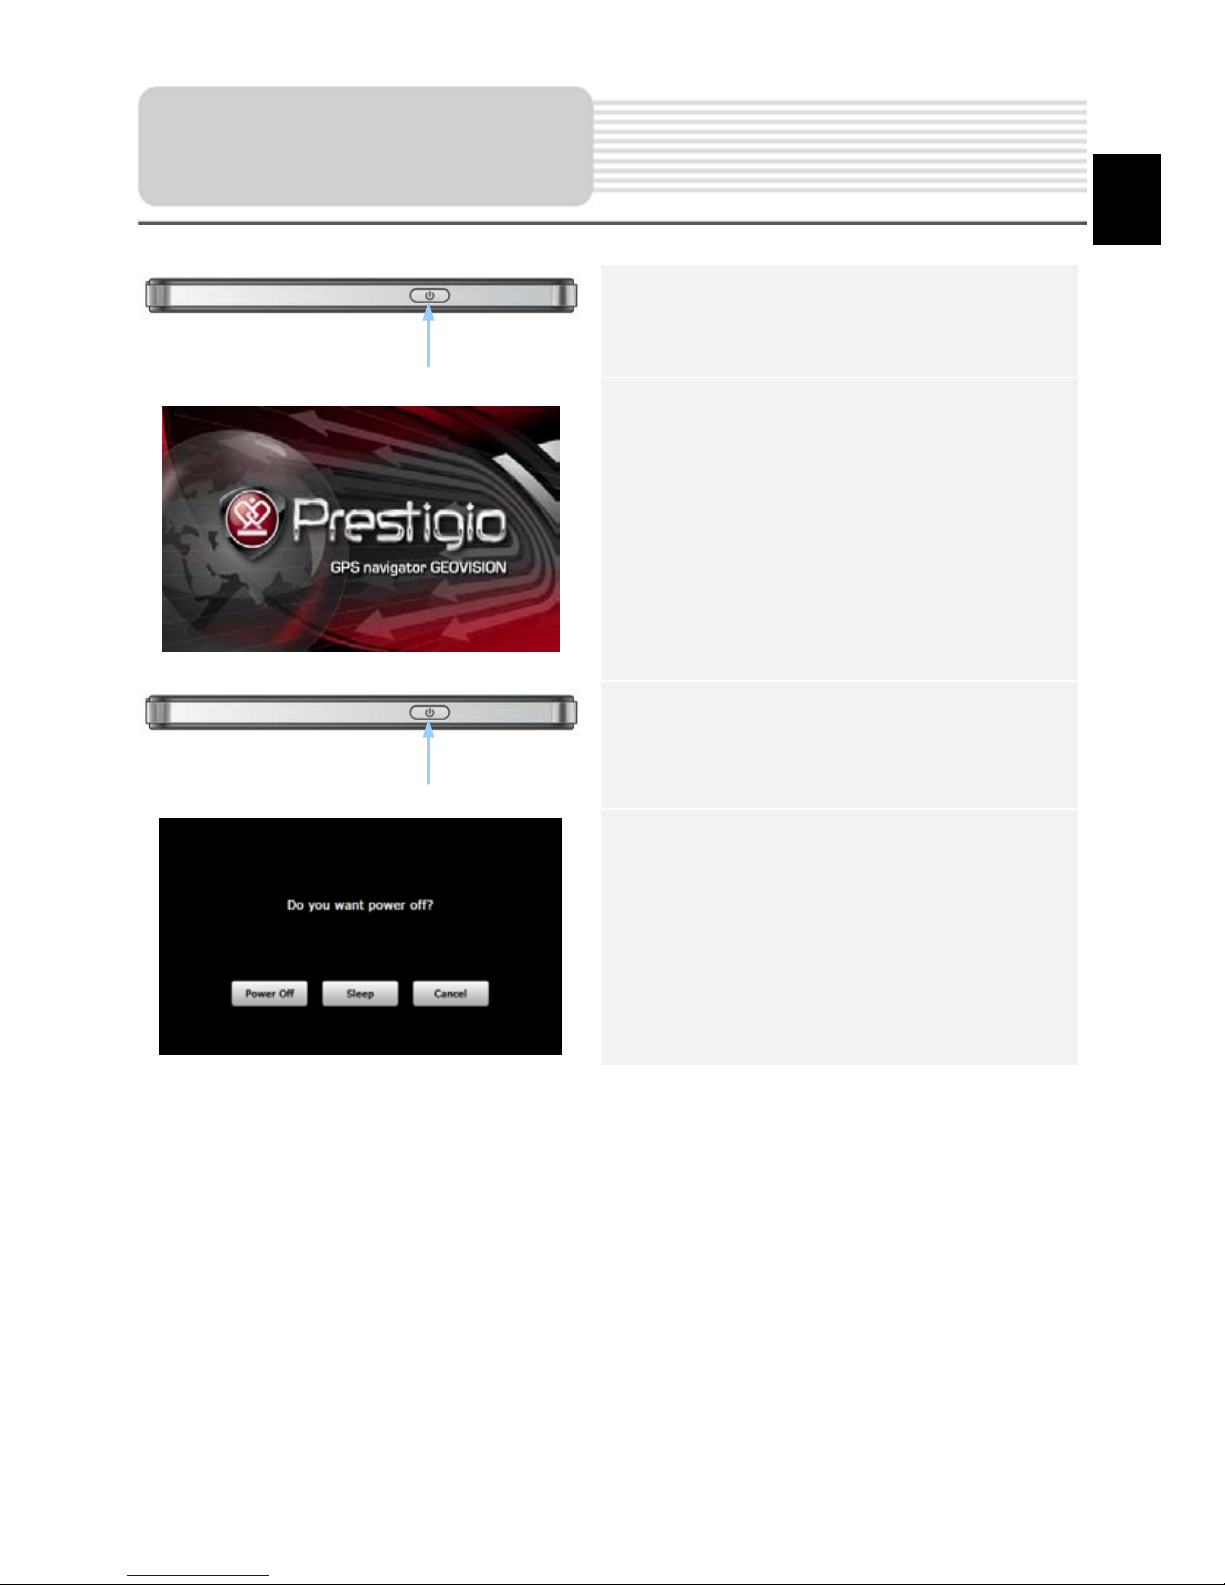
1. Press and hold Power Button to turn
on the device.
2. Shortly after the greeting screen is
shown, the main menu will be
displayed.
3. Tap the corresponding buttons with
touch pen included to navigate
through various functions.
4. Press and hold Power Button to turn
the device off or to allow the device to
enter sleep mode.
5. Tap Sleep icon to put the device to
sleep mode or Power Off icon to turn
the device off.
Getting Started
EN - 5
EN
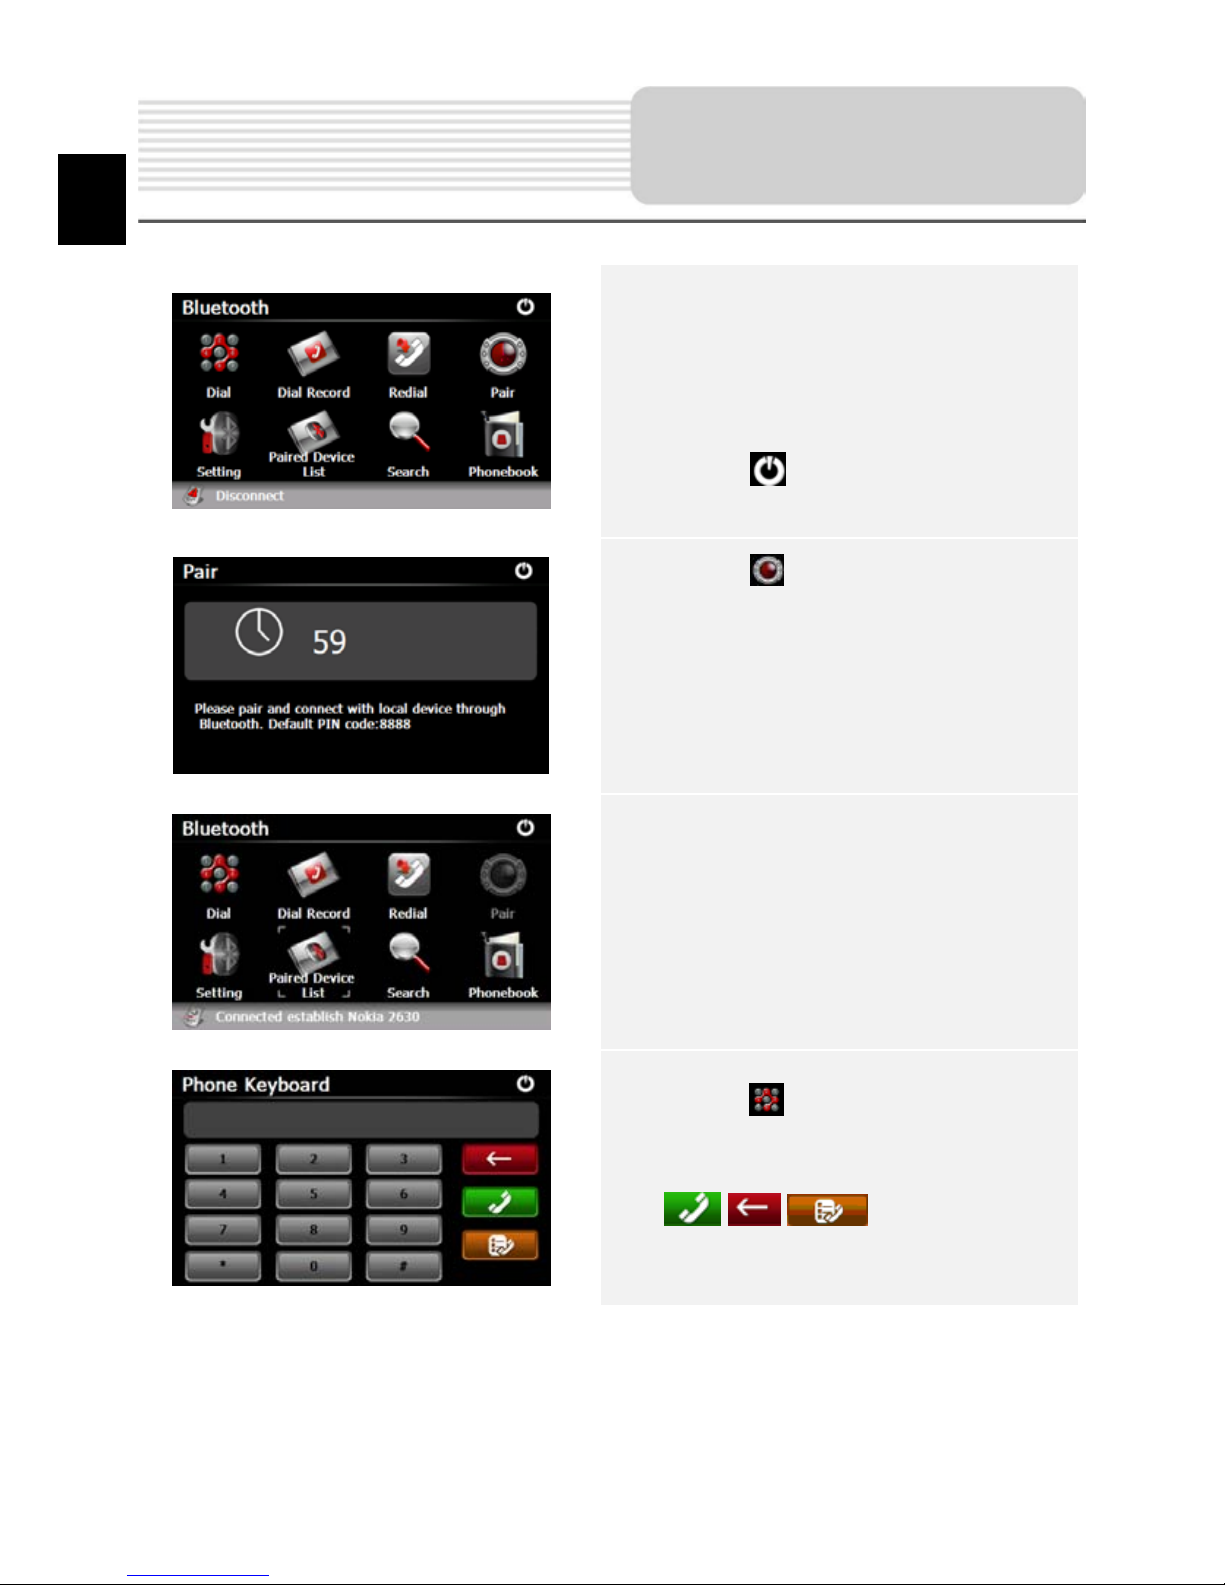
1. Tap on Bluetooth icon on the main
menu to start using Bluetooth
function.
2. The link status is shown at the
bottom of the interface.
3. Tap on to exit the current
function.
4. Tap on in Bluetooth interface to
start pairing with mobile phone
device with GPRS function.
5. Please make sure Bluetooth function
on mobile phone is detectable by
other devices.
6. “Connection established” will be
displayed upon the successful
pairing.
7. Tap on in Bluetooth interface to
enter the Phone Keyboard.
8. Tap on digit buttons and tap on
/ / to start Dialing,
Backspace, and enter Dial Record.
Bluetooth Function
(GeoVision
4500BTFM/5500BTFM/5500BTFMHD)
EN
EN - 6
 Loading...