

Page 1
Transmitter Programming Guide
Model :
The transmitters included with the system have been pre-programmed at the
factory, with each button pre-assigned to control a specific function of the
system. Some systems may have a 3, 4, or 5 channel RECEIVER, depending
on the model, the transmitters included with the system are 7 channel
transmitters. This allows you to program each transmitter to more than one
vehicle in two car families and also allows you to cha nge wh ich bu tto n o r
buttons control certain functions of the system.
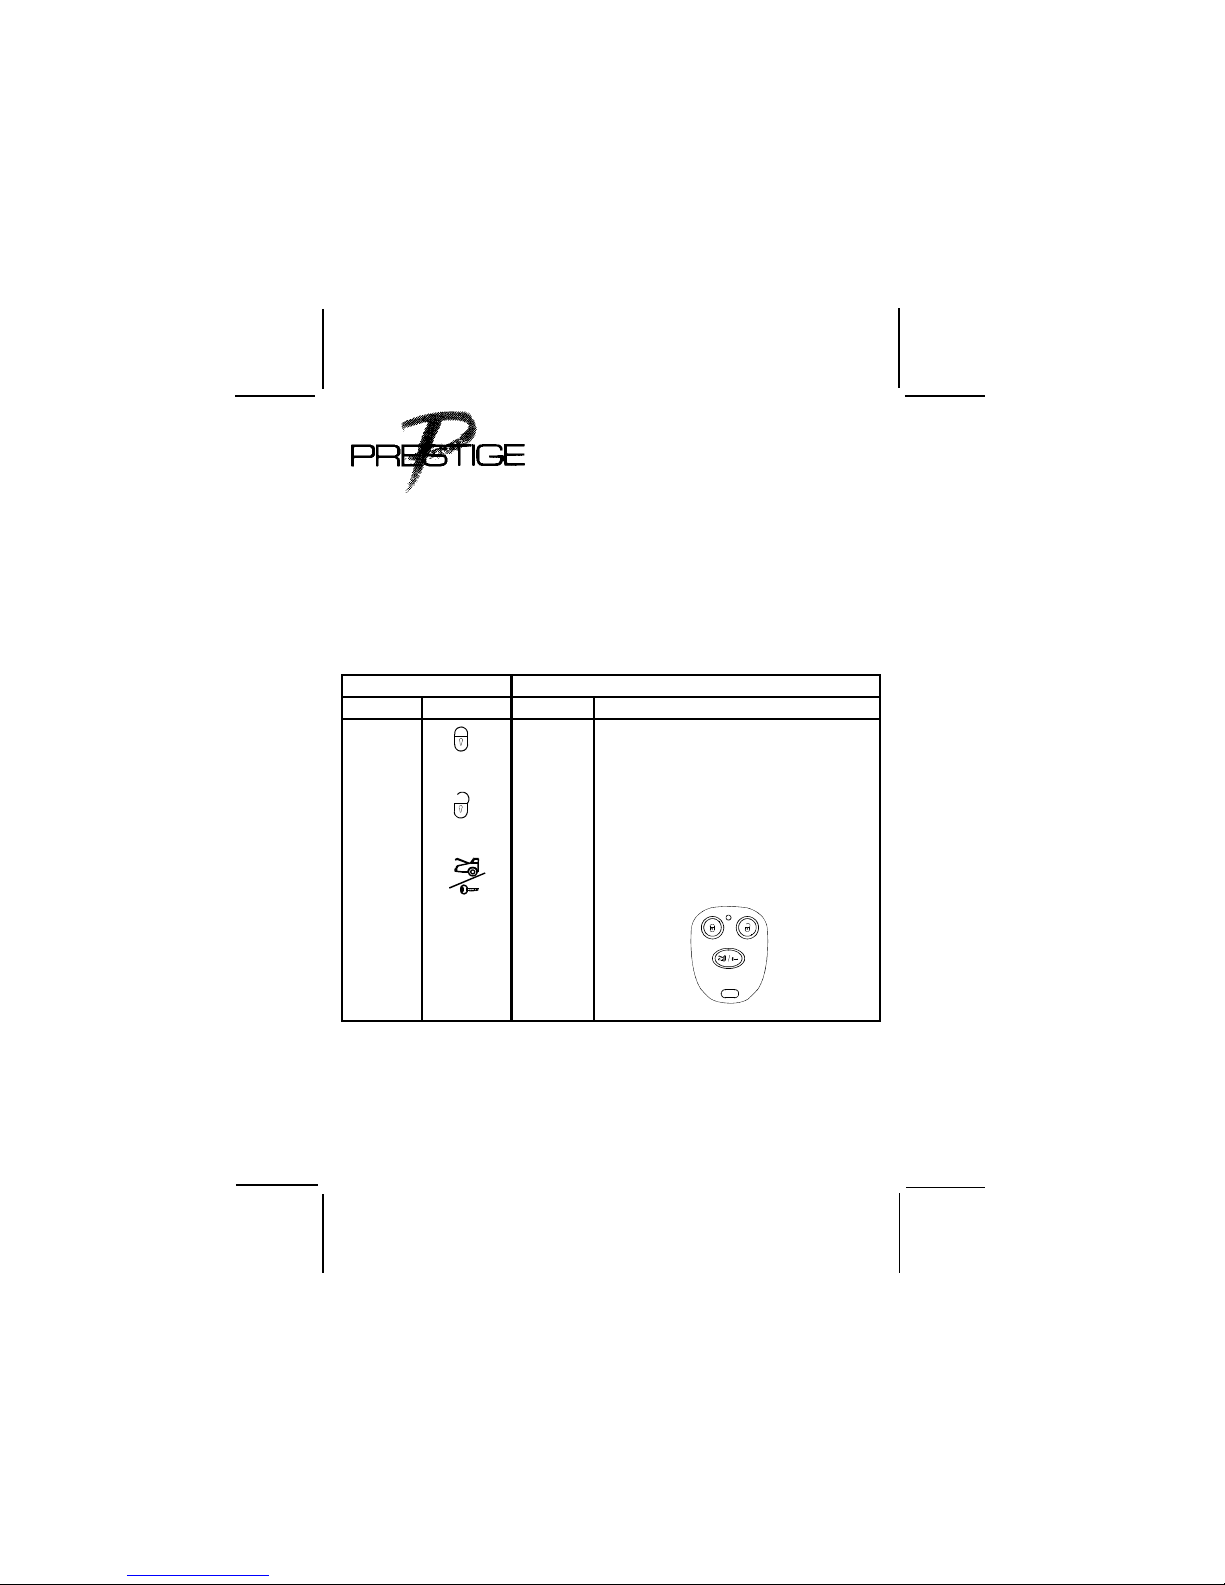
TRANSMITTER SYSTEM RECEIVER
CHANNEL BUTTONS CHANNEL FUNCTION
1 1 Remote Arm
*Remote Panic/Car Finder
*Remote Door Lock
2 2 Remote Disarm
*Remote Panic/Car Finder
*Remote Door Unlock
3 3 Remote Trunk Release/Remote Start
APSOE3B4SCF
* Remote Panic/Car inder is available only on certain models.
* Door Lock/Unlock may require additional components in certain vehicles.
AS 9075 Remote Car Starter
AS 9256 Remote Trunk Release Relay
AS 9154 Remote Garage Door Interface
AS 9153 Remote Window Roll Up
1
128-7768
1 of 4
Page 2

PROGRAMMING TRANSMITTERS:
It is important to remember that during programming, each individual step of
the procedure must be executed within 15 seconds of the previous step. When
the 15 second time limit is allowed to expire, the system will automatically exit
program mode. This is indicated by a long "chirp" from the siren.
Additionally, any time the ignition key is turned off while programming, the
system will immediately exit program mode. This is also indicated by a long
"chirp" from the siren.
TO PROGRAM ADDITIONAL TRANSMITTERS:
Some systems may only flash the parking lights to indicate that the transmitter
is learned, others may where indicated that the siren will emit a long chirp tone,
the optional horn may be connected, in which case neither or either both the
horn and siren may sound,
1. (a) Enter the vehicle, and turn the ignition key to the "on" position.
2. (a ) Press and release the valet/bypass push button switch 3 times.
3. (a) The dash LED will flash one time and the siren will "chirp" 1 time
indicating the system is ready to accept programming for channel 1,
Arm, Lock and Panic.
4. (a) You can assign the Lock/Arm button by pressing and holding the lock
button until the siren emits a long chirp tone.
The chirp tone confirms that programming of channel 1 was successful.
Up to 4 transmitters can be programmed, press and hold the selected button
of each additional transmitter until the chirp tone is heard, or move to step #5
5. Press and release the valet/override switch one time to advance to
channel 2.
6. (a) The dash mounted LED will flash 2 times, and the siren will "chirp" 2
times indicating that the system is ready to accept programming for channel
2. Unlock/2nd Unlock, Disarm, and Panic. Press and hold the Unlock button
on your keychain transmitter until the siren emits a long chirp tone. This confirms
that programming of channel 2 was successful. Up to 4 transmitters can be
programmed, press and hold the selected button of each additional transmitter
until the chirp tone is heard.
7. Press and release the valet/override switch one time to advance to channel
3.
2
128-7768
2 of 4
Page 3
8. The dash mounted LED will flash 3 times, and the siren will "chirp" 3
times, indicating that the system is ready to accept programming for
channel 3. Remote Start & or Trunk Release Output,
(where so equipped).
9. (a) Press and hold the Trunk/Key button on your keychain transmitter until
the siren emits a long chirp tone. This confirms that programming of
channel 3 was successful. Up to 4 transmitters can be programmed,
press and hold the selected button of each additional transmitter until
the chirp tone is heard.
NOTE: If programming to a Keyless Entry (non alarm) unit, there will be NO
chirp indication.
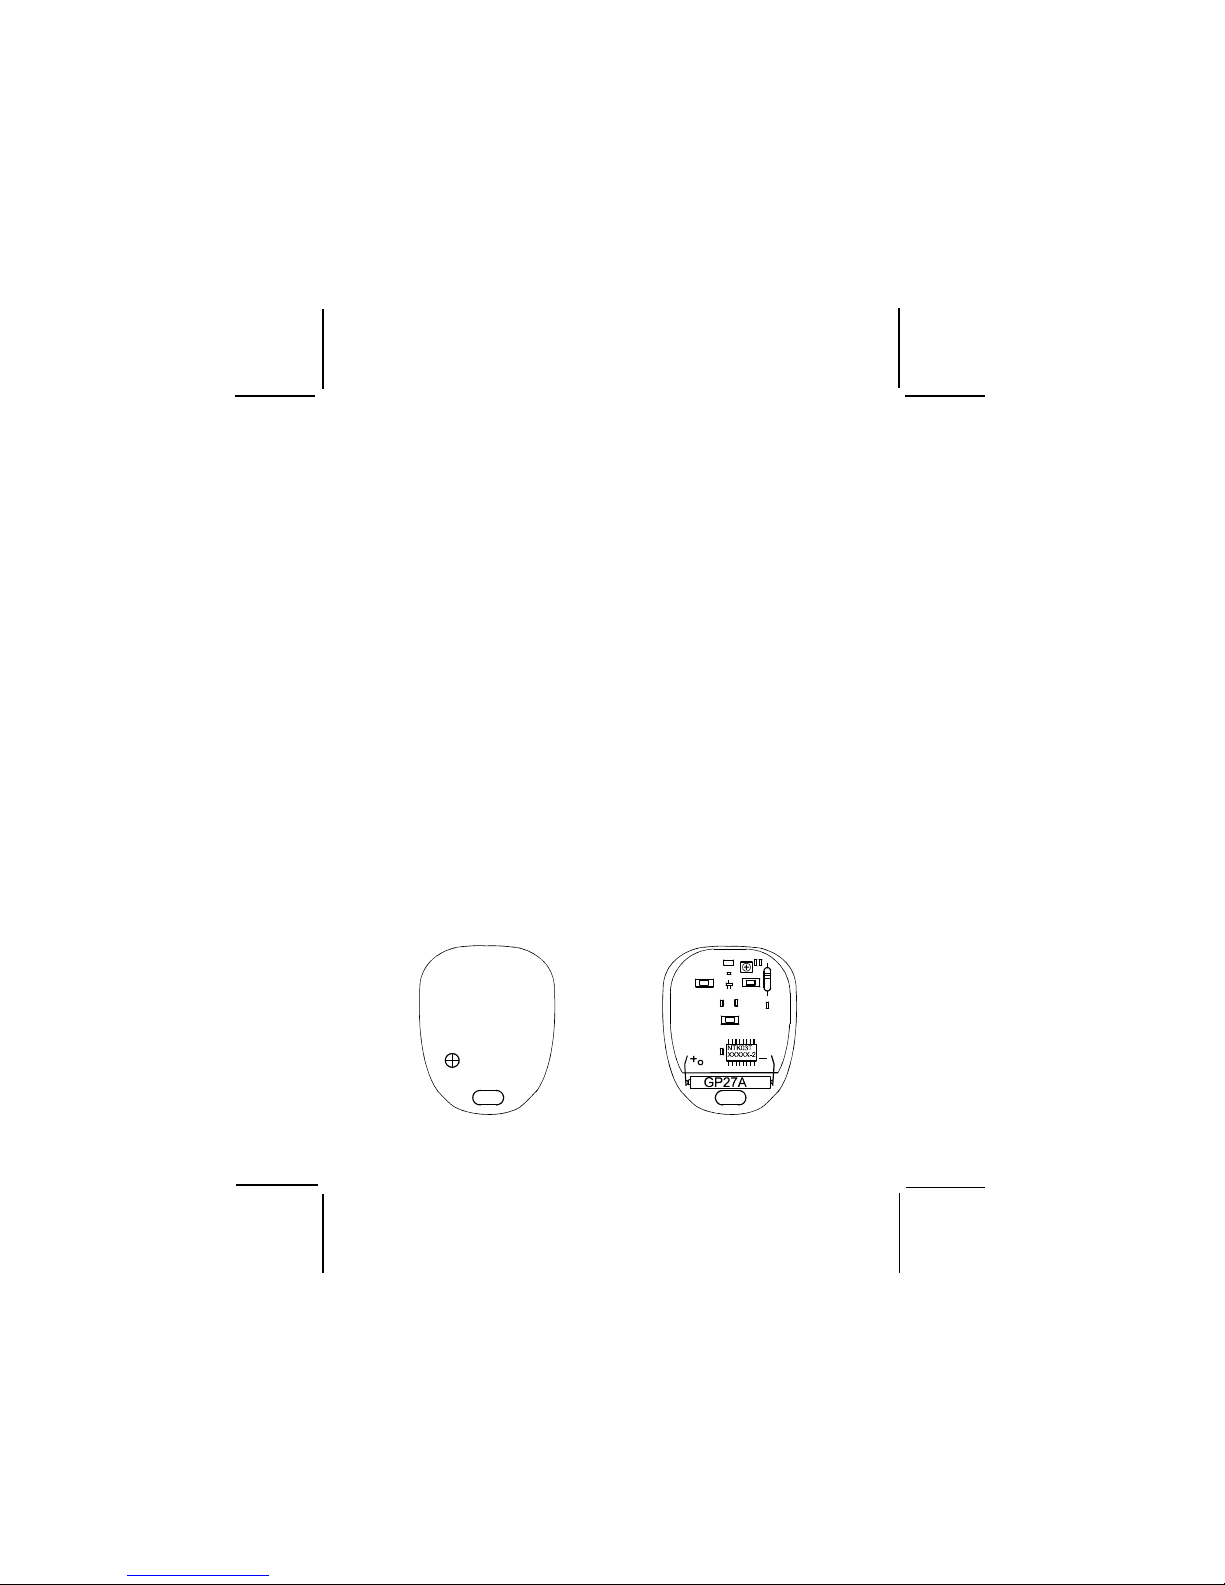
The transmitter incorporates a small red LED built into the case. This LED can
be used to indicate battery condition. You will notice a decrease in transmitter
range as the battery condition deteriorates. To replace the battery...
1. Remove the transmitter cover by removing the small screw from the back
of the transmitter case.
2. Remove the discharged battery, making note of the orientation of the + and
-contacts, and dispose of properly.
3. Install the new (type GP27A) battery, taking care to orient the + and - contacts
properly.
4. Replace the transmitter cover, taking care not to damage the LED or switches
on the circuit board.
3
128-7768
3 of 4
BATTERY REPLACEMENT:
Page 4

ORDER FORM FOR APSOE3B4SCF TRANSMITTER
IMPORTANT: To help us expedite your order, please print all of the information legibly,
and mail this form and your payment according to the instructions below. Please indicate
which button pad is used with your transmitter as indicated above. __________
Please indicate transmitter model number as found on back of case. ________
1. Name : ______________________________________________________
Address : _____________________________________________________
City : ___________________ State : ________ Zip Code : ______________
2. Telephone Number : (__________) ________________________________
3. Enter the total number of transmitters required here : ____________________
4. The cost per transmitter is $ 65.00.
5. Enter the total amount enclosed here : _______________________________
( New York state residents must include the appropriate sales tax. )
6. Method of payment; check one of the boxes below.
Mastercard Visa Check or money order * (do not send cash)
* Make checks payable to Audiovox Corporation
7. Credit Card Number : ___________________________________________
8. Credit Card Expiration Date : __________________________
Credit card purchasers can order additional or replacement
9. Mail this form, and your check, to ;
Audiovox Electronics Corp., 150 Marcus Blvd., Hauppauge, NY 11788
© 2006 Audiovox Electronics Corp., 150 Marcus Blvd., Hauppauge, NY 11788 128-7768
transmitters by phone. Simply dial 1 - 800 - 645 - 4994, and
follow the instructions from the operator interface.
Attn.: TRANSMITTER DEPARTMENT
4
128-7768
4 of 4
 Loading...