

Page 1
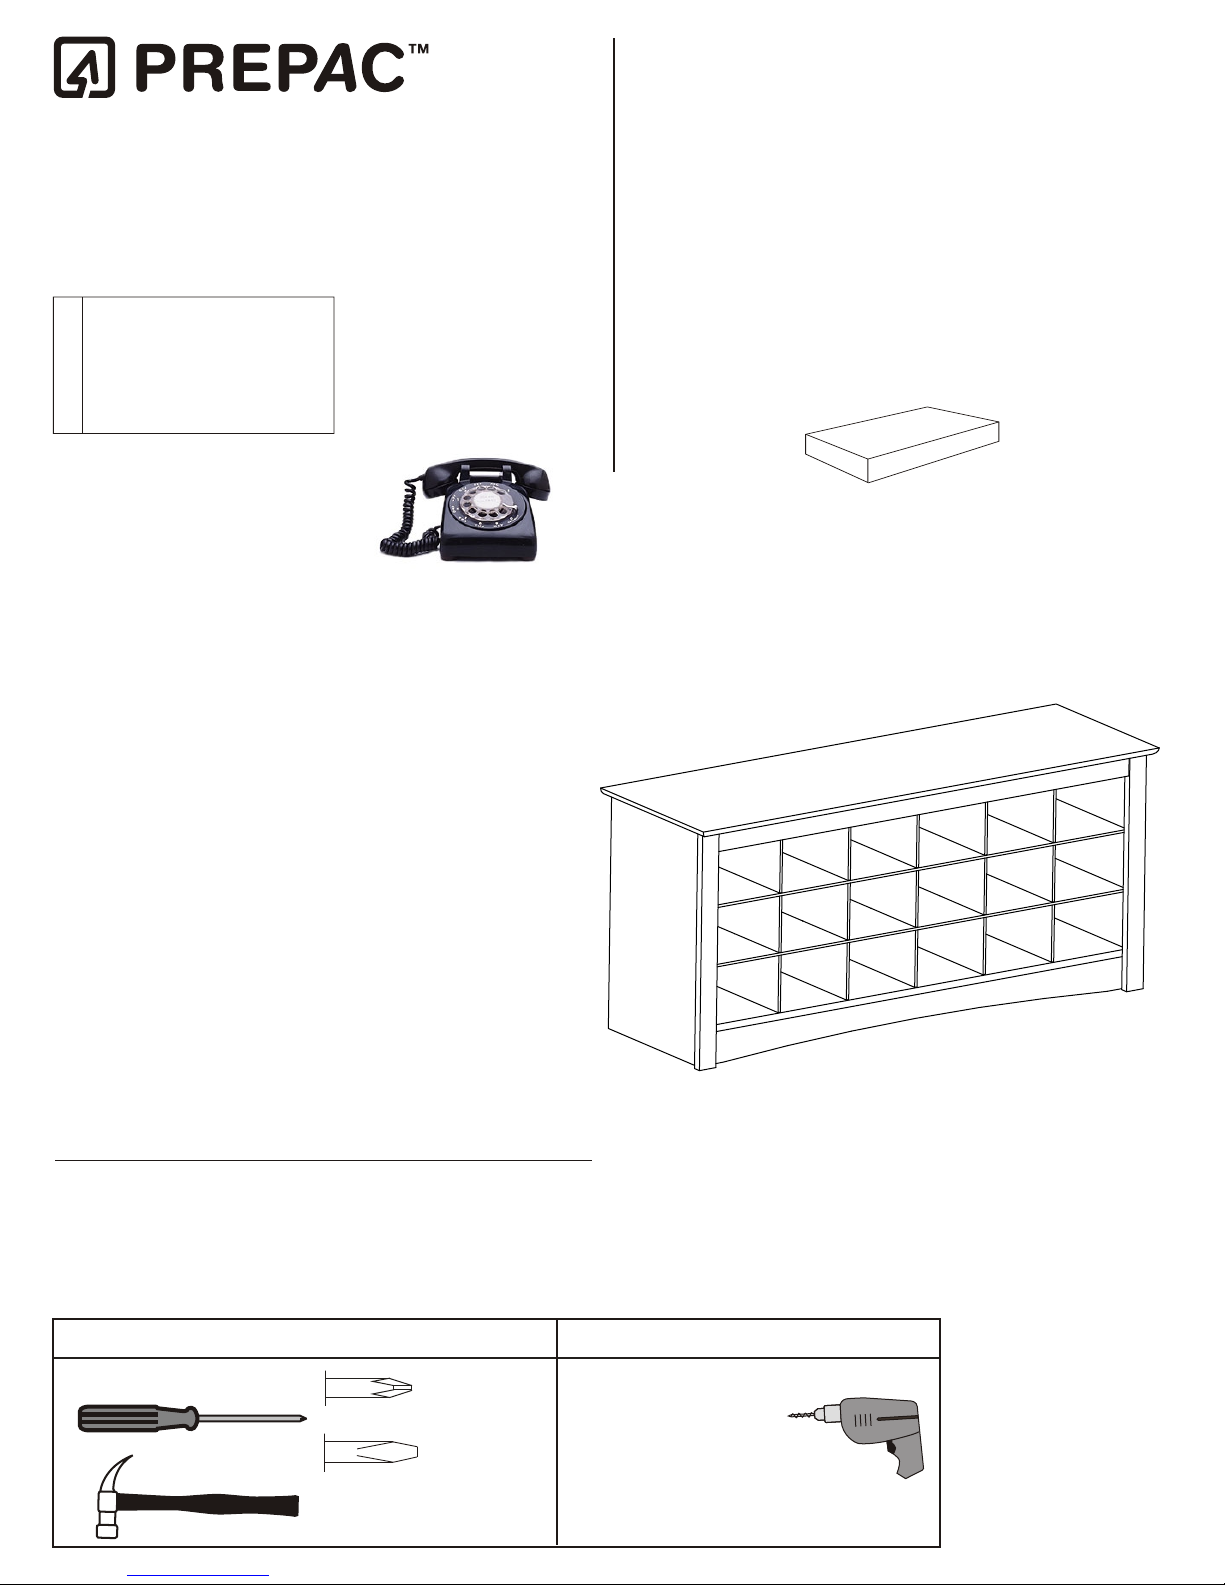
Assembly Instructions
Shoe Cubbie
Model #
SS-4824
This product is shipped in
1 carton
DATE STAMP
CALL US FIRST
1-877-PREPAC1
1-877-773-7221
Mon - Fri 7am - 4pm PST
10am - 7pm EST
• For help with assembly
• If you have received a damaged or defective part or
are missing hardware.
We will process replacement parts
less. Parts are shipped via
Before you call please:
1) Record the following information from the shipping
label on the outside of the box. You will need it for
warranty purposes:
• Ship To Name
• Sales Order Number
UPS Ground or mail.
in 2 business days or
1 of 1
2) Note the
3) Review the contents of your shipment to determine
what you are missing.
Online Option:
Fill out the Replacement Parts Order form in the Product
Support section of our website: www.prepacmfg.com
product model number.
Required Tools
Screwdrivers
Hammer
Phillips Head
Flat Head
Optional Tools
Using a power screwdriver
will speed up assembly.
Caution
Do not over tighten any screw.
The last few turns of each screw
should be done very slowly or by hand.
Prepac Manufacturing Ltd.
6705 Dennett Place
Delta, BC V4G 1N4
LB-0670
2015-01-13
Page 2

Cabinet Parts
C1
C2
C4
C9
C3
C8
C10
C5
C6
C11
C8
C7
C1
Profiled Top (1)
TP-0712 Black
TP-0762 Espresso
TP-0702 White
TR-0764 Espresso
C7
Unfinished
Stabilizer (1)
ST-4541
Rear
C2
Top Molding (1)
TR-0714 Black
TR-0704 White
C8
Side Molding (2)
TR-4141 Black
TR-4641 Espresso
TR-4041 White
C3
Left Side (1)
SL-4141 Black
SL-4641 Espresso
SL-4041 White
C9
Backer (1)
BB-4141 Black
BB-4641 Espresso
BB-4041 White
C4
Right Side (1)
SR-4141 Black
SR-4641 Espresso
SR-4041 White
C10
Vertical Divider (5)
DV-4141 Black
DV-4641 Espresso
DV-4041 White
C5
Bottom (1)
BT-4141 Black
BT-4641 Espresso
BT-4041
White
Horizontal Divider (2)
DV-4142 Black
DV-4642 Espresso
DV-4042 White
C6
Front Stabilizer (1)
KR- 4141
KR-4641 Espresso
KR- 4041 White
C11
Page 2 of 12
Black
Page 3

Hardware Identification
Cabinet Hardware
2" Confirmat Screws
STEP 1
1a.
Insert cams into holes on left (C3) and right (C4) sides and
the unfinished side of the bottom (C5)
(6)
RM-0001
Plastic Dowels (10)
Screw Cover Caps (6)
RM-0226 Black
RM-0228 Espresso
RM-0008 White
RM-0072
Estimated Time: 5 minutes
15mm Zinc Cam (8)
¾” Nail (18)
RM-0022
RM-0103
Green Twister Dowel (8)
RM-0501
Make sure arrow on
cam faces hole for
connecting bolt
1b.
C5
Screw green twister dowels into Left (C3) and Right (C4) Sides
C4
C3
Page 3 of 12
Page 4
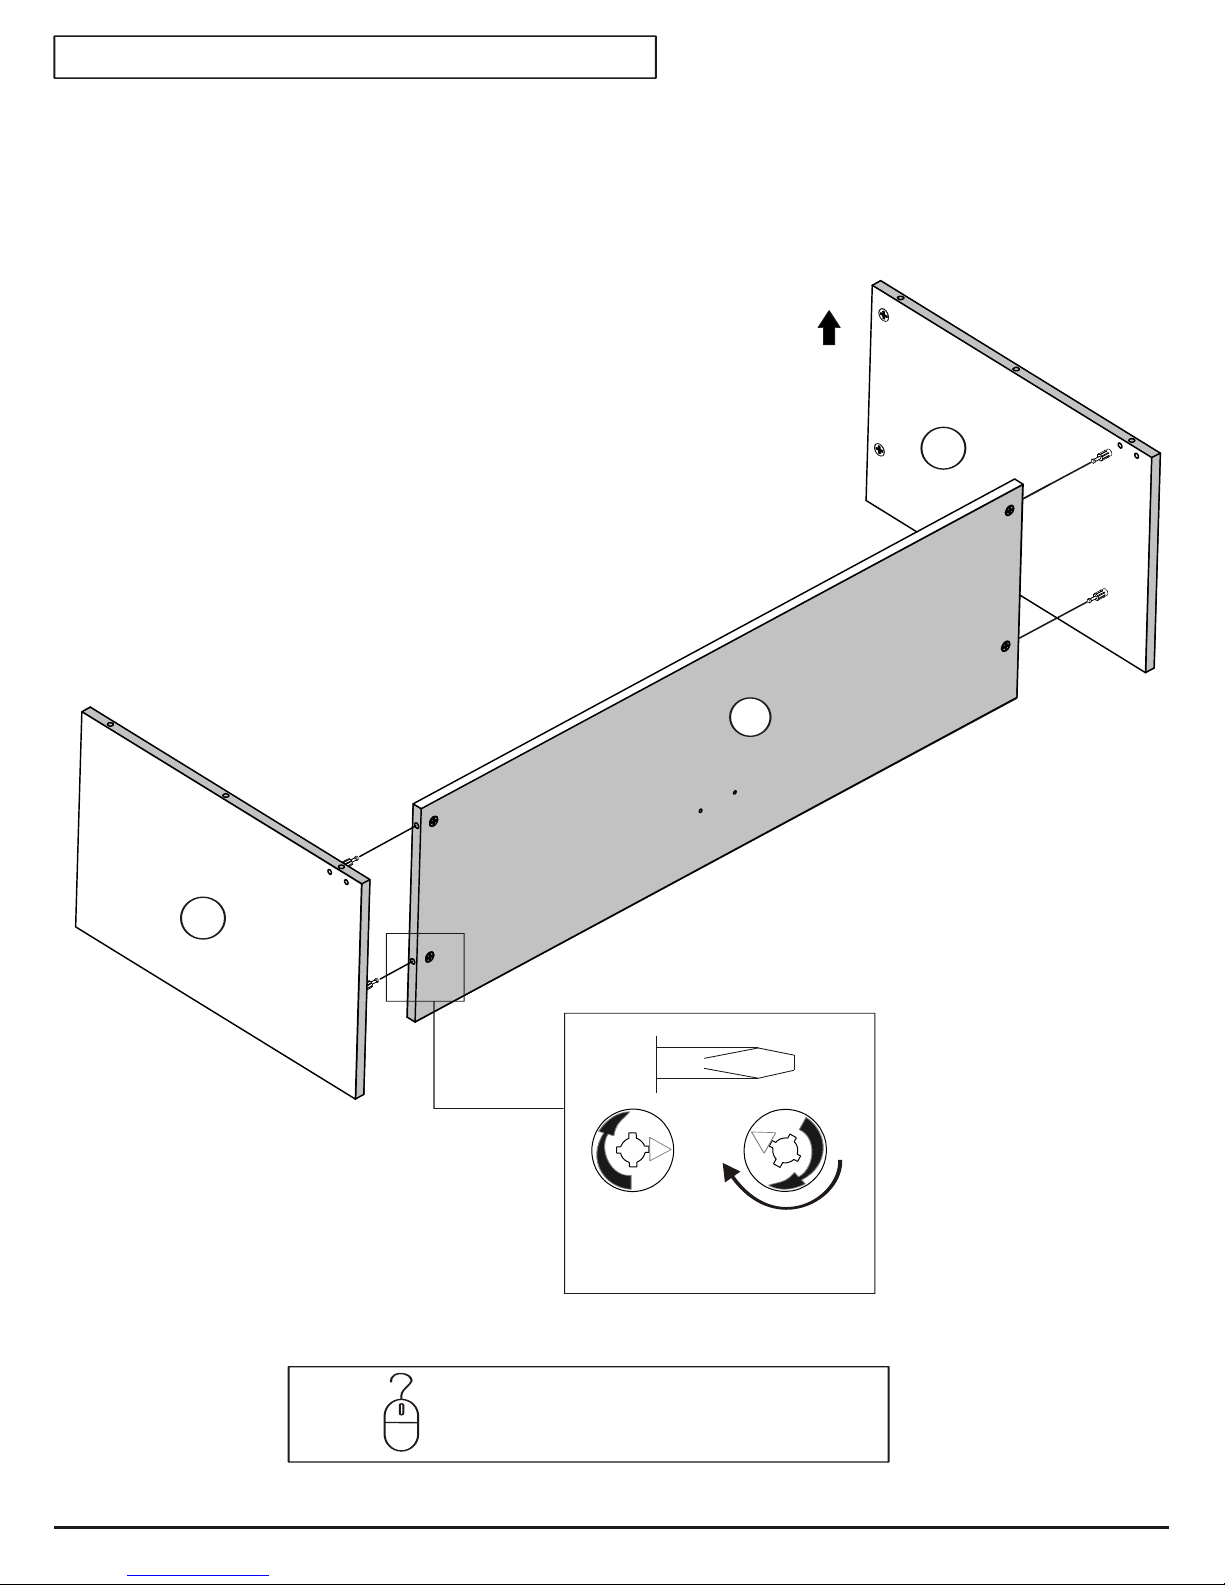
STEP 2
Estimated Time: 5 minutes
2a.
2b.
Attach the LEFT SIDE (C3) to the bottom (C5) and tighten
cams using a FLAT HEAD screwdriver.
Repeat for the RIGHT SIDE (C4).
FRONT
C4
C3
Unlocked
C5
Locked
Turn 210°
ONLINE
HELP
To see a video showing how to use cams and
connectors, visit Product Support on our website:
www.prepacmfg.com/support/assemblyvideos.html
Page 4 of 12
Page 5

STEP 3
Estimated Time: 10 minutes
3a.
3b.
Attach front stabilizer (C6) to left and right sides (C3 & C4) with
Confirmat screws and add screw cover caps.
Attach unfinished rear stabilizer (C7) to bottom (C5) with Confirmat
screws and insert screw cover caps
C4
C3
C6
C5
C7
Page 5 of 12
Page 6

STEP 4
Estimated Time: 5 minutes
4a.
Screw green twister dowels into the unfinished
side of the top (C1) where shown
C1
4b.
Attach top to sides and lock cams
using a flat head screwdriver
Unlocked
Locked
Turn 210°
Page 6 of 12
Page 7

STEP 5
Estimated Time: 10 minutes
5a.
5b.
Hammer plastic dowels halfway into side and top moldings
Attach top & side moldings.
Using your hands, apply even
pressure to moldings and press firmly
Do not use a
hammer
It may damage
the molding
NOTE:
The remaining holes on the top
will not be used.
Page 7 of 12
Page 8

STEP 6
Assemble the shoe cubbies by interlocking the vertical and horizontal dividers as shown below.
Estimated Time: 2 minutes
Finished
Edge
FRONT
Finished
Edge
Page 8 of 12
Page 9

STEP 7
Slide the assembled dividers into the cubbie bench from the back.
Make sure the finished edges are facing the front
Estimated Time: 5 minutes
FRONT
Finished
Edges
Page 9 of 12
Page 10

STEP 8
Nail backer as indicated. You may have more nails than
are necessary
Estimated Time: 2 minutes
Page 10 of 12
Page 11

This page intentiionally left blank
Page 11 of 12
Page 12

Furniture Care Q&A
Q. How do I clean your products?
A. We recommend that you simply wipe your products with a clean, damp cloth and then dry immediately with
another clean cloth to maximize the life span and look of your unit
Q. Can I paint or varnish your products?
A. Our products are made from durable composite woods with a laminate finish and therefore should not be
painted or varnished.
Q. Are they waterproof?
A. NO. If liquid is spilled and quickly wiped up, no damage will be done to your product. However, continuous
exposure to liquids or high humidity may cause damage to the board.
Give Us Your Feedback
CALL US
1-877-PREPAC1 (1-877-773-7221)
Mon - Fri 7am - 4pm PST
10am - 7pm EST
Email Us: assembly@prepacmfg.com
Thanks!
Page 12 of 12
 Loading...