

Page 1
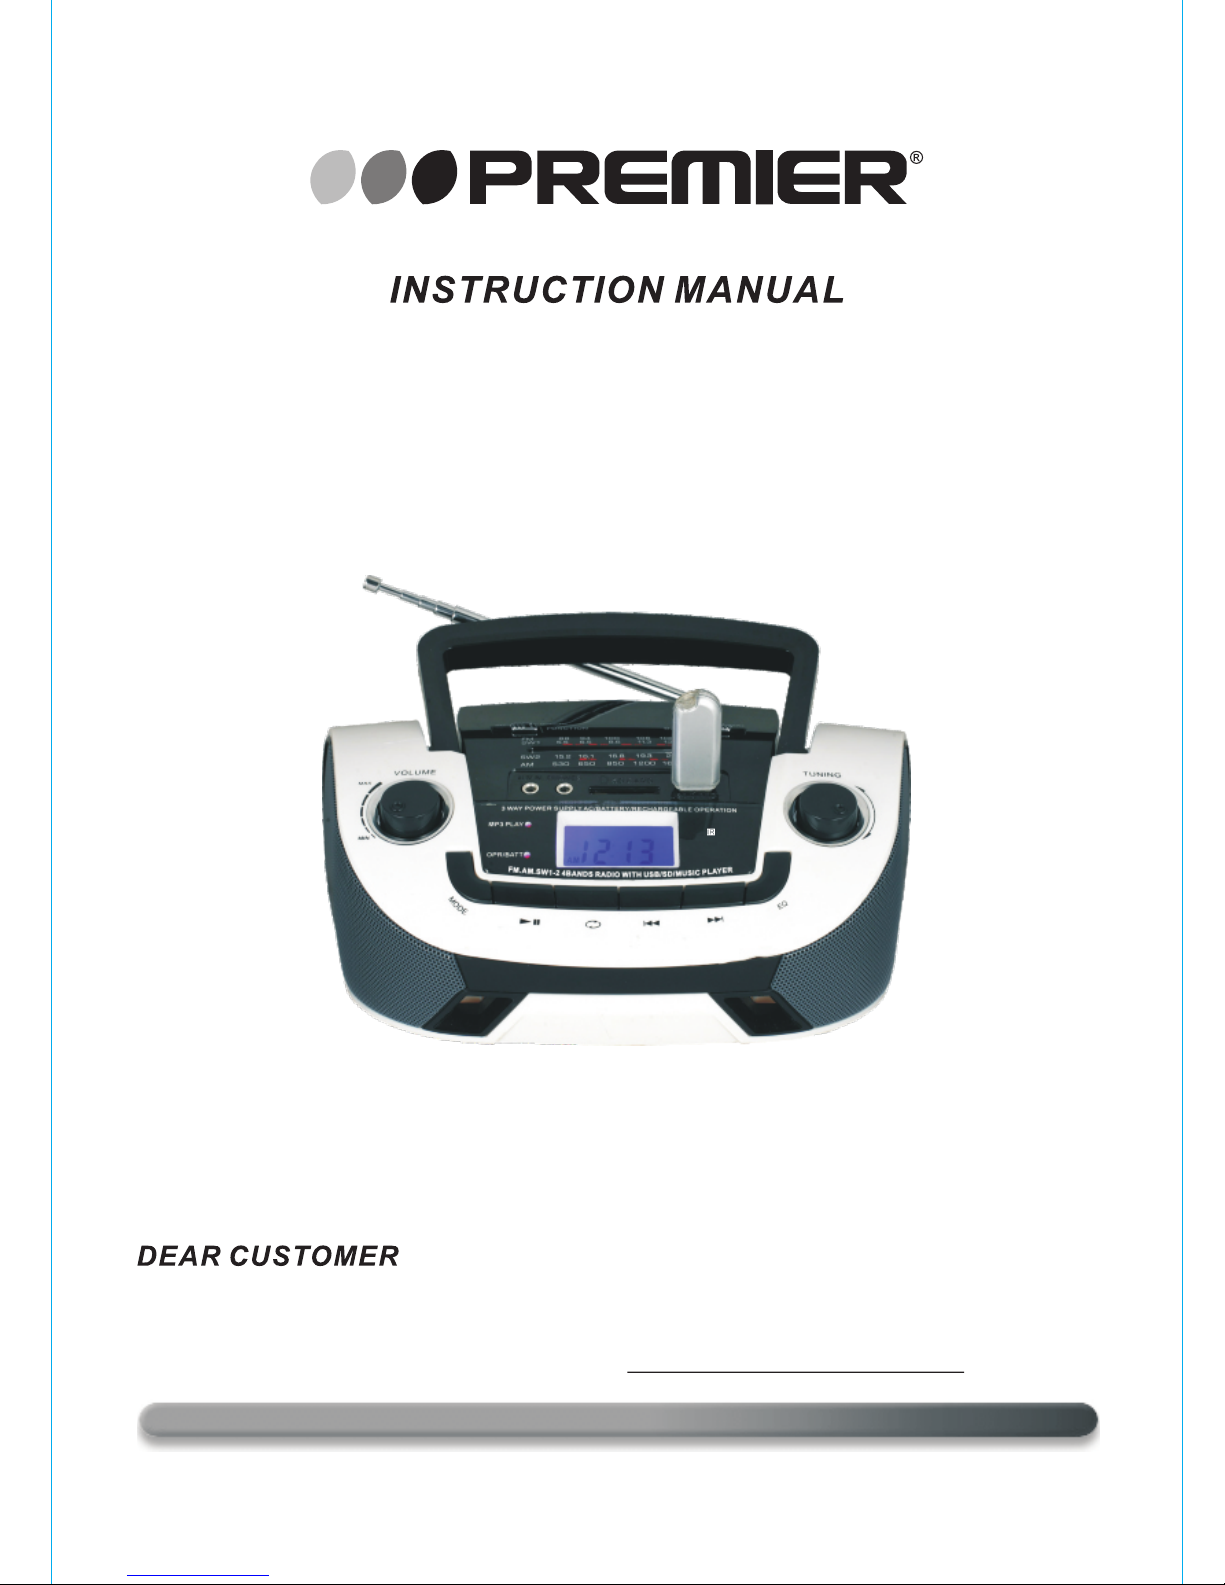
PORTABLE USB/SD/MMC CARD READER
SX-44 7 2USD
In order to achieve the best performance of your product, please read this
instruction manual carefully before using, and keep it for future reference.
If you need extra support, please write to [email protected]
Page 2
CAUTION
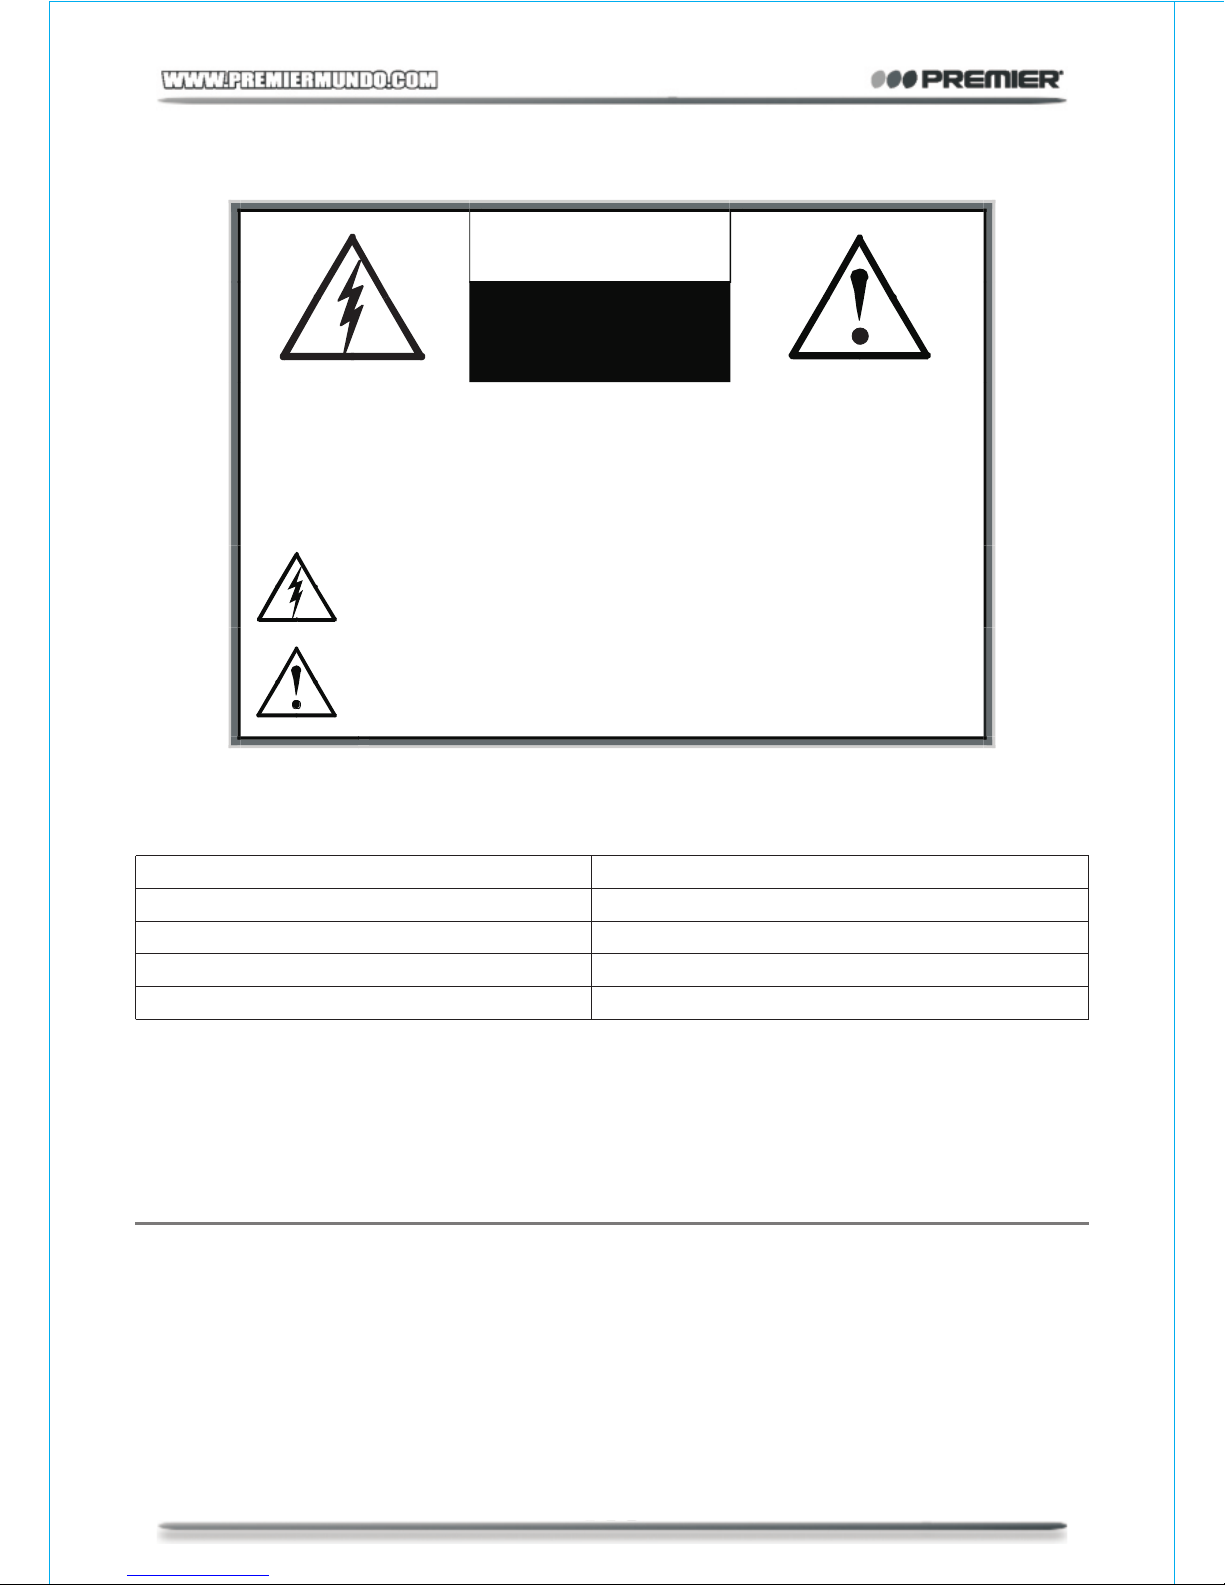
RISK OF ELECTRIC
SHOCK, DO NOT
OPEN
Caution: To reduce the risk of electric shock do not open
this device, there are not serviceable parts for customers.
Please refer any maintenance or repair to qualified
personnel.
This sign means the existence of dangerous voltage at
the inside of the unit, which states a risk of electric shock.
This sign means that there are important instructions of
operation and handling in the manual that comes with this
device.
PREMIER CUSTOMER SERVICE
Venezuela:
Colomb ia:
Panama:
We bsite
E-mail :
NOTE
This unit may be submitted to changes in specifications, characteristics and/or
operation without prior notice to the user, in order to continue improving and
developing its technology.
0800 – ELECTRIC (353-2874)
01-900-331-PEJC (7352)
300-5185
www.premiermundo.com
[email protected]
1
Page 3

WARNING
To reduce the risk of fire or electric shock, do not expose this apparatus to rain or
moisture.
To avoid electrical shock, do not open the cabinet.
Refer servicing to qualified personnel only.
Do not install the appliance in a confined space, such as a bookcase or built-in
cabinet.
To reduce the risk of fire or electric shock, do no place objects filled with liquids,
such as vases, on the apparatus.
Connect the apparatus to an easily accessible AC outlet. Should you notice an
abnormality in the apparatus, disconnect the main plug from the AC outlet immediately.
WARNING
1.Battery may explode if mistreated.
2.Do not recharge, disassemble or dispose of in fire.
AC operation
1.Before the first connecting of the appliance check that voltage indicated on the rating
label corresponds to the mains voltage in your home.
2. Plug the corresponding end of cord into the power socket on the rear of the set.
3. Insert the plug into power supply.
Battery operation
Insert 4 pcs of UM1 batteries. Please observe correct battery polarities or the set
will not work.
Recharging the Battery (Built in Rechargeable Battery)
1.Plug in the power(AC 110/220V)can be automatically charged, It will automatically
stop charging when the electricity be saturation.(Any state)
2.The first charge must be more than 12 hours.
3.Theory of working time is 2 hours.
Note: This unit does not charge UM1 batteries installed in the battery compartment.
Accessories
1.
AUX-IN CONNECTOR CABLE 1 pc
2. Remote controller
3. Power cord
4. Instruction manual
1 pc
1 pc
1 pc
5. SILICA GEL 1 pc
2
Page 4
1
10 12
11
28 9
4
5 5
6
7
17
14
16 15
13
1819
20
3
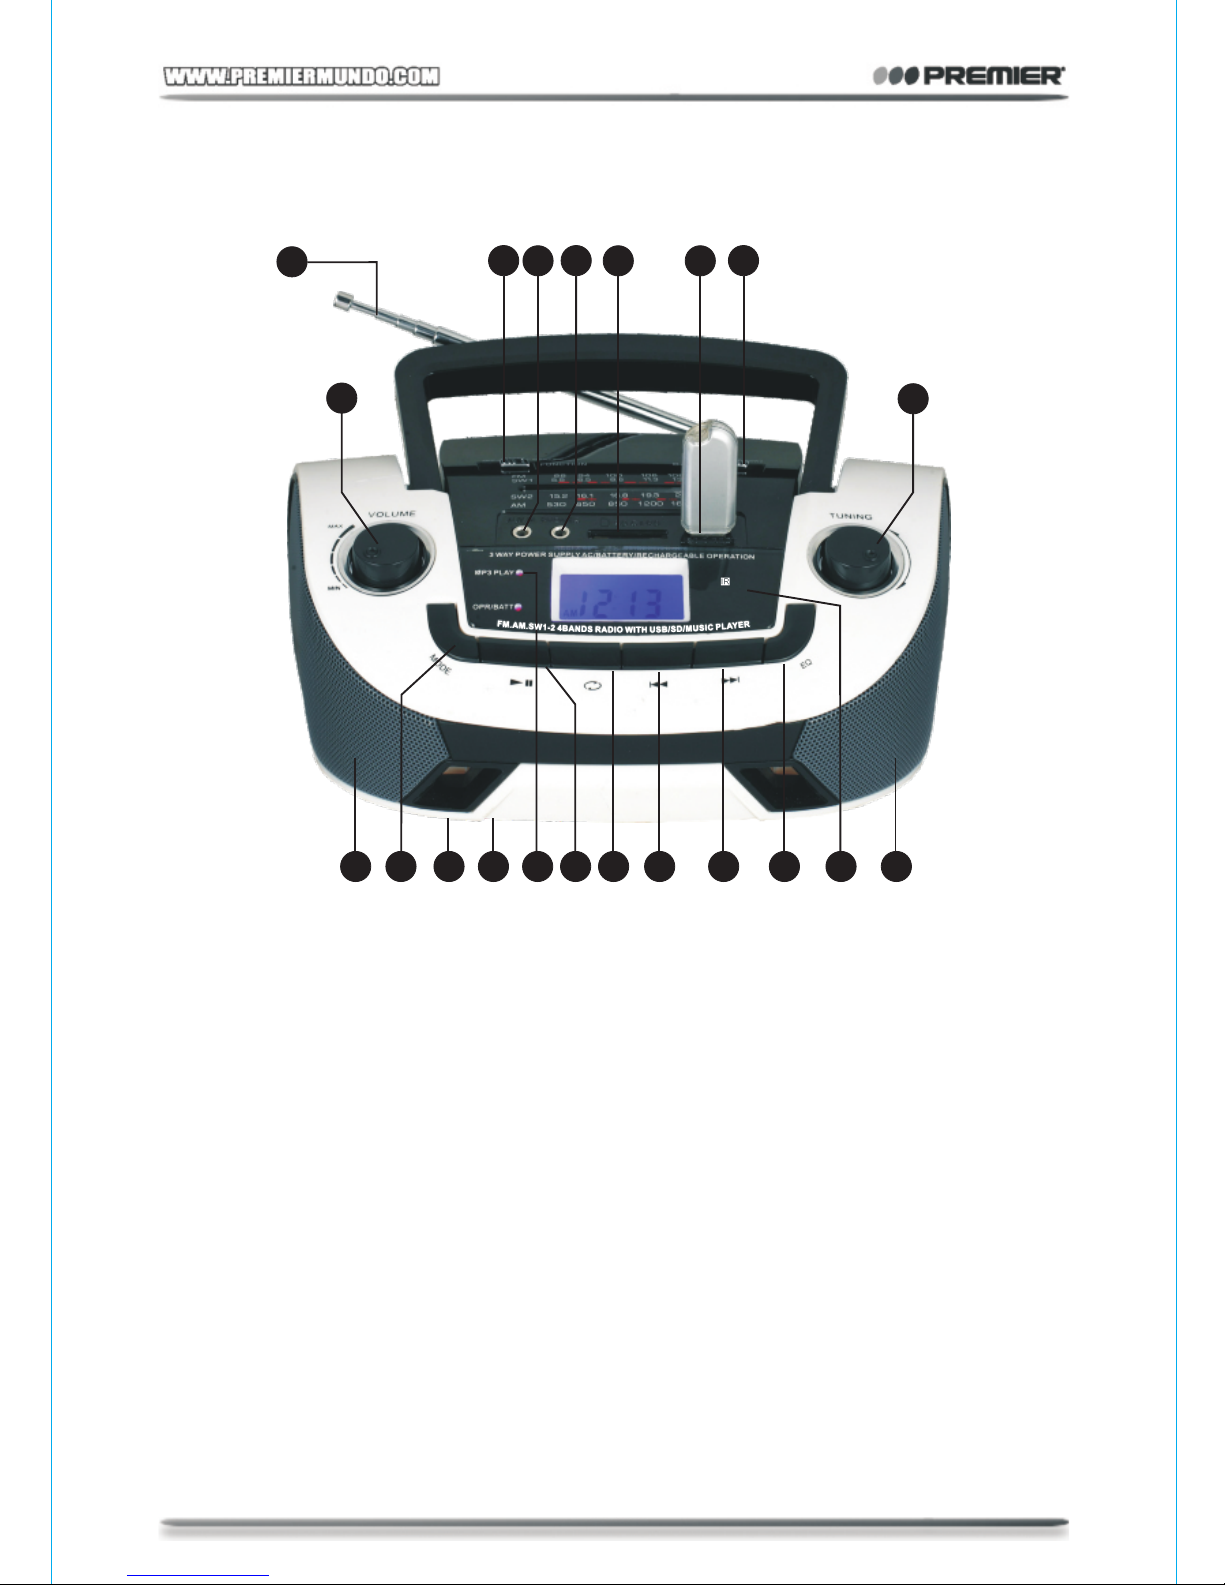
1. Antenna 2. Band switch
3. Tuning knob 4. Volume control
5. Built in Speaker 6. Battery compartment(BACK)
7. AC power socket(BACK) 8. Function switch
9. Phone Jack 10.AUX-IN Jack
11.USB connection 12.SD connection
13.USB Fast forward Button 14.USB Rew Button
15.USB Repeat button 16.USB Play/pause button
17.Mp3 indicator 18.EQ Button
19.Mode Button 20.IR receiver
3
Page 5
Remote controller (RC)
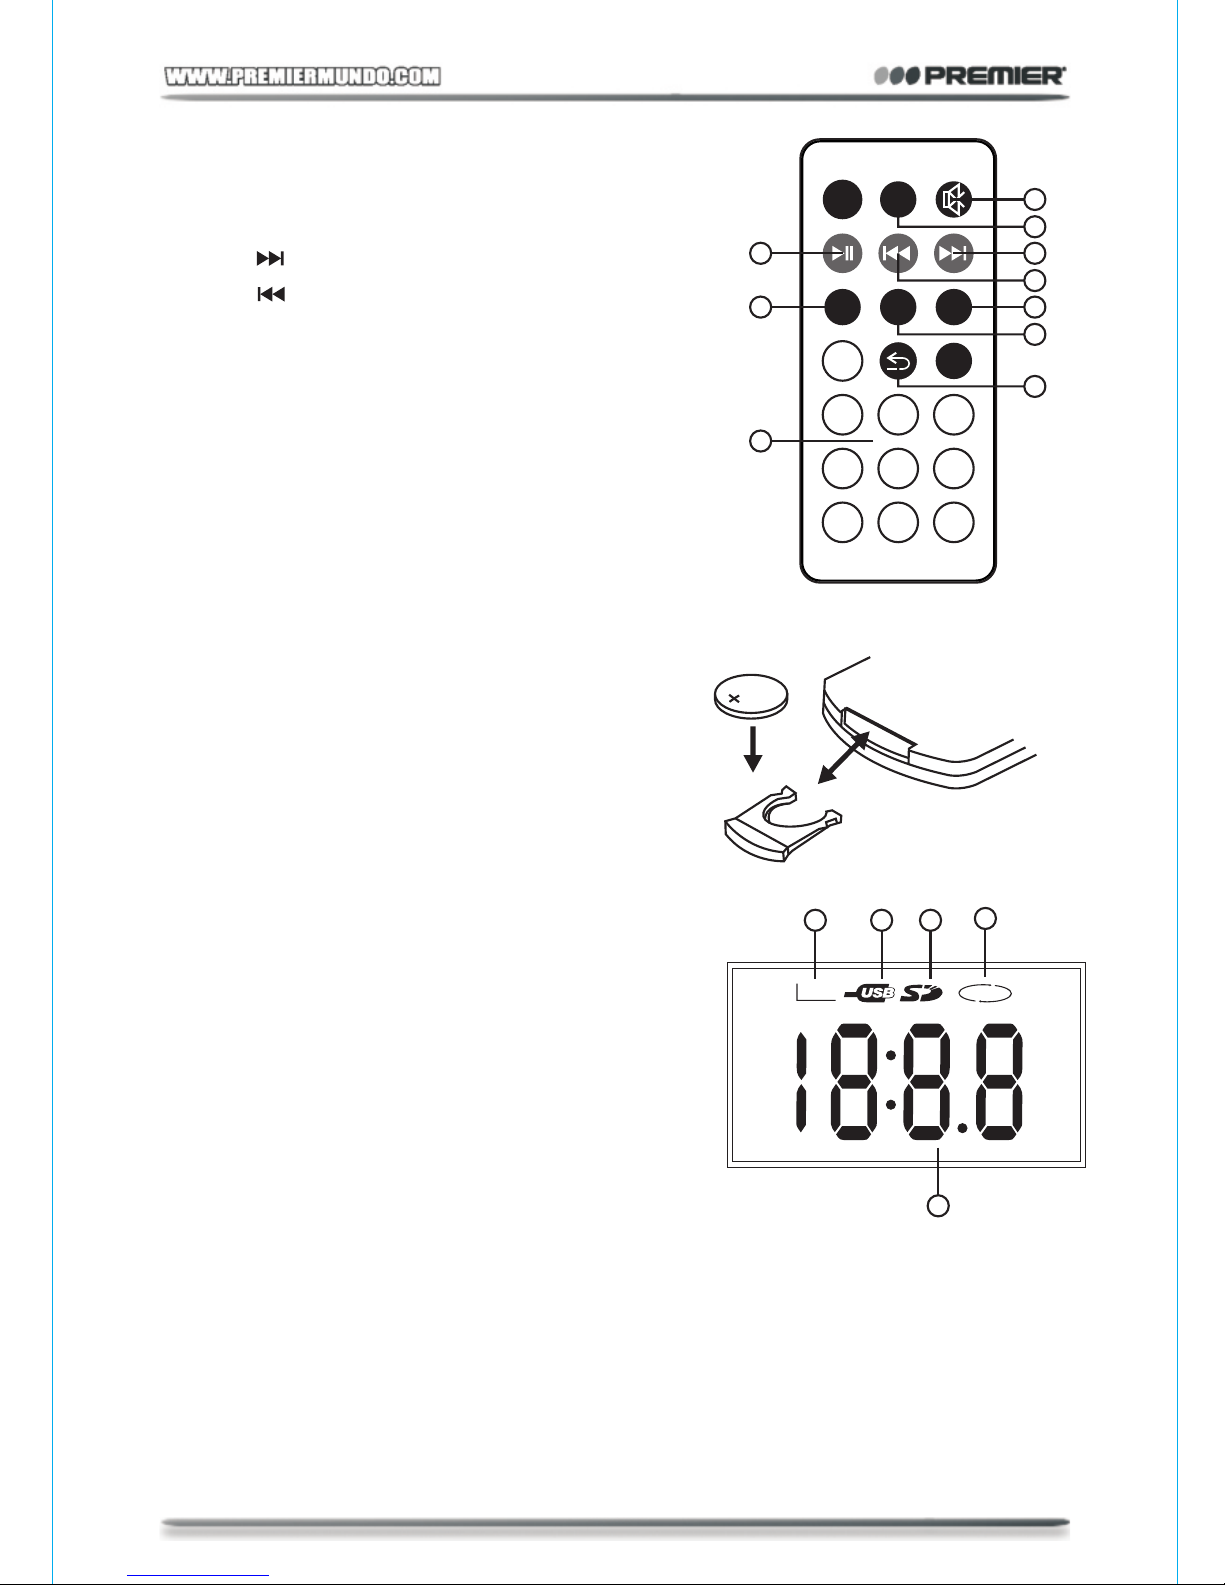
1.
AUDIO MUTE button
2.
MODE button
3.
PLAY/PAUSE button
4.
NEXT/ button
5.
PREV/ button
6.EQ button
7.VOLUME LEVEL+ button
8.VOLUME LEVEL- button
9. REPEAT button
10.
NUMERIC KEYS
10
MODE
PLAY/PAUSE
NEXT
PREV
3
VOL+VOL-
6
EQ
0
1 2
4
VOL+VOL-
3
5
6
1
2
4
5
7
8
9
Changing the battery
When the battery becomes weak, the
operating distance of the Remote Control is
greatly reduced and you will need to replace the
Lithium battery.
1. Remove the battery compartment from
bottom of the Remote Control.
2. Install 1 “CR2025” Lithium battery with the
positive side facing up.
3. Replace the battery compartment.
Note: O
nly playback of MP3 is available.
LCD Display
1. Message or number indicators.
(Title, Chapter, playing time or other information)
2. AUXIN indicator
3. USB play indicators.
4. SD/MMC Card play indicators.
5.REP1: Repeat one track/ chapter indicator.
REP All: Repeat full disc/ title indicator.
FM
PM
AM
2
AUX
7
8 9
3 4
5
1
ALL
MHz
RADIO operation
1. By factory default, RADIO starts once power is on,
2. Push AM/FM/SW1/SW2 to switch between
AM/FM/SW1/SW2 band.
3. Extend the length of the telescopic and to
enhance FM reception, turn the unit horizontally to enhance AM reception.
4. Rotate TUNING to tune to a desired frequency.
USB(SD)PLAYBACK
1.Turn on the power
1
4
Page 6
2.Set the function selector to USB(SD)
3.Insert a USB flash drive(or a SD card)with Mp3 format music, the unit will play
automatically, press it again to continue the playback, press repeat button to repeat
the playing song, press rew button to select the previous song and f.f button to the
next song.
NOTE: This product can support memory size of USB/SD/MMC device up to 16GB.
AUX-IN
The unit can be used as an audio amplifier
through the AUX-IN jack equipped.
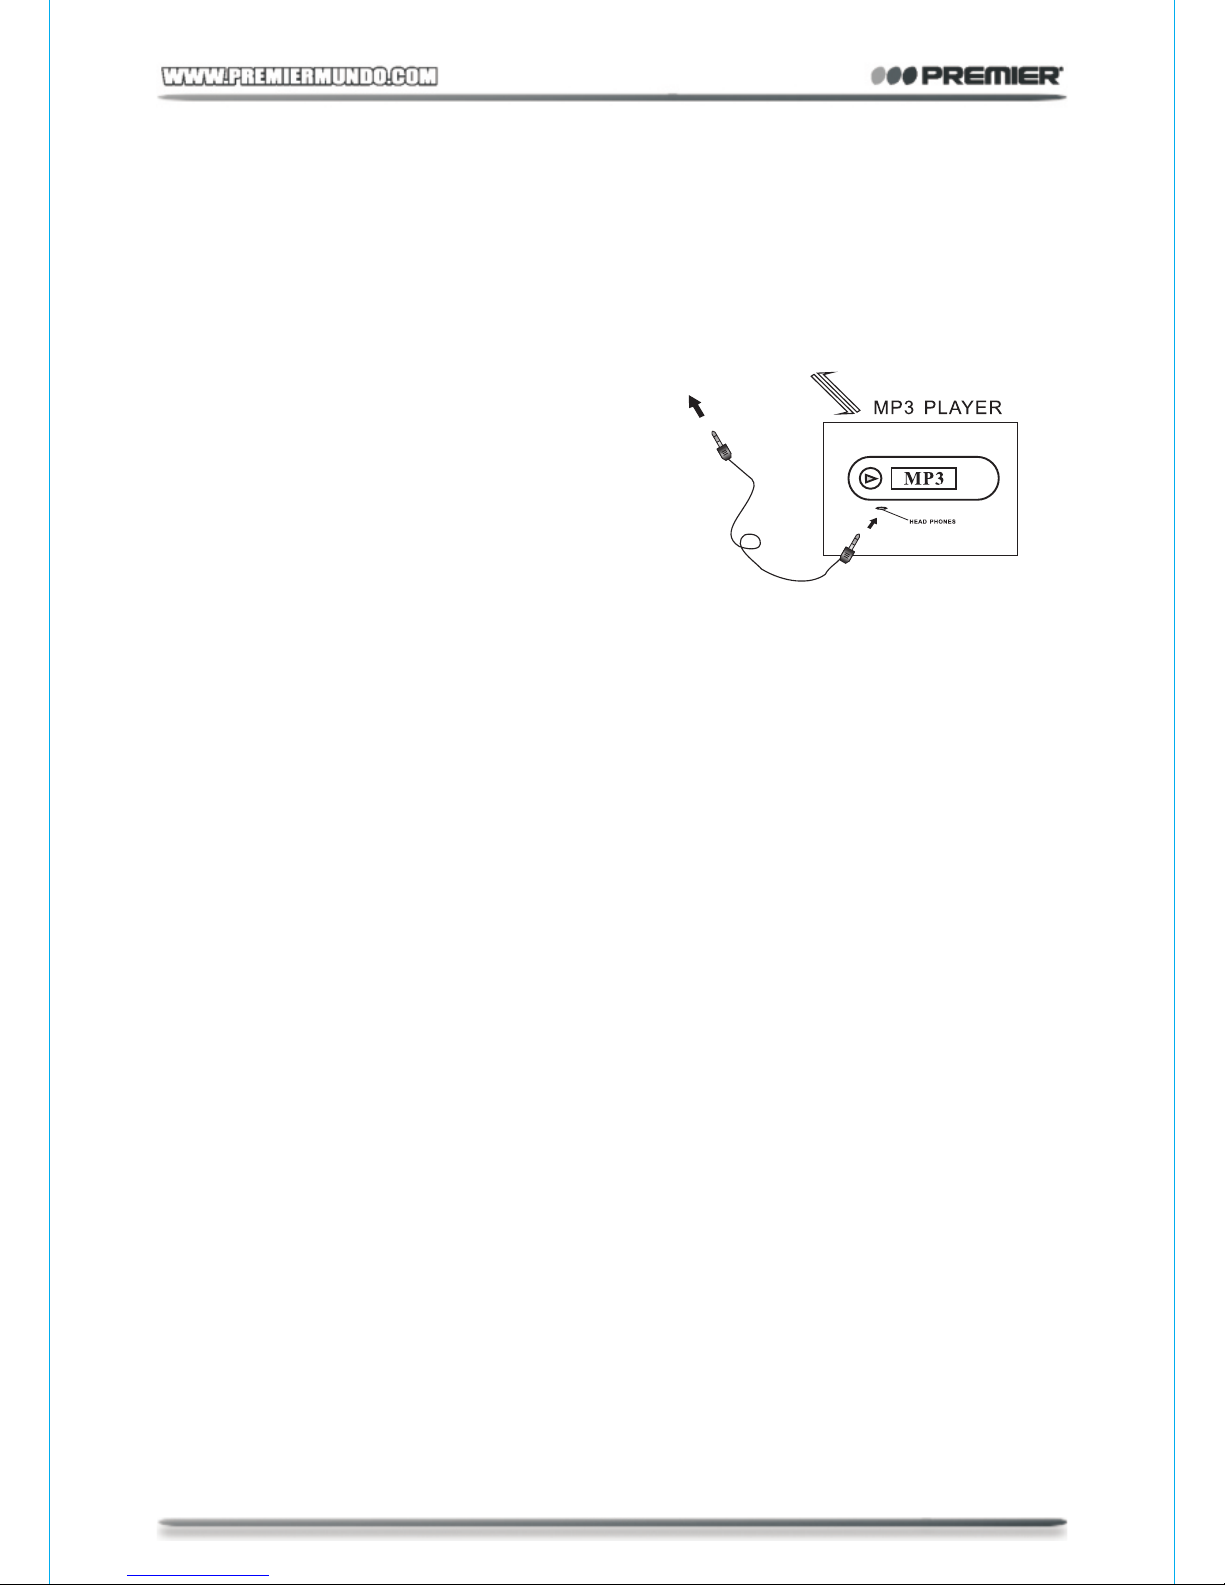
1.Select function AUX-IN.
2.Connect the unit's AUX-IN jack with a
3.5mm stereo phone plug.
3.Connect the other end of the cable to the
MP3 Player or other audio sources. Slowly adjust the volume of the source equipment
to an appropriate level.
4.To change to radio, just unplug the AUX-IN cable from the jack of the unit.
Note: USB/SD/MMC features are not available when insert a AUX-IN cord.
Specifications
FM Frequency Range............................88-108MHz
AM Frequency Range...........................530-1600KHz
SW Frequency Range ..........................5.5-21.5MHz
FM/SW .......................... ..........................Telescopic antenna
AM ...........................................................Built-in ferrite bar antenna
Storeage Media......................................USB Flash Drive/ SD Card/ MMC Card
Speaker...................................................76mm cone type(2)
3.5mm Headphone Socket ...................For 32 ohm
Impedance Headphones
Power output..........................................1.8W+1.8W(EIAJ 4OHM x 2)
Power requirements ..............................DC 6V using 4 UM1 batteries or
1 x 6V rechargeable battery
AC 110V/220V ,60/50Hz
Power consumption ...............................10W
Dimensions(LxWxH) .............................250x170x105 mm
Weight (excluding batteries).................1.2KGS
Inputs AUX-IN ........................................500mV/50kΩ
Specifications and external appearance are subject to change without notice.
5
Page 7
6
Page 8
Page 9
87
 Loading...