

Prem-I-Air EH0539 User Manual

EH0539
9000 BTU DC Inverter Window Air Conditioner
with Remote Controller & Timer

Important
These instructions should be read carefully and left with the user of
the product for future reference.
Before Use
You must inspect the appliance including its cable and plug for any
signs of damage. If the product is damaged, DO NOT use it and
contact your supplier immediately.
Product Safety
- This appliance can be used by children aged from 8 years and
above and persons with reduced physical, sensory or mental
capabilities or lack of experience and knowledge if they have been
given supervision or instruction concerning the use of the appliance
in a safe way and understand the hazards involved.
- Children shall not play with the appliance.
- Cleaning and user maintenance shall not be made by children
without supervision.
- Do not cover.
- Do not use on a boat, in a caravan or at other similar locations.
- Do not use in bathrooms or similar wet locations.
- Do not place on soft surfaces.
- Do not place a mains lead beneath a carpet or rug.
- Do not submerge the unit in water.
- Do not place the unit close to heat-generating devices or near
flammable and dangerous materials.
- Never put your fingers or objects into the intake or discharge
ducts.
- Do not sit or stand on the unit.
- If the power supply cord is damaged it must be replaced by the
manufacturer or a qualified service agent.
- The item must be used in a room greater than 4m squared.
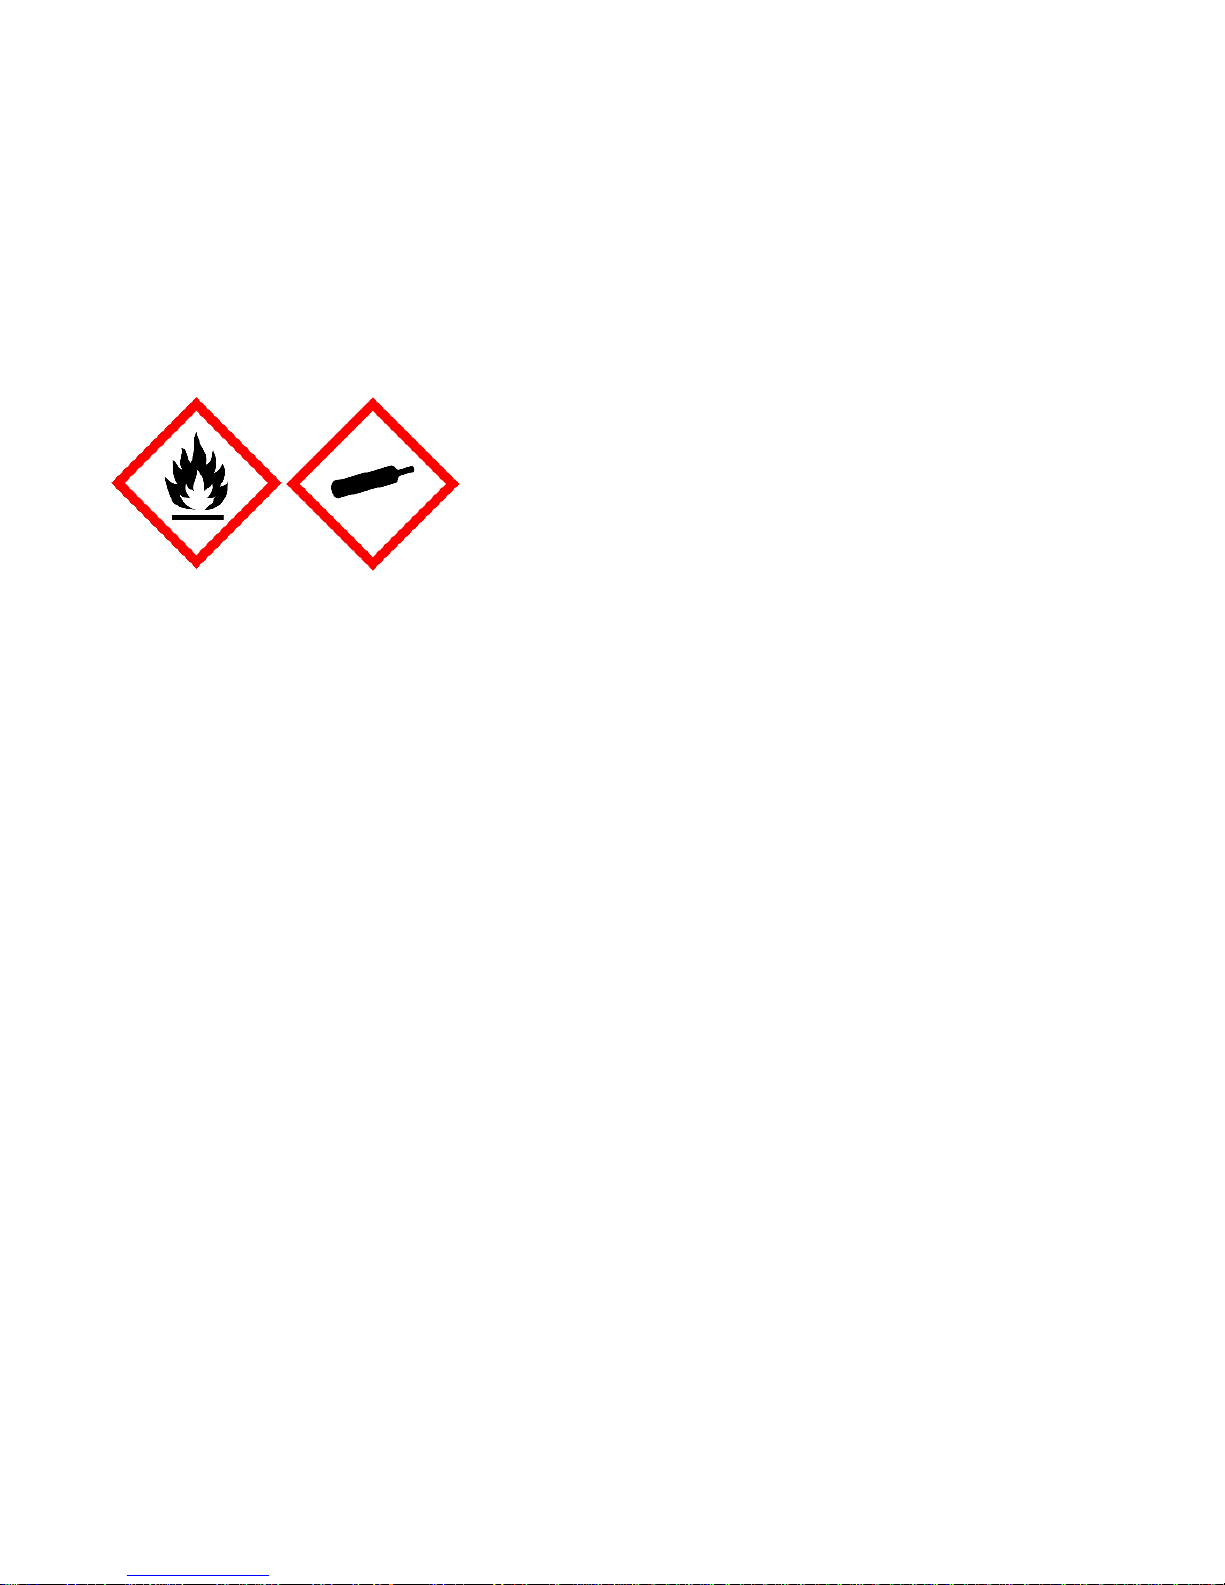
Regulatory Information
Safety, health and environmental regulations specific to gas R32
Labelling in accordance to Regulation EC 1272/2008
Hazard Pictograms
GHS02 GHS04
Signal Word :Danger
Hazard Statements
H220 Extremely Flammable Gas
H280 Contains gas under pressure, may explode if heated
Precautionary Statements
P210 Keep away from heat/sparks/open flames/hot surfaces- No
smoking
P377 Leaking gas fire: Do not extinguish unless can be stopped
safely
P381 Eliminate all ignition sources if safe to do so
P410 Protect from sunlight
P403 Store in a well ventilated place.
P501 Dispose of contents/container in accordance with local/reginal/
National regulations.

Installation
This item must be installed by a qualified refrigeration engineer.
A FULL SITE SURVEY MUST BE CARRIED OUT PRIOR TO INSTALLATION.
It is the responsibility of the installer to ensure the suitability of both the product
for the installation and the installation location for the product.
Notes
The minimum safe distances must be observed when deciding on the installation
location. See diagram below.
The product should be installed away from other heat sources or direct sunlight.
The product should be installed with observance to the product safety information.
The cut-out hole should be slightly bigger than the size of the unit. Due to slight
changes in size, please ensure the unit is measured at the time of fitting.
The distance of any obstruction from
the window unit inside should be
upper 300mm, lower 1500mm, left
500mm, right 500mm, front
1500mm.
Guide:
1) Remove the sticker from the front panel.
2) Put the unit into the installation hole.
Horizontal line
6~10mm
Use a sunshade board to stop items
being dropped on to the unit and also
to reduce exposure to direct sunshine.
Wall
Sunshade
board
Wooden
frame
Rubber
plate
6~10mm
Support
Horizontal line
● When installing the unit, it should be
slanted slightly down to the back to
avoid vibration (as per the diagram)
● The unit must be supported using
appropriate brackets.

Drain water :
The drainhose is not included in this product.
The drainpan is included in this product.
Slide out the chassis from the cabinet.
Install the drain pan to the corner of the cabinet with 2 screws.
Connect the drain hose to the outlet on the drain pan bottom.
Slide the chassis into its original place in the cabinet.
 Loading...