

Page 1
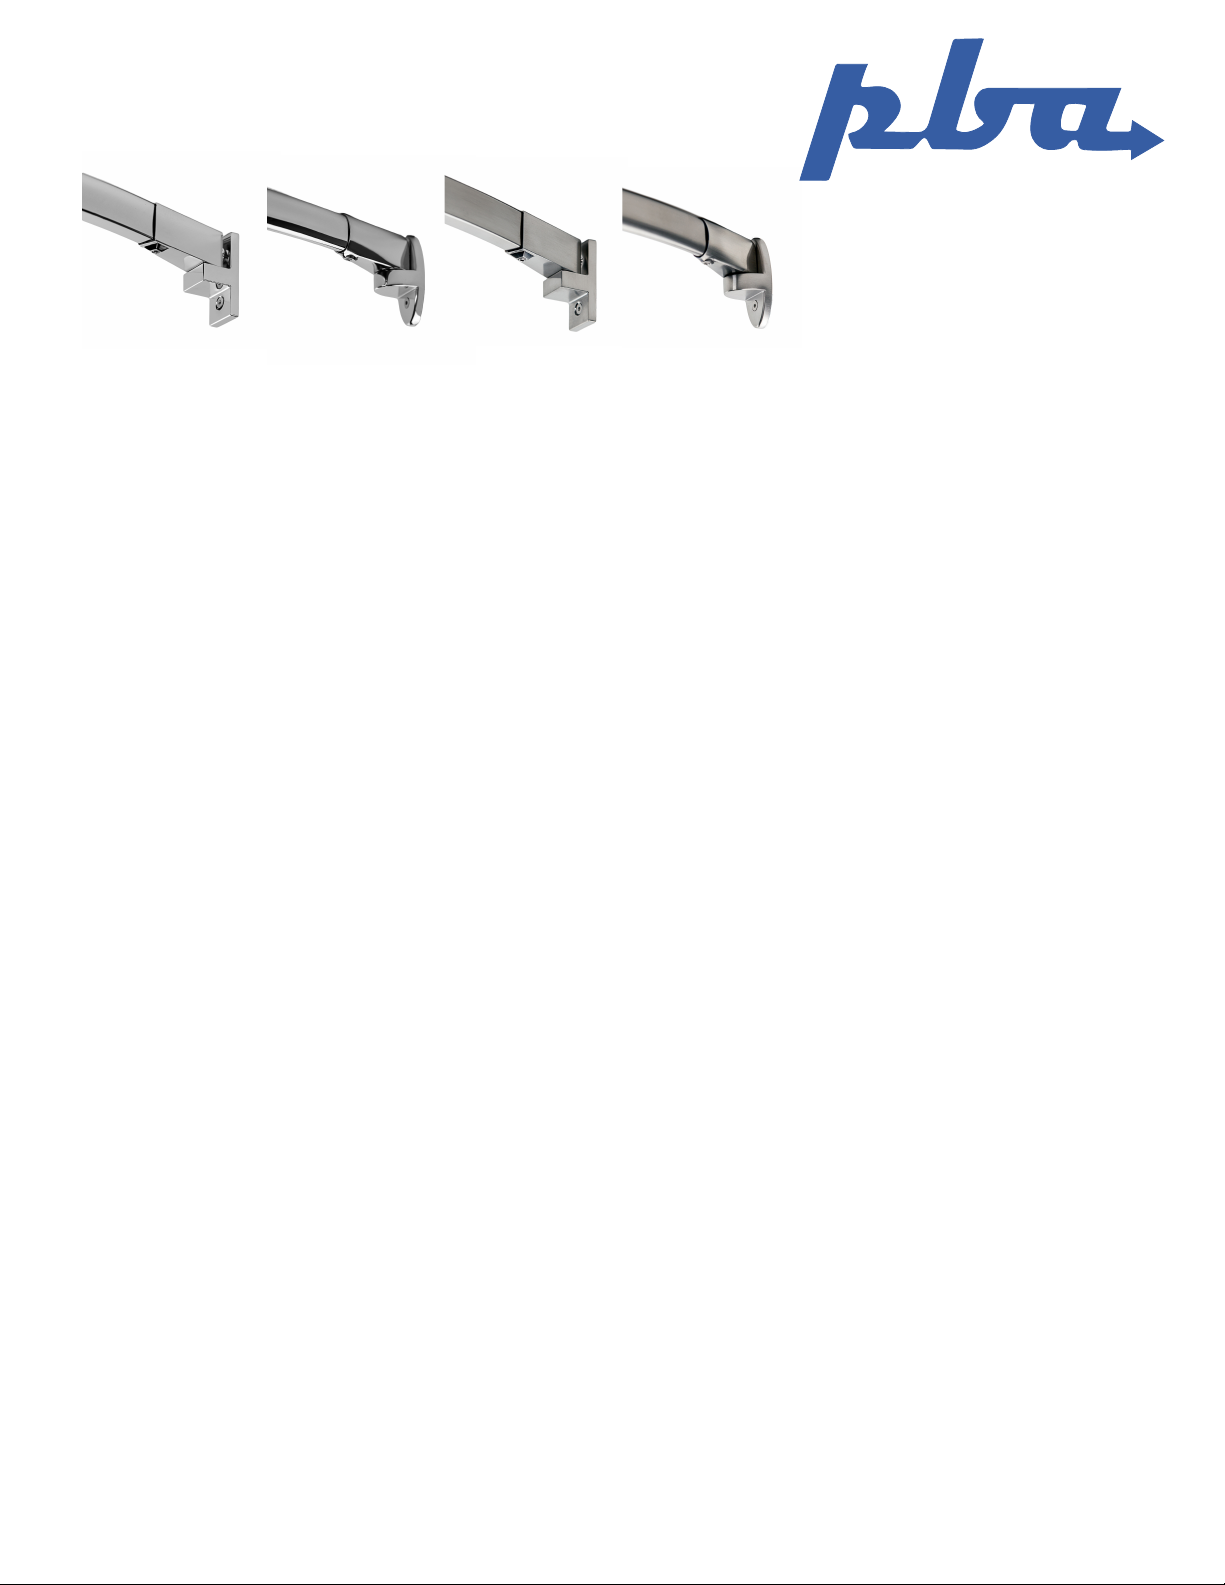
Fixed Curved Shower Rods
Preferred Bath Accessories Inc.
Before installing please take time to read the instalation instructions.
Unpack and inspect the product for any shipping damages. If you fi nd any damages, do not install, Contact customer
service at 888-315-8816. For all other inquires contact Customer Service.
Preferred Bath Accessories Inc. accepts no liability for any damage to the wall or for personal injury during installation. It
is recommend that you consult a professional if you are unfi miliar with installing bathroom fi xtures.
Tools and Materials Included
• Allen Wrench (qty 1)
• Wall Anchors (qty 4)
• Mounting Screws (qty 4)
• Set Screws (qty 2)
• Mounting brackets (qty 2)
• Rod Receiver (qty 2)
• Curved Rod (qty 1)
Tools Needed for Installation (not included)
• Phillips Head Screwdriver
• Drill
• Level
• Tape Measurer
Information
• To avoid the risk of property damage, do not secure the wall brackets to acrylic shower walls. Instead, secure the wall brackets above the
acrylic tub into the finished walls.
• Wall anchors must be used, unless you encounter a stud.
• Non- adjustable rods may be cut to fit by cutting equal amounts on both sides. Example: If total opening is 59” it will require 1/2” angle cut off
each end.
Installations Instructions
1. Remove all items from box.
2. Place wall bracket onto wall where desired. Make sure it is level, use a pencil to lightly mark desired screw placement. Repeat for other side.
3. Use 11/64” drill bit for wall anchors or 1/8” drill bit for stud mount.
4. Mount wall brackets, screw into wall anchors.
5. Connect the rod receiver to the wall brackets. Insert t-plug off the bar receiver into the the wall bracket, and rotate
counter clockwise. Slide curved shower rod all the way into one rod receiver, swing other end of the shower rod towards the other
rod receiver. (If using hookless shower curtian install now) Then Join.
6. Once curved shower rod is installed in both rod receivers, adjust rod so that both set screws will adequately contact the rod. Once confirmed
insert and tighten set screws with allen wrench.
 Loading...