

Page 1
Haptic
Feedback
+44 (0) 1932 252 482
www.precisionmicrodrives.com
enquiries@precisionmicrodrives.com
Evaluation Kit
Quick Start Guide
Page 2

1 Introduction
Welcome to the Haptic Feedback Evaluation Kit!
This Quick Start Guide will show you how to get up and running, whilst demonstrating the
dierent modes of operation. There are also some useful references towards the end.
Learn more
Please read the full User Manual for complete information on technical details and advice
for accessing the advanced features of the Haptic Feedback Evaluation Kit.
Additional Resources
Online at precisionmicrodrives.com/haptic-kit you can nd a range of additional resources
available, including:
l Downloadable PDF of this document
l Downloadable PDF of the full User Manual
l A4 printable posters for reference (Eect Table, True Haptics Menu Map, etc.)
l Tutorials on the advanced features
l Arduino code for dierent Modes of Operation and example applications
l Further resources as they are developed!
Further Development
Once you have experienced haptics with this kit, you may want to apply it to your own
projects. We have an extensive range of vibration actuators that can be found on our
website at precisionmicrodrives.com/vibration-motors and are available to purchase in
our online shop. However, if you are unable to nd what you are looking for or you need
some support, our engineers are always happy to answer any questions. Please contact
us using any of the methods shown below.
Contact Precision Microdrives
For questions about the Haptic Feedback Evaluation Kit, ordering and quotes, or technical
queries please do not hesitate to get in touch:
+44 (0) 1932 252 482
www.precisionmicrodrives.com
enquiries@precisionmicrodrives.com
2
Page 3
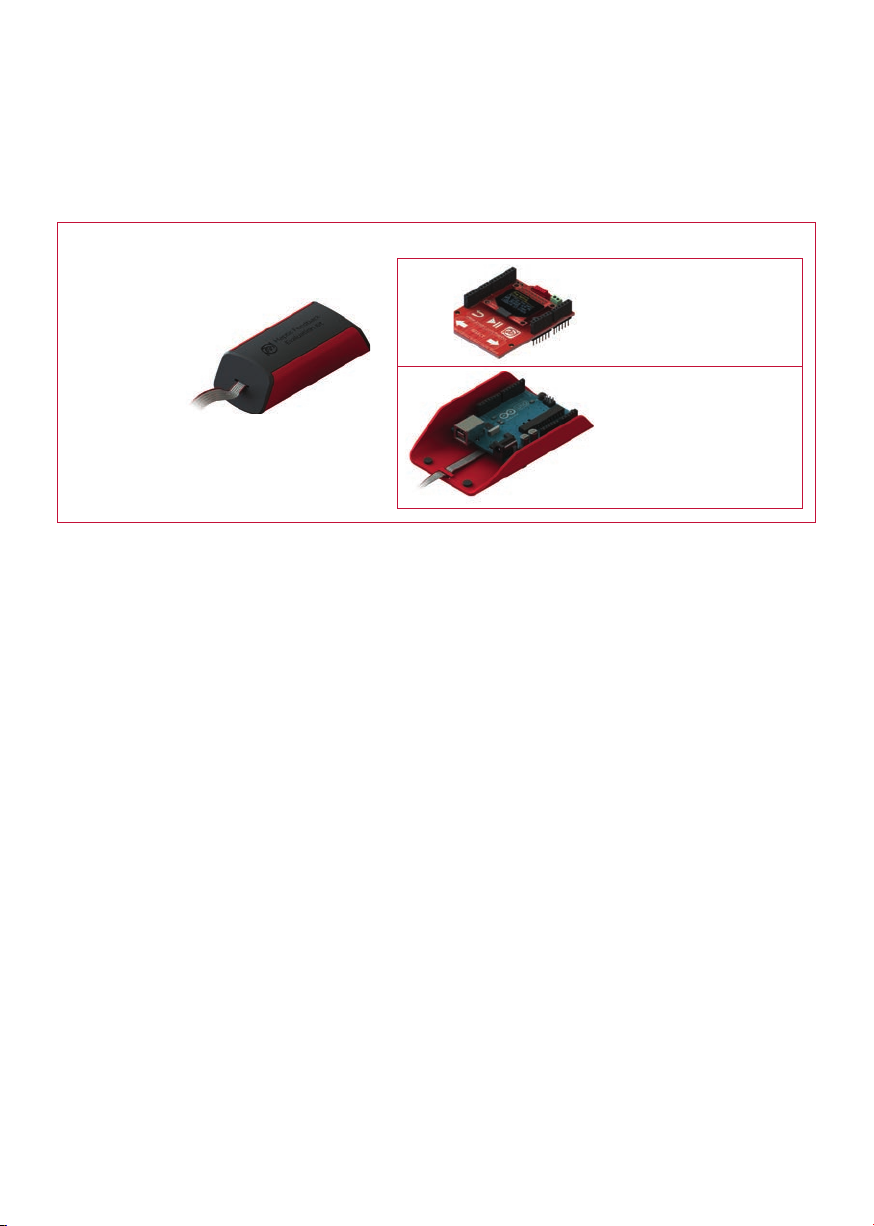
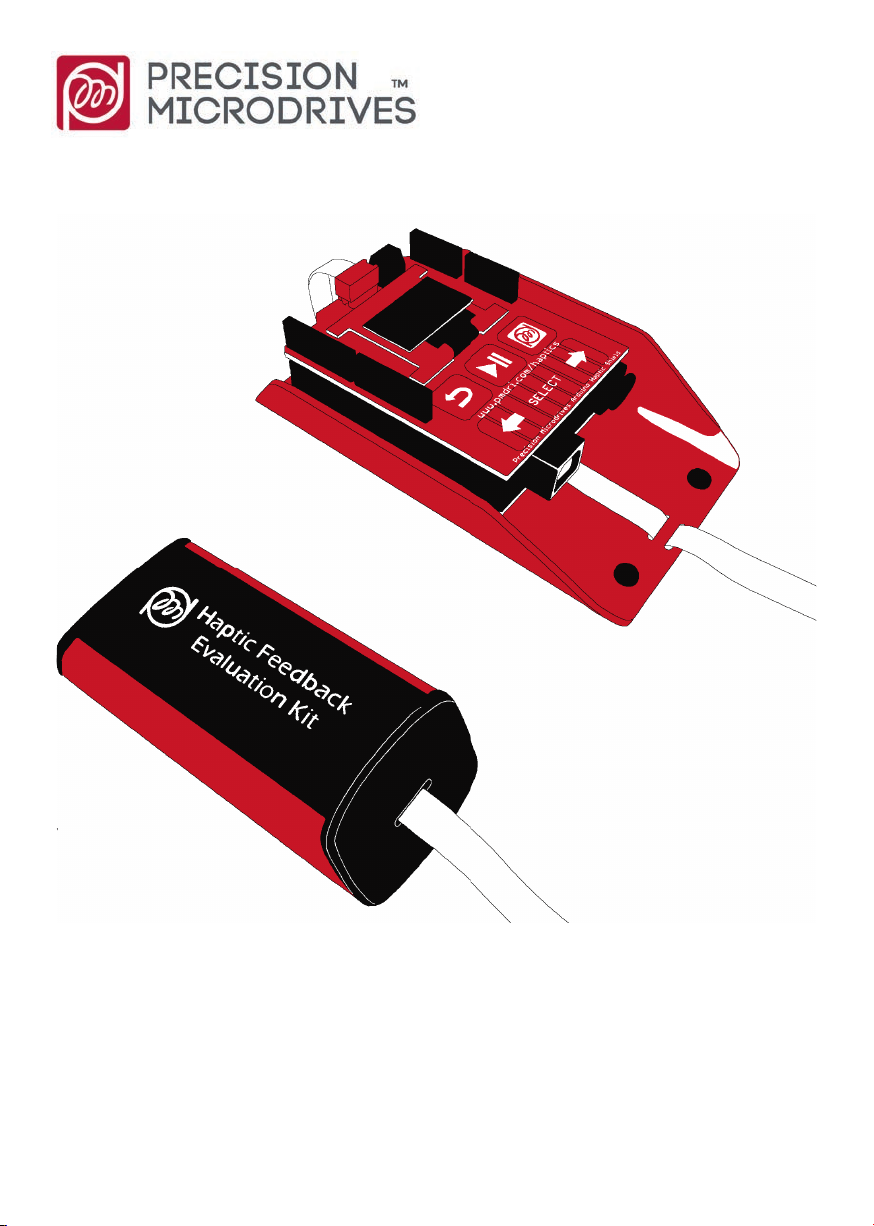
2 System Overview
The Haptic Feedback Evaluation Kit is comprised of two main hand-held units, the Haptic
Controller and the Haptic Grip:
Haptic Feedback Evaluation Kit
Haptic Controller
Haptic Shield
Haptic Grip
Arduino UNO R3
Haptic Controller
Together, the Haptic Shield and the Arduino UNO R3 make up the Haptic Controller and act
as the ‘brains’ of the system.
Arduino is an open source development platform for electronics, as a term it is colloquially
use to describe the parent company, the product range, or a speci c board. The UNO
R3 is based on the Atmel ATmega328 microcontroller, its stackable headers enable the
functionality to be extended by connecting customised boards, called ‘shields’, which
mate with the Arduino.
The Precision Microdrives Haptic Shield is specially designed for haptic feedback, with
capacitive touch buttons for input and a Texas Instruments DRV2605L haptic driver and
MOSFET for vibration output.
Haptic Grip
The Haptic Grip houses 4 di erent vibration actuators to enable users to experience
a range of haptic feedback and vibration alerting, including 3 ERMs (304-103, 306-109,
308-102) and the C10-100 LRA.
This makes it easy to compare haptic e ects against each other and feel the e ects
independently of the Haptic Controller. It is designed to have a form factor that can
represent a variety of end applications, such as hand held instruments or joystick
interfaces.
A PDF reference is available at precisionmicrodrives.com/haptic-kit which lists key
parameters of each motor included, with space for notes about other actuators you may
use.
3
Page 4

3 Setup & Installation
The Haptic Feedback Evaluation Kit arrives completely assembled with all hardware
provided in the box. To start, simply connect the kit to one of the power sources outlined
below.
Power
The Arduino allows you to supply power via the USB port or DC connector. You can use
either option. However, please note that old versions of the Haptic Shield must be powered
via USB only. If this Quick Start Guide was supplied with your kit, you have the new version
and may proceed with your preferred choice. If you are reading this online, you should
double check your version of the Haptic Shield by visiting precisionmicrodrives.com/
haptic-kit.
If using a USB port on a computer or laptop to power the unit you may be subject to
current limiting on the USB port. You will need to install the Arduino drivers to correct
this. When the actuators are vibrating the current draw can peak over 100mA. By installing
the drivers the Arduino is able to negotiate up to 500 mA. Not installing the drivers risks
limiting the current to the motors, thereby reducing the performance and in some cases
not allowing the kit to start-up.
(In some computers, particularly laptops, several USB ports can use the same internal
power supply. If possible, remove other USB devices that may be connected to the same
line as the kit.)
Drivers and Software
Installing the drivers and sof tware for the Arduino Uno R3 is simple, but they are updated
periodically. Therefore it is best to get the latest version and instructions from the Arduino
website (note URLs are case-sensitive):
l Navigate to arduino.cc/en/Main/Software or search ‘Arduino software’
l Install the Arduino software, includes drivers and IDE (1.8.7 at time of release)
l Refer to the Getting Started page for more help arduino.cc/en/Guide/HomePage
Existing Arduino Users and Kit Owners
If you already have the Arduino IDE installed, we recommend ensuring you upgrade
to the latest version. If you wish to continue using an older version, please visit
precisionmicrodrives.com/haptic-kit for legacy support.
For owners of the Rev1 kit, please ensure you replace the libraries with the Rev2 versions.
For full upgrade instructions, please visit precisionmicrodrives.com/haptic-kit.
4
Page 5

4 Intro Mode
The Intro Mode rmware is loaded onto the Haptic Controller prior to shipping. After
successfully completing the installation process and providing power, the kit will
automatically start and the Precision Microdrives logo will appear on the OLED main
screen.
Intro Mode serves as an introduction to haptic feedback and vibration alerting. This makes
it perfect for those who are unfamiliar with haptics, or for demonstrating to colleagues the
value of the features. Even if you are experienced with haptic feedback, you may wish to
explore the tutorials to discover some of the additional features of the DRV2605L.
There are four tutorials in the Intro Mode,
use the Left and Right buttons to move
between them.
Play Button
PMD But tonBack Button
Right ButtonLeft Button
Select Button
Press the Select button to start:
l Quick-Start Demo
l Haptic Feedback Tutorial
l Vibration Alerting Tutorial
l DRV2605 Overview
Develop Understanding
Each tutorial has several slides for you to read about the concepts demonstrated. They
are easy to follow and you can go back by pressing the Left button, or exit with the Back
button.
Feel Eects
At specic points in each tutorial you will be prompted to press the Play button. Dierent
eects are played on the Haptic Grip or the Haptic Controller, you can repeat them by
pressing the Play button a second time.
Apply
Not only will the tutorials walk you through the concepts of vibration alerting and haptic
feedback, some also include example applications. Start thinking about how you would
use haptics to improve your product, then try out the Engineering Mode.
5
Page 6

5 Engineering Mode
The Engineering Mode uses dierent rmware that needs to be loaded into the Arduino,
to perform this you will need to have installed the Arduino Environment (see Section 3)
and have downloaded the code from precisionmicrodrives.com/haptic-kit. It gives access
to a greater range of eects and functionality.
It is also recommended you read the Section 5 of the User Manual to get the most out of
the Engineering Mode. The User Manual is available online at precisionmicrodrives.com/
haptic-kit.
Upload the Code
To enter the engineering mode, you need to compile and upload the code
through the Arduino Environment. Downloaded and extract the code to your
chosen folder, open the EngineeringMode.ino le (.ino les are called ‘sketches’).
Supporting les called ‘libraries’ are included in the zip, ensure the Sketchbook
Location (File -> preferences) points to the folder above the libraries folder. If
everything is correct you can click the 'upload’ button. More detailed instructions
available in the User Manual or at precisionmicrodrives.com/haptic-kit.
Using True Haptics
Here you can experience haptic feedback through the DRV2605 which includes 123
dierent haptic eects and 6 libraries. Navigate clicks, bumps, pulses, and many more
options.
Press the Play button to play the chosen eect and press the PMD button to cycle
actuators. The True Haptics Menu Map and Eect ID Table (Sections 9 and 10) will help you
nd eects quickly.
Using Vibration Alerting
Vibration alerts can be played through the on-board MOSFET and PWM. Build your own
vibration alerting waveform by setting each variable in the Vibration Alerting section,
including vibration power, vibration waveform, on time, and o time. Please note that
LRAs require an AC signal, so cannot be played by the on-board MOSFET.
Keep Developing
Try using the DRV2605 librar y and example code to start prototyping your own system.
The Arduino can be used to accept inputs, the library lets you easily interface with the
DRV2605, and you can connect to an external actuator using the terminals on the Haptic
Shield.
6
Page 7

6 Development Mode
Having approached haptics with the Intro Mode and gained a more in depth idea of what
our motors can do through using the Engineering mode, you may be thinking about how
you can develop this into your own project.
The Development Mode has been created to allows designers to implement haptics using
our Haptic feedback kit. You can download the rmware from precisionmicrodrives.com/
haptic-kit.
Modifying and uploading the code
All the software needed to run in our Haptic Kit is available on our website and users
can deal in the Software without restriction, including without limitation, the rights to use,
copy or modify it.
The Development Mode program is used to start writing your own code. It handles
the initialisation of the pins, I
the DRV2605 Arduino Library Reference useful, but those unfamiliar with Arduino
programming may nd the tutorials and examples more benecial.
To upload the code in the kit, follow the same instructions as in the Engineering
Mode. This will give you complete access to the open source code. The motors
are driven using the driver DRV2605 from Texas Instrument. The Development
Mode will allow you to program the driver and choose the setting that best
suits your application and the PMD motor you are using. You can refer to
Texas Instruments (TI) to understand the features of the driver and map of addresses.
You can connect an external actuator to the kit using the green screw terminal
and program your own patterns, eects and recurrences. It is also worth noting that the
OLED display is disabled in the Development Mode as it is designed to be very simple. This
means that nothing will appear on it and the pins that were required to drive it are now
available. The Pin Mapping in section 8 will help you identify which pins are free.
2
C bus, and the serial port. Advanced users will nd
Tutorials and Examples
You will nd on our website dierent tutorials and examples to follow with the
Development Mode. Here is a few options for the users to continue investigating and
developing new haptics applications.
1: How to connect an external motor to the Haptic Feedback Evaluation Kit
precisionmicrodrives.com/content/connecting-external-actuator-vibration-motor-to-the-
m20-200-haptics-kit/
2: Driving multiple LRA's
precisionmicrodrives.com/content/new-haptic-feedback-evaluation-kit-tutorial-driving-
multiple-lras/
3: Using the Audio-to-Vibe function
precisionmicrodrives.com/content/tutorial-using-haptic-feedback-with-music-or-audio-
signals/
7
Page 8

7 DRV2605 Library
The DRV2605 and DRV2605L from Texas Instruments are functionally similar, the
DRV2605L is available in a 10VSSOP package and is used in the Haptic Feedback Evaluation
Kit. However, you should be able to use the library with either chip. If you have any issues
in Development Mode, please contact us.
8
Page 9

8 Pin Mapping
Key of pin requirements
OLED 3V3, 5V, GND, 5, 8 , 10, 11, 13
Haptic Grip 5V, GND, A0, A1, 3, 4
DRV2605 3V3, 5V, GND, A4, A5, 5, 7, 9
Capacitive Touch 3V3, 5V. GND, A4, A5, 2
MOSFET 5V, GND, 4, 9
Touch driver - IRQ
Grip select
Source select
SPI (CS) OLED 3
Shield LRA Selec t
DRV2605 - EN 6
SPI (DC ) OLED 5
PWM (IN/TRIG, MOSFET
SPI (RES) OLED 4
SPI (DAT) OLED 9
I2C SCL
I2C SDA
Shield ERM Select
Grip Connect 6 (S2)
Grip Connect 3 (S1)
SPI (CLK ) OLED 8
12C Addresses
USING 7 BITS ADDRESSING
Capacitive Touch Driver MPR121 0x5D
Haptic Driver DRV2605L 0x5A
9
Page 10

9 True Haptics Menu Map
Look ing to nd a specic eect in the True Haptics menu? You can use the reference below
in conjunction with the Eect Table to nd the menu location of each eect available on
the DRV2605L.
Clicks
Ramps
Single
Double
Triple
Buzzes
Strong
Medium
Tick
Transition
Strong
Medium
Tick
Triple
Other
Buzzes
1, 2, 3, 17, 18, 19, 20
21, 22, 20
4, 5, 6, 24, 25, 26
58, 59, 60, 61, 62 ,63
10, 11, 27, 28, 29,
30, 37, 38, 39, 40
31, 32, 33, 41, 42, 43
34, 35, 36, 44, 45, 46
12
13, 14, 47, 48, 49,
50, 51, 118
Short
Up
Medium
Long
Short
86, 110, 87, 111, 92,
116, 93, 117
84, 108, 85, 109, 90,
114, 91, 115
82, 106, 83, 107, 88,
112, 89, 113
74, 98, 75, 99, 80,
104, 81, 105
Down
Medium
Long
72, 96, 73, 97, 78,
102, 79, 103
70, 94, 71, 95, 76,
100, 77, 101
Alerts
Alerts
Alerts
5, 16
Library
Bumps
Pulses
10
Hums
Bumps
Pulses
Hums
7, 8, 9
52, 53, 54, 55, 56, 57
64, 65, 66, 67, 68,
69, 119, 120, 121,
122, 123
Library
Library
Audio2Haptics
Audio-
2Haptics
Audio-
2Haptics
Shield Haptics
Shield
Haptics
Shield
Haptics
1, 2, 3, 4, 5
ERM, LRA
Page 11

10 Eect Table
ID Waveform Menu
1Strong Click 100% 63Clicks > Single > Strong Transition Click 6 10%
2
Strong Click 60%64Clicks > Single > Strong Transition Hum 1 100%
3
Strong Click 30%65Clicks > Single > Strong Transition Hum 2 80%
4
Sharp Click 100% 66Clicks > Single > Tick Transition Hum 3 60%
5
Sharp Click 60%67Clicks > Single > Tick Transition Hum 4 40%
Sharp Click 30%68Clicks > Single > Tick Transition Hum 5 20%
6
7
Soft Bump 100% 69Other > Bumps Transition Hum 6 10%
8
Soft Bump 60%
9
Soft Bump 30%71Other > Bumps
10
Double Click 100% 72Clicks > Double > Strong
11
Double Click 60%73Clicks > Double > Strong
12
Triple Click 100% 74Clicks > Triple
13
Soft Fuzz 60%75Other > Buzzes
14
Strong Buzz 100% 76Other > Buzzes
15
750ms Alert77Other > Alerts
16
1000ms Alert78Other > Alerts
17
Strong Click 1 100% 79Clicks > Single > Strong
18
Strong Click 2 80%80Clicks > Single > Strong
19
Strong Click 3 60%81Clicks > Single > Strong
20
Strong Click 4 30%82Clicks > Single > Strong
21
Medium Click 1 100% 83Clicks > Single > Medium
22
Medium Click 2 80%84Clicks > Single > Medium
23
Medium Click 3 60%85Clicks > Single > Medium
24
Sharp Tick 1 100% 86Clicks > Single > Tick
25
Sharp Tick 2 80%
26
Sharp Tick 3 60%88Clicks > Single > Tick
27
28
29
30
31
32
33
34
35
36
37
38
39
40
41
42
43
44
45
46
47
Buzz 1 100% 109Other > Buzzes
48
Buzz 2 80% 110Other > Buzzes
49
Buzz 3 60% 111Other > Buzzes
50
Buzz 4 40% 112Other > Buzzes
51
Buzz 5 20% 113Other > Buzzes
52
Pulsing St
53
54
55
56
57
58
59
60
61
62
rong 1 100% 114Other > Pulses
Pulsing Strong 2 80% 115Other > Pulses
Pulsing Medium 1 100% 116Other > Pulses
Pulsing Medium 2 60% 117Other > Pulses
Pulsing Sharp 1 100% 118Other > Pulses
Pulsing Sharp 2 60% 119Other > Pulses Smooth Hum 50%
Transition Click 1 100% 120Clicks > Single > TransitionSmooth Hum 40%
Transition Click 2 80% 121Clicks > Single > TransitionSmooth Hum 30%
Transition Click 3 60% 122Clicks > Single > TransitionSmooth Hum 20%
Transition Click 4 40% 123Clicks > Single > TransitionSmooth Hum 10%
Transition Click 5 20%
Clicks > Single > Transition
ID Waveform Menu
Clicks > Single > Transition
Other > Hums
Other > Hums
Other > Hums
Other > Hums
Other > Hums
70Other > Bumps
Transition Ramp Down Medium Smooth 1 100-0% Ramps > Down > Medium
Transition Ramp Down Medium Smooth 2 100-0% Ramps > Down > Medium
Transition Ramp Down Medium Sharp 2 100-0% Ramps > Down > Medium
87Clicks > Single > Tick
89Short Double Click Strong 1 100% Clicks > Double > Strong
90Short Double Click Strong 2 80%Clicks > Double > Strong
91Short Double Click Strong 3 60%Clicks > Double > Strong
92Short Double Click Strong 4 30%Clicks > Double > Strong
93Short Double Click Medium 100% Clicks > Double > Medium
94Short Double Click Medium 2 80%Clicks > Double > Medium
Transition Ramp Down Long Smooth 1 50-0%
95Short Double Click Medium 3 60%Clicks > Double > Medium
96Short Double Sharp Tick 1 100% Clicks > Double > Tick
97Short Double Sharp Tick 2 80%Clicks > Double > Tick
Transition Ramp Down Medium Smooth 2 50-0%Ramps > Down > Medium
98Short Double Sharp Tick 3 60%Clicks > Double > Tick
99Long Double Sharp Click Strong 1 100% Clicks > Double > Strong
100Long Double Sharp Click Strong 2 80%Clicks > Double > Strong
101Long Double Sharp Click Strong 3 60%Clicks > Double > Strong
102Long Double Sharp Click Strong 4 30%Clicks > Double > Strong
Transition Ramp Down Medium Sharp 1 50-0%Ramps > Down > Medium
103Long Double Sharp Click Medium 1 Clicks > Double > Medium
Transition Ramp Down Medium Sharp 2 50-0%Ramps > Down > Medium
104Long Double Sharp Click Medium 2 80%Clicks > Double > Medium
105Long Double Sharp Click Medium 3 60%Clicks > Double > Medium
106Long Double Sharp Tick 1 100% Clicks > Double > Tick
107Long Double Sharp Tick 2 80%Clicks > Double > Tick
108Long Double Sharp Tick 3 60%Clicks > Double > Tick
Long Buzz for Programmatic Topping 100% Other > Buzzes
Other > Hums
Ramps > Down > LongTransition Ramp Down Long Smooth 1 100-0%
Ramps > Down > LongTransition Ramp Down Long Smooth 2 100-0%
Ramps > Down > StrongTransition Ramp Down Short Smooth 1 100-0%
Ramps > Down > StrongTransition Ramp Down Short Smooth 2 100-0%
Ramps > Down > LongTransition Ramp Down Long Sharp 1 100-0%
Ramps > Down > LongTransition Ramp Down Long Sharp 2 100-0%
Ramps > Down > MediumTransition Ramp Down Medium Sharp 1 100-0%
Ramps > Down > StrongTransition Ramp Down Short Sharp 1 100-0%
Ramps > Down > StrongTransition Ramp Down Short Sharp 2 100-0%
Ramps > Up > LongTransition Ramp Up Long Smooth 1 0-100%
Ramps > Up > LongTransition Ramp Up Long Smooth 2 0-100%
Ramps > Up > MediumTransition Ramp Up Medium Smooth 1 0-100%
Ramps > Up > MediumTransition Ramp Up Medium Smooth 2 0-100%
Ramps > Up > ShortTransition Ramp Up Short Smooth 1 0-100%
Ramps > Up > ShortTransition Ramp UP Short Smooth 2 0-100%
Ramps > Up > LongTransition Ramp Up Long Sharp 1 0-100%
Ramps > Up > LongTransition Ramp Up Long Sharp 2 0-100%
Ramps > Up > MediumTransition Ramp Up Medium Sharp 1 0-100%
Ramps > Up > MediumTransition Ramp Up Medium Sharp 2 0-100%
Ramps > Up > ShortTransition Ramp Up Short Sharp 1 0-100%
Ramps > Up > ShortTransition Ramp Up Short Sharp 2 0-100%
Ramps > Down > Long
Ramps > Down > LongTransition Ramp Down Long Smooth 2 50-0%
Ramps > Down > MediumTransition Ramp Down Medium Smooth 1 50-0%
Ramps > Down > StrongTransition Ramp Down Short Smooth 1 50-0%
Ramps > Down > StrongTransition Ramp Down Short Smooth 2 50-0%
Ramps > Down > LongTransition Ramp Down Long Sharp 1 50-0%
Ramps > Down > LongTransition Ramp Down Long Sharp 2 50-0%
Ramps > Down > StrongTransition Ramp Down Short Sharp 1 50-0%
Ramps > Down > StrongTransition Ramp Down Short Sharp 2 50-0%
Ramps > Up > LongTransition Ramp Up Long Smooth 1 0-50%
Ramps > Up > LongTransition Ramp Up Long Smooth 2 0-50%
Ramps > Up > MediumTransition Ramp Up Medium Smooth 1 0-50%
Ramps > Up > MediumTransition Ramp Up Medium Smooth 2 0-50%
Ramps > Up > ShortTransition Ramp Up Short Smooth 1 0-50%
Ramps > Up > ShortTransition Ramp Up Short Smooth 2 0-50%
Ramps > Up > LongTransition Ramp Up Long Sharp 1 0-50%
Ramps > Up > LongTransition Ramp Up Long Sharp 2 0-50%
Ramps > Up > MediumTransition Ramp Up Medium Sharp 1 0-50%
Ramps > Up > MediumTransition Ramp Up Medium Sharp 2 0-50%
Ramps > Up > ShortTransition Ramp Up Short Sharp 1 0-50%
Ramps > Up > ShortTransition Ramp Up Short Sharp 2 0-50%
Other > Hums
Other > Hums
Other > Hums
Other > Hums
Other > Hums
11
Page 12

Looking for the perfect design?
We can help.
Precision Microdrives is an ISO 9001:2015
trusted designer and manufacturer of
miniature, cost-eective, and well engineered
motors and mechanisms. We are specialists in,
l Trusted precision motor design
l Flexible motor & mechanism
manufacturing
l Dependable quality control & after-sales
support
l Industry leading motor testing and
validation
Our UK based motor design engineers, will support you through the complex process
of specif ying, developing, validating, and mass manufacturing, a custom motor or
mechanism. The result? A part perfect for your application.
Delivered, 'On-Time & To Spec'.
SPEAK TO OUR DESIGN ENGINEERS TODAY
Design for application case studies
ENCAPSULATED
VIBRATION MOTOR FOR A
CPR TRAINING DUMMY
l Low volume,
high value
manufacturing
l Custom CNC
machined enclosure
l Optimised haptic
performance
l Custom PCB
including EMI lters
PRECISION SPEED AND
TORQUE CONTROLLED
SERVO WITH INTEGRATED
TUNABLE PID LOOP FOR
SINGLE-USE SCIENTIFIC
INSTRUMENT
l Medium volume,
high value assembly
l Adapted control
software including digital
IO (to customer’s
specication)
Email: enquiries@precisionmicrodrives.com
Call: +44 (0) 1932 252 4 82
CUSTOMISED PRECISION
GEAR MOTOR WITH
ROBUST OPTICAL
ENCODER
l
High volume production
l Application specic
output shaft
l Rear motor shaft with
noise resistant optical
encoder
l Tailored motor
performance curves
 Loading...