

Precision Aerodynamics Pl 3001 Owner's Manual


REVISIONS
THIS MANUAL TO
REVISION. YOU MUST VERIFY
THAT AU REVISIONS STAY WITH
THIS MANUAL. THIS MANUAL IS
ISSUED TO A SPECIFIC CANOPY,
AND WAS SHIPPED WITH
FOLLOWING REVISIONS
INCLUDED. THE
MANUAL
DOES NOT CONTAIN ALL
REVISIONS.
IF IT
SHIPPED WITH
REVISIONS:

Ram-Air
Owners Manual
Part Pl 3001
All material is Copyright 1988 by Precision Aerodynamics, Inc.. All rights
reserved.
in whole in part without Permission is prohibited.
Address all inquiries to:
Precision Aerodynamics
Publications Desk
Highway 127 North. P. 0.
TN USA 37327
187 N TN 37327
VHS . $39.95 + $4.00
PM . . . . . . $39.95 +
Any two PAL tapes. + $7.00
. + $2.50
Toorder:
1-800-222-3933
2

Quick Reference:
.
Please read this manual for the first time from front to back, beginning on
page 1. After doing this, please
registration
in and return the postage-free owner
To find:
The Parts of A (line drawing)
Glossary
New Owner’s Checklist
Go to
6
7
8
Selecting the Right Canopy
Reserve Canopy Installation and 13
Attaching the Canopy to the Risers
Reserve, Main Canopy Folding
Main Canopy Folding
Lines and Toggles
14
17
25
47
Care and Maintenance 48
How to Precision 50
U.S. Federal Rules (FAR Part 105) 5 3
TSO Standards 57
Trouble Report Form
this manual . .
Single words displayed in type will be found in the Glossary on
page 7 in the above “Quick Reference.”
This warning indicates items of extreme
throughout the manual. Bold is also used
A
for emphasis.
60
3
WARNING
Skydiving is a sport in the risk of or death is inherent. Nothing
reduce the risk to zero guarantee your safety. Your participation in the sport
is an admission that in spite of the training you have received, the
proficiency you have achieved, the equipment you have bought borrowed,
and the abilities of all involved in your skydive, death could occur.
of
Your participation means
death
involved in your skydive
whether arising from personal error, equipment malfunction, the others
you total for your own injuries or
manufacturer error.
NO GUARANTEE
A
In spite of all that is done to that canopies will operate properly,
nothing and no one guarantee that and death will not occur as a
result of their use.
By jumping
properly due to your error
manufacturing process,
be
other damages arising from such use. you are not to accept this risk,
you may return the
for a refund.
by others, you waive any manufacturer liability for personal
canopy you are accepting the risk that it may not operate
to a in design, raw materials, workmanship,
error. By using this canopy, allowing it to
canopy to your 30 days of
Precision canopies are with all faults and without any warranty for fitness
for any
from a in design, material, workmanship, or manufacturing technique
whether
P
RECISION
4
purpose. Manufacturer also any liabilty in tot-t for damages,
consequential, including personal injuries, resulting from a malfunction
by negligence on the of the manufacturer otherwise.
A
Unlike simple devices such as traditional round canopies, the
air parachute is a true flying and be operated safely without a
thorough understanding of the proper techniques.
Precision Aerodynamics makes no attempt to provide training either through
this manual
represent an assumption by the manufacturer that you are appropriately
qualified to operate it.
Before using this equipment you must complete a of
instructions.
in any other way. Your of this equipment does not
and read and understand all appropriate flight manuals and packing
US E N COMPATIBLE
This Precision is not a complete parachute System. It is meant to be
used only in conjunction with approved
instructions (for connecting the canopy to the
provided in this manual.
lines and Container closure) will vary with Container Be certain to obtain
packing instructions from the Container manufacturer.
methods (for folding the canopy, stowing the
Systems . Assembly
System) are
Non rib
edge
Load-bearing rib
Lower surface
edge
V
6
Stabilizer

.
Aft section-The of canopy
located between the D line groups
and the trailing edge.
Angle of attack-The
the relative wind
Chord line of the wing.
Approved-For the purpose of this
manual, refers to procedures or items
to manufacturer approval.
Ratio-Descri bes t he
relationship between the dimensions
of a canopy. lt is expressed as span
divided by
long and one
ratio of 12, as
Assembly-For the purpose of this
manual, refers to the attachment of
the canopy to the risers. The
procedure for attachment to the
the manufacturer.
Chord-Refers to the distance from the
canopy edge to the canopy
trailing edge.
tested and determined compatibility
with the specific model and size of
component in the System.
Weight-The weight of the
including all equipment. The
jump” weight.
FAA Rigger-A person
identified and certificated by the FAA
for of reserve or emergency
To pack a reserve or
emergency
angle created by
and the Mean
A 12 inches
wide has an
is determined by
manufacturer of the
to be used has
a person must
additionally meet all
qualifications outlined by
manufacturer of the equipment
involved (see page 13).
Ratio-The
generated by a divided
by the drag
expressed as a ratio. Nominally
to glide ratio. Anything
increases (or decreases)
the ratio of
(or decreases) the theoretical
glide angle.
Packing-For the purpose of this
manual, refers to stowing the
folded canopy in the
Container and closing the
Container.
are provided by the
Container manufacturer.
Porosity-ls an index to the
resistance of a material to
Penetration by (air). Low
resistance to air migrating from
one side of the material to the
other. High porosity indicates a
material
through.
Span-Refers to the distance
between the canopy right side
and canopy side.
Loading-ls expressed as
the amount of weight supported
by a given Segment of the
surface area. Example: a
canopy with 200
surface supporting an exit
weight of 175
wing loading of
foot
to drag increases
indicates a great
allows air to pass
feet of
yields a
pounds per
7
Checklist
0
canopy to a System, the
following Checklist:
Before assembling this
AM AWARE that if this
canopy is approved for use as a
reserve, federal law requires it to be
,
inspected and installed (and repacked
at the appropriate intervals)
qualified
Federal law also requires the
canopy be according to
instructions provided by both
Precision and the manufacturer of the
read and understand the Federal
Aviation Regulations (FAR) Part
(see page 53.)
parachute
System. have
by a
0
rather a of a total System. It must
be installed in a
Container in accordance with
instructions provided by the
manufacturer of that and by
Precision Aerodynamics.
0
main canopy unless it has been
used as one
approved for use as a reserve) but it
is not to be used for a reserve if it has
been intentionally jumped as a main
canopy. One familiarization jump is
allowable to for reserve
use.
UNDERSTAND this canopy
is not a skydiving but
UNDERSTAND this canopy
is designed to be used as a
for use as a reserve. lt may be
the other (if FAA
AM QUALIFIED
0
ram-air parachute canopy.
and understand the in this
manual on “Canopy Size
best canopy size for my weight.
understand my exit weight will
canopy behavior and Performance,
especially
Performance.
practiced in the Operation of a
IO), and have determined the
and landing
and
have read
PRECISION
8
s Manual
HAVE INSPECTED
0
for
darnage have occurred
included and are undamaged.
shipping Container and contents
materials and for
shipping. All components are
UNDERSTAND
0
behavior of any new canopy by
operating it initially
possible conditions.
(and therefore operate
incorrectly). know need to leave
extra margin in selecting a flight path
when judging the and
behavior of a new canopy.
necessity to explore the flight
be incorrectly installed
the
the safest
know all
AM FAMILIAR
0
beginning on page 48.
0
Container with this canopy,
and the includes all
necessary components not included
with the canopy.
instructions for storage,
maintenance and repair
HAVE CHECKED
compatibility of my
with
HAVE READ
0
Instructions” on page 17 or 25 (for
main canopies) and have provided
my
this canopy is to be
reserve.
understand the .
with the appropriate reserve
instructions (pages 13-24) if
and
as a
9
Selecting the
Right Canopy .
Weight and See
This provides information on
canopy
which Performance varies with exit
weight. Use this information to select
the proper canopy for your weight
to ascertain how the
your canopy will vary depending upon
where your weight falls along the
acceptable range. Although some
weights may fall within the
acceptable range for more than one
canopy size, Precision recommends
you the canopy for which
your listed weight is not at one
extreme or the other of allowable
weig hts.
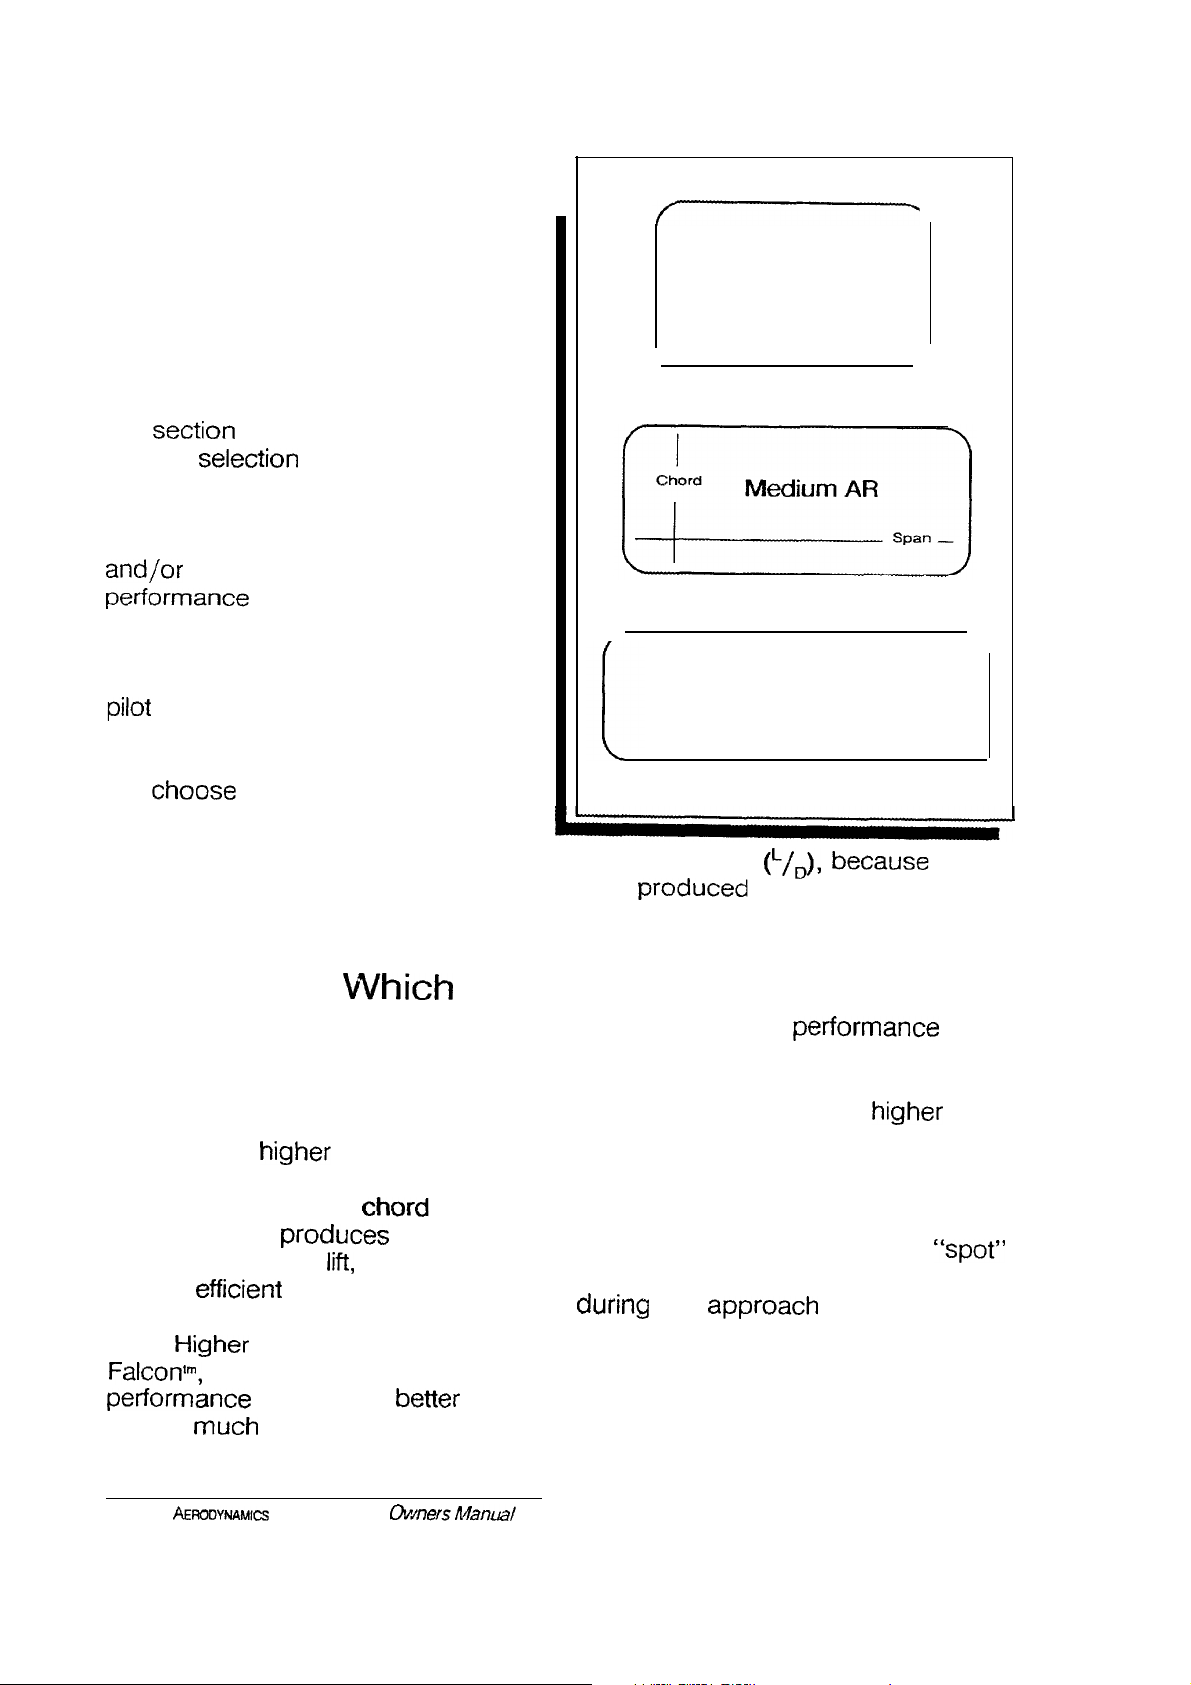
Choice One:
Canopy?
Your first decision in selecting a
canopy will be choosing an Aspect
Ratio (AR). A AR (it means a
wider side-to-side, or
to the front-to-back or
measurement) less drag for
a given amount of
a more
for example) exhibit
area: a
and the ways in
and
flight behavior of
span compared
which results in
design.
AR canopies (Precision’s
significantly in one
improved
Low AR
High AR
Lift-to-Drag ratio
drag for a given lift
requirement is even less.
For equal canopy areas, these
canopies provide more “glideability”
than their smaller, more “Square”
counterparts. This is
gained at the expense of some of the
more familiar characteristics of
traditional canopies. The
Performance may demand more from
the Operator: more judgment; more
planning; more landing area. The
high-AR canopies deliver more
forgiveness in selecting an exit
but in return require more accuracy
final and a longer
area for the landing flare. If “nailing”
the target is your bag, or for tighter
landing spots such as those
encountered in most demonstration
jumping, you may not prefer a canopy
with a super-high Aspect Ratio.
the
P
RECISION
10

at high (too weight) and
Remember: Aspect Ratios low (too weight)?
yield more efficiency in the
require more area for the final
and landing than their
counterpar-ts with lower Aspect
and
.
As a selecting a canopy
size, you should consider the same
factors. There is a theoretical “ideal”
weight for
canopy. But the
number of canopy sizes it’s feasible to
build is limited, you may not actually
Choice Two: Which
be able to choose a canopy for which
your weight is ideal. Precision
Size?
recommends you choose a canopy
which
the most margin on
either side of your weight. In other
words, it’s best not to choose a
After canopy type another choice
exists: Which canopy size?
canopy for which your weight is at the
extreme of allowable weights.
In determining the weight range
specification of a canopy, the
manufacturer considers many factors:
What weight will the canopy stand
structurally? Where do you draw the
line as flig ht Performance deteriorates
Wlng Loadlng Graph
1. Find your
weight on
horizontal axis
Draw a
upward.
2. Find the
points where
your
line intercepts
the line for
canopy.
Extend a line
from
point to the
wing loading
on the
left. in this
example. the
exit weight is
189 pounds,
and the jumpe:
choose
from the
C at Ibs pe
sq ft wing
loading, the
Model D at
the Model E
at
psf. aoove
outside the acceptable range for these canopies. Remember too
that reserves are approved by FAA
at
-------
. . ---
category for use
up to 254 pounds only.
turn the page for more
Information. . .
c
5
Too high
Too low
11
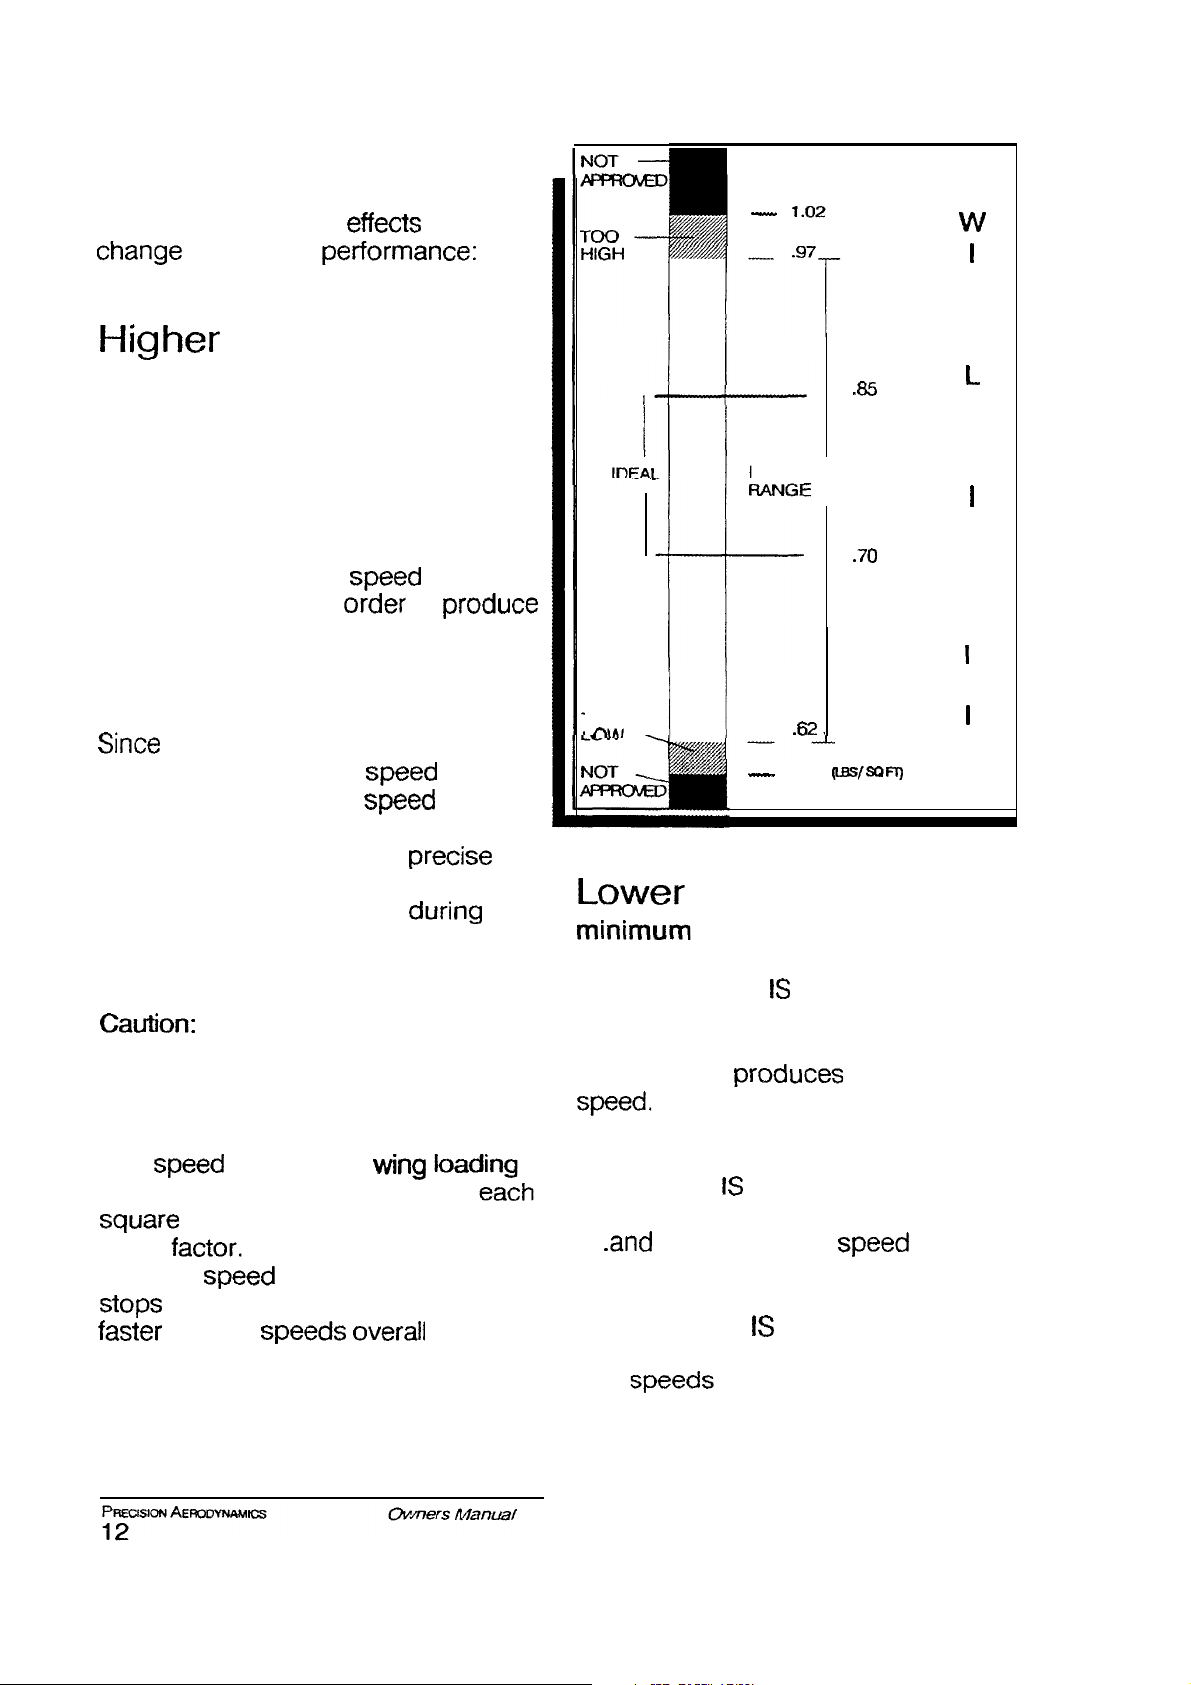
Here are some of the of weighf
on canopy
Weights
(nearthe
maximum allowed)
FLYING SPEED INCREASES
The glide angle of a canopy remains
fairly constant as weight is added to
the System. However, as weight
increases so does the
the canopy travels in
enough lift to equal that weight.
at which
to
RECOMMENDED
N
G
0
A
D
N
G
L
SINK RATE INCREASES
the glide angle is nearly
constant, and forward
increasing, downward
increases. The increased sink rate will
result in the need for more
flare timing and the increased weight
also prolongs deceleration the
flare. You may need to flare sooner
and more aggresively if you are at the
high end of allowable weight.
don’t flare too high!
STALL SPEED INCREASES
Stall
(amount of weight supported by
other
does the
flying smoothly. This means
landing and
perhaps a tendency, while familiarizing
yourself, to flare too late.
is related to
foot of canopy) more than any
As weight increases, so
at which the canopy
is
also
M
roo
.
T
-57
Weights
(nearthe
S
allowed)
FLYING SPEED REDUCED
Again at the same glide angle, the
lower weight less forward
. .
SINK RATE
. .
weights in the middle of the range.
STALL SPEED REDUCED
Stall
loading, and deceleration in the flare
requires less energy. The tendency
with light wing loading might be to
less downward than
REDUCED
are less at the lower wing
flare too high or too soon on your first
several flights. The canopy may not fly
fast enough to provide for
flare unless you increase For
safety’s a canopy should be
allowed to glide naturally at the best
Reserve Canopy
Installation and
Exit weight is a consideration when
trimming (setting the angle of) a
canopy, and weight Variation will
the trim. Canopies are trimmed
to shipping by the manufacturer.
Angle
is determined by the factory trim
setting. Do not attempt to the
factory trim setting.
It is important to select a canopy
which you well within the
below the of the range, a
canopy may not glide at the “ideal”
of attack.
Remember: For the most efficiency,
the most “forgiveness” and the
greatest satisfaction, the
canopy best suited for your exit
weight.
of attack
of the weight Above or
due to a less-than-ideal angle
of the canopy in flight
Instructions for of reserve
canopies will vary with
Container design. Refer these
instructions for
(pages then consult the
manufacturer’s
instructions for
the bag and closing the Container.
Main Vs. Reserve
A canopy which has been intentionally
jumped
one familiarization jump
reserve
may, however, use a canopy which
has been previously
reserve as a
main, do not return it to Service as a
reserve.
as a main canopy (beyond
should not be
or used as a reserve- You
canopy. After you
jump the canopy as a
and folding
the canopy in
A
to
as a
Remember: “Exit weight” includes
your weight plus the weight of any
equipment or instruments
you wear while jumping. Calculate
your exit weight.
Experience and
Currency Requirements
for Reserve
The FAA Master or Senior who
a Precision canopy into a
reserve or emergency Container must
have logged a
ram-air pack jobs, with at
least one being of the same
Container combination and within the
preceding 120 days. Failure to
observe this requirement is a Violation
of Federal Aviation Regulations Part
65.129.
of 10

Attaching the
Line
Attachment Nomenclature
by in canopy)
Canopy to the
Risers
Canopy attachment fvr modets.
tine numbers in
1. Lay out the canopy on its left side,
the slider spanwise with its tape down
and lay out the Container with the
harness up.
2. Thread one slider bumper over
main riser and down a few
inches.
3.
the slider on the risers
spanwise, with its tape the
canopy.
3. Locate the
attachment.
outboard side of its link and attach the
link to the right front riser, tight.
for reserves, if desired.)
edge and A line
line
OA)
to the
123 456 78
7
1
23 45
678910
4. Pick up at the canopy attach
and follow it down to the
outboard side of its link and attach the
link to the front riser, tight.
5. Turn the Container over, harness
down, and
receive their
the rear risers to
links. This
simplifies CD link attachment.
6. Rotate the edge the
rest of the canopy. Split the aft
along with its associated control line
groups to make the CD links easily
accessible for routing and installation.
7. Locate the data at the
upper surface trailing edge.
From this
reference follow
the trailing edge to the left stabilizer
and pick
line 1 D.
lines
lines
Lower
14
Manual

8. Route this to the outboard side
of its link and attach the link to the
rear riser, tight.
.
9. Again from the reference,
follow the trailing edge to the right
stabilizer and pick up line OD).
10. Route this line to the outboard
of its link and attach the link to
the right rear riser,
11. Return to the
tight.
reference
of the trailing edge. and
pick up the left side upper control
lines consecutively. Verify their
continuity to the junction with the
lower control line.
been removed from the upper and
lower control lines. Also make sure
that the lower control lines have been
properly routed through their
appropriate slider grommets and
guide rings, and that toggles have
been properly secured equidistant
from the trailing edge.
18. Separate the and
control line groups to their
sides and the reference
at the trailing edge.
19. Following the trailing edge control
sutface outboard will lead you to the
stabiliter’s seam and the
attachment of 1 D.
12. Removing twists as you go, follow
the
lower control line to its running
end. Route it through the appropriate
slider grommet, and the guide ring.
13. Remove the toggle from the riser
and route the running end of the
lower control line through the toggle
attachment loop.
14. the toggle up to the mark on
the control
Secure it with an
overhand knot tied to the
toggle.
15. The control line attachment for the
right side is done in a similar
16. When the control installation is
you may wish to compare
the two toggle
tension to ensure their
17. This is an appropriate time to
continuity of the control line
System. Begin at the trailing edge on
side, verifying that all twists have
20. Holding D lines 1, 2, 3 and
in your right hand and D
lines
and in your
hand, verify the continuity of the C
and D lines through the cascades to
their
rear risers.
21. Gather in the control lines and flip
the canopy over so the
edge
up. Verify this orientation by
locating the attachment of A
lines 1 and
22. In the same you flipped
the canopy, rotate the Container
harness-up.
23. Pick up the front riser groups,
follow them to the canopy, and
separate.
24. Pick up A lines 8, and
you have continuous
lines, follow the bottom
seam down and pick up
Verify continuity of the A and B lines,
through the cascades, to the right
front riser.
25. Pick up A lines and
5). you have continuous
lines, the bottom seam down
and pick up line Verify
continuity of the A and
through the cascades to the
riser. The continuity check is now
26. Tightening the connector links
properly is critical to safety. Thread
the barrel up snugly against the barrel
stop. Use a wrench to secure
the links.
DO NOT OVERTIGHTEN !
Overtightening the connector links
be dangerous it could
the threads or the barrel.
This is an appropriate time to inspect
the links for any darnage possibly
inflicted
tightening. Inspect
lines,
front
A
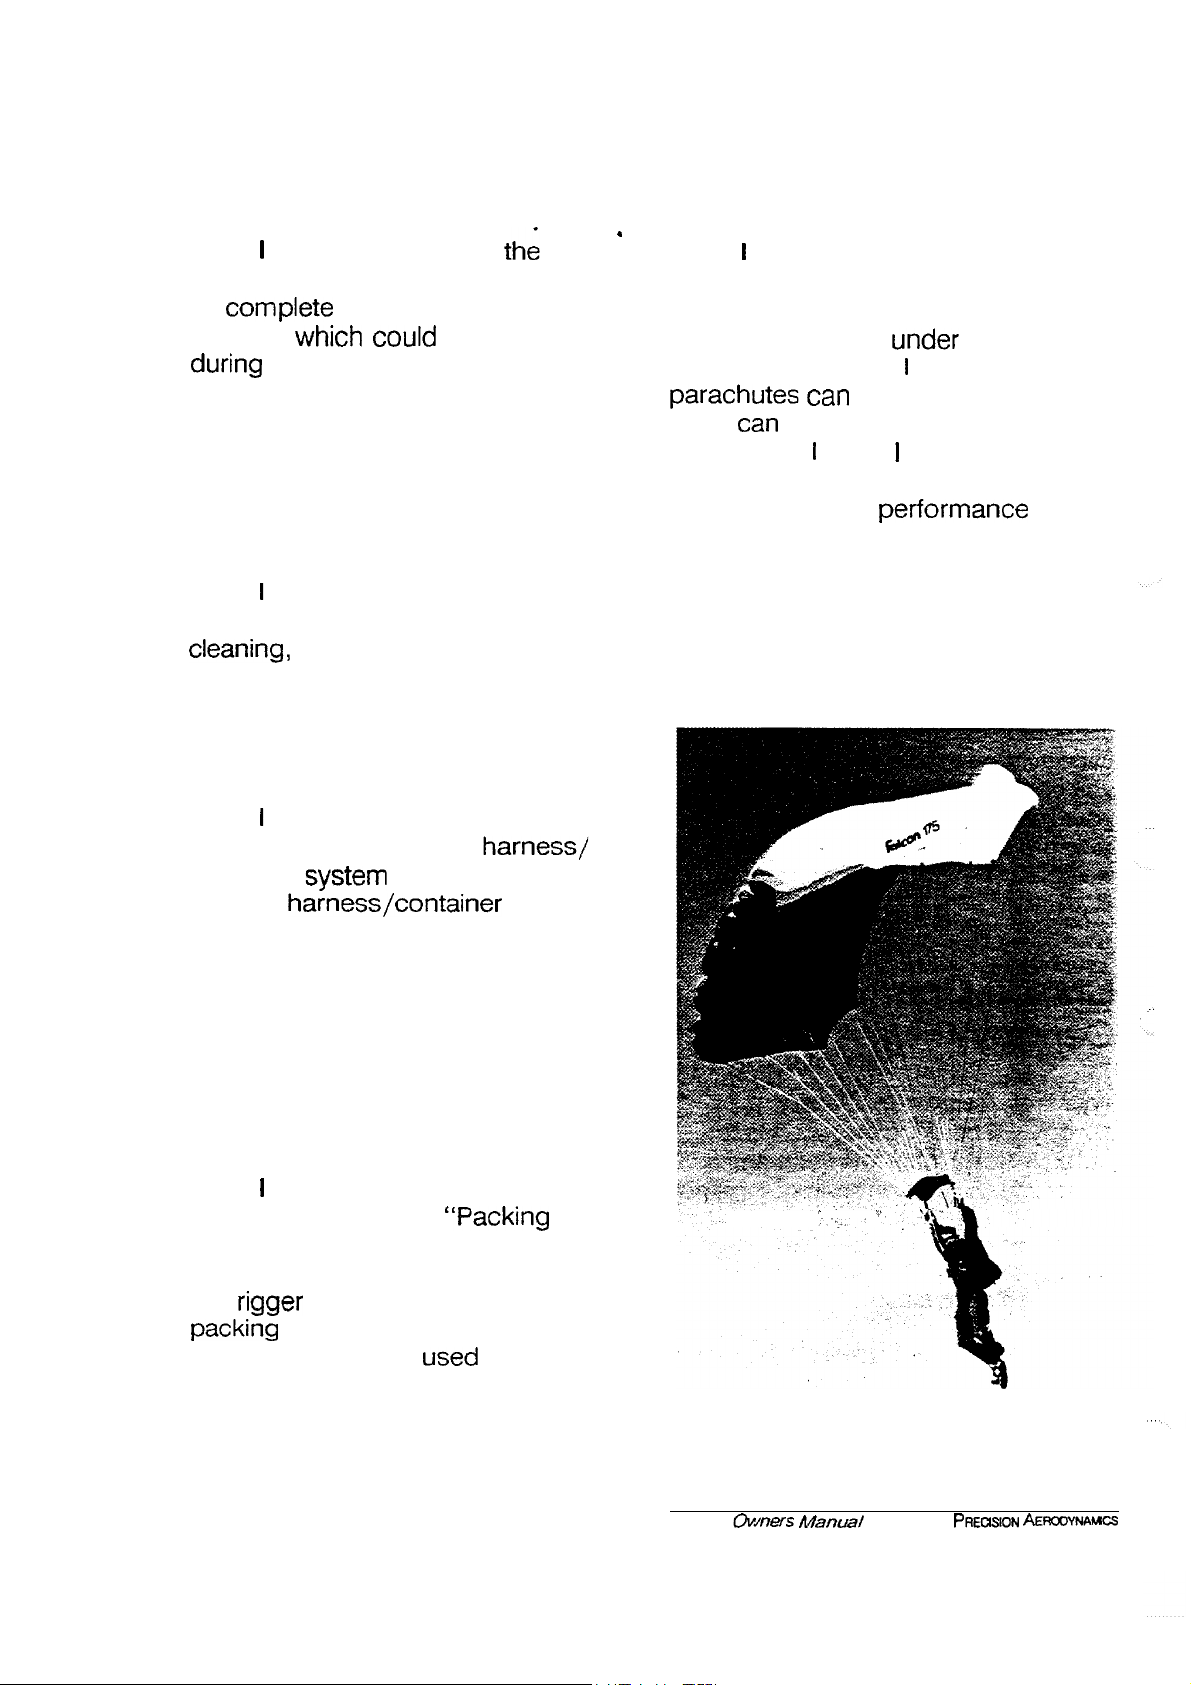
darnage which could deteriorate
27. Move the slider from the risers,
suspension lines.
was also skipped.)
28. Move the slider bumpers up and
shown in the illustration. An
length of MW finish lacing tape
is included with your new canopy to
secure the bumpers as shown.
This completes the assembly
process.
link thoroughly for any signs of
integrity.
the tightened links onto the
28 for 9
them at the links in the
It is assumed throughout these
instructions that you are assembling
to “Standard” risers, which will result in
a distance of 4 inches from the inside
of the control line guide ring to the top
of the riser.
16
Reserve Main Canopy Folding
Reserve canopy folding is accomplished by packing (also known as
side packing)
packing” in the following The instructions for “pro packing”,
is approved for the main canopy only (pro packing is not approved for
reserves) begin on page 25. The Checklist below applies to either method.
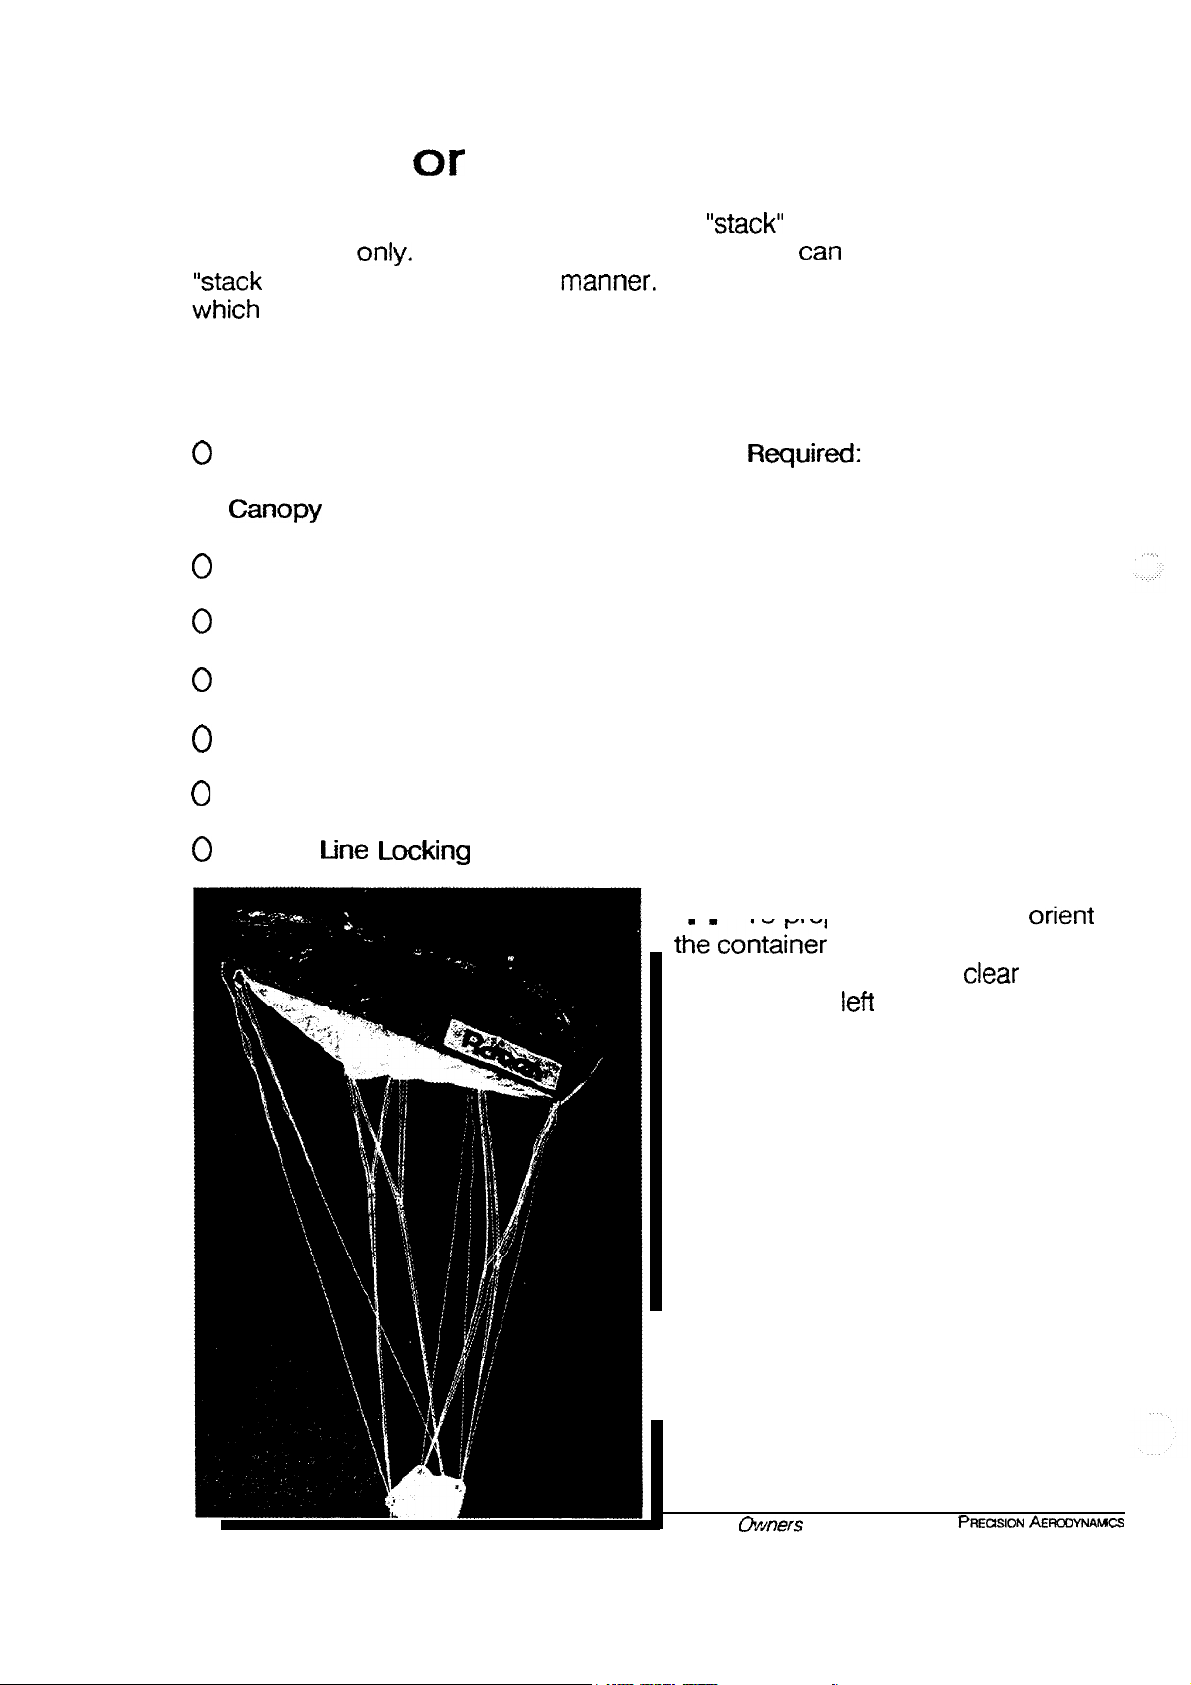
Prepacking Checklist
Reserve or main canopy folding be accomplished by
Bridle Attachment Point (main only)
0
Slider Stops
Links
Slider Bumpers (main only)
Slider
Lines
Control Loops
Tools
1
at the links, with the lines
canopy on its side.
To prepare for packing,
Three shot bags.
harness down, the slider
and the
Manual
17
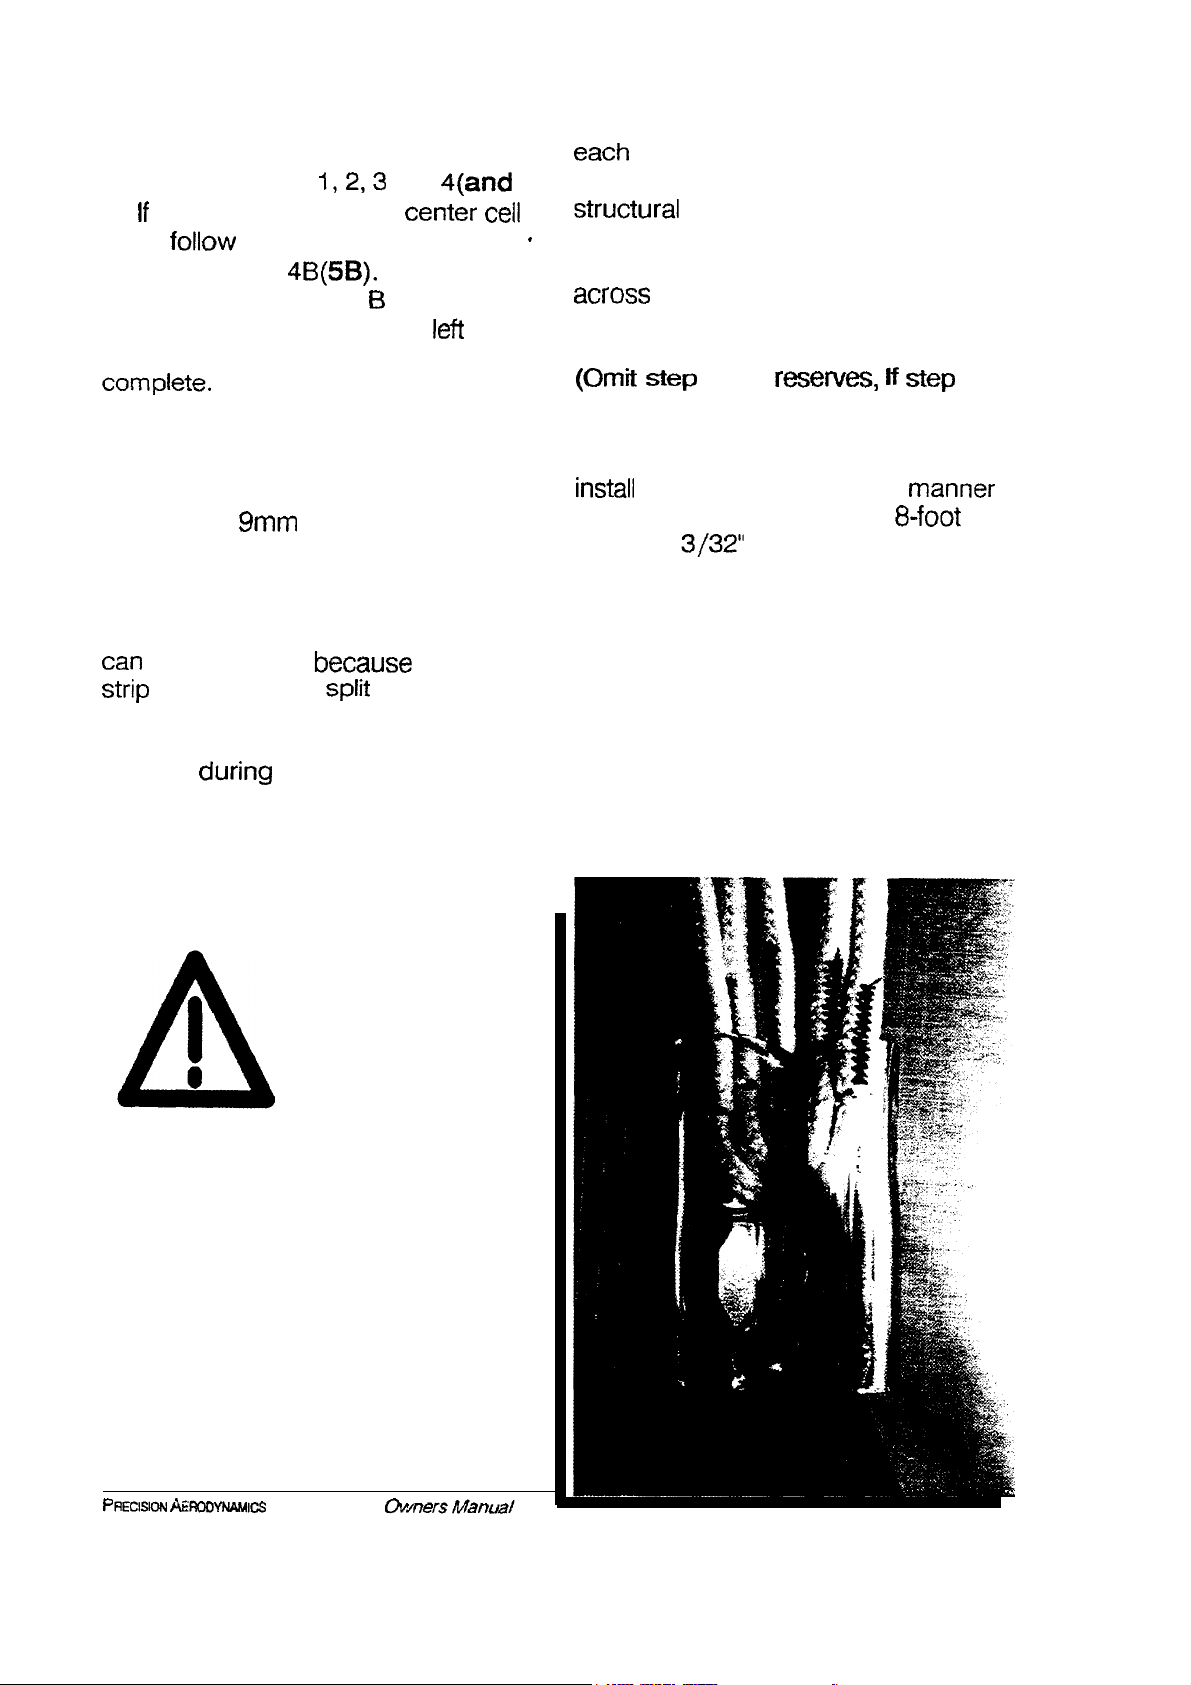
the edge
not to twist the A lines.
the A iines the B
keeps the canopy centered on
the Container.
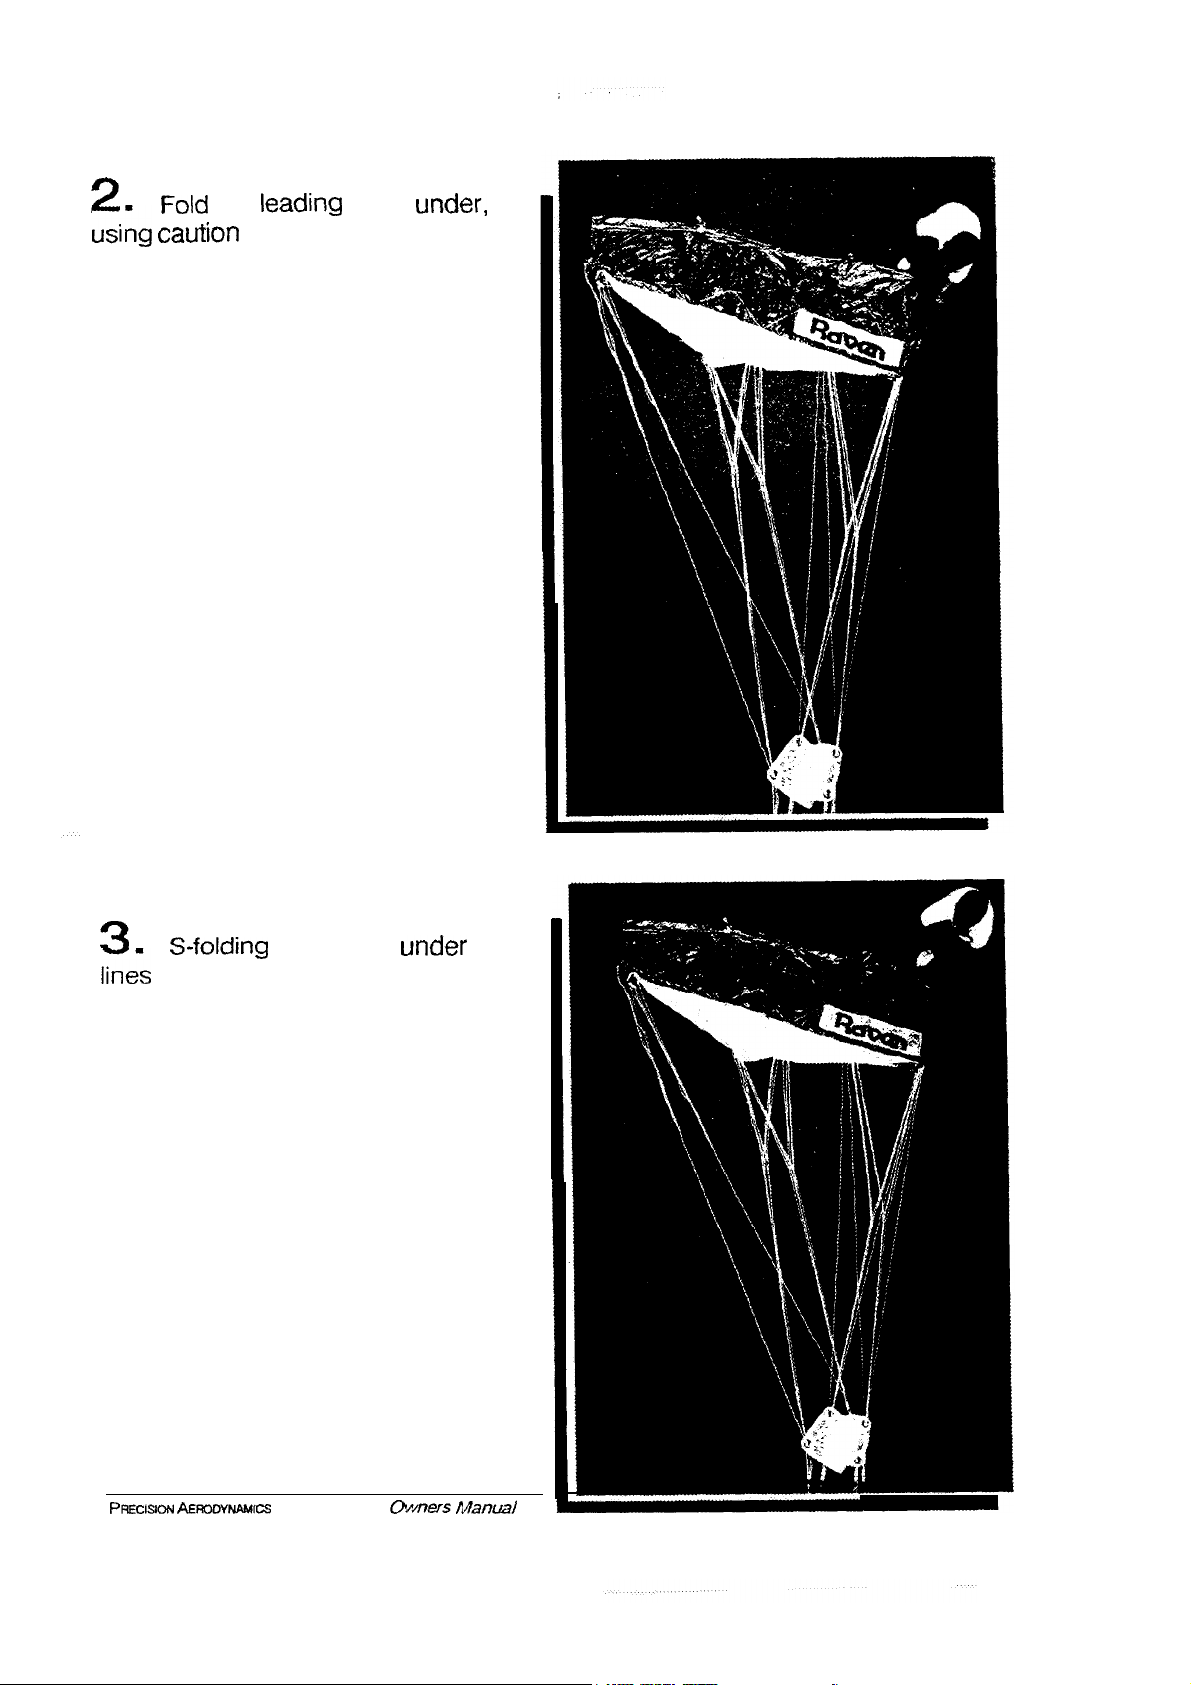
18
the lines and the D
lines onto the
distribute
amounts of canopy to
side of the groups.
Manual
19

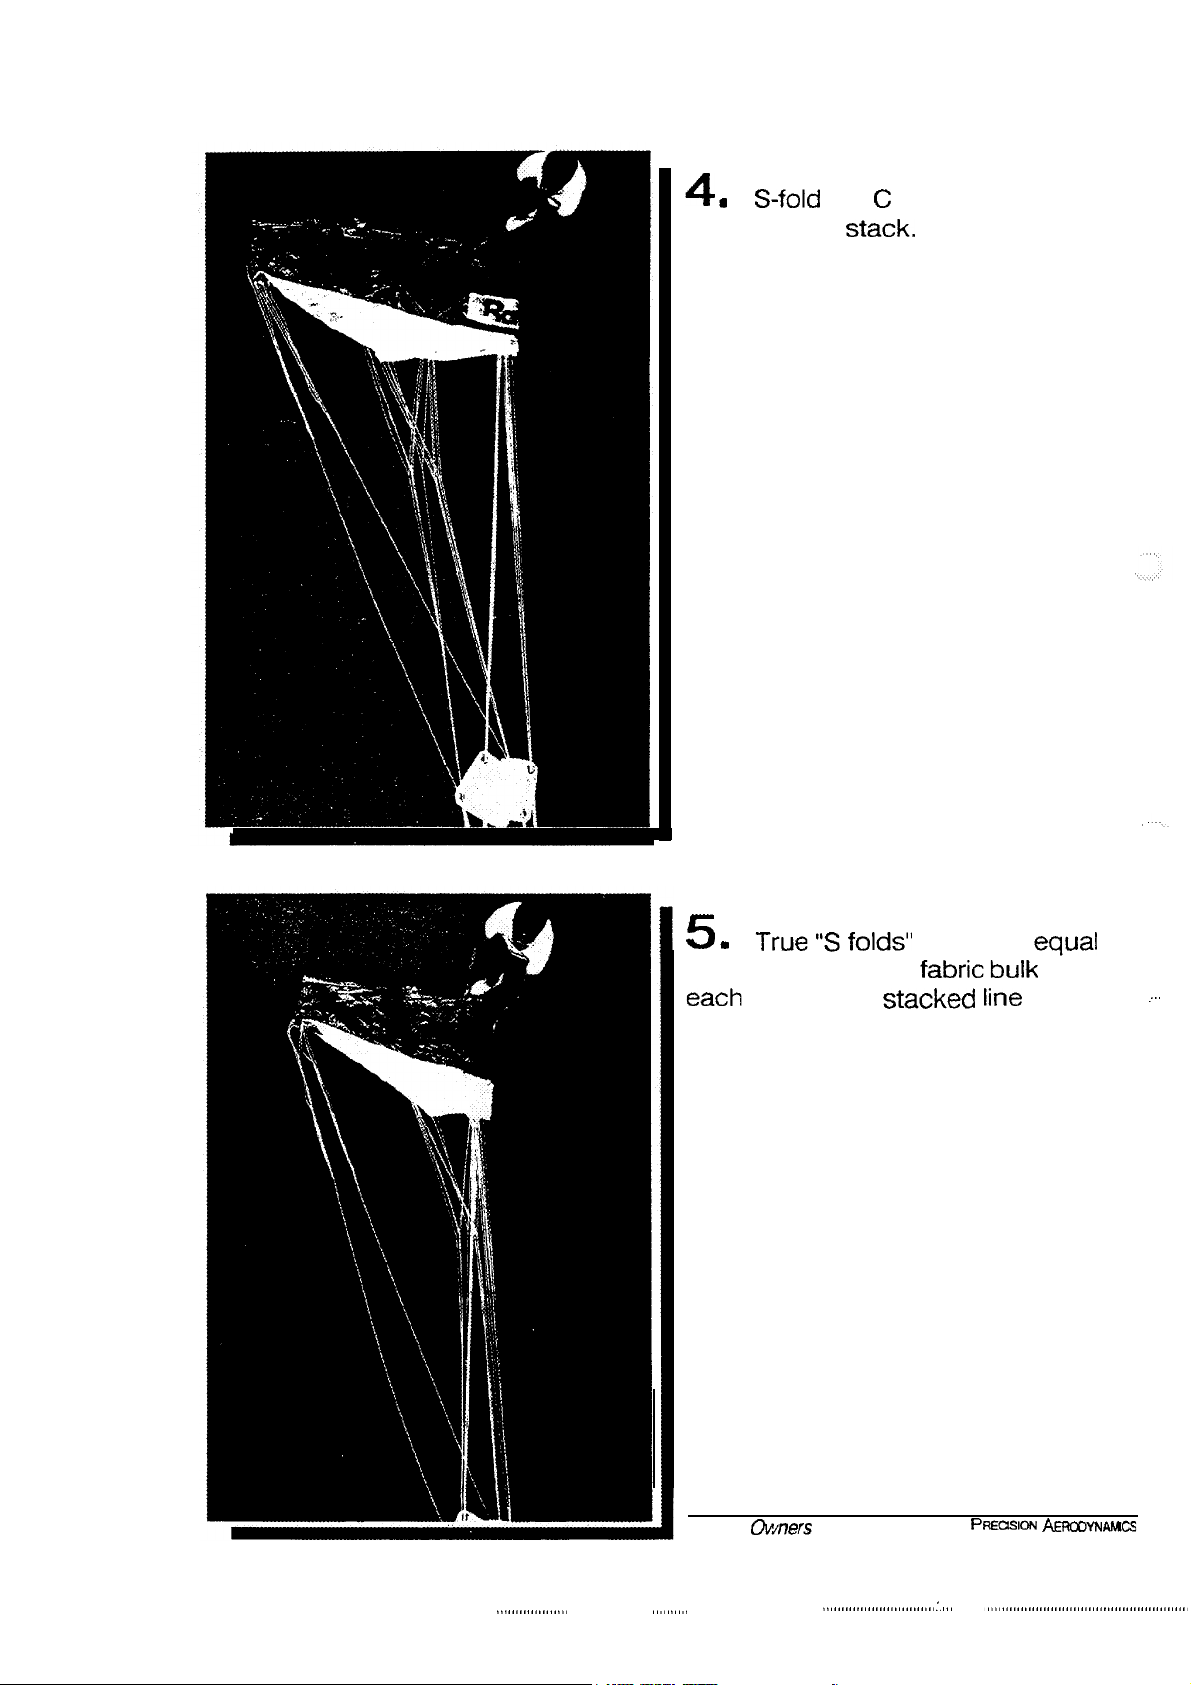
When the are
purge the air from the remaining
of the canopy.
Clear the D-C section, the C-B
section and the B-A section of the
right stabilizer. Likewise
all
sections of the left stabilizer. Clear the
sections aft of the D
Reestablish
equal line tension from the high points
of
S fold.
Next, set the deployment brakes.
Instructions for
vary with Container design.
the brakes will
the
nstructions supplied by the
manufacturer of the harness System.
20
In dressing the section of the
airfoil, the
hand serves two
purposes. First, it contains the
trailing edge. it helps
maintain tension on the D lines and
associated attachment
Extra time and attention in
dressing the section of the airfoil
not only enhances a more orderly
deployment, but is also
in
canopy bulk distribution when filling
out the free bag.
When the right aft section of the
canopy has been dressed, contain it
with both knees.
Gather up the section in
to dress it away from you in a
similar
on the D lines.
Reestablish tension
21
All of the seams the aft
section of the airfoil are either
row, bearing type
blind stitched loadbearing seams. All
these seams are
adjacent to the groups, while the
between these seams is folded
on the outside. Dressing the seams
as high on the aft section as is
practical helps keep
developing in the D lines. It will also
help in distribution of the
Kneeling on the trailing edge,
purge the air from the canopy.
Folding
section assists in controlling the
airfoil when exposing the
As you pack, good technique
Warrants that you purge the canopy
frequently to ensure control.
the edges of the flaked
parallel and
from
.
Lift the canopy onto your lap
and expose the high
edge.
of the
22
12
return the canopy to the floor and
purge again.
maintaining control,
13
bring the slider up the lines and set it
against the
grommets to distribute the bulk.
Position the slider
edge.
Grasp the slider, and without
grommets from the carpet,
Spread the
the trailing
23
14
of the free bag, plus 2 inches on
side
This concludes the canopy folding
sequence.
must be done in accordance
Dress the canopy to the width
Installation into the
bag container
provided by the container
 Loading...