

Praim N9052, N9072, N9012, N1002, N90-HDX Quick Manual
...
EN - Neutrino Dual Core
Neutrino Thin Client Series
Model Linux based Terminal - link to the User Guide N9052 ThinOX User Guide
Model Windows Embedded Standard 7 based Terminal - link to the User Guide N9072 Windows
Embedded 7 User Guide
Model Windows Embedded 10 IoT Terminal - link to the User Guide N9012 Windows 10 IoT User
Guide
Neutrino Zero Client Series
Modello PXE Boot TerminalN1002
Modello Linux based Terminal Citrix HDX - link to the User Guide N90-HDX ThinOX User Guide
Modello Linux based Terminal Microsoft RDP/RFX - link to the User Guide N90-RFX ThinOX User
Guide
Modello Linux based Terminal VMware Horizon - link to the User Guide N90-HOR ThinOX User
Guide
Unpacking the Terminal
Remove the terminal and all accessories from the packing carton.
Make sure you have the following components:
Installation Guide (this document)
Terminal logic unit
Stand foot for vertical installation
Screw for USB door + screw for stand foot
External power supply with power cord
DVI-I to VGA adapter
Optical mouse
Equipment Warranty Card
Safety instructions sheet
If you need help during installation, or if any items are missing or damaged, contact immediately your supplier.
Safety Notes
Do not expose the terminal, line cord, or monitor to rain or moisture. Do not place the terminal in direct sunlight, near heat sources or air
conditioners, or in dusty or dirty environments. Install the terminal as shown in this guide, do not allow anything to close in the ventilation
holes.
Warning - To prevent damages during the installation, make sure that the terminal is NOT connected to the electrical outlet and that the
display monitor is NOT powered on.
IMPORTANT - ThinMan administration software, utility tools and products
updates.
On the Praim WEB site are available all the products information on ThinMan: www.praim.com
The ThinMan User Guide is available at this link: https://wiki.praim.com/display/ThinMan/
We recommend the use of a pad for the mouse to work correctly.
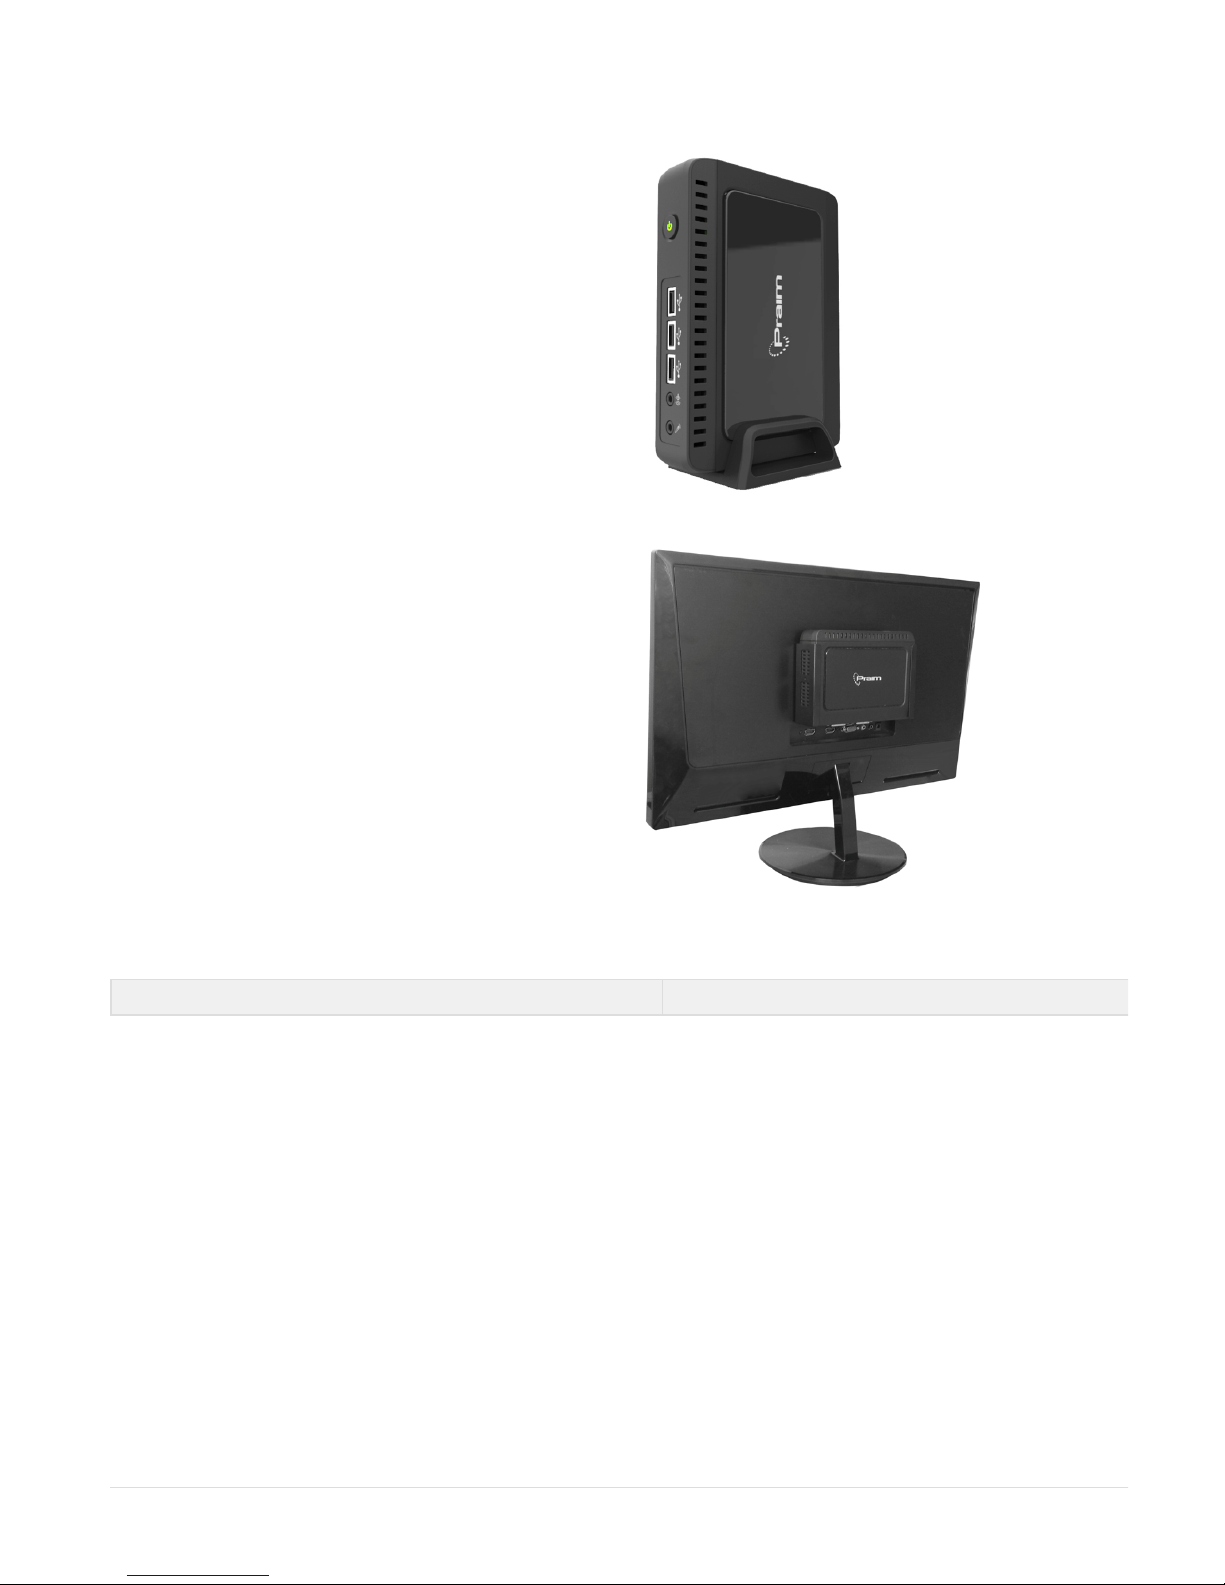
Vertical installation of the terminal
The device is provided together with its stand foot.
Logic unit must be installed vertically as shown in the right figure.
For a better For a better stability the stand foot can be attached to
the bottom using the screw provided.
Installation on the back of LCD with
VESA bracket
The logic unit can be installed on the back of a LCD monitor using
the VESA bracket kit (option P/N 80EC00048).
This kit includes the standard VESA bracket. Please refer to the
specific installation guide for more information.
Pls check options list for the right cable.
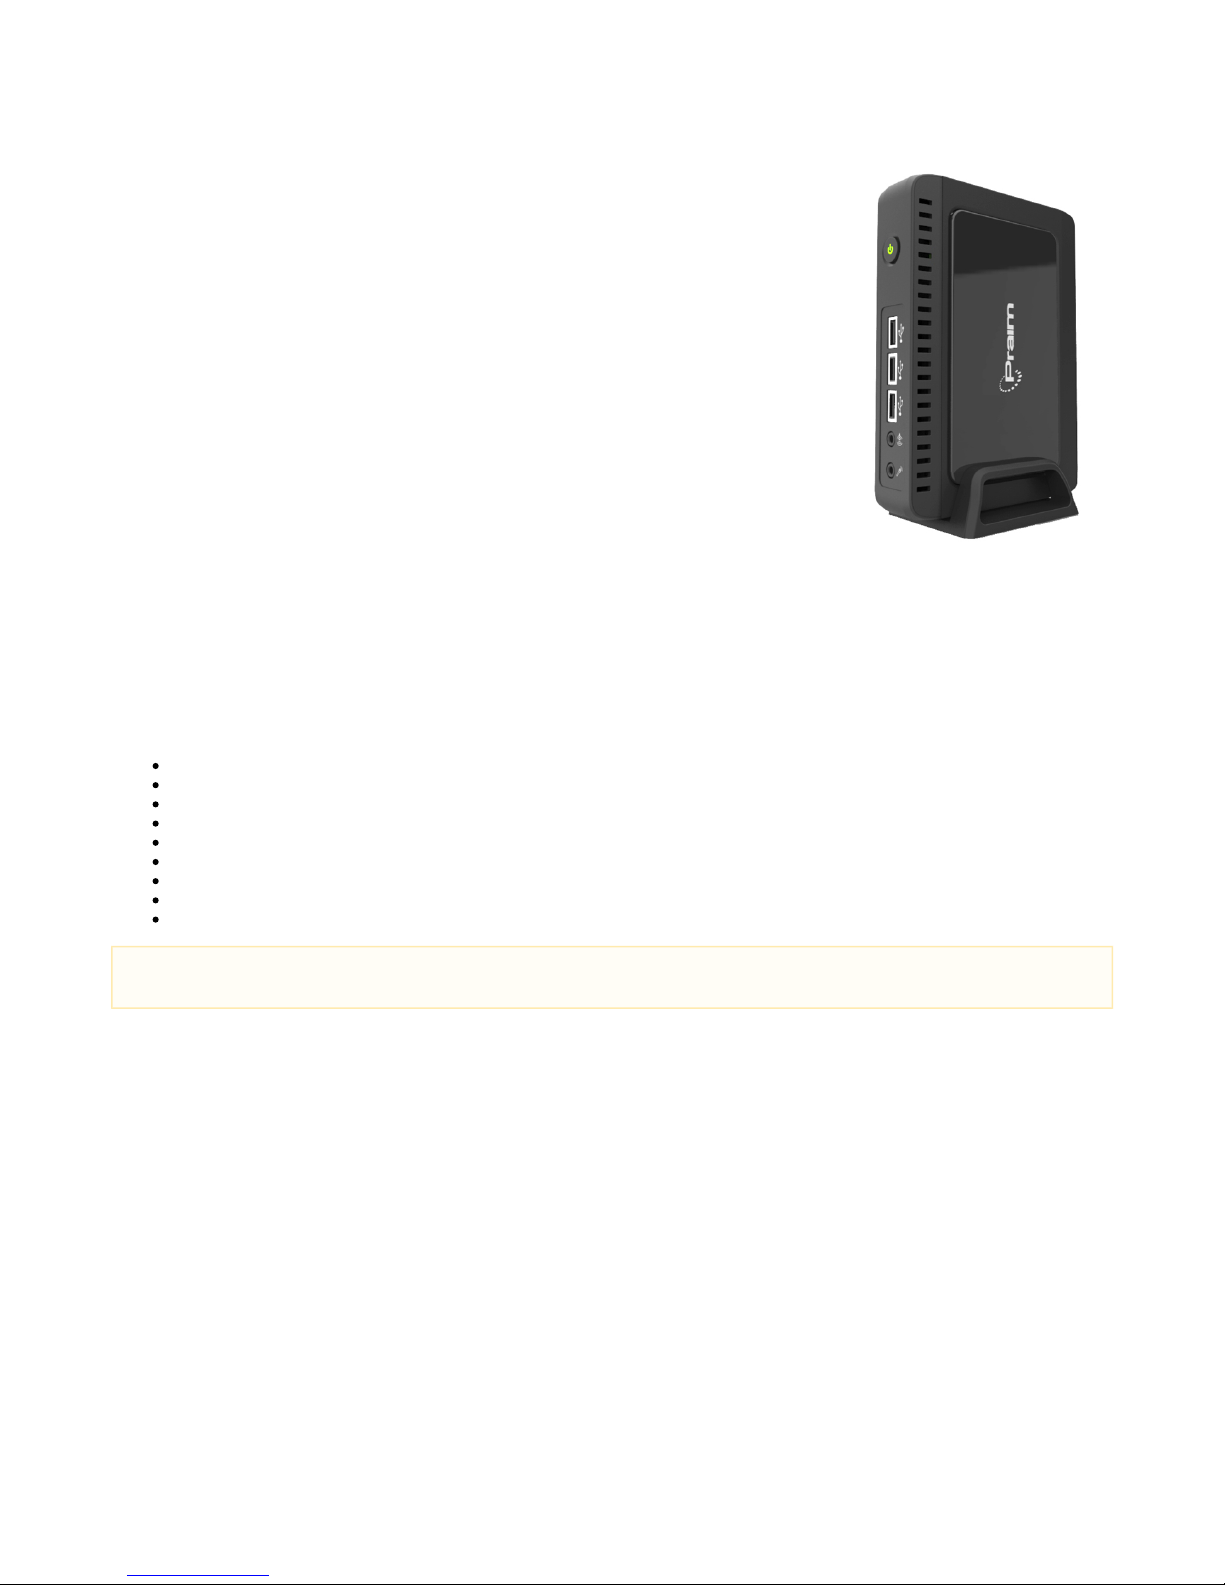
Logic Unit
Front View Rear View
 Loading...