

Page 1
Relaxa Bath Lift Basic Installation Guide
Product specifications
Maximum User Weight 127 kg
Main Unit Case Size 560 x 310 x 100mm
Lift Range (i.e. max bath depth) 430 mm
Battery Range (average) 20-30 lifts between charges (depending on user weight)
Battery Charge Duration 8-10 hours
Items supplied with your Relaxa lift
1 Relaxa Bath Lift with remote control
1 Battery pack with charger
1 Floor anchor bar
1 Wall mounting plate
1 Belt slip mat
1 Manual
Optional – Stud wall backing plate / Shower cover
Note: Wall and floor fixing screws are NOT included as they must be selected according to
the wall and floor materials.
Page 2
General Points
It is important that the bath lift is installed correctly. The wall must be sufficiently robust to support
the unit and the weight of the user.
Ensure that there are no concealed water pipes or electrical cables that could be damaged when
fixing the unit to the wall and floor.
The Relaxa bath lift is not suitable for baths with bowed front panels. If possible, the bath front panel
should be flat or only slightly bowed.
The Relaxa lift can be used on baths which are boxed away from the wall by up to 100mm.
Ensure that the wall where the unit is to be fixed is completely flat and free of obstructions such as
grab bars, soap dishes etc. The unit can be installed over tiled walls.
If used under a shower, an optional Shower Cover should be used.
Installing the wall mounting plate
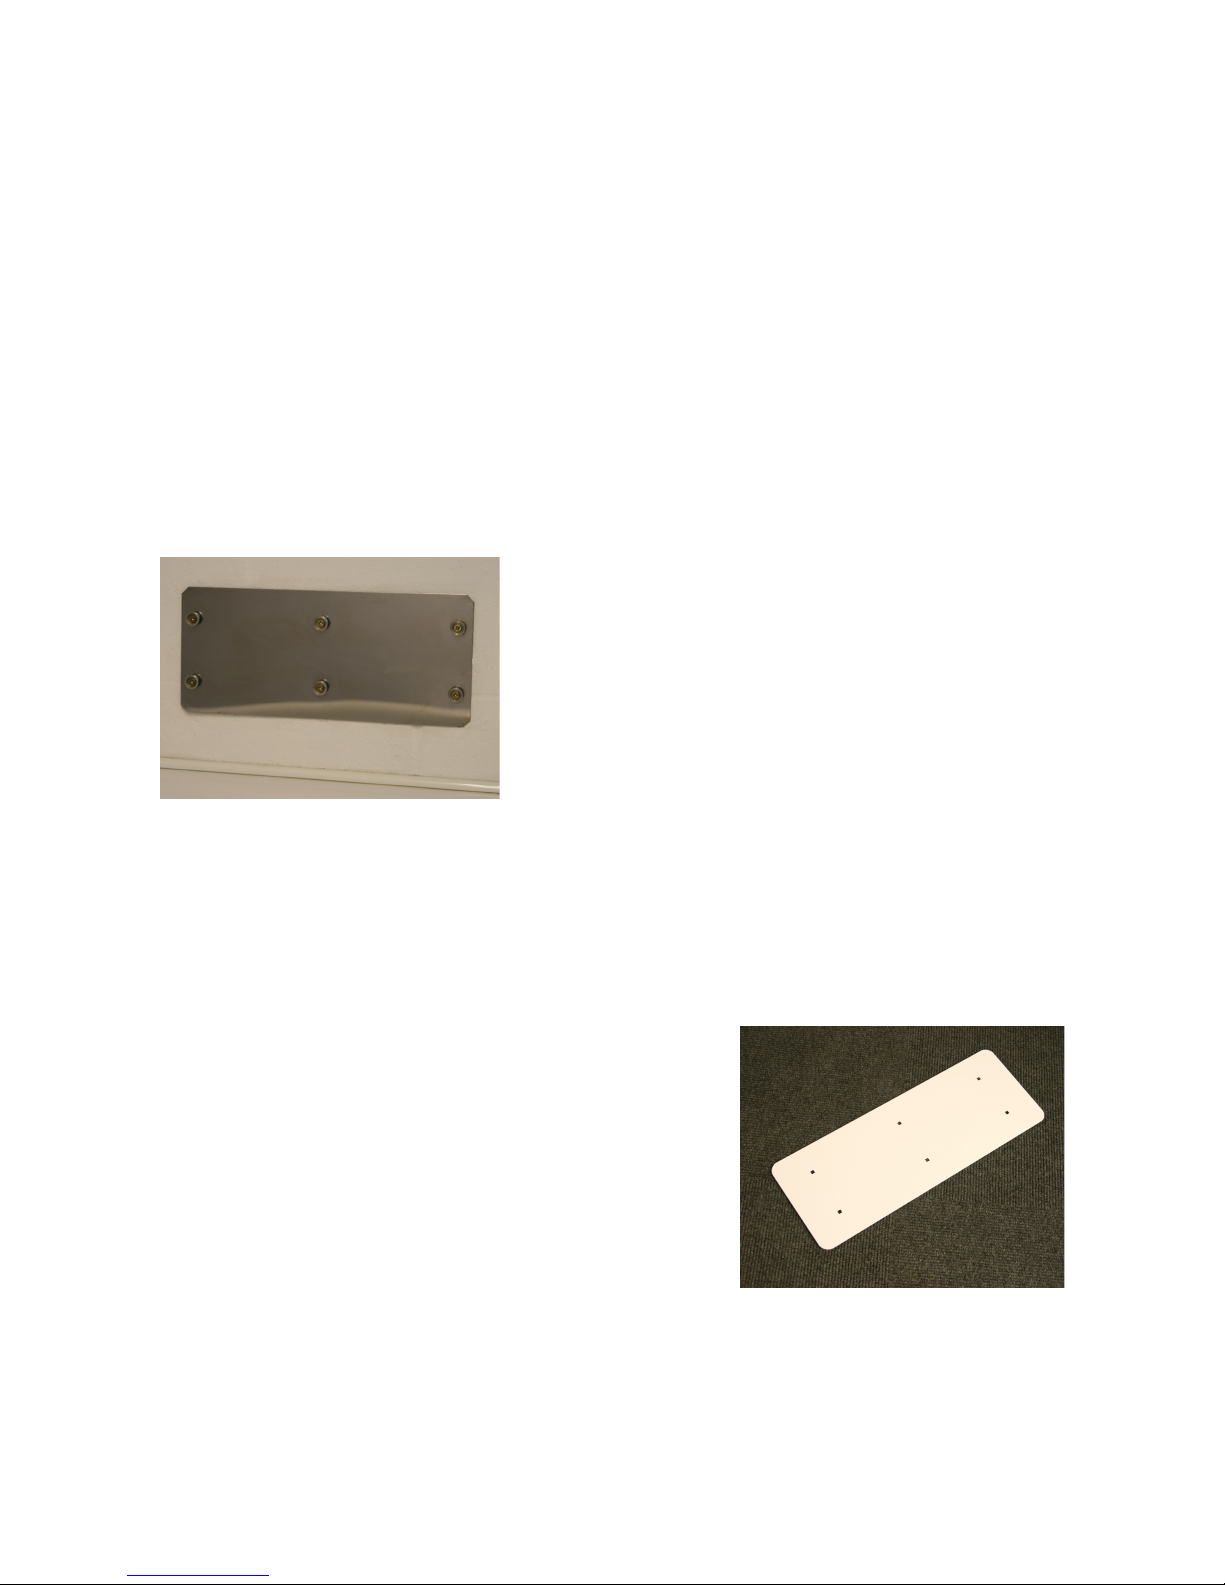
The stainless steel wall mounting plate has six mounting lugs,
through which the mounting screws, bolts or other fixings will
pass.
Position the wall mounting plate against the wall. If the wall is
uneven, insert shims or washers behind the plate to level it. Make
sure it is kept horizontal at all times. The lower row of lugs should
be 130mm above the bath tub rim.
The end of the fixing plate should be above the area where the
flat base of the bath meets the sloping back. The belt will then lay
onto the flat bath base. Mark the six holes through the stainless
steel fixing plate onto the wall.
Installing on a solid wall
Select appropriate 6mm fixings for you wall type. This may be expander bolts, Fischer bolts etc. In general
these should be minimum 80mm. Ensure all fixings are secure and solid.
If your wall is not of solid construction (i.e. Thermalite Block etc), it may be necessary to use specialist fixings
such as resin based systems. It is the responsibility of the installer to use fixings suitable to the specific
situation.
Installing on a stud partition wall
A separate backing plate will be required for stud wall installations.
Check for the position of studwork inside the wall. Various stud
position sensors are available to help with this.
Where possible, fix into the wall support framework using
appropriate fixings. Where the wall is hollow, using a 6mm drill bit,
drill through the wall making sure the drill is true and level. Use
6mm threaded stainless steel rod, cut to approximately 25mm
longer than the final length required. Fit a stainless steel Nylok nut
and washer to the lift end of each rod and pass through the wall
plate and the wall. On the opposite side of the wall, grip the rod and
fit a washer and Nylok nut to each rod. Once the nut has been
screwed down sufficiently, move the grip to the exposed end of the rod and tighten the nuts fully. Trim off the
excess rod.
2
Page 3
Installing the main unit onto the backing plate
Slot the Relaxa belt lift unit onto the wall mounting plate ensuring all six locating lugs on the fixing plate go
through the hanger holes on the back of the housing case. The unit should drop into place and rest
horizontally.
Fit the temperature sensor.
Insert the charged battery into the left side of the Relaxa main unit.
Floor Anchor Rail Fitting
Note: If the floor is carpeted (excluding carpet tiles), an area of carpet will
need to be removed to provide a firm fixing of the floor anchor rail. DO NOT
FIX THE FLOOR ANCHOR RAIL OVER CARPET.
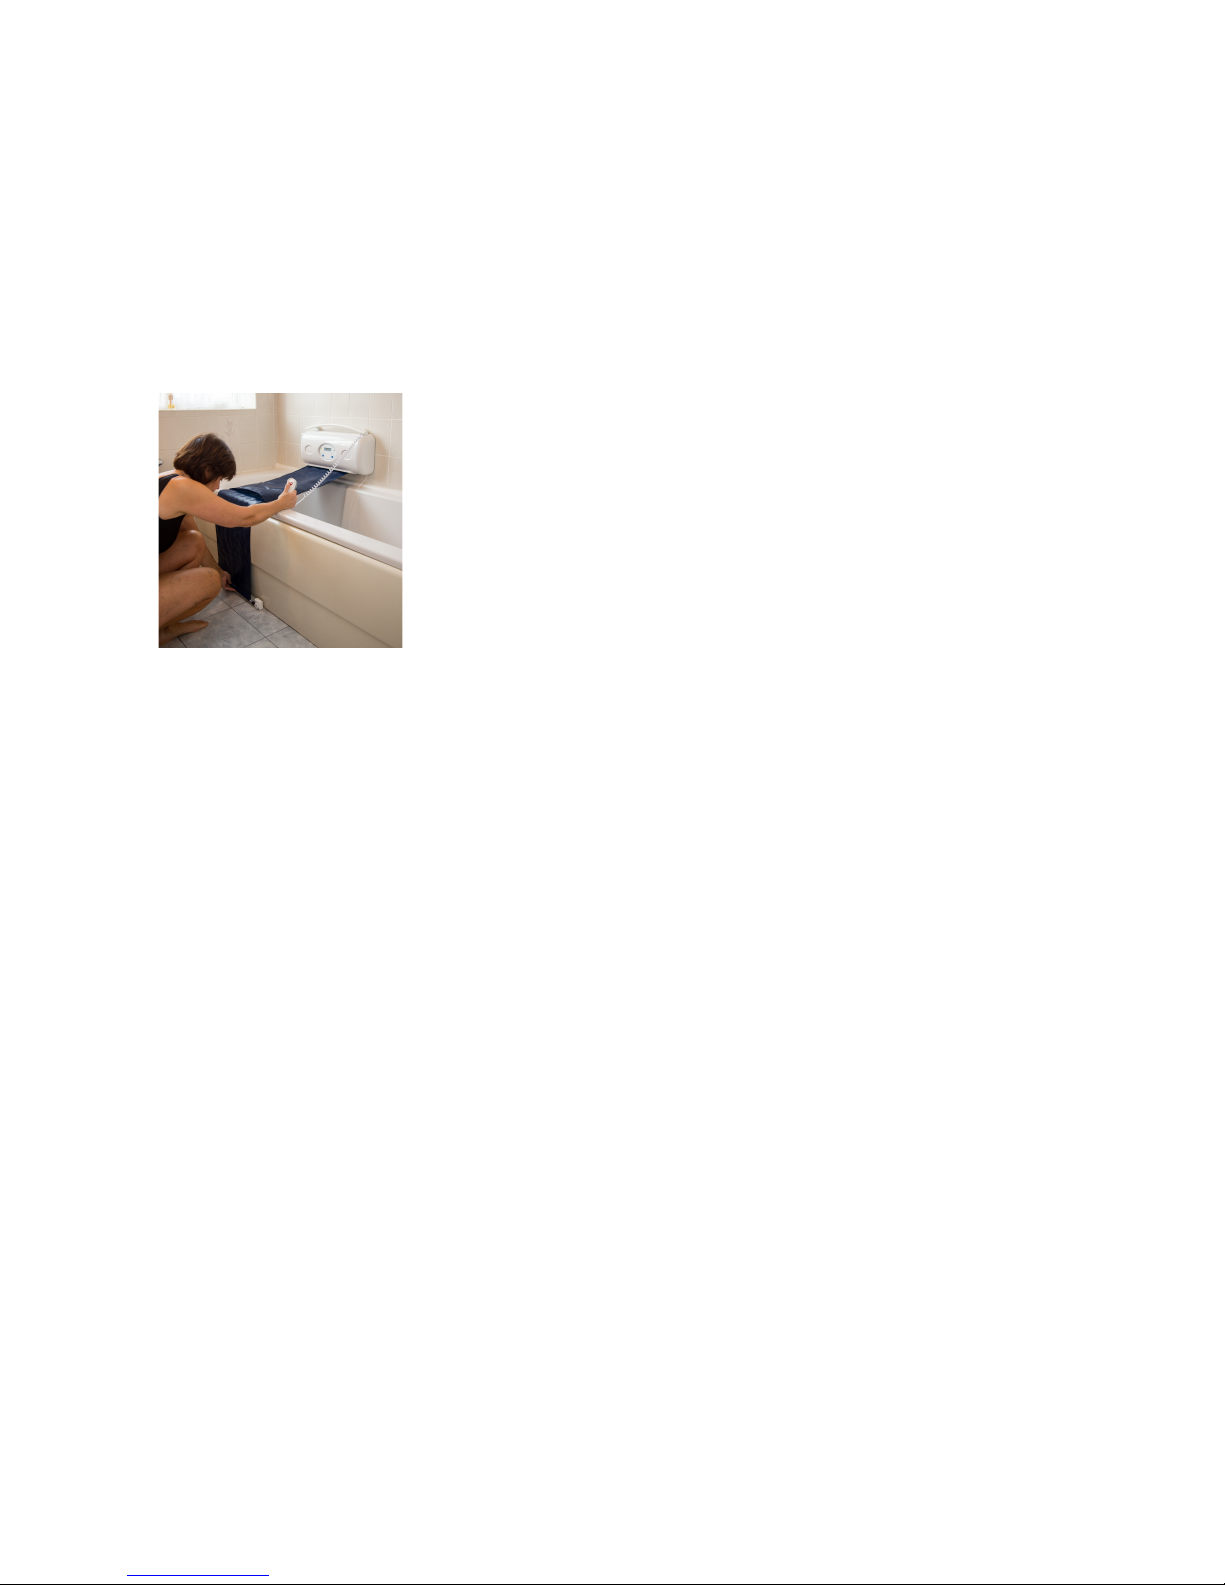
Feed out the belt from the main unit and pull it down to the floor, maintaining
a little tension on the belt. This will show the required position for the floor
anchor rail. Position the floor anchor rail as close as possible to the vertical
bath panel.
Mark fixing locations through the screw holes in the floor anchor rail.
Use suitable fixings for the floor type (x7 No 10 stainless steel screws).
Ensure the Floor Anchor Rail is securely fitted.
Completing the installation
Fit the belt sleeve over the main belt.
Slot the belt anchor rod into the Floor Anchor Rail by swinging the nylon discs up. They will swing down into
place by gravity, locking the rod into place. Using the hand control or the main unit, tension the belt across
the bath.
Sit on the belt and thoroughly check the robustness of the installation prior to use.
3
 Loading...