

Page 1
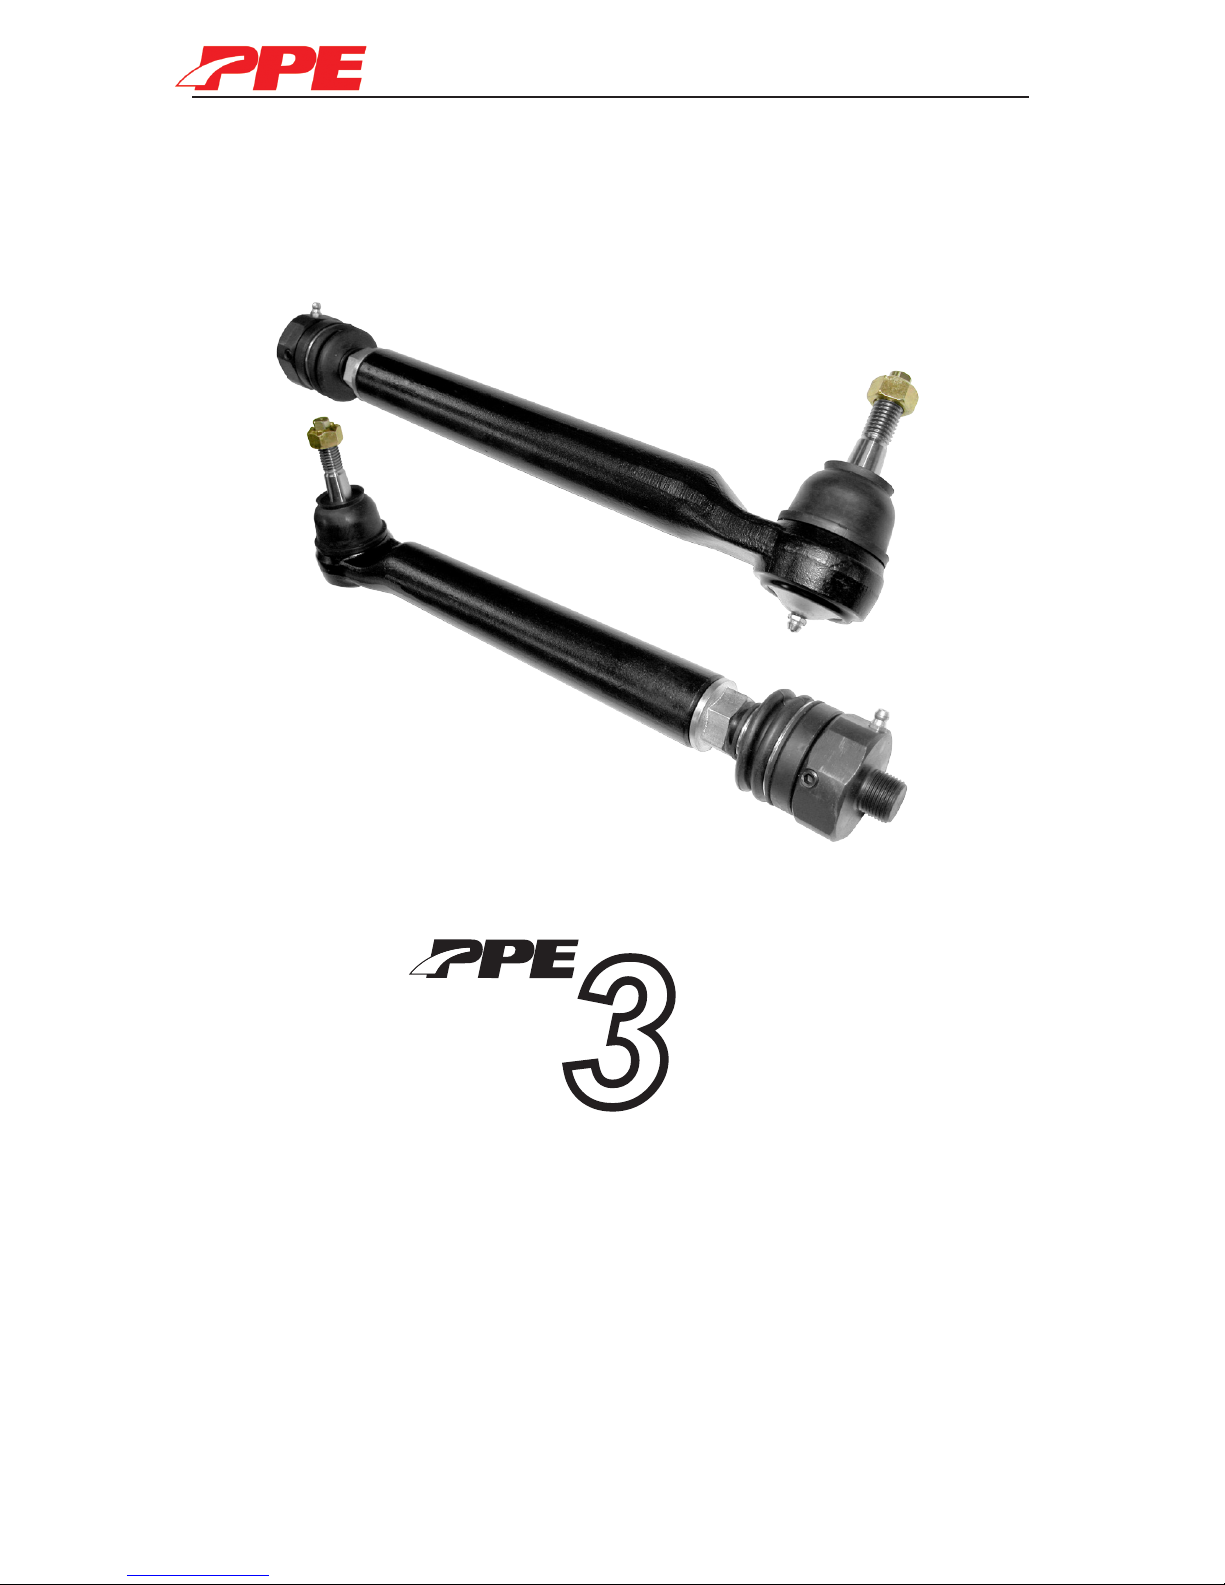
Stage3 Tie Rod Assemblies
Rev:06/19/18 v4A
PPEdiesel.com
Stage
3
Tie Rod
Assemblies
Technical Support (714) 985-4825
2001-2010 GM 2500/3500HD Trucks (158031500)
2011+ GM 2500/3500HD Trucks (158031511)
Installation Guide
Page 2
Stage3 Tie Rod Assemblies
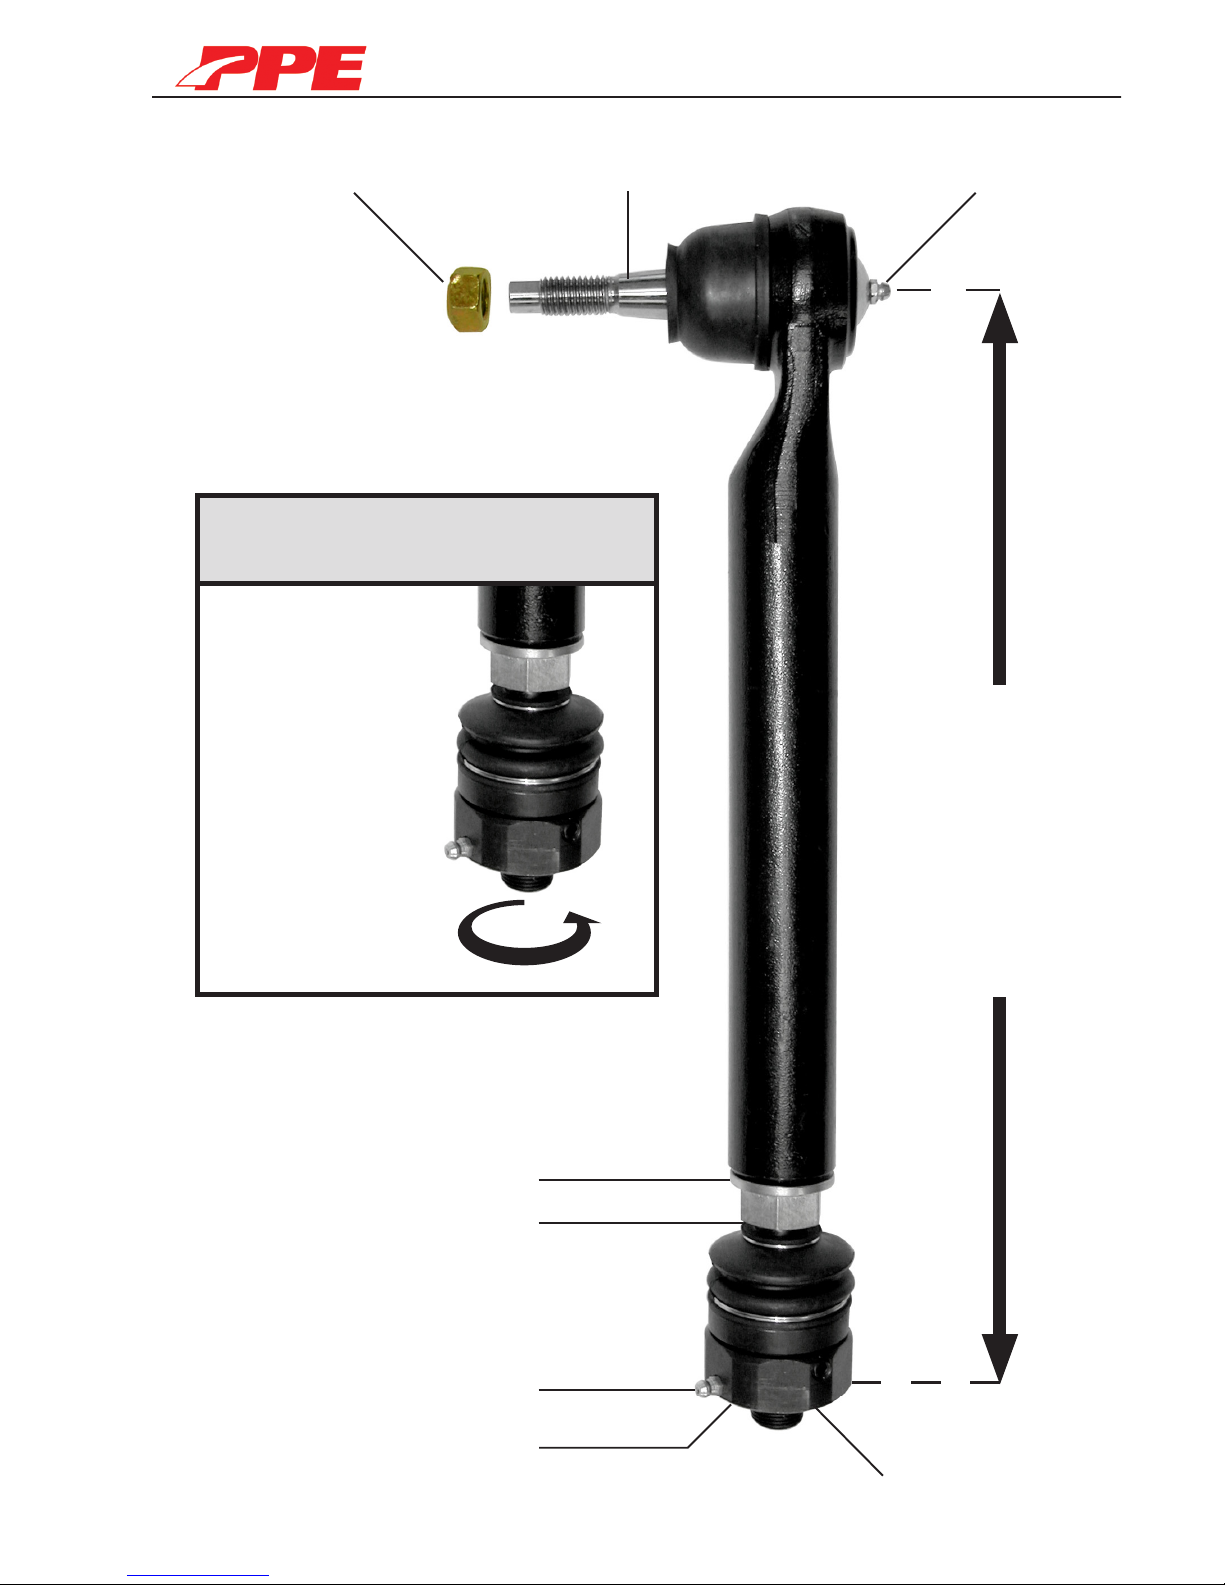
Tie Rod Ball Stud
Lock nut
End Cap
1 1/8” Jam nut
Inner ats (5/8”)
Zerk tting (2011+ only)
Inner face
Tie Rod length
Grease tting
Adjustment to
eliminate end-play
Remove set screws (2)
Use pliers to
secure here -------------------
Tighten inner face --------
Apply Loctite
to set screws
Reinstall set screws
Maintenance
Instructions
+
Page 3
Stage3 Tie Rod Assemblies
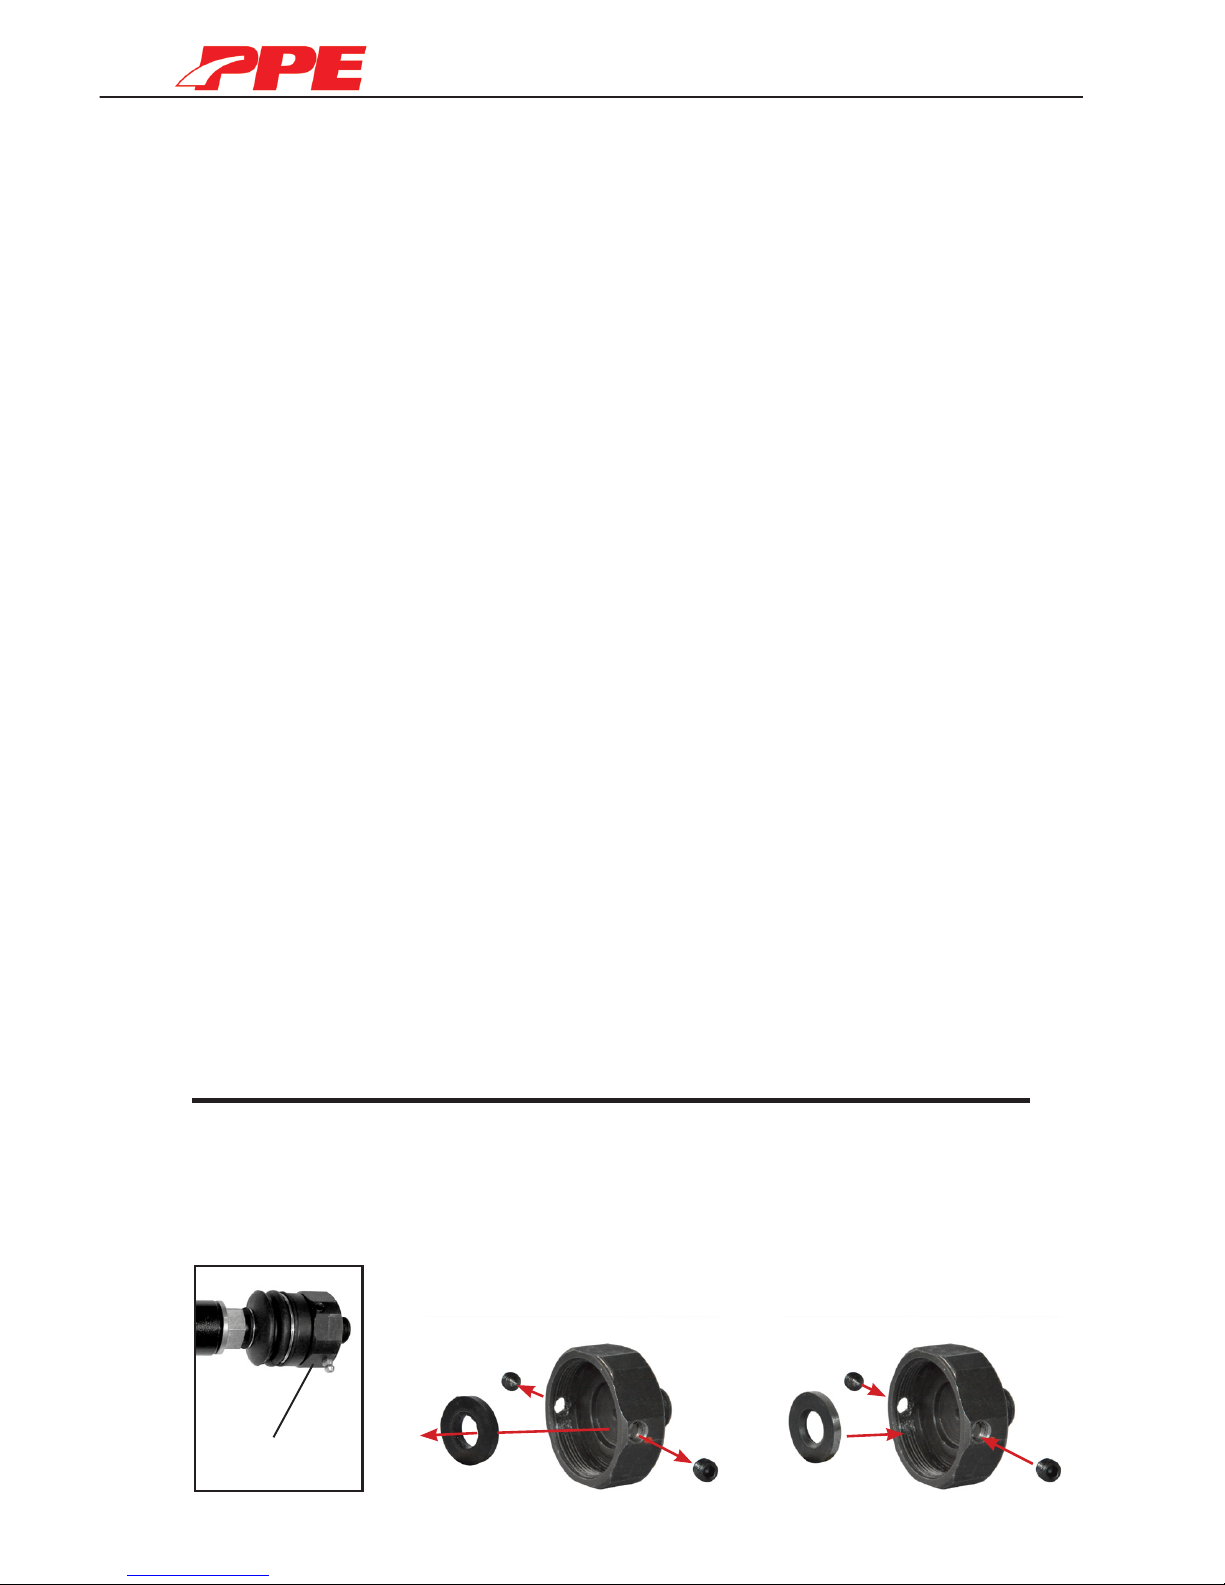
End Cap
Installation:
Upgrade:
Instructions for installation of new PPE Tie Rods
to be performed on each side.
Remove front wheels and engine shield.
Instructions for performance upgrade of PPE Tie Rods
to be performed on each side.
A: Loosen or remove set screws and remove end cap.
B: Install performance shim. Replace and tighten set
screws. Reinstall end cap.
Step 1: Locate installed tie rods.
Step 2: Remove Lock Nut from outer Tie Rod Ball Stud. Use a tie rod fork tool
to remove Tie Rod Ball Stud from tapered hole in Steering Knuckle.
Step 3: Unthread inner Tie Rod End from centerlink.
Step 4: Clean tapered hole and threaded end of center link.
Step 5: Measure length on removed tie rod from inner face to the center of the
grease tting.
Step 6: Using measurement from Step 5, adjust the length of the new PPE Tie
Rod assembly to match the length of the old assembly.
Step 7: Tighten Jam Nut to lock length using a 1 1/8” wrench.
Step 8: Apply “red thread locker” and thread in the inner Tie Rod face to
centerlink. Torque to 74 lb. ft.
Step 9: Insert tapered stud into tapered hole in spindle boss. Attach Lock Nut.
Step 10: Tighten lock nut using a 20 mm wrench. Torque to 48 lb. ft.
NOTE: A 9 mm wrench can be used to secure stud while tightening the Lock Nut.
Step 11: Grease outer Tie Rod end and center link with high-grade lubricant.
Step 12: Perform and conrm proper alignment and clearance. Longer sway bar
end links may be required.
Step 13: To adjust toe, use 5/8” wrench on the inner ats if adjustment is
necessary.
Step 14: Conrm/tighten set screws on Tie Rod inners.
Step 15: Steering wheel and toe adjustment will need to be adjusted to factory
specs with a professional alignment.
A B
Page 4

DISCLAIMER OF LIABILITY
This agreement sets forth the terms and conditions for the use of this product.
The installation of this product indicates that the Buyer has read and understands this agreement
and accepts the terms and conditions. Pacic Performance Engineering Inc., its distributors,
employees, and dealers (the “Seller”) shall not be responsible for the product’s proper use and
service. The buyer hereby waives all liability claims. The Buyer hereby acknowledges no reliance
on the Seller’s skill or judgment to select or furnish goods suitable for any particular purpose and
that there are no liabilities which extend beyond the description on the face hereof, and the Buyer
hereby waives all remedies or liabilities expressed or implied, arising by law or otherwise (including
without any obligation of the Seller with respect to tness, merchantability and consequential
damages), or whether or not occasioned by the Seller’s negligence. The Seller disclaims
any warranty and expressly disclaims any liability for personal injury or damages. The Buyer
acknowledges and agrees that the disclaimer of any liability for personal injury is a material term
for this agreement and the Buyer agrees to indemnify the Seller and to hold the Seller harmless
from any claim related to the item of equipment purchased. Under no circumstances will the Seller
be liable for any damages or expenses by reason of use or sale of any such equipment.The Seller
assumes no liability regarding the improper installation or misapplication of its products. It is the
installer’s responsibility to check for proper installation and if in doubt contact the manufacturer.
The Buyer is solely responsible for all warranty issues from the manufacturer.
LIMITATION OF WARRANTY
The Seller gives Limited Warranty as to description, quality, merchantability, and tness for a
particular purpose, productiveness, or any other matter of Seller’s product sold herewith. The
Seller shall not be responsible for the products proper use and service and the Buyer hereby
waives all rights other than those expressly written herein. This warranty shall not be extended,
altered or varied except by a written instrument signed by Seller and Buyer.
The Warranty is limited to one (1) year from the date of sale and limited solely to the parts contained
within the products kit. All products that are in question of Warranty must be returned prepaid to
the Seller and must be accompanied by a dated proof of purchase receipt. All Warranty claims
are subject to approval by Seller. Under no circumstances will the Seller be liable for any labor
charged or travel time incurred in diagnosis for defects, removal, or reinstallation of this product or
any other contingent expenses.
Under no circumstances will the Seller be liable for any damage or expenses incurred by reason
of the use or sale of any such equipment. In the event that the buyer does not agree with this
agreement: the buyer may promptly return this product, in a new and unused condition in its
original packaging, with a dated proof of purchase to the place of purchase within ten (10) days
from date of purchase for a full refund. The installation of this product indicates that the buyer has
read and understands this agreement and accepts its terms and conditions.
5011 Brooks St. Montclair CA 91763
PPEdiesel.com
Phone: (714) 985-4825
Fax: (714) 985-9907
 Loading...