

Powertrax 9206053500 User Manual

INSTALLATION GUIDE


Installation Guide
Contents Page
Open Differential Part Identification & Terminology ......... 2
Powertrax No-Slip Differential Exploded View .................. 3
Vehicle Preparation for Installation (steps 1 to 5) ............. 4
Removal of Open Differential Parts (steps 6 to 14) ........... 5
Preparation of Parts to be Installed (steps 15 to 17) ......... 8
Assembly (steps 18 to 32) .............................................. 9
Verification of Proper Assembly Test (steps 33 to 37) ....... 14
Finish Installation (steps 38 to 42) .................................. 15
Thoroughly read User Manual.
Traction output and resulting handling characteristics of your vehicle will be modified by installation.
Drive carefully and use caution under all on-road and off-road conditions.
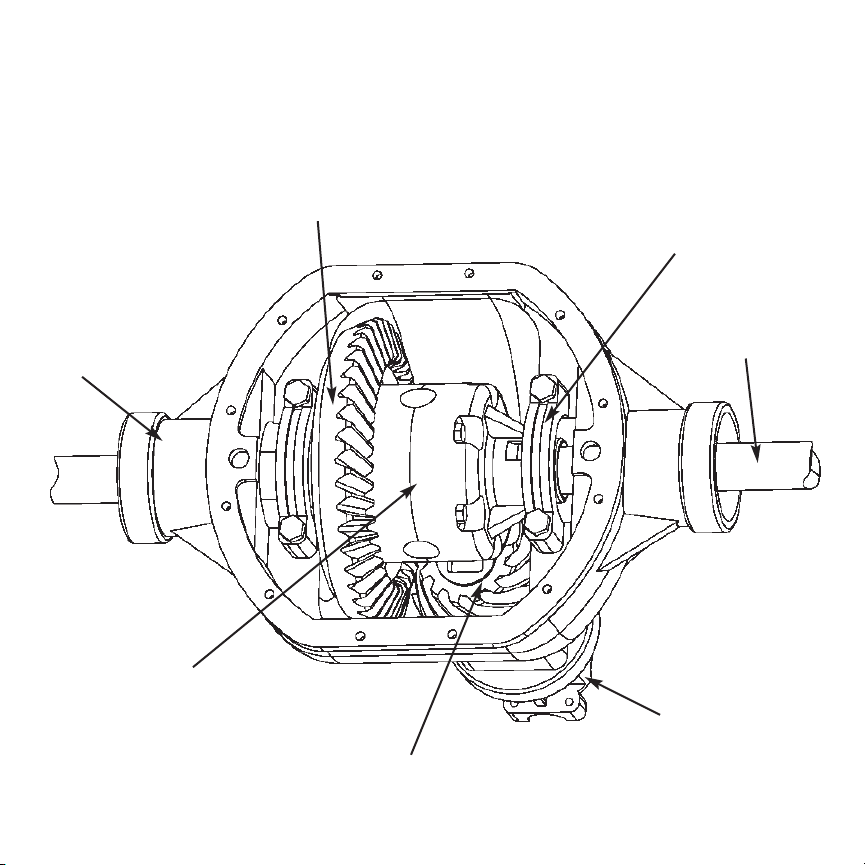
Axle Shaft (2)
Ring Gear
Differential Case
Bearing Cap (2)
Pinion Gear
2
Yoke
OPEN DIFFERENTIAL
PART IDENTIFICATION/TERMINOLOGY
Axle Housing
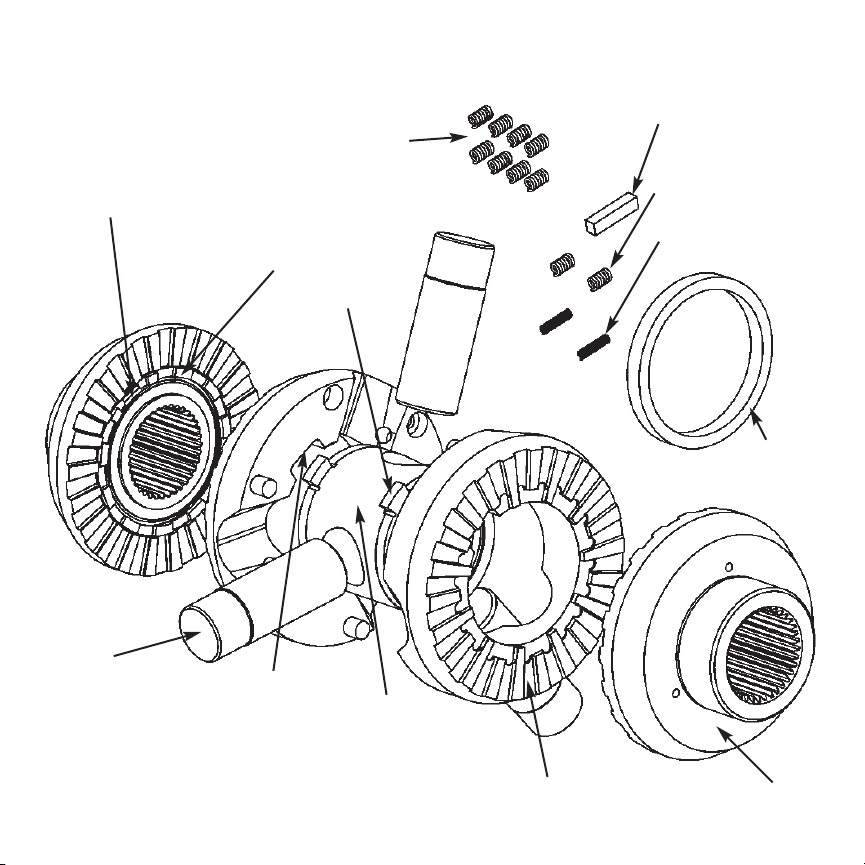
Synchro
Ring
Coupler (2)
Paddle
Paddle Opening
in Synchro
Driver (2)
Saddle Springs (8)
Block
Paddle Notch
in Driver
Inner Springs (2)
Outer Springs (2)
EXPLODED VIEW
Gage Block
3
Gage
Ring
Pinion Shaft
(3)
4
1. Put transmission in gear (or park), and
turn off engine.
2. Set parking brake.
3. Safeguard the vehicle from rolling.
4. Safely raise vehicle and
apply jack stands.
5. Put transmission in neutral and release parking brake.
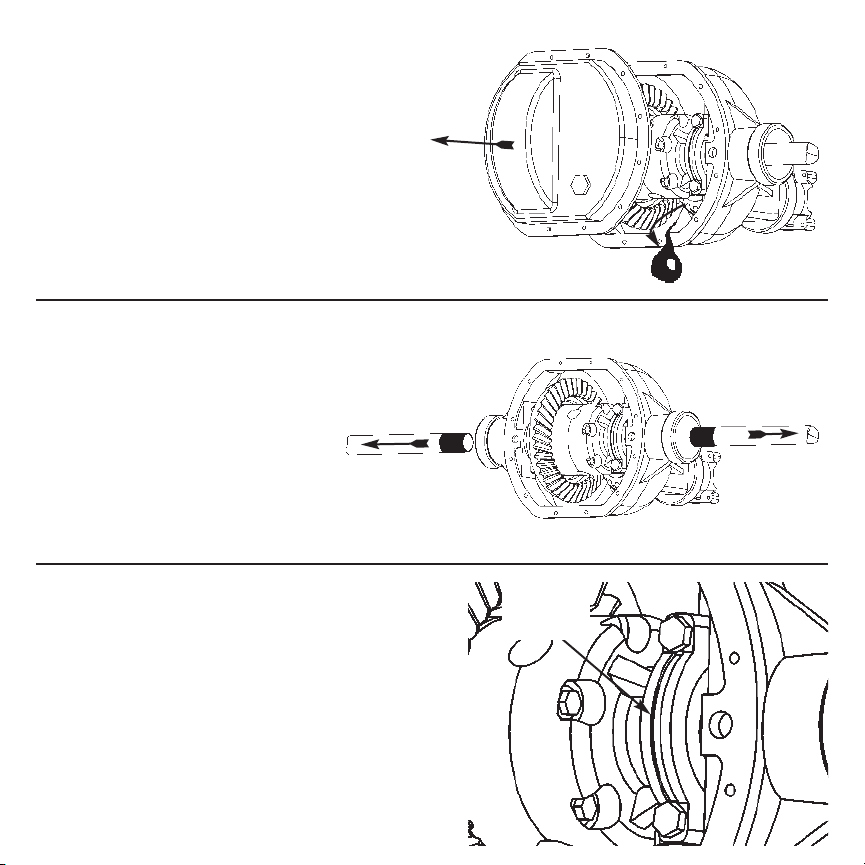
7. Remove axle shafts from housing.
8. Mark the position and orientation
of the bearing caps to the housing.
These parts are not interchangeable
and must be reinstalled in their original
positions.
5
Bearing
Cap
6. Remove Differential cover and
drain fluid. Clean the diff cover and
housing sealing surface.
 Loading...