

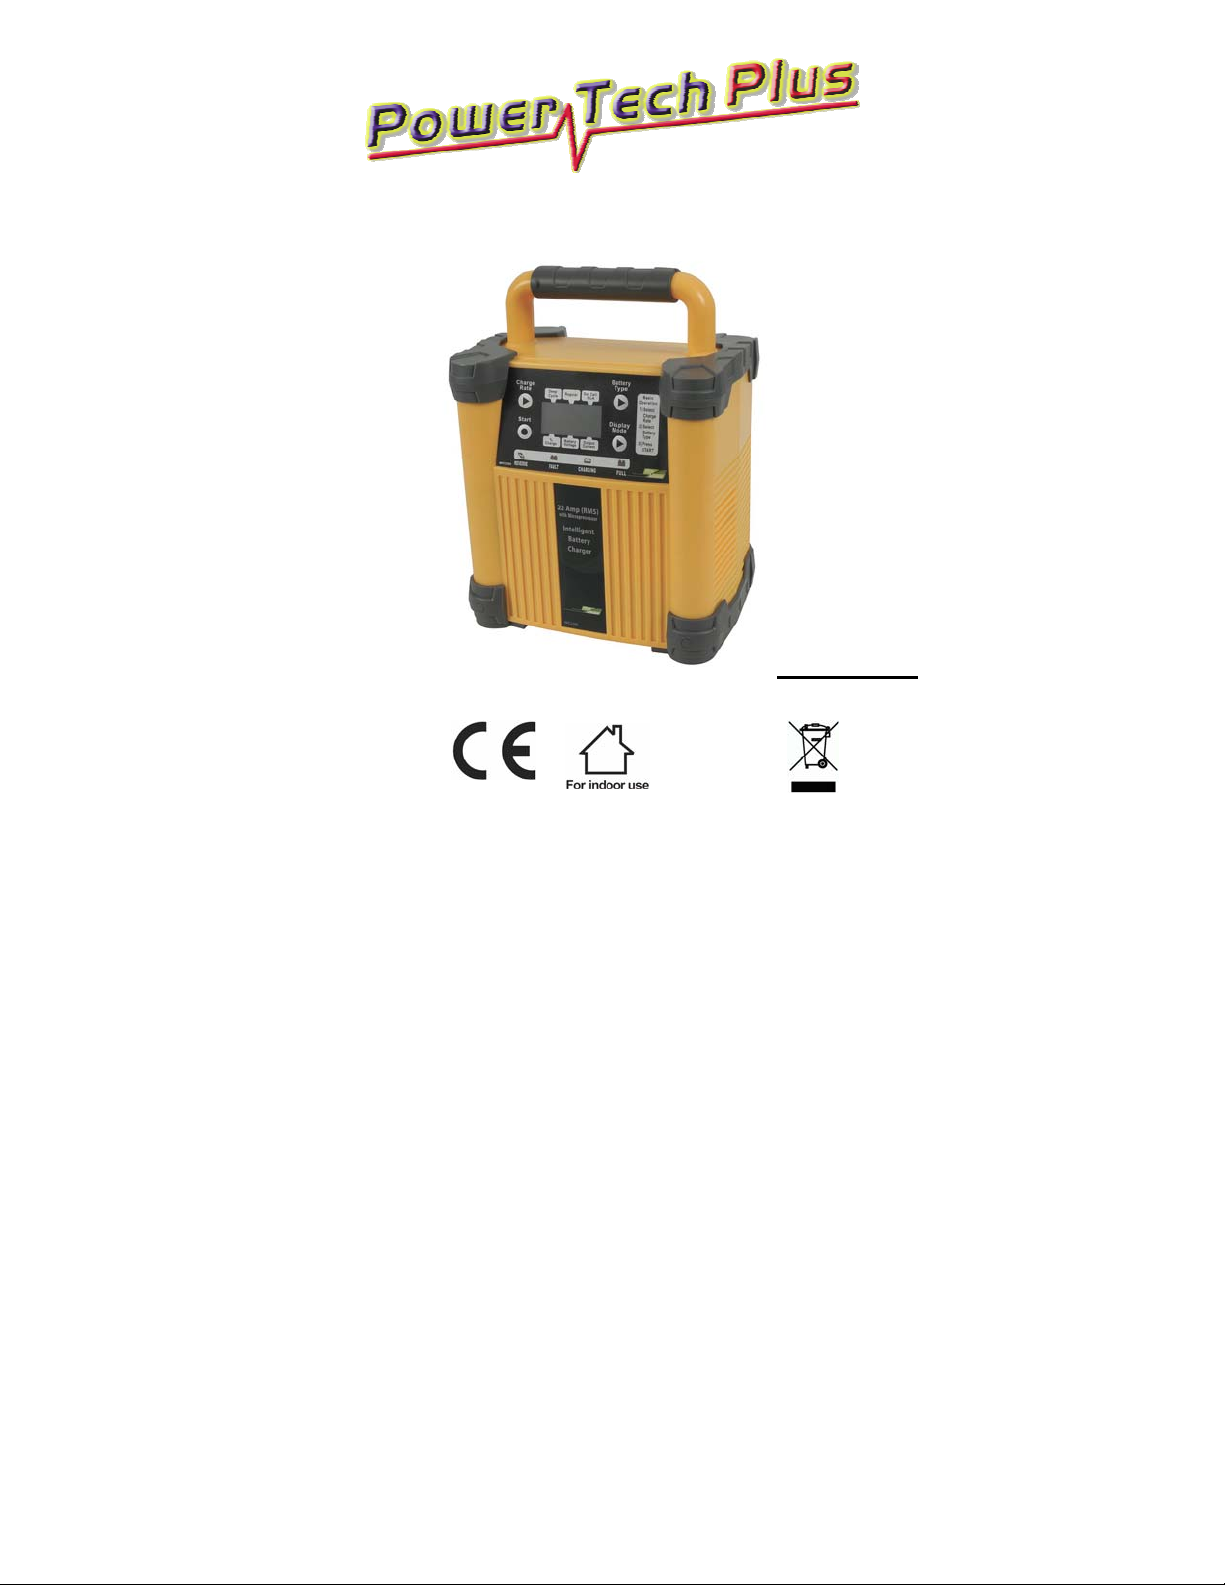
15Amp Intelligent Battery Charger
Suitable for SLA, Gel, Maintenance Free, AGM, Deep Cycle batteries
MB-3622
D THESE INSTRUCTIONS BEFORE USE
REA
AND RETAIN FOR FUTURE REFERENCE!
1

CAUTION!
When working near batteries, care should be taken
at all times as batteries can generate explosive
gases during charging and operation. Remove
personal metal items prior to use. Use care when
using metal tools.
UTION!
CA
Some batteries require vent plugs to be removed
before charging.
UTION!
CA
Only to be used with 12V Lead-acid (Wet, Gel, and
Sealed type) Batteries with 12-250Ahr capacity.
CA
UTION!
For negative chassis-earthed vehicles, connect the
positive lead from the charger to the battery
positive terminal first. Then connect the negative
lead from charger to the battery negative terminal,
or the vehicle chassis. After charging is complete,
disconnect the battery charger from the mains
supply, then remove the negative lead from the
battery, and lastly remove the positive lead from
the battery.
UTION!
CA
This appliance is not intended for use by persons
(including children) with reduced physical, sensory
or mental capabilities, or lack of experience or
knowledge, unless they have been given
supervision or instruction concerning use of the
appliance by a person responsible for their safety.
Children should be supervised and instructed not
to play with the appliance.

INTRODUCTION
MB-3622 intelligent battery charger with 12-bit AD
microprocessor
– Charges with 12 V, 15/10/2 A DC (22/15/3 A RMS)
– Self-identifying multi-stage characteristic charging curve
Soft Start tests the battery condition. Severely discharged
batteries need the soft start step. The charging starts with a
reduced current until the voltage reaches 10V.
Bulk is the main step where most of the charge is returned
(60-80%). The charger delivers maximum current until the
terminal voltage has risen to the set level of 14,2V for Normal
battery selection and 14.0V for Gel battery selection and 14.4V
for Deep Cycle battery selection.
Absorption completes the charge up to virtually 100% at a
constant voltage. The current tapers off after the current reached
the minimum level.
Float is maintenance charge at constant voltage, keeping the
batteries at 100% charge. Normal charging mode is time-limited
(max 10 days) while Supply mode goes on indefinite without
damaging the battery.
Pulse is maintenance charge for maximum battery life. Charging
varies between 80% and 100% state of charge. The battery
receives a pulse, starting a new charge cycle, when voltage drops
to set limit. This keeps the battery in perfect condition when it is
not in use. The charger can be connected for months keeping the
batteries fresh.
2

SPECIAL FEATURES
Temperature Control Fan
To protect the charger from overheating, a fan is includ ed for heat
dispensation. Also to increase the life span of the fan, a sensor
will control the on off of the fan, where the fan will not use when
the HFC is not in a hot condition.
Temperature Compensation
A sensor will automati cally adjust the charging volt age if the
temperature deviates between – 20°C to +50°C. At a high
temperature environment the unit lowered the output voltage and
at a freezing condition, the unit will adjust a higher output voltage.
Voltage compensation:
Because of some voltage drop in the cables, the actual voltage at
the clamps of the battery can be lower than the charger output
voltage. A special circuitry inside the unit will monitor the true input
voltage to the battery and adjust the output voltage of the unit
accordingly. This will maximize the charging efficiency.
Buzzer Warning
A built in buzzer will hel p to warn the user when connect the
clamps to the battery wrongly.
Display
Reverse Polarity - Reverse Polarity Connection to Battery
Pole.
Battery Fault – Faulty Battery Indicator.
Charging – While Battery is Charging.
Full Charge – When Battery is Fully Charged and in
Maintenance Mode.
3 X 7 Segment LEDs Display for Charging Current, Battery
Voltage, & Charging %.
Cable Management
The casing is designed with AC and DC cables storage
compartment. This will help to avoid cable damage and
subsequently any possible danger to user.
3

PROTECTIONS
Full protection against sparks
Short circuit protection
Voltage compensation
Overheating protection
Polarity reversal protection
IMPORTANT SAFETY INSTRUCTIONS
Gases
When the NORMAL/LEAD ACID battery is being charged you
may notice bubbling in the fluid caused by the release of gas. As
the gas is flammable no naked lights should be used around the
battery.
During charging the battery, the charging must be placed at a well
ventilated area. Because of the risk of explosive gas, only connect,
and disconnect, the battery leads when the mains supply is
disconnected.
Types of Batteries
This charger is only suitable for the specified batteries and should
not be used to recharge non-rechargeable, NICAD or any other
type of battery.
Point of Notes
When not in use, the battery charger must be kept at a dry area to
avoid moisture.
Keep away from any liquid, rain or snow at all times.
This battery charger is not designed as a caravan lead acid
battery charger or power supply.
This battery charger is not designed for installation on to the
vehicle as a fixture.
Danger
Avoid getting ELECTROLYTE on your skin or clothes. It is acidic
and can cause burns. If this occurs you shall rinse the affected
area with water immediately.
4

Never charge a frozen battery. If battery fluid (electrolyte)
becomes frozen, bring battery into a warm area to allow battery to
thaw before you begin charging. Never set a battery on top of
charger or vice versa.
Do not touch the battery clamps together when the charger is on.
Never operate charger if it has received a hard blow, been
dropped, or otherwise damaged. Take it to a qualified professional
for inspection and repair.
Be sure to position the charger power cord to prevent it from
being stepped on, tripped over, or damaged.
Never pull out the plug by the cord when unplugging the charger.
Pulling on the cord may cause damage to the cord or the plug.
If the supply cord is damaged, it must be replaced by the
manufacturer, its service agent or similarly qualified persons in
order to avoid a hazard.
PRE-CHARGE CHECKLIST
If the battery needs to be removed from the vehicle before
charging, always remove the grounded terminal from the battery
first, also ensure that all accessories in the vehicle are tuned off to
prevent arcing.
Ensure that the surrounding area is well ventilated to allow
dispersal of toxic fumes or gases.
Ensure the battery terminals are clean. If the battery has a
removable vent cap, top up each battery cell with distilled water to
the level recommended by the battery manufacturer , do not
overfill.
If the battery does not have caps, refer to the manufacturer’s
instructions regarding charging and charging rates.
5

OPERATING INSTRUCTIONS
Connection
1. Connect the DC Clamps to the battery poles in the following
order:
2. Connect the positive charging lead (RED) to the positive
terminal pole of the battery (marked P or +).
3. Connect the negative lead (BLACK) to the negative pole of the
battery (marked N or -).
4. It is important to ensure that both DC Clamps are making good
contact with their respective terminal poles.
Control Panel
1. Char
ge Rate Button sets the charge rate to one of the
following:
2A DC Slow - Intended for charging small
batteries such as those commonly used in
garden tractors, snow mobiles and
motorcycles. The 2A rate is not intended
to be used as a trickle charger for larger
batteries.
10A DC Normal - Use for charging
automotive batteries, marine batteries,
and deep cycle batteries at a normal rate.
15A DC Fast - Use for charging
automotive batteries, marine batteries,
and deep cycle batteries at a fast rate.
6

2. Battery Selection Button sets the type of battery to be
charged to one of the following:
GEL CELL / SLA – All type of “gel cell”, “SLA” battery.
Regular – All type of “lead acid” battery, sealed or non-seal.
Deep Cycle – All type of Deep cycle battery
3. Mode Display sets and shows one of the following reading:
Output current – This shows the selected charging current.
Battery voltage –This sho ws the voltag e of the battery in DC.
Charging % –This shows an estimate percent of charge.
With the exception of gel cell and calcium batteries, all other
battery types may or may not have vent caps. Vent caps are
located on top of the battery and provide a means to add distilled
water when needed.
Batteries should be marked with their type. If charging a
battery that is not marked, check the manual of the item that
uses the battery. If the battery type is unknown, use the “Gel
Cell / SLA” setting.
Charging
7

Insert the AC plug into the mains supply (220-240 Volts AC only).
The battery charger is now in the stand-by mode with the default
choice of
Battery - “Gel Cell / SLA”
Current – “2A DC Slow”
If the Start Charging Button is now pressed, the charger will
immediately go into the 2A DC, Gel Cell battery charging mode.
For alternative selection, please follow the following steps:
Step1 – Press the Charge Rate Button to pick the battery
type for charging.
Step 2 – Press the Battery Selection Button to pick the
charging power.
Step 3 – Press the Start Char ging Button to start the
charging process.
LED INDICATORS
On the front panel there are also 4 LED indicators for the following
function:
1. Reverse Polarity – The DC Clamps have been connected at
the wrong pole on the battery. Simply disconnect and
reconnect the DC clamps at the correct pole, restart the
charging process.
2. Battery Fault – When this is light, this mean the battery can
be broken. If the battery fault display persists after resetting
the charger, the battery may be faulty. Please consult a
nearby battery service centre.
3. Charging –This shows the battery is in charging process.
4. Full Charge – This shows the battery is fully charged and the
battery charger is in maintenance mode.
8

COMPLETION OF CHARGING
When the battery “Full Charge” LED comes on, this mean the
battery is fully charged. The battery charger will now goes into
maintenance mode. No attention is required until the battery is
required for use again.
If the AC plug is pulled off from the mains supply, the battery
charger will turn off. The charging mode and status will be
recorded in the charger’s memory for 15min. Afterward it will reset
to standby mode. This feature will avoid any power failure, and
once power comes back the charger will resume the charging
process at the previous mode.
If the DC clamps were pulled off from the battery while the AC
plug is still connected to the mains supply, the charger will
automatically switch back to the standby mode. Try to avoid
disconnecting the DC clamps while the AC socket is still
intact to power.
CHARGING TIME
The table below is a guide to the typical charge time for varies
size of 12V/6cells battery:
Battery Size Charging Time
20Ah 2 hours
55Ah 4 hours
75Ah 6 hours
96Ah 7 hours
120Ah 9 hours
180Ah 13 hours
225Ah 16 hours
9

TROUBLE SHOOTING
Trouble often can be corrected by the user. Please read this chart
for possible solutions to common problems.
PROBLEM POSSIBLE CAUSE SOLUTION
The battery is
connected and the
charger is on, but
it isn't charging.
Indicator lights are
lit in an erratic
manner not
explained in the
manual.
The green FULL
CHARGE LED
turns on a few
minutes after
connecting to the
battery.
The charger was
unplugged from
the wall but the
display is still on.
The charger is not
in charging mode.
A button may have
been pressed when
the charger was
plugged in.
The charger may be
defective.
The battery may be
fully charged or
recently charged,
leaving the battery
voltage high enough
to appear to be fully
charged.
The battery is
supplying the power
to the display.
10
Press MODE DISPLAY
button until Battery % or
Voltage reading comes
on.
Make sure nothing is
touching the control
panel, then unplug the
unit and plug it in again.
Return to place of
purchase for
replacement.
If the battery is in a
vehicle, turn the
headlights on for a few
minutes to reduce the
battery voltage and try
charging again. Also try a
lower CHARGE RATE
selection.
Disconnect the battery.

MAINTENANCE AND CARE
A minimal amount of ca re can keep your battery charger working
properly for years.
- Clean the clamps each time you are finished charging. Wipe
off any battery fluid that may have come in contact with the
clamps to prevent corrosion.
- Coil the input and output cords neatly when storing the
charger. This will help prevent accidental damage to the cords
and charger.
- Occasional cleaning of the case of the charger with a soft
cloth will keep the finish shiny and help prevent corrosion.
- Store the battery charger in a clean and dry location.
ENVIRONMENTAL PROTECTION
Waste electrical products should not be disposed of
with household waste.
Please recycle where facilities exist.
Check with your local authority or retailer for
recycling advice.
Distributed by:
Electus Distribution Pty. Ltd.
320 Victoria Road
Rydalmere NSW 2116 Australia
Phone: 1300 738 555
Facsimile: 1300 738 500
www.electusdistribution.com.au
Made in China
11
 Loading...