

Page 1
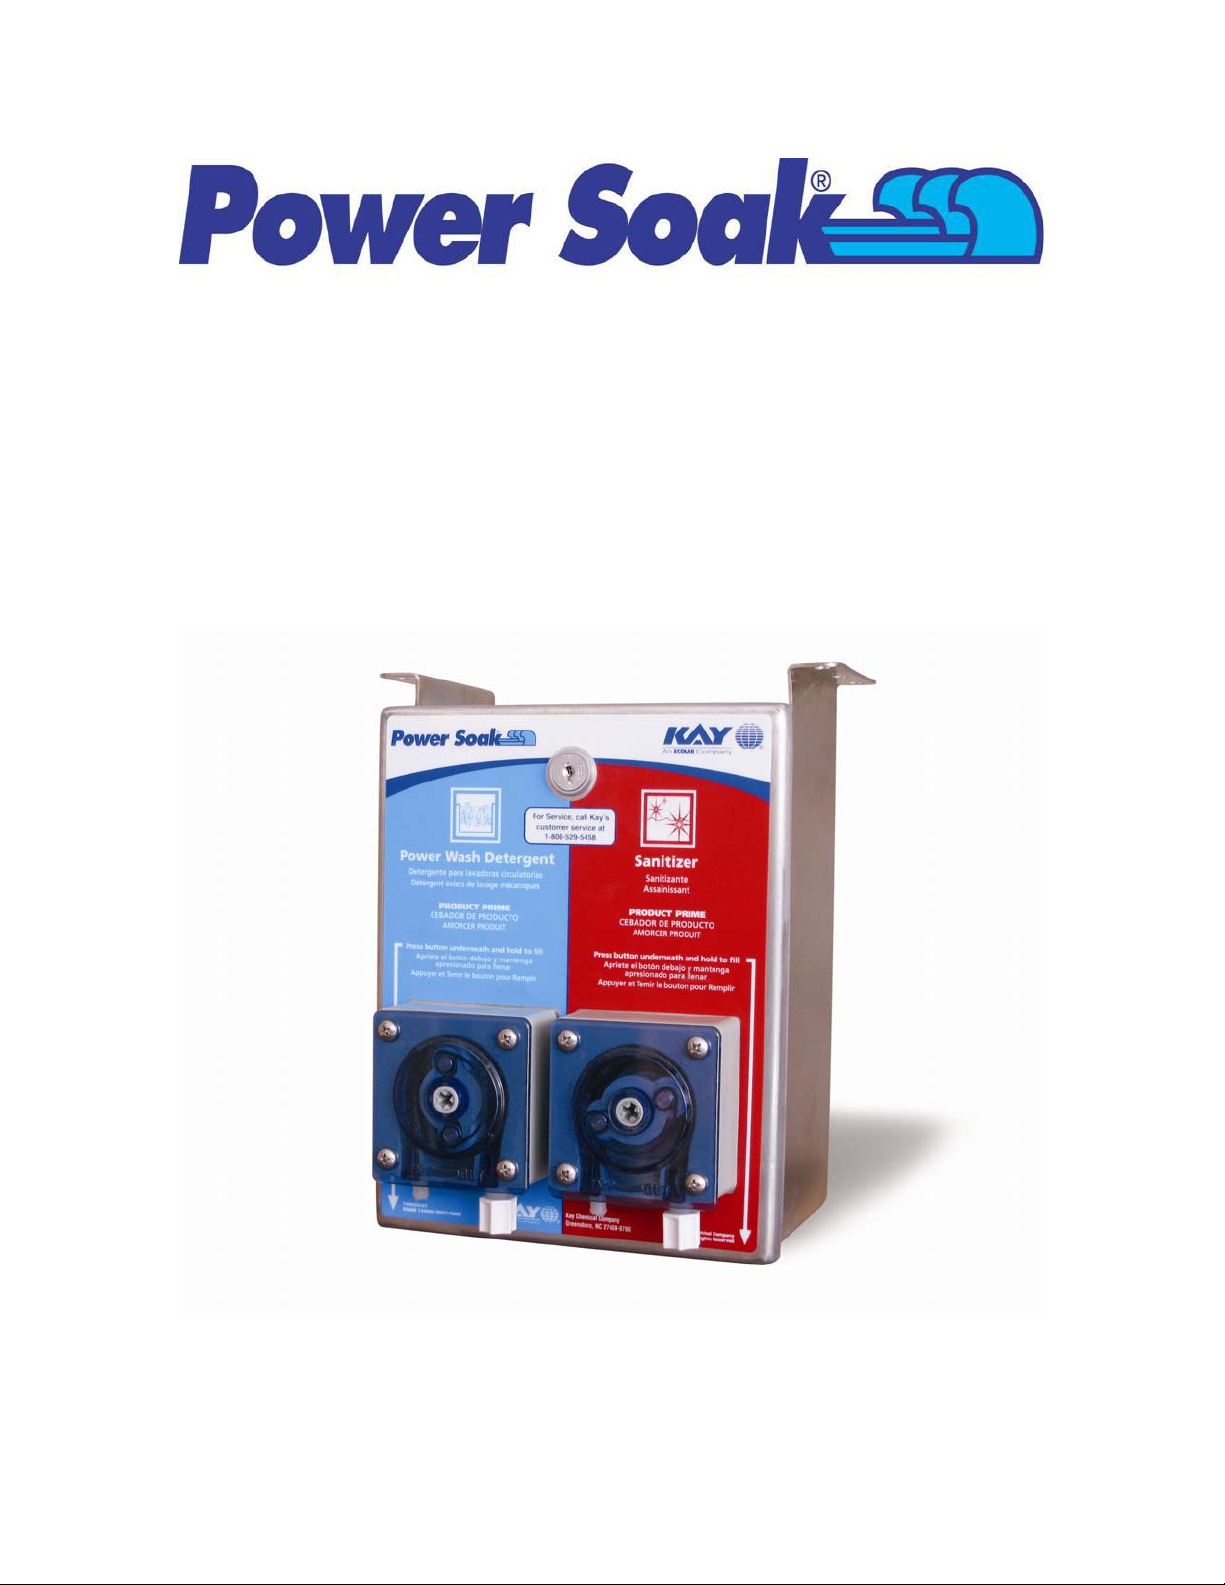
Installation Instructions
for
Kay Chemical / Power Soak
Dual Dispenser Pump
(01/02/03)
Page 2
Step #1
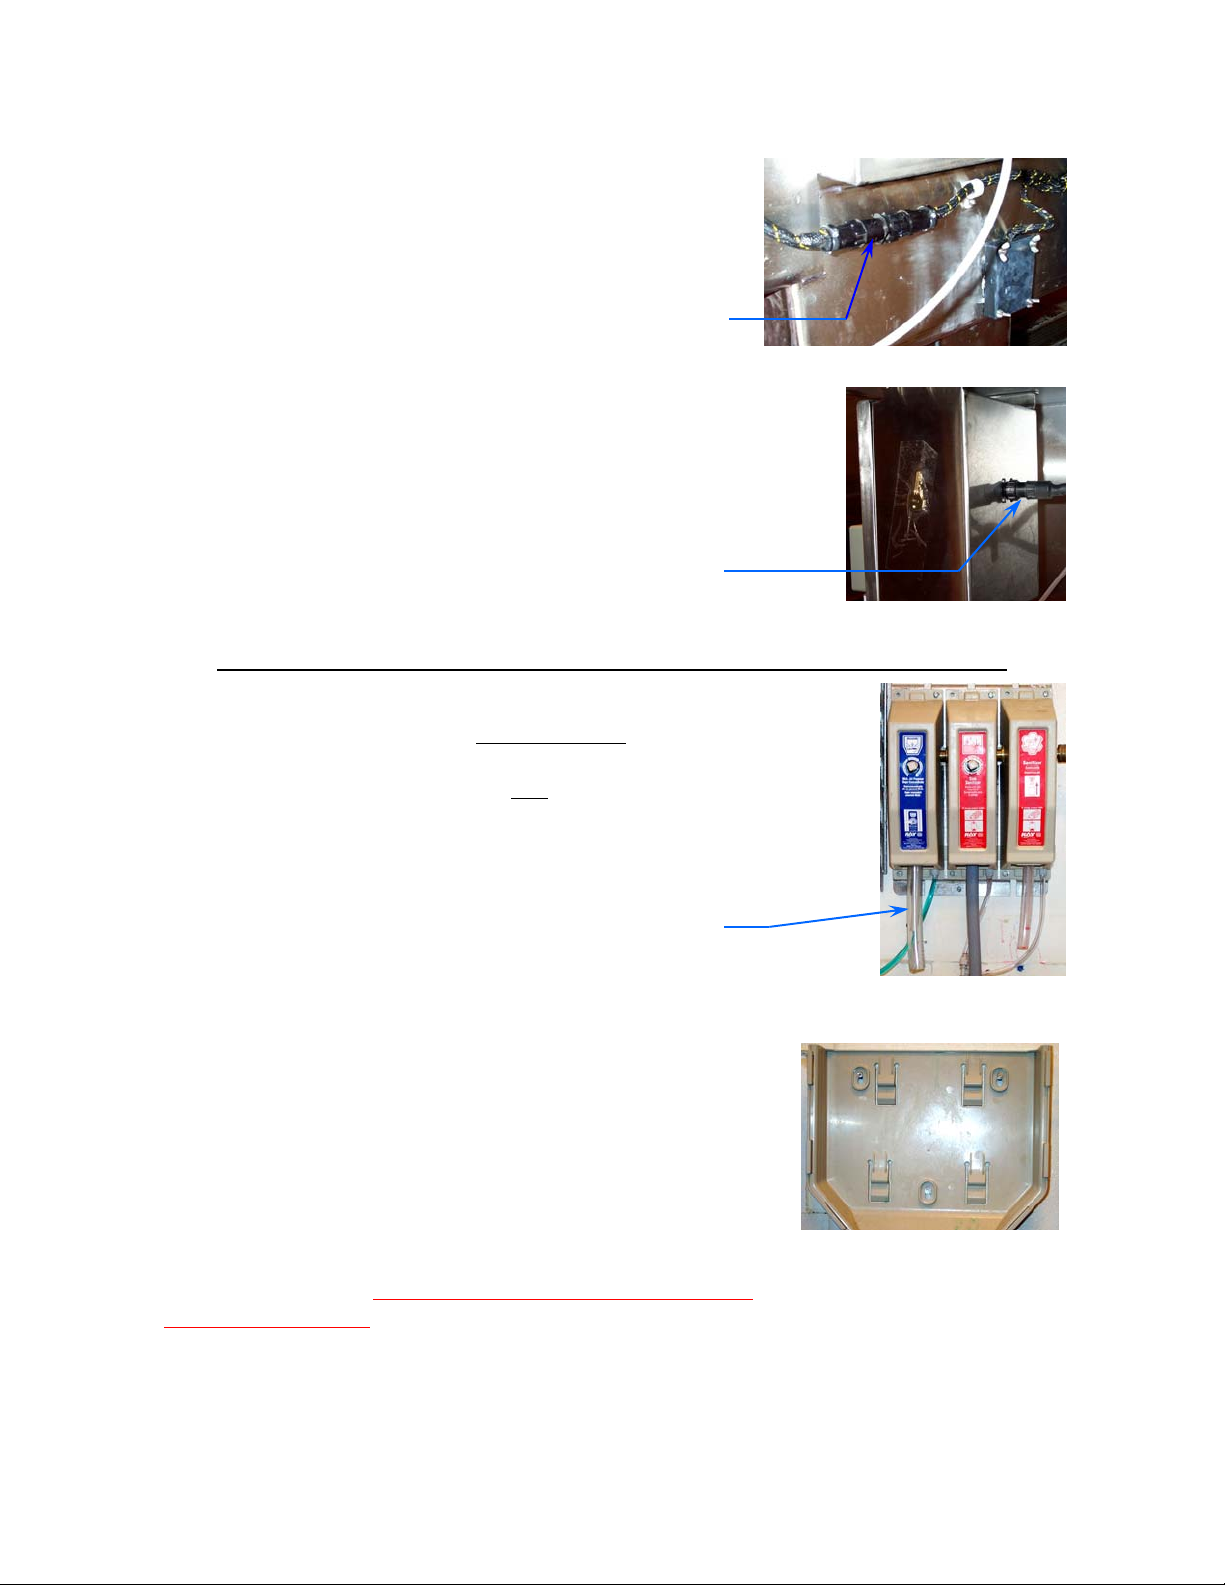
Verify that the male and female multi-pin connectors of the wiring harness, between the two halves
of the unit, are tightened and secure.
Multi-pin connector behind unit
Step #2
Locate the multi-pin connector that is underneath
the clean drain board (behind the dual dispenser
pump) and secure it to the back of the dispenser.
Multi-pin connector behind
chemical dispenser
Preliminary Setup and Chemical Holder Installation
Step #1
Shorten the existing APSC DETERGENT outlet tube
to approximately 8 inches. This product will be
used for general cleaning but not for washing
dishes.
Note: In a new store, this equipment may not yet be
installed. If so, disregard this step.
Shorten to 8”
Step #2
Install the Liquid Storm bag holder. The holder
comes in two pieces. First, attach the wall
bracket. If space is available, mount the bracket to
the wall next to the Power Soak unit at the same
height as the detergent dispenser or, if necessary,
above the wash tank. Use the mounting screws
and anchors that are provided with the installation
kit to mount the bracket. Important: Do not mount
the Liquid Storm bag holder above the Rinse Tank,
Sanitizer Tank or Clean Drain Board sections of the
Power Soak unit. Doing so may violate local health
and safety codes.
Step #3
Install the front section of the bag holder.
2
Page 3
Installation of the Pump Feed and Discharge Tubes
Step #1
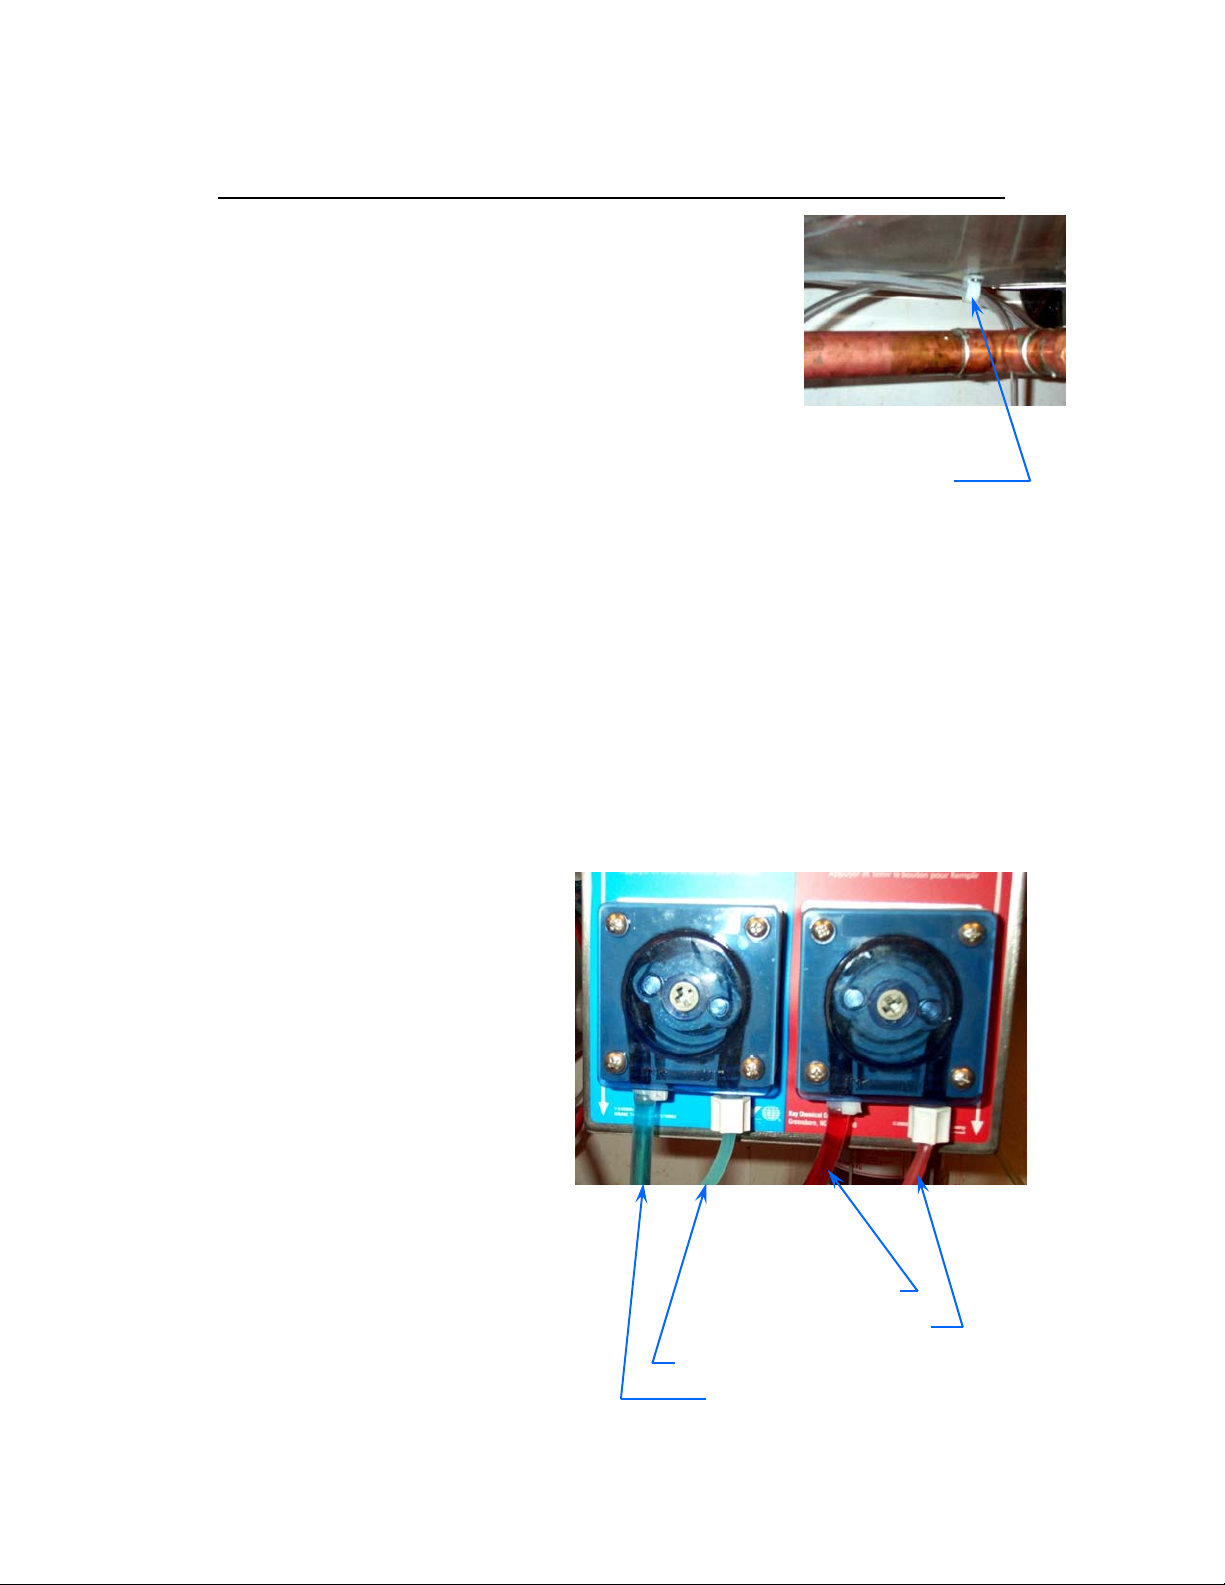
Run a piece of “clear” plastic tubing (the Feed
Tube), provided with the installation kit, from the
detergent bag holder to the dispenser pump. If
necessary, use the support loops located under
the unit’s sinks to hang the tubing. Cut the detergent Feed Tube to the proper length and connect it
to the barbed fitting on the left, “Wash Detergent”,
pump.
Tube support loop
Step #2
Run a piece of “clear” plastic tubing (the Feed Tube), provided with the installation kit, from the sanitizer supply. Cut the sanitizer Feed Tube to the
proper length and connect it to the barbed fitting on the right, “Sanitizer”,
pump.
Step #3
Secure both lines to the barbed fittings using plastic wire ties. To ensure the
tubing is secure, pull the tie wraps tight using a pair of pliers. Cut off the extra portion of the tie wraps.
Step #4
Use the “white” (opaque) plastic
tubing provided with the installation kit for both the Wash Tank
and Sanitizer Tank discharge
tubes. Run the tubes from the
injector nozzles, located in the
sides of the tanks, to the appropriate pumps. Cut the tubes to
the correct length and connect
the tubes between the injector
nozzle and the “discharge” side
of the appropriate dispenser
pump using the supplied compression fittings.
Sanitizer feed tube
Sanitizer discharge tube
Detergent discharge tube
Detergent feed tube
3
Page 4

Step #5
Place a bag of Liquid Storm detergent into the bag
holder. Locate the detergent connector fitting,
fasten it to the Feed Tube then connect the fitting
to the bag of Liquid Storm.
Warning: Refer to, and follow, all specific handling
instructions provided by the chemical manufacturer. Instructions, labels and MSDS sheets
should be supplied with the detergent.
Step #6
Connect the Feed Tube from the Sanitizer pump to
the Kayquat sanitizer supply.
Warning: Refer to, and follow, all specific handling
instructions provided by the chemical manufacturer. Instructions, labels and MSDS sheets
should be supplied with the sanitizing agent.
Pump Timer Settings for Wash Tank (Liquid Storm)
Open the dual dispenser pump enclosure and locate the correct timer for the
Liquid Storm (detergent) dispenser pump. The correct timer is mounted on
the left-hand side of the door. The DIP switches on the timer represent a
specific number of seconds. Set any combination of the switches to “ON” in
order to obtain the proper amount of pump run time.
DIP switches for
DETERGENT
pump timer
DIP switches for
SANITIZER
pump timer
4
Page 5

Pump Timer Settings for Wash Tank (Liquid Storm), cont’d
To determine the correct timer setting, measure the depth of the Power Soak
unit (from the front edge to the back edge). Then, measure the Wash Tank
from the left side to the right side. Use the following information to set the
DIP switches on the timer:
34" deep unit - Liquid Storm Timer Settings for PS-200 Wash Tank
Tank
Length
(inches)
30 59.7 5.74 69 64, 4, 1
36 71.7 6.88 83 64, 16, 2, 1
42 83.6 8.03 96 64, 32, 1
48 95.6 9.18 110 64, 32, 8, 4, 2, 1
54 107.5 10.32 124 64, 32, 16, 8, 4
60 119.5 11.47 138 128, 8, 1
66 131.4 12.62 151 128, 16, 4, 2, 1
72 143.4 13.76 165 128, 32, 4, 1
Tank
Volume
(gallons)
Liquid
Storm
(ounces)
Pump
Time
(seconds)
DIP Switch Settings
(ON)
30" deep unit - Liquid Storm Timer Settings for PS-200 Wash Tank
Tank
Length
(inches)
30 51.4 4.94 59 32, 16, 8, 2, 1
36 61.7 5.92 71 64, 4, 2, 1
42 72.0 6.91 83 64, 16, 2, 1
48 82.3 7.90 95 64, 16, 8, 4, 2, 1
54 92.6 8.89 107 64, 32, 8, 2, 1
60 102.9 9.87 118 64, 32, 16, 4, 2
66 113.1 10.86 130 128, 2
72 123.4 11.85 142 128, 8, 4, 2
Tank
Volume
(gallons)
Liquid
Storm
(ounces)
Pump
Time
(seconds)
DIP Switch Settings
(ON)
5
Page 6

Pump Timer Settings for Sanitizer Tank (Kayquat)
Open the dual dispenser pump enclosure and locate the correct timer for the
Kayquat (sanitizer) dispenser pump. The correct timer is mounted on the
right-hand side of the door. The DIP switches on the timer represent a spe-
cific number of seconds. Set any combination of the switches to “ON” in order to obtain the proper amount of pump run time.
To determine the correct timer setting, measure the depth of the Power Soak
unit (from the front edge to the back edge). Then, measure the Sanitizer
Tank from the left side to the right side. Use the following information to set
the DIP switches on the timer:
34" deep unit - Kayquat Timer Settings for PS-200 Sanitizer Tank
Tank
Length
(inches)
14 20.9 5.52 44 32, 8, 4
16 23.9 6.31 50 32, 16, 2
19 28.4 7.49 60 32, 16, 8, 4
20 29.9 7.89 63 32, 16, 8, 4, 2, 1
24 35.8 9.46 76 64, 8, 4
30 44.8 11.83 95 64, 16, 8, 4, 2, 1
Tank
Volume
(gallons)
Kayquat
(ounces)
Pump
Time
(seconds)
DIP Switch Settings
(ON)
30" deep unit - Kayquat Timer Settings for PS-200 Sanitizer Tank
Tank
Length
(inches)
14 18.0 4.75 38 32, 4, 2
16 20.6 5.43 43 32, 8, 2, 1
19 24.4 6.45 52 32, 16, 4
20 25.7 6.79 54 32, 16, 4, 2
24 30.9 8.15 65 64, 1
30 38.6 10.18 81 64, 16, 1
Tank
Volume
(gallons)
Kayquat
(ounces)
6
Pump
Time
(seconds)
DIP Switch Settings
(ON)
Page 7

Priming the Feed and Discharge Lines
After both pump timers have been set, close and lock the door to the dispenser enclosure and locate the “prime” buttons for the Wash Detergent and
Sanitizer pumps. The prime buttons are located under the enclosure on the
left-hand side (Detergent) and right-hand side (Sanitizer). Press and hold the
left prime button until the Detergent flows from the Wash Tank injector nozzle. Press and hold the right prime button until Sanitizer flows from the Sanitizer Tank injector nozzle.
Note: after priming both lines be sure to clean up any excess detergent or
sanitizer remaining in the tanks.
The installation of the dual dispenser pump is now complete.
If you have any questions concerning the installation of the dispensing sys-
tem, please call the Metcraft, Inc. Service Department @ 816-761-3250.
If you have any questions concerning the operation of the dispensing system,
please call Kay Chemical Customer Service @ 800-529-5458.
7
Page 8

13910 Kessler Drive
Grandview, MO 64030
Office: 816-761-3250
Fax: 816-761-0544
www.powersoak.com
Part# 27173
8
 Loading...