

Powerseal 3411DI, 3413DI, 3415DI, 3417DI, 3417AS Installation Manual
...
INSTALLATION SHEET - SADDLES
3411DI - 3413DI - 3415DI - 3417DI - 3417AS - 3417SW Saddle
GENERAL NOTES:
Notes:
● Over torqueing will not increase the
ability of the saddles to seal
● Suitable pipe thread sealant is
recommended
● Length of bolt thread protruding past top
of nut should be equal distance on both
sides
● Use cave-in protection during excavation
and back-fill operations.
● Verify pipe O.D. to make certain that the
correct range saddle is being used.
● Keep bolt threads clean and free from
nicks, dents or other damage.
● Lubrication of the gasket with soap
solution reduces friction and more
evenly distributes clamping force.
Always re-tighten nuts after installation of
the valve or service line.
RECOMMENDED TORQUE 3411 - 3413
Bolt Diameter Torque (ft-lb)
½” 30-50
5/8” 50-70
1
Clean outside of pipe thoroughly,
particularly in area where Twin
Seal gasket will compress.
4
Position the saddle Top on the
pipe in the location where it is to
be tapped. Rotation of the
saddle should be avoided at all
times.
2
Confirm the PowerSeal Twin Seal
saddle gasket is in the proper
position in the saddle body.
5
Loosen nuts to the end of the
bolt and install saddle Back (s),
around the pipe and through the
saddle body bolt opening.
3
Lubricate pipe and face of gasket
with soap and water. For cold
weather lubrication, ethylene
glycol can be added to the soap
solution to prevent freezing.
5
6
Tighten nuts evenly per the
specifications below until saddle
body conforms to pipe.
INSTALLATION SHEET - SADDLES
3411DI - 3413DI - 3415DI - 3417DI - 3417AS - 3417SW Saddle
PRE-INSTALL CHECKLIST:
DID YOU:
● Clean pipe surface thoroughly? [Y] [N]
● Check O.D. of pipe with measuring tape? [Y] [N]
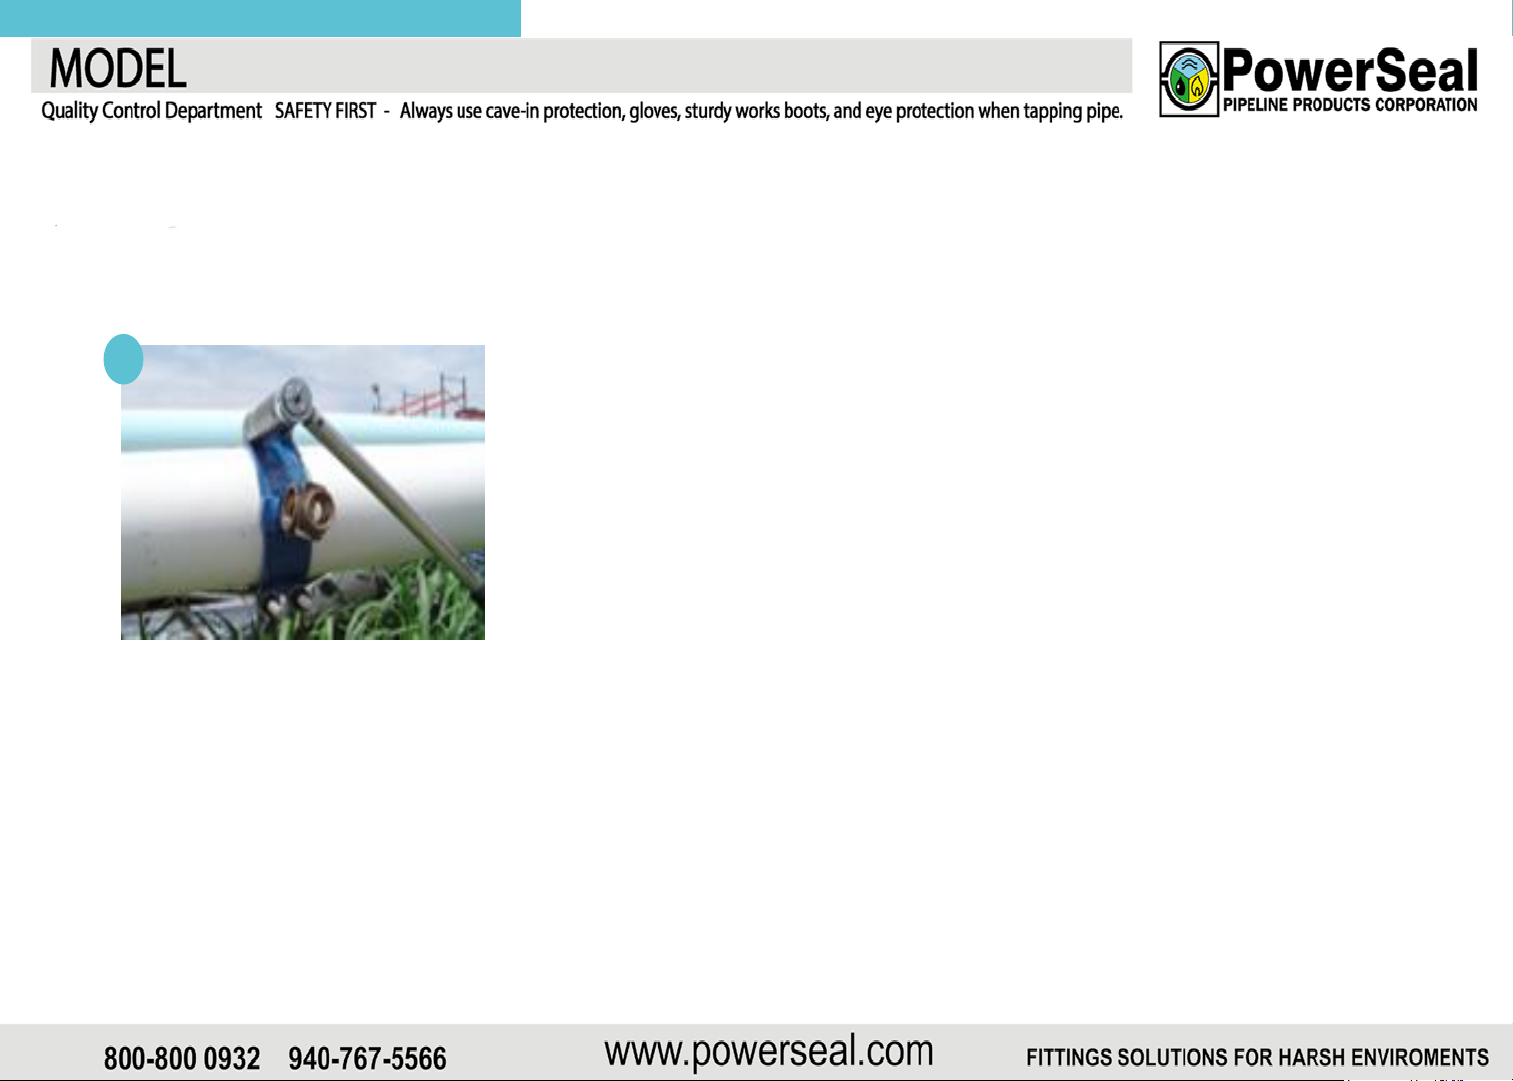
7
To ensure proper seal of the gasket, the
corporation stop or other fittings should be
connected to the saddle prior to final
tightening. Always re-tighten after
installation of the valve or service.
● Lubricate the Pipe with Dishwashing Soap? [Y] [N]
● Verify Proper Torque Required? [Y] [N]
Warranty Checklist (*):
● Date of Installation __/__/____
● Time of Installation ______ [AM] [PM]
● Was Pre-Tap Pressure Test completed to appropriate pressure level? [Y] [N]
● What Pressure was it tested to? ____ psi
● Was standard re-torqueing applied 5 minutes after reaching torque requirements? [Y] [N]
• Signature of On-Site Leadman: _______________________
* Must be completed on day of installation to Validate Warranty
 Loading...